
Oh Pastry!
This can be a cook’s downfall – we’ve all heard the experts rabbit on about soggy bottoms and other pastry-related disasters. It can make those of us of a nervous disposition even more scared, but fear not – the woman who can’t make pastry is here!
Here is the recipe I always use for short-crust pastry – Christmas mince pies, Apple pies, and any other kind of pies you fancy (if you’re using a savoury filling, just leave the sugar out).
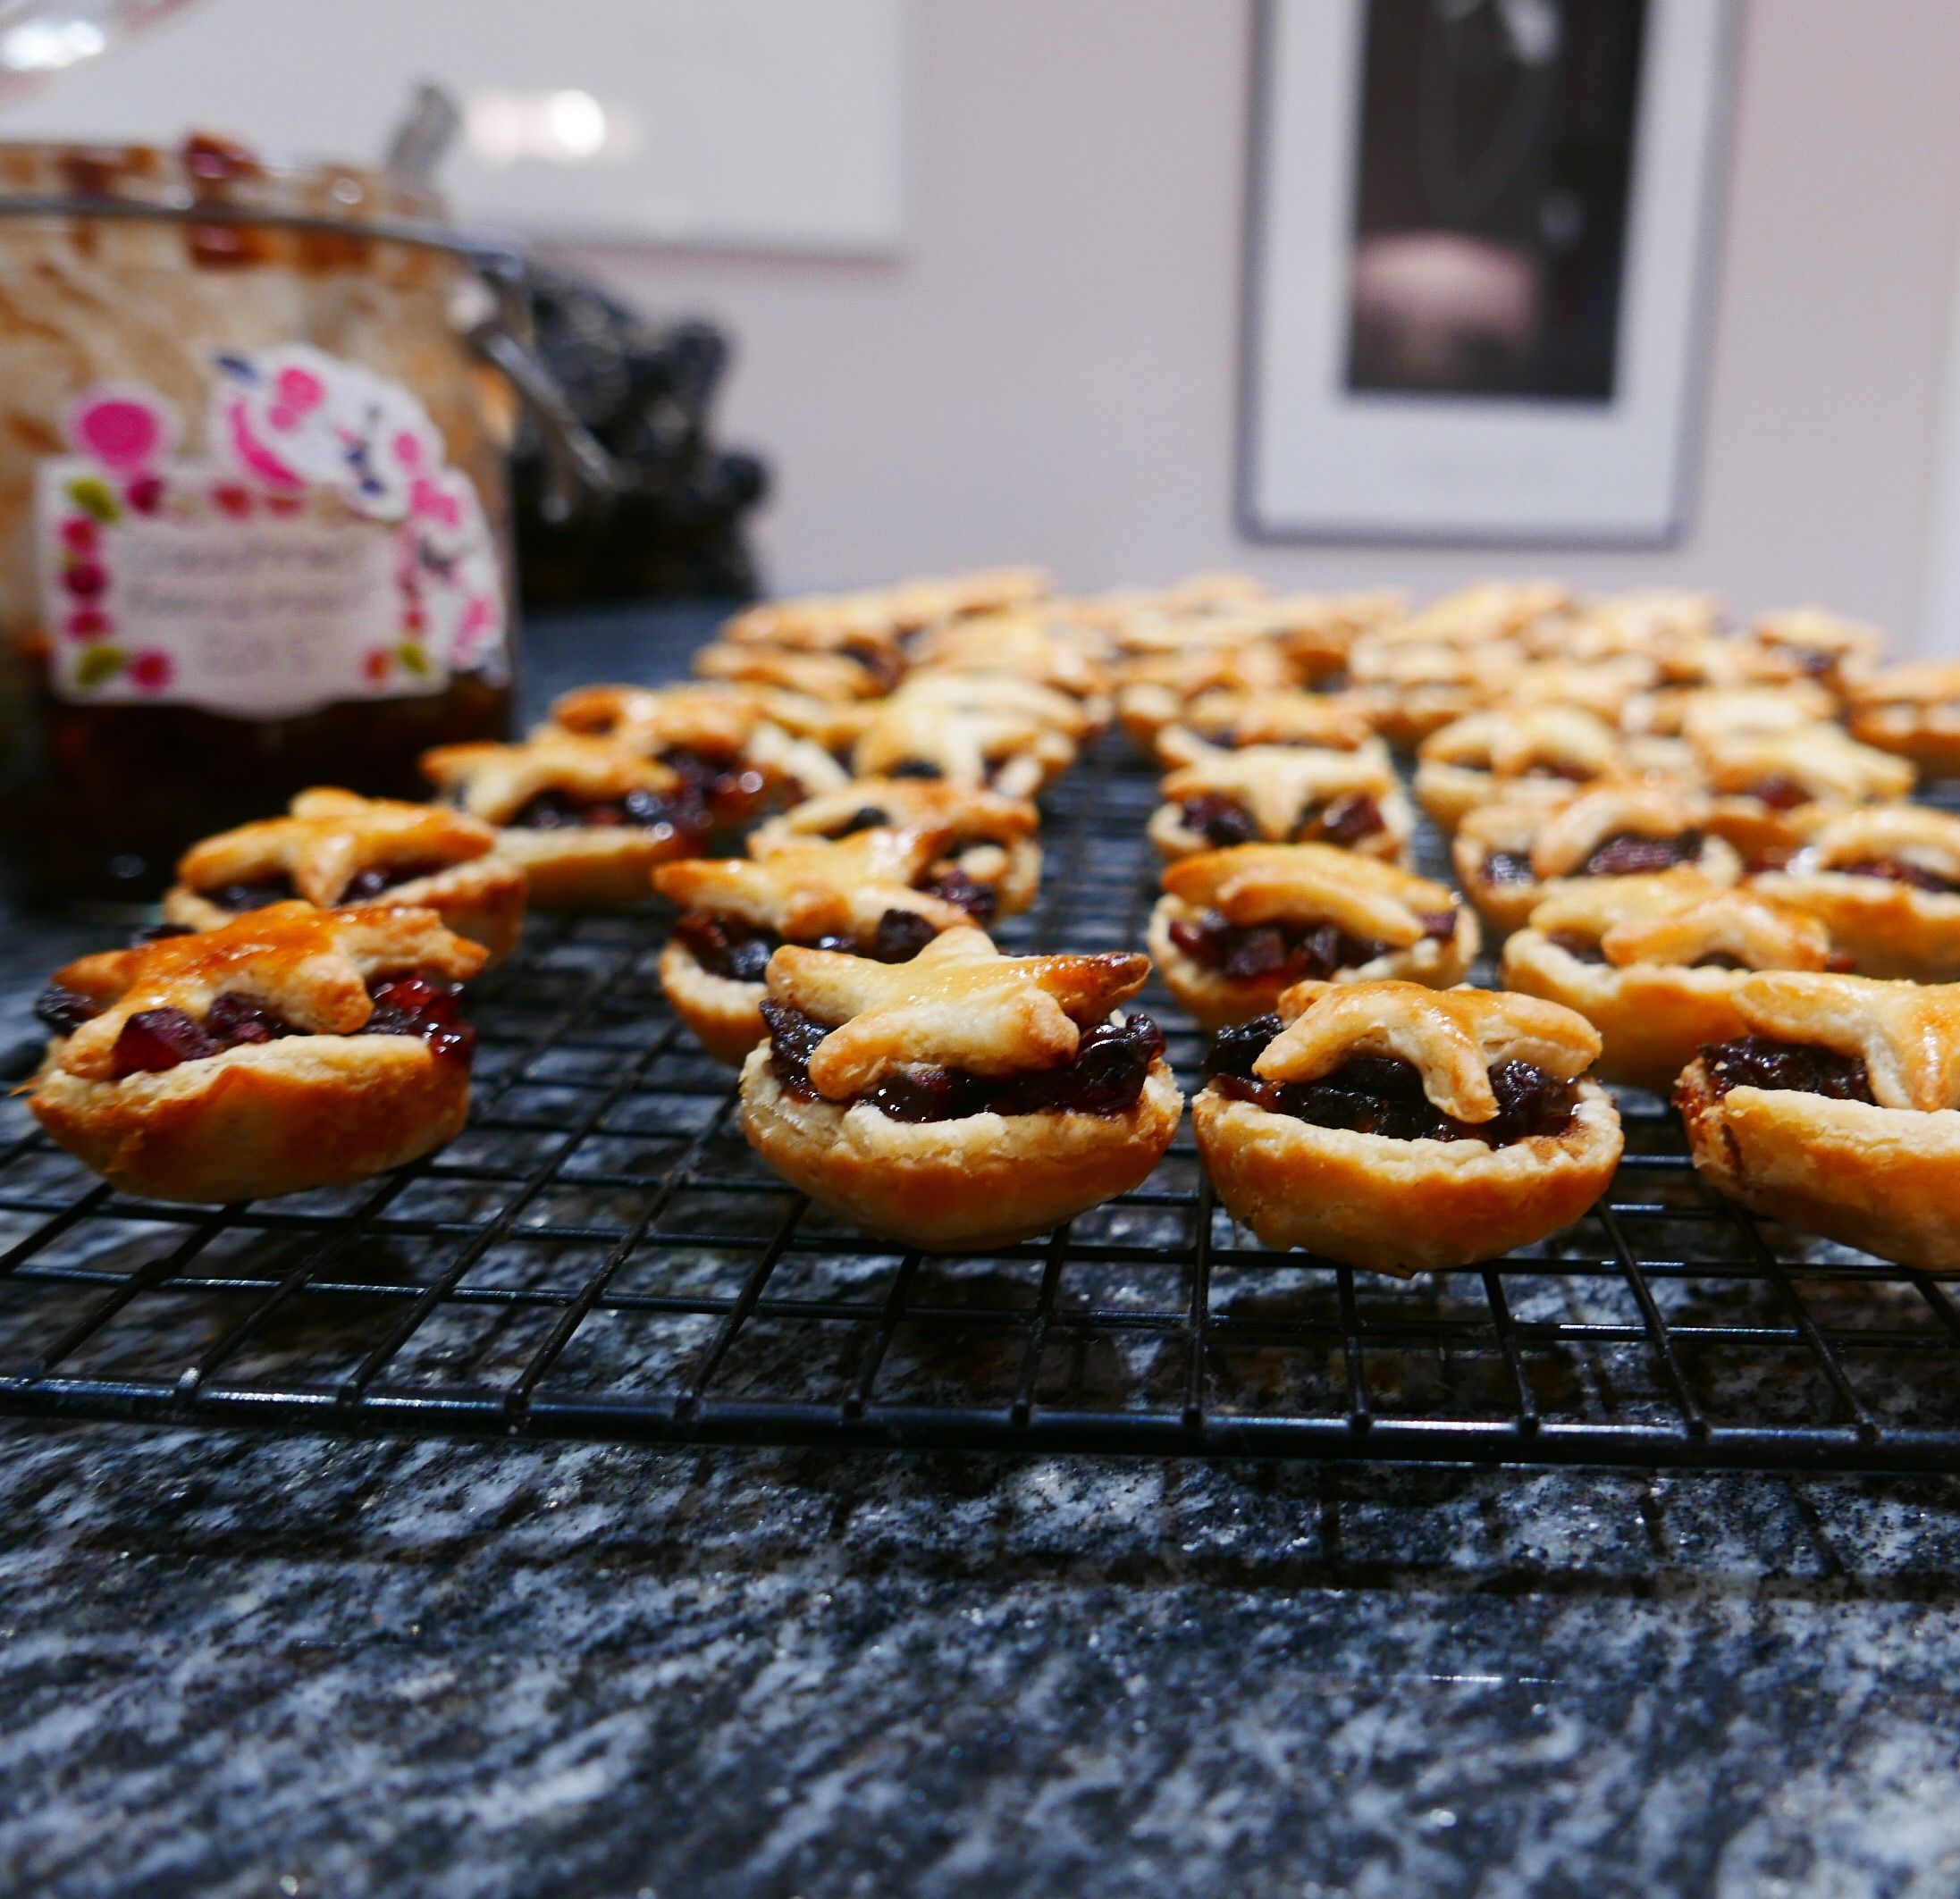
Mmmmm…mince pies!
It’s a really easy recipe, even for non-pastry types like myself, and it’s very forgiving – in other words it’s easy to handle and roll out. Please do try to give it 30 minutes rest before using though, it makes a huge difference.
I think the real trick with pastry, (and this applies to scones too) is to:
a) keep everything – including yourself 😉 – very cool – use butter etc. straight from the fridge;
b) handle it as little as possible. This is something you’ll get better at very quickly, once you’ve made this recipe a couple of times.
And remember: ‘if it’s full of good stuff, it will always taste good’ – as my Mother used to say when her ginger cake sank – again!
EQUIPMENT:
- A food processor
- a large bowl
- weighing scales
- flat-bladed knife
- rolling pin
- clingfilm
- Grater – if you’re not using a food processor.
- Cup and pastry brush for the egg wash.
INGREDIENTS:
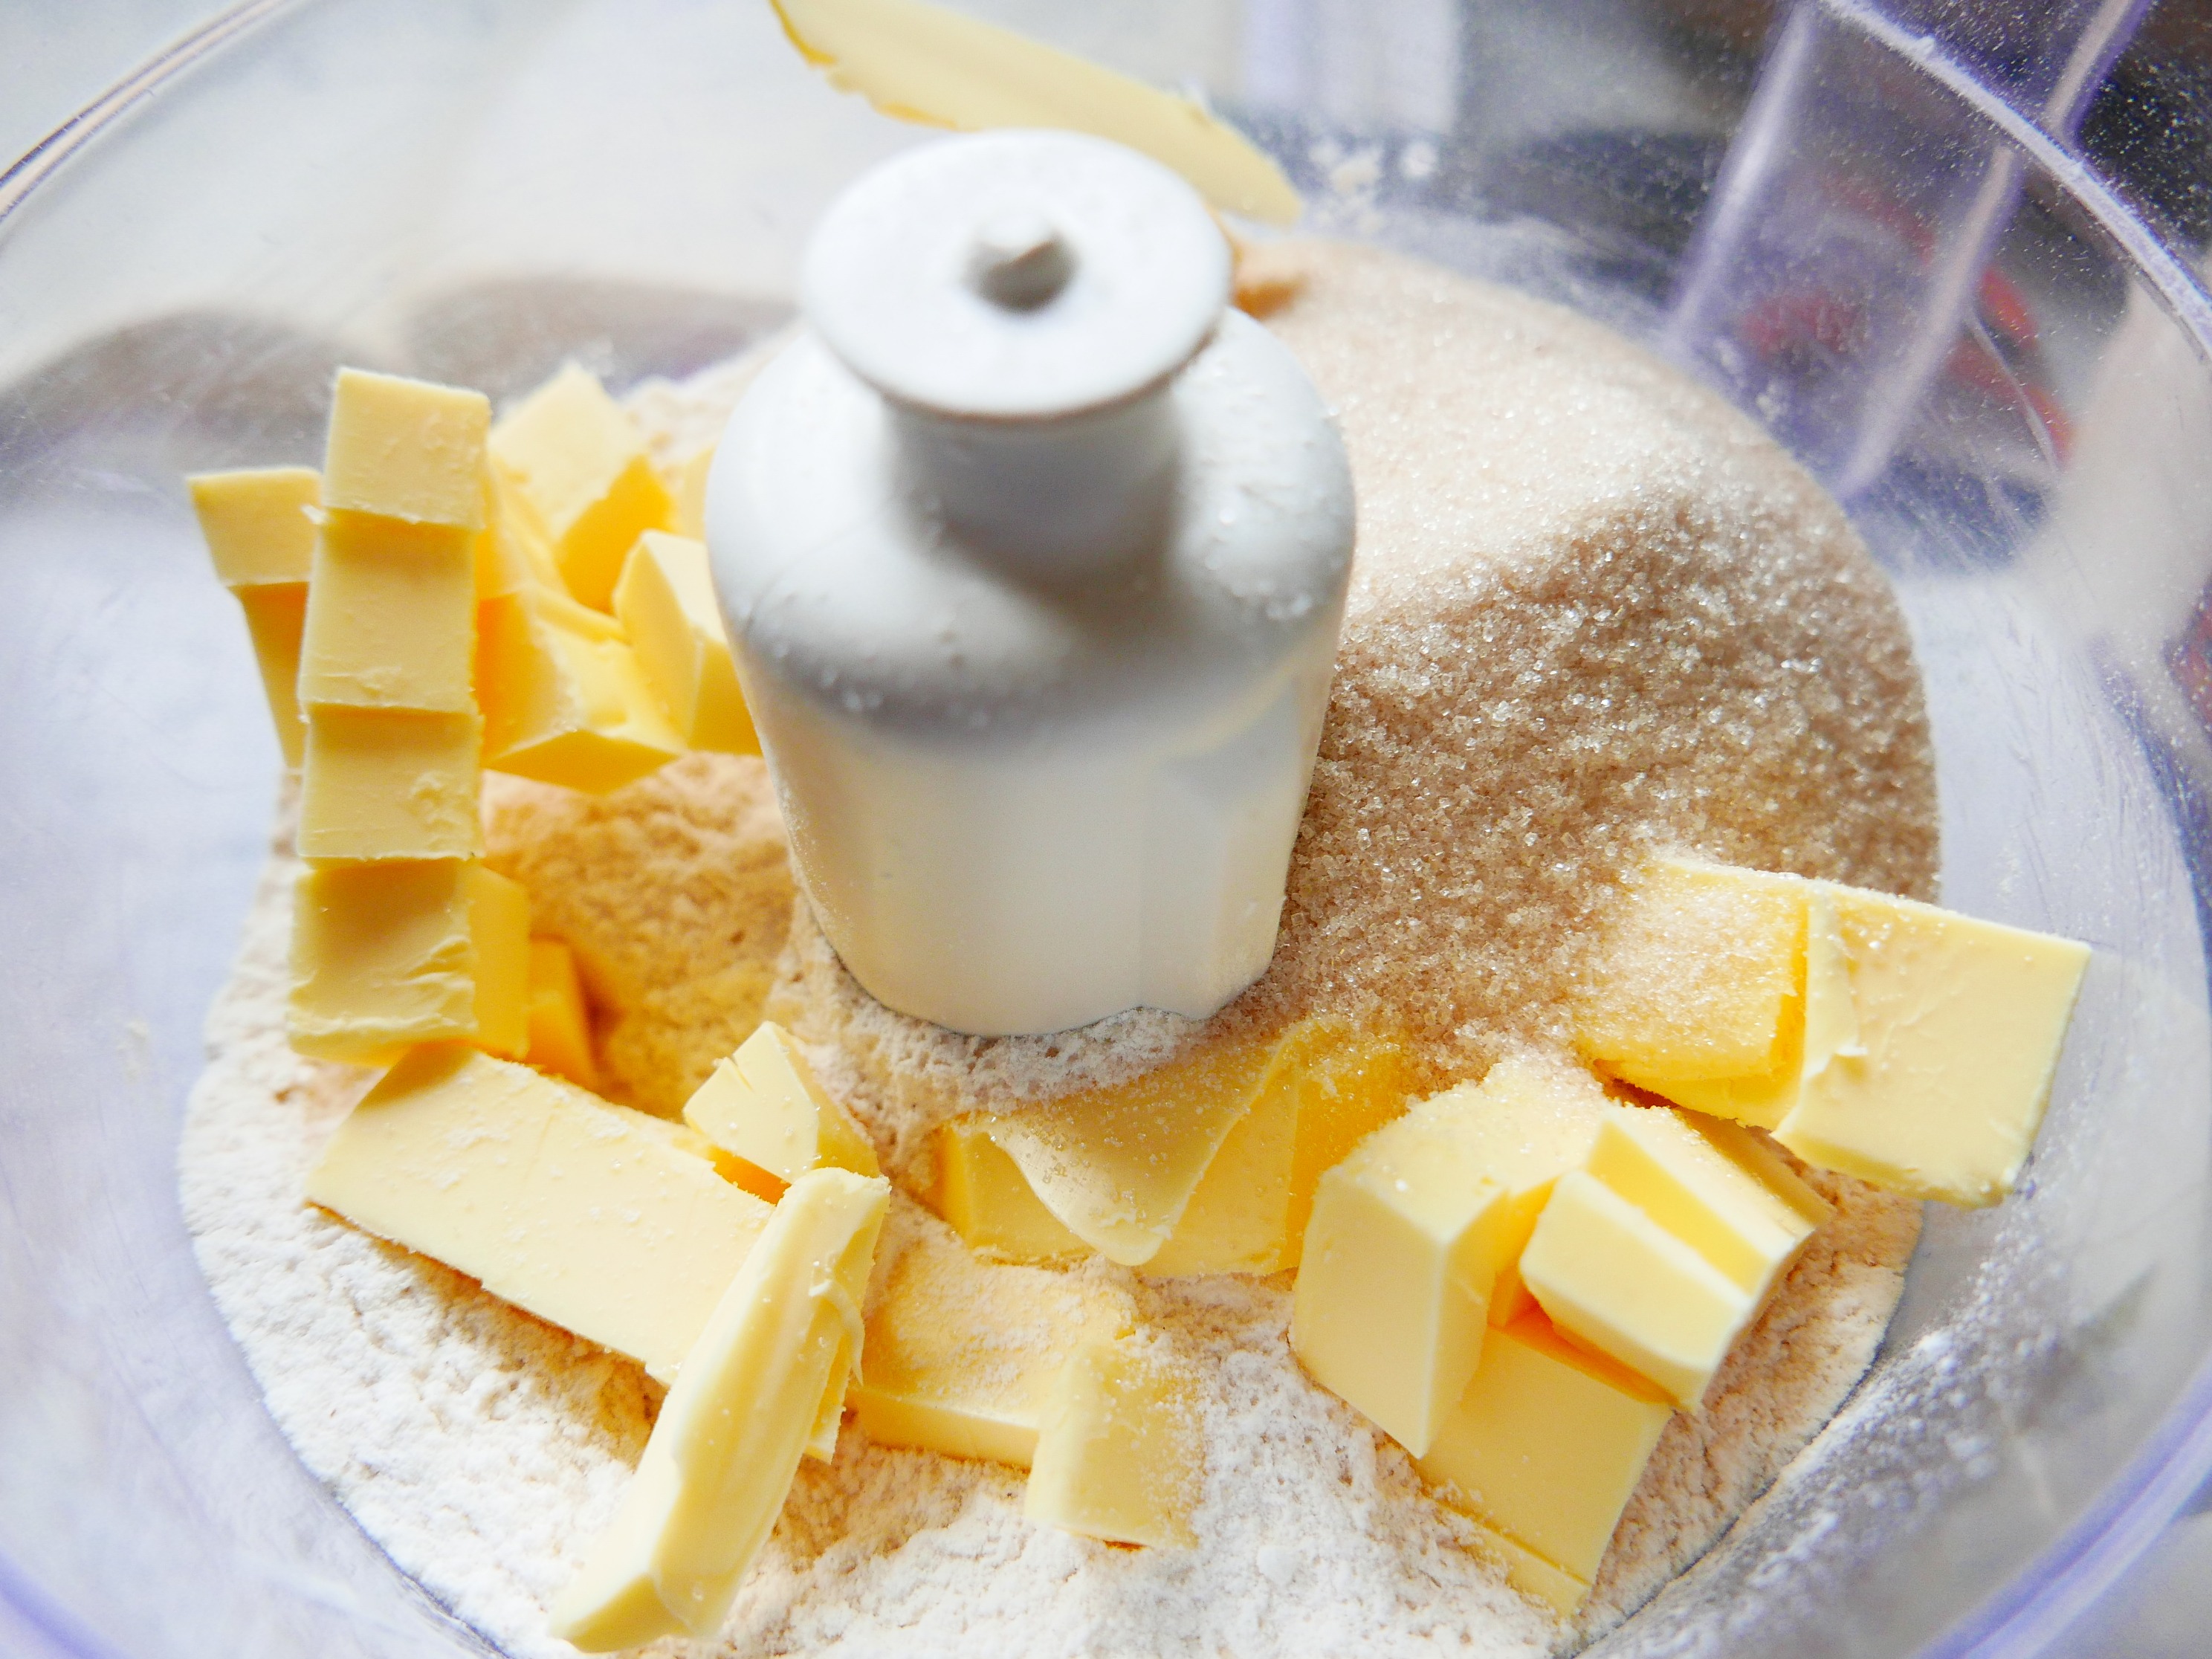
- 8oz (225g) plain flour
- 4oz (125g) unsalted butter
- 1/2 an ounce (15g) of white shortening – I use White Flora or Trex – you’ll find them in the butter/spread section.
- 1oz (25g) golden caster sugar
- 4-6 tablespoons (60-90mls) of cold milk
- Pinch of salt
- For the egg-wash: 1 small egg, splash of milk
METHOD:
If you’re using the food processor:
- Put the flour, cubed butter, shortening and salt into the bowl of the processor, and blitz in blasts of 20 seconds or so until the butter has been incorporated into the mix, and the whole thing looks like breadcrumbs. Don’t over process it!
- Pour into the bowl, and mix in the sugar.
If you’re making this by hand:
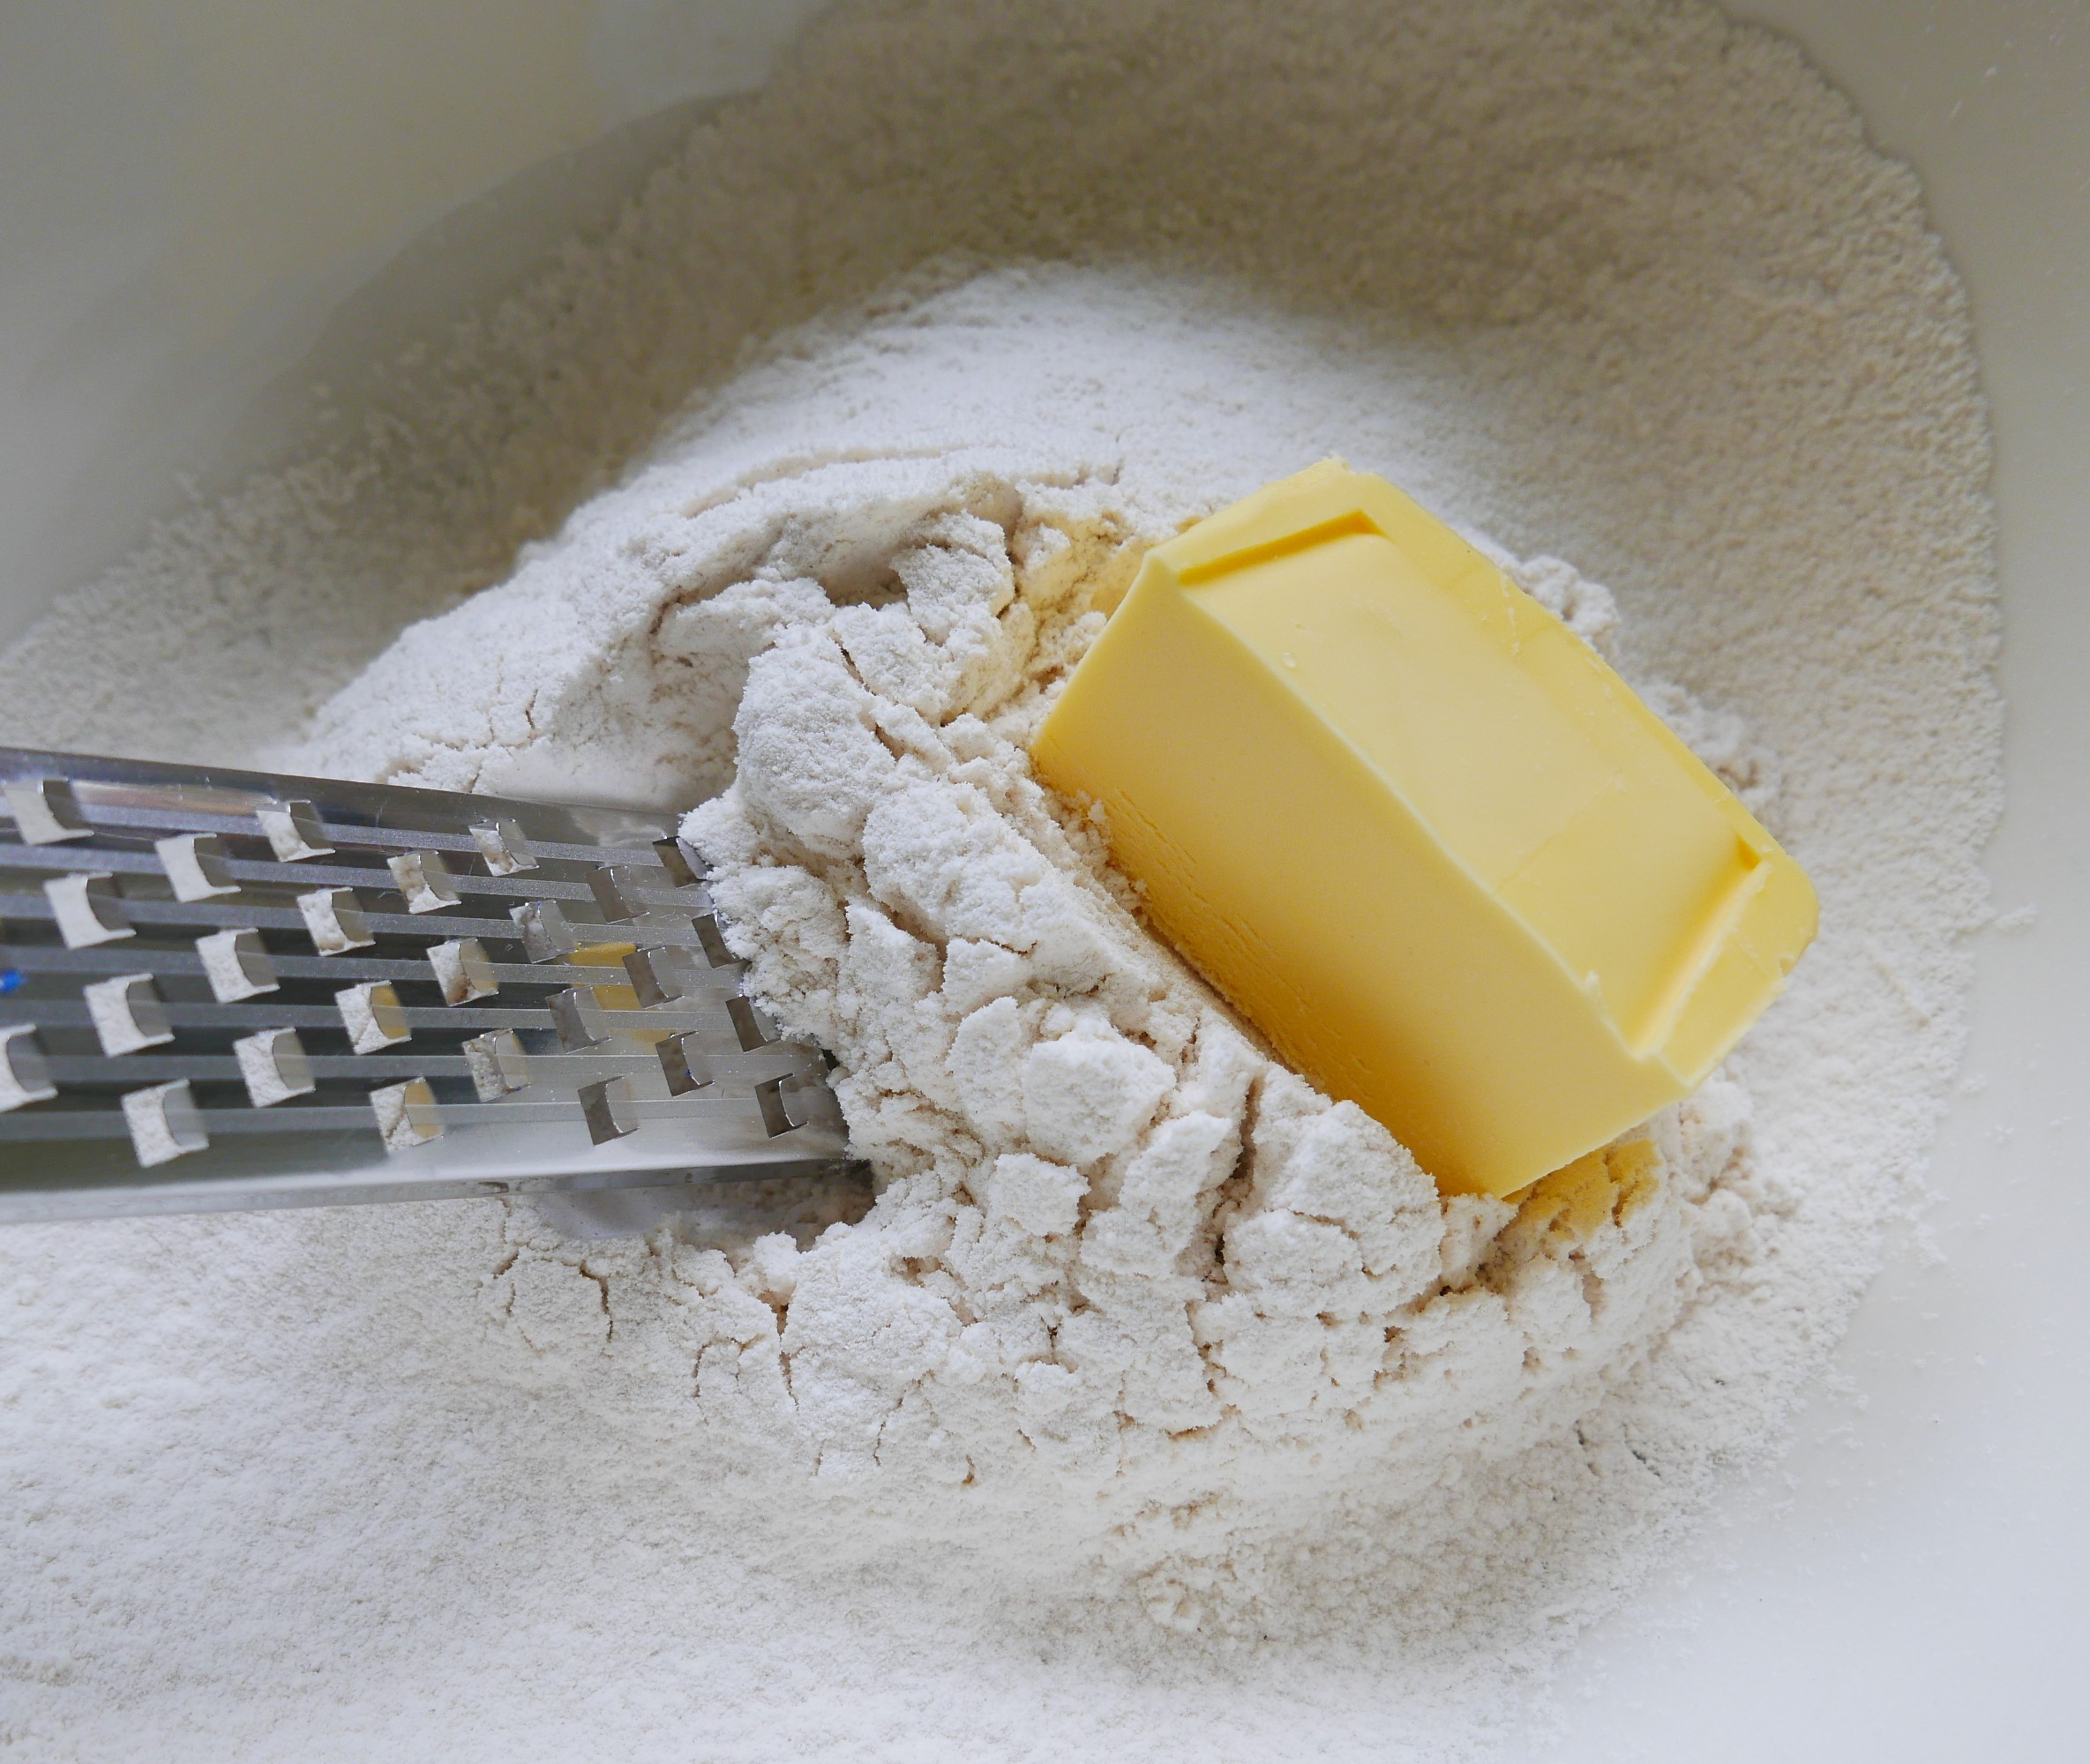
- Put the flour, salt, and shortening into a large bowl, the grate the butter in, dipping it into the flour as you go.
-

Ready to grate in the butter..
- Use a ‘crumbling’ action, whereby you rub the butter with the flour using just the tips of your fingers until the butter has been broken up, and the mix looks like breadcrumbs.
- Add the sugar, and mix it through evenly.
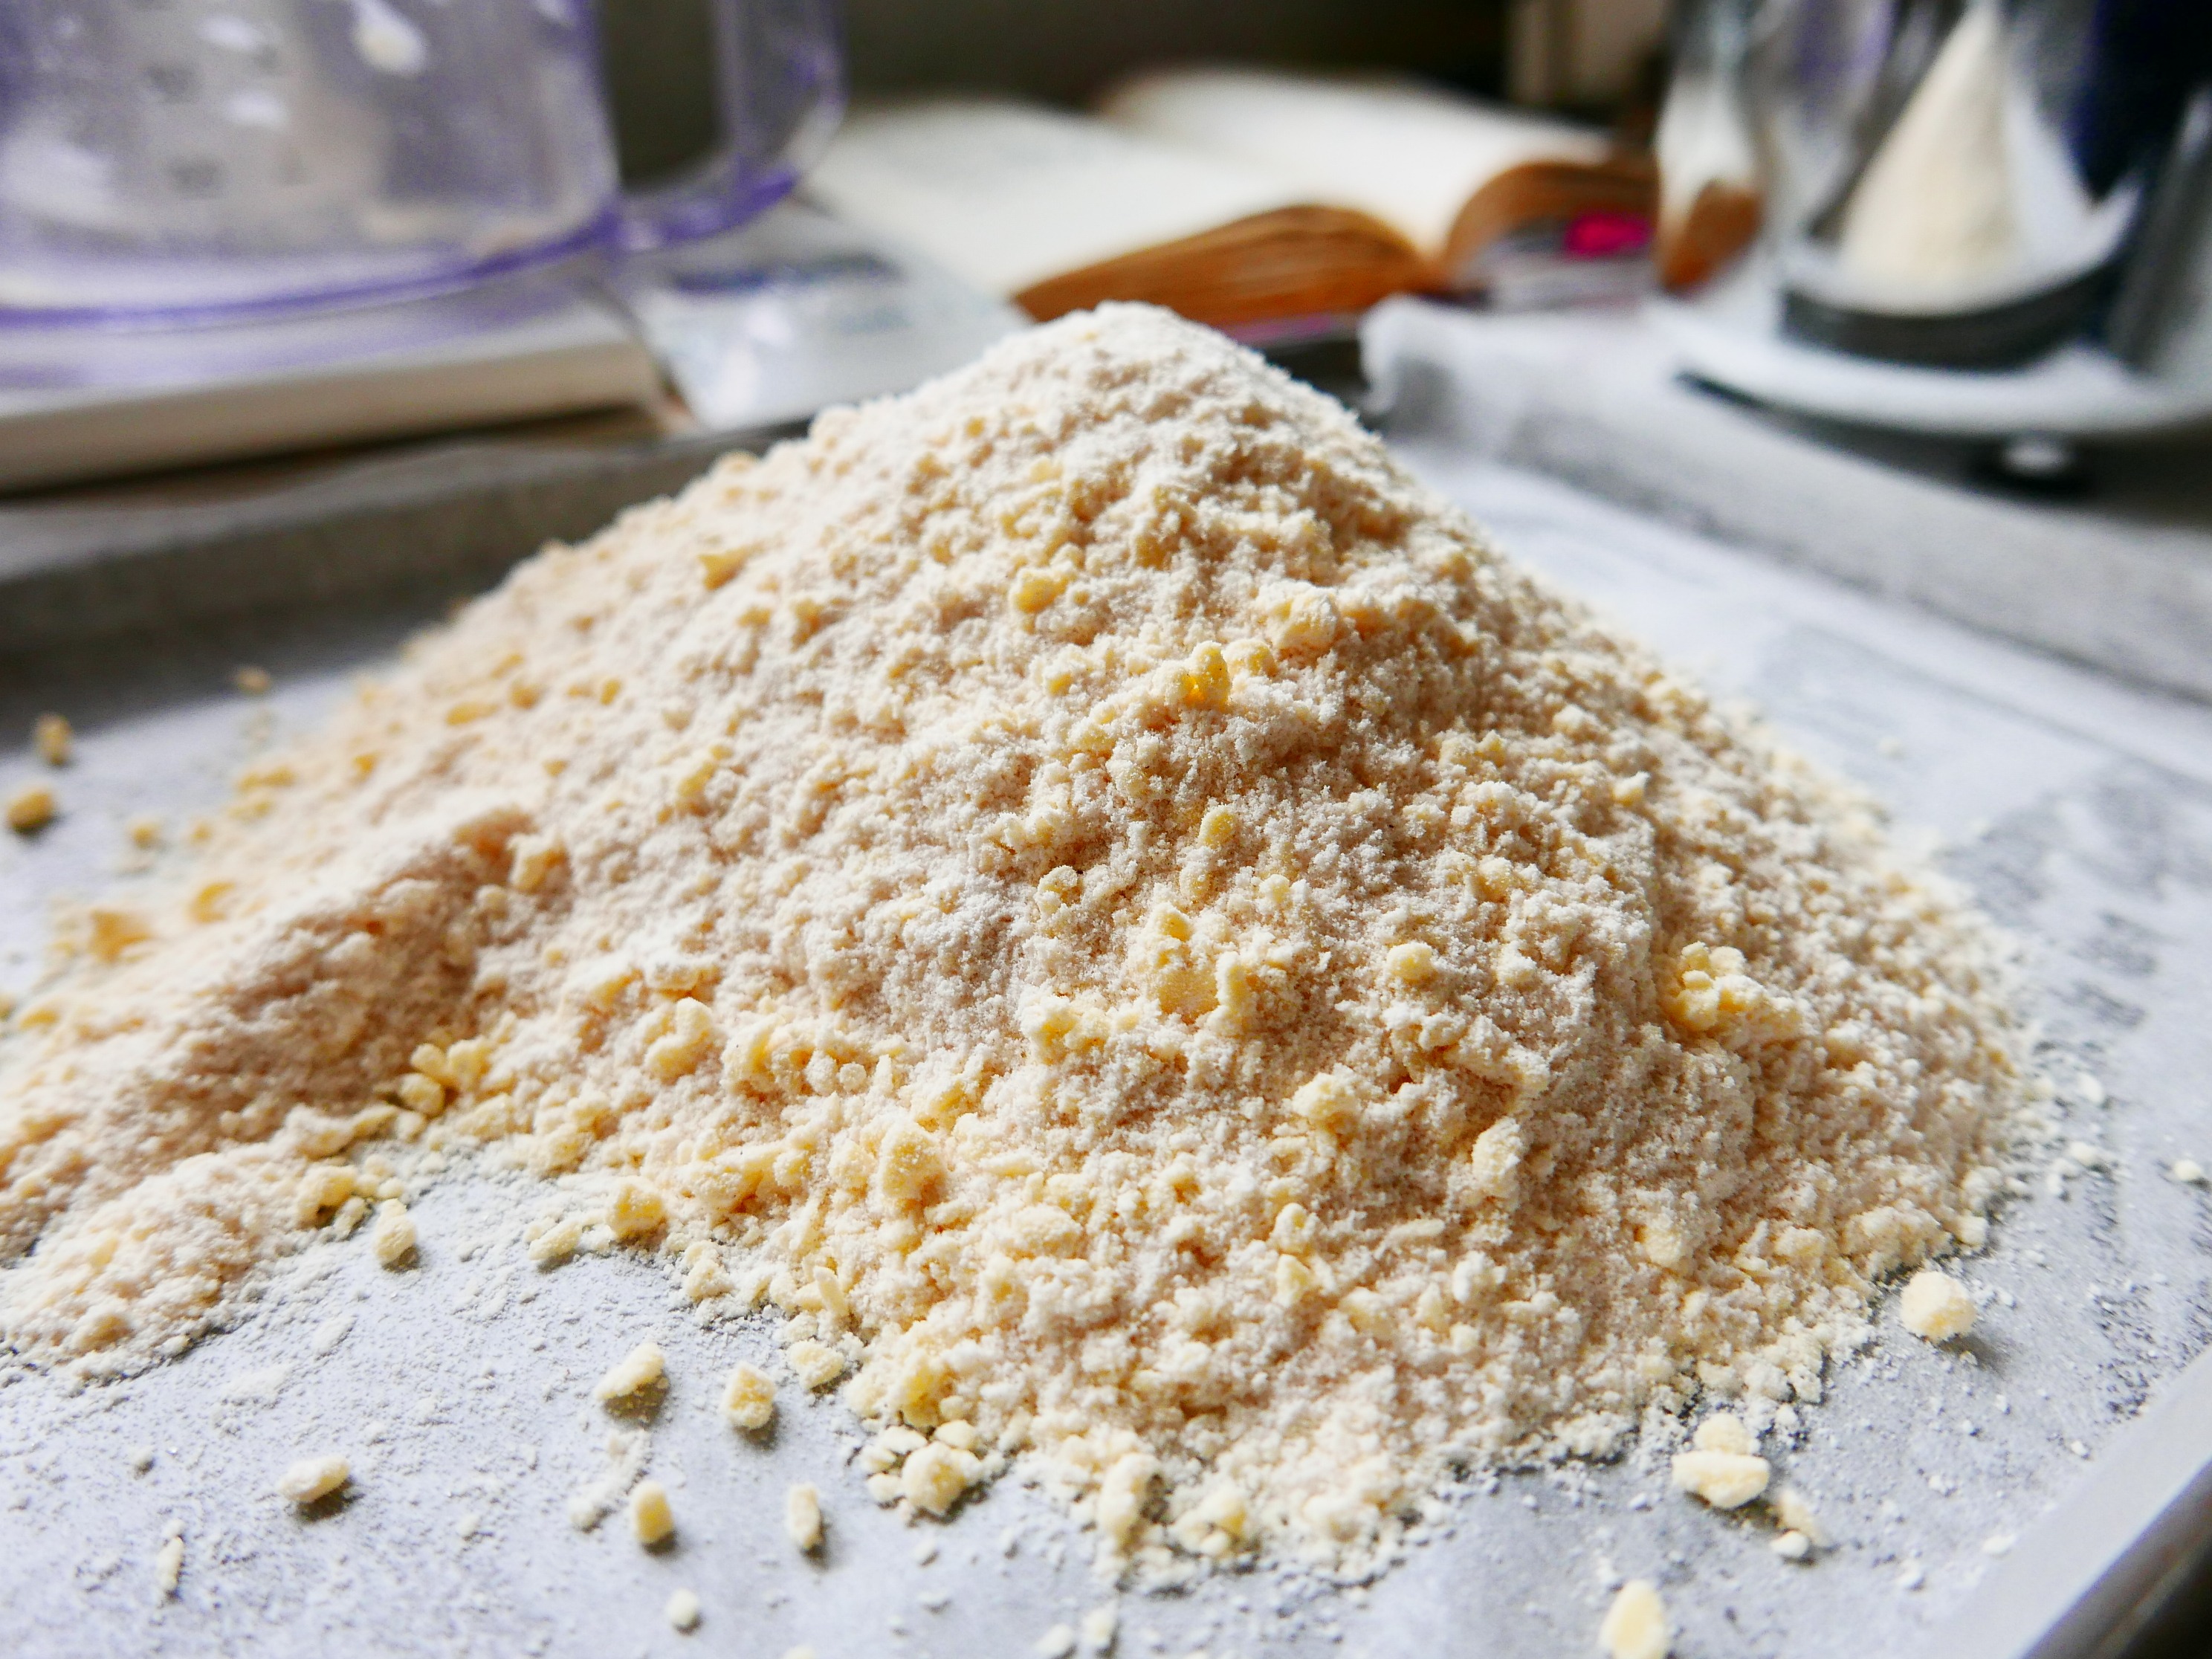
This is what your pastry should look like when you’ve rubbed in the butter etc.
To put it all together:
- Measure the cold milk into a jug, and add about half of it to the mixture.
- Blend it in with the knife.
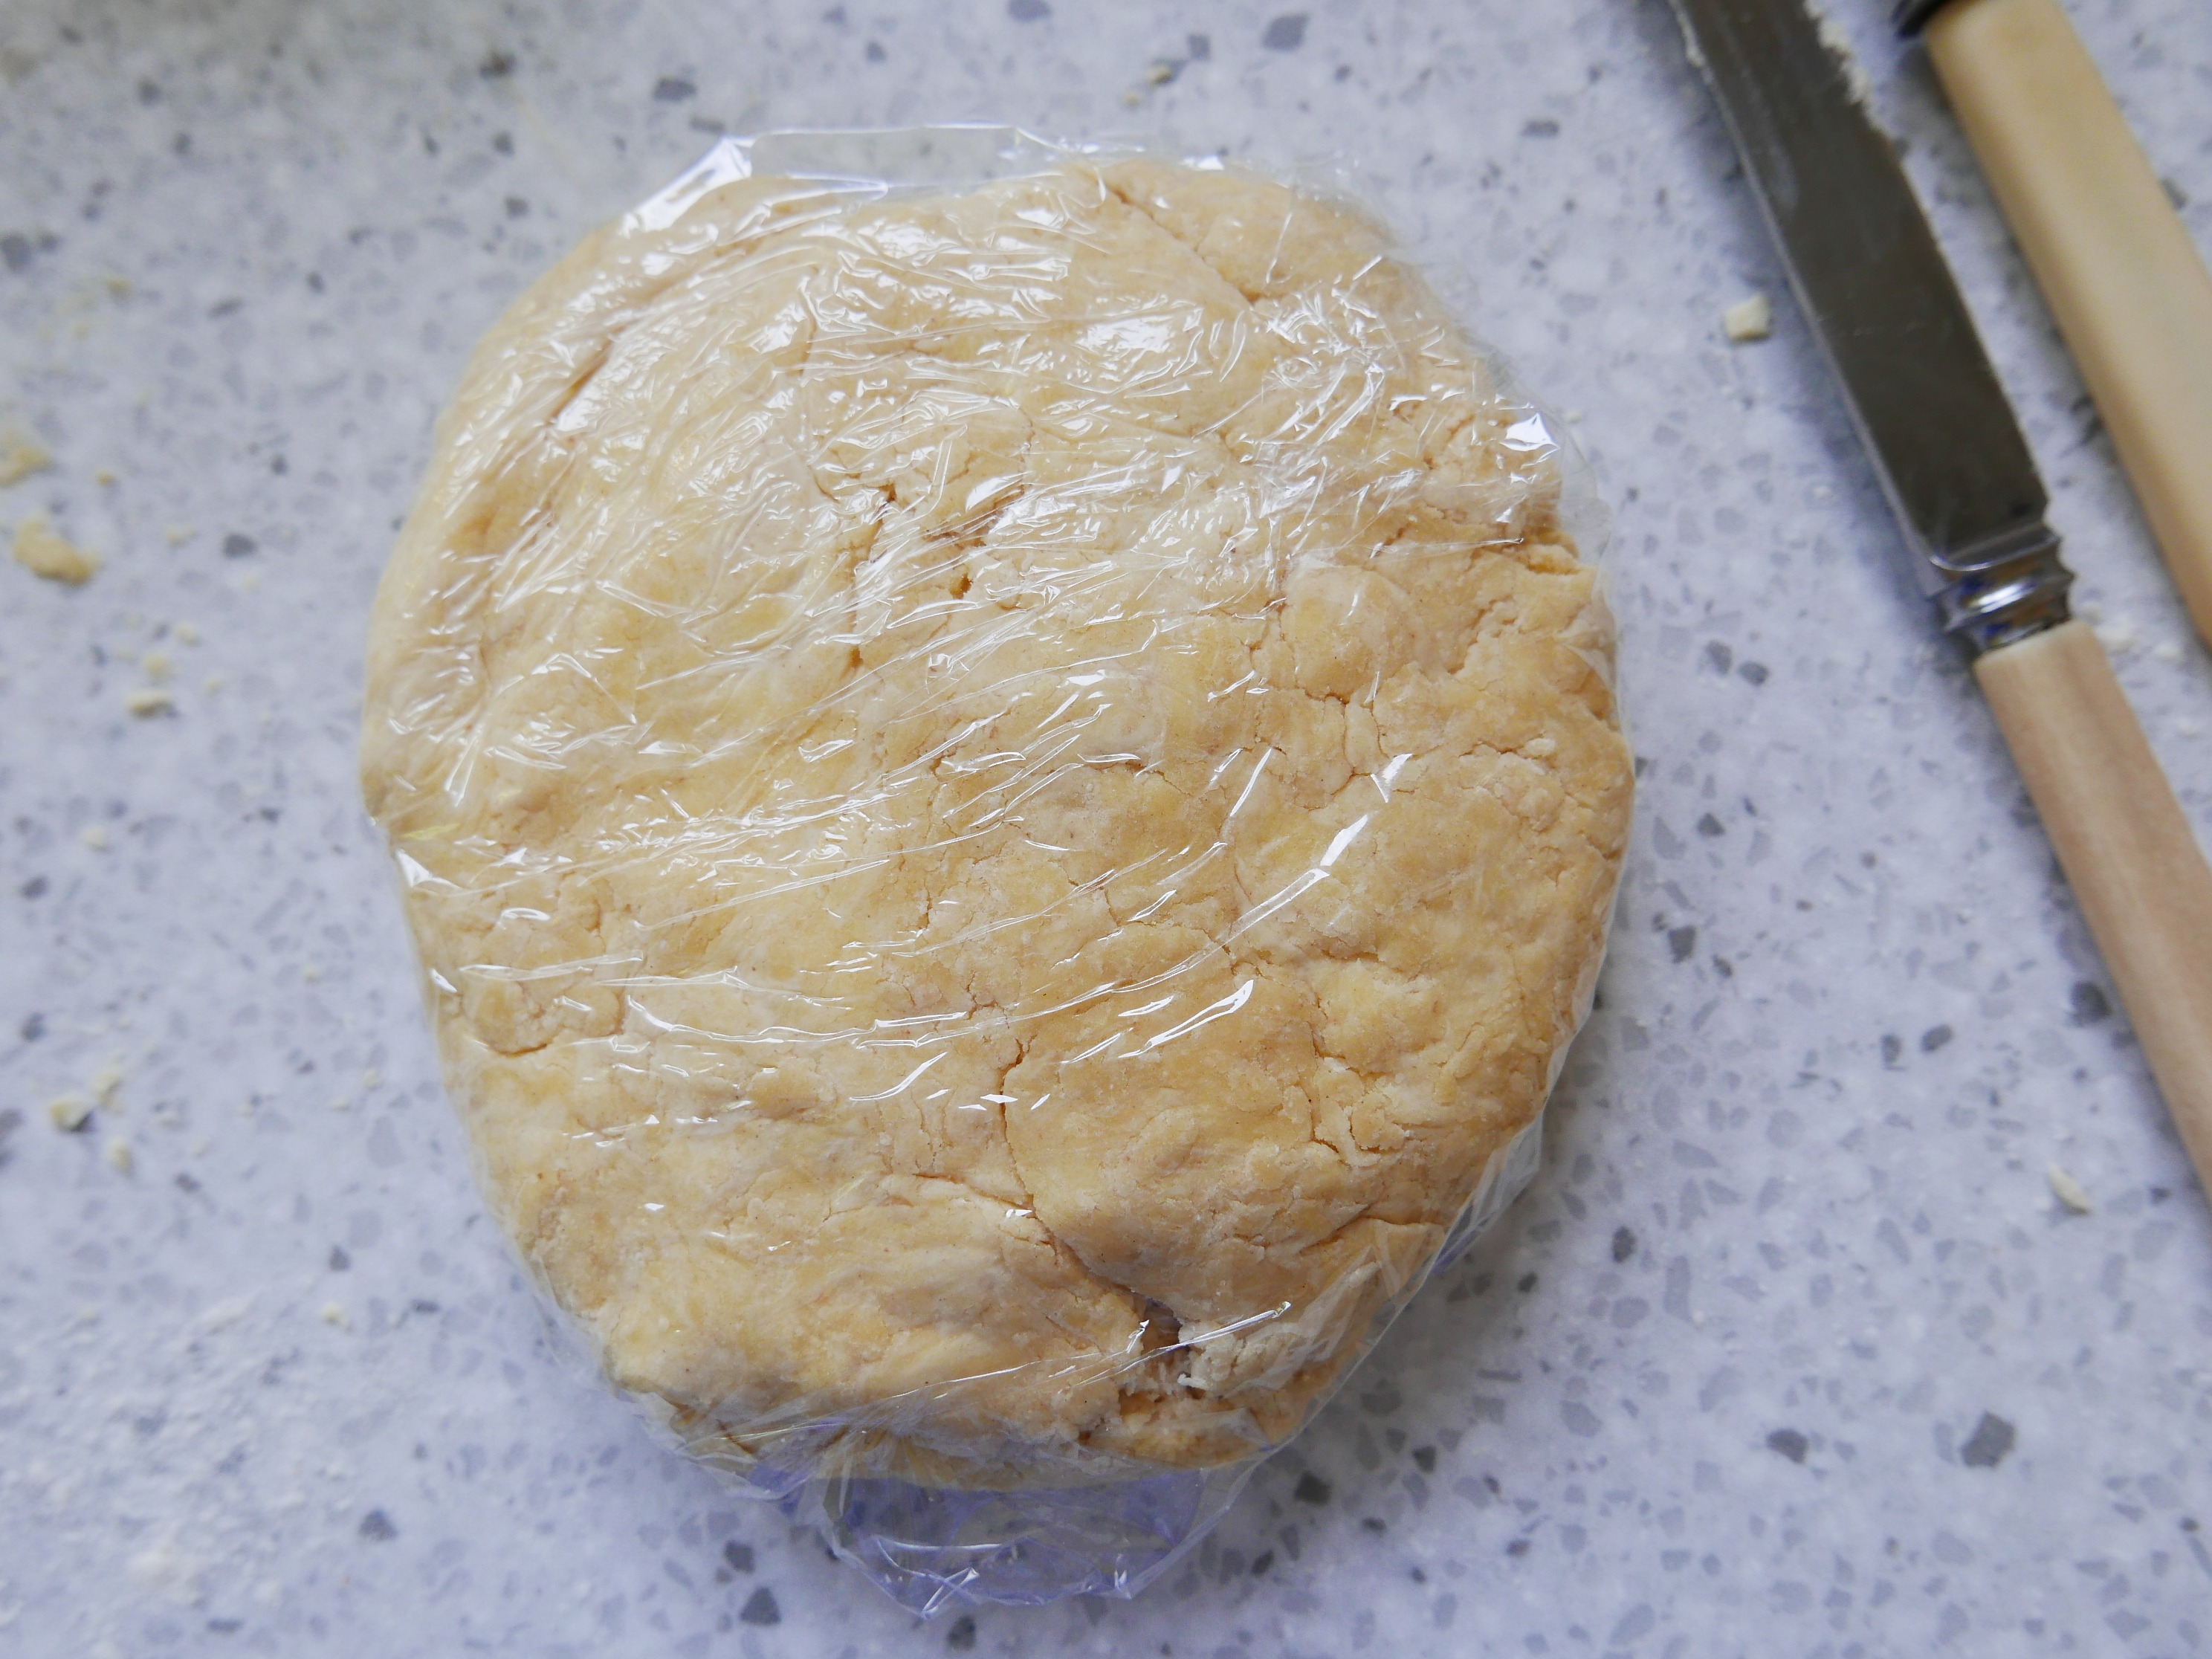
- Add more milk as required, a little at a time, until the mixture starts to come together, then you can go in with your hands, and bring it all together into a ball.
- Flatten it out a bit, then wrap it in a piece of cling-film, and pop it into the fridge for 30 minutes minimum, while you get the filling ready.
- Make your egg wash – whip the whole egg and a splash of milk together in a cup or mug.
Rolling out:
- Sprinkle some plain flour onto a cool surface – give yourself loads of room.
- Have your pie dish ready – on a baking tray if there’s a runny filling.
- Have the oven heated to 180 fan
- Have the flat-bladed knife to hand.
- Remove the pastry from its wrapper and put into the middle of the floured area.
- Gently pat it and mould it until it’s a flat, circular shape – I actually do this before it goes into the fridge to chill..
- If you’re making a pie with a crust, cut the pastry into two pieces, with the piece for the lid being slightly bigger than the base.
- Roll out the base first:
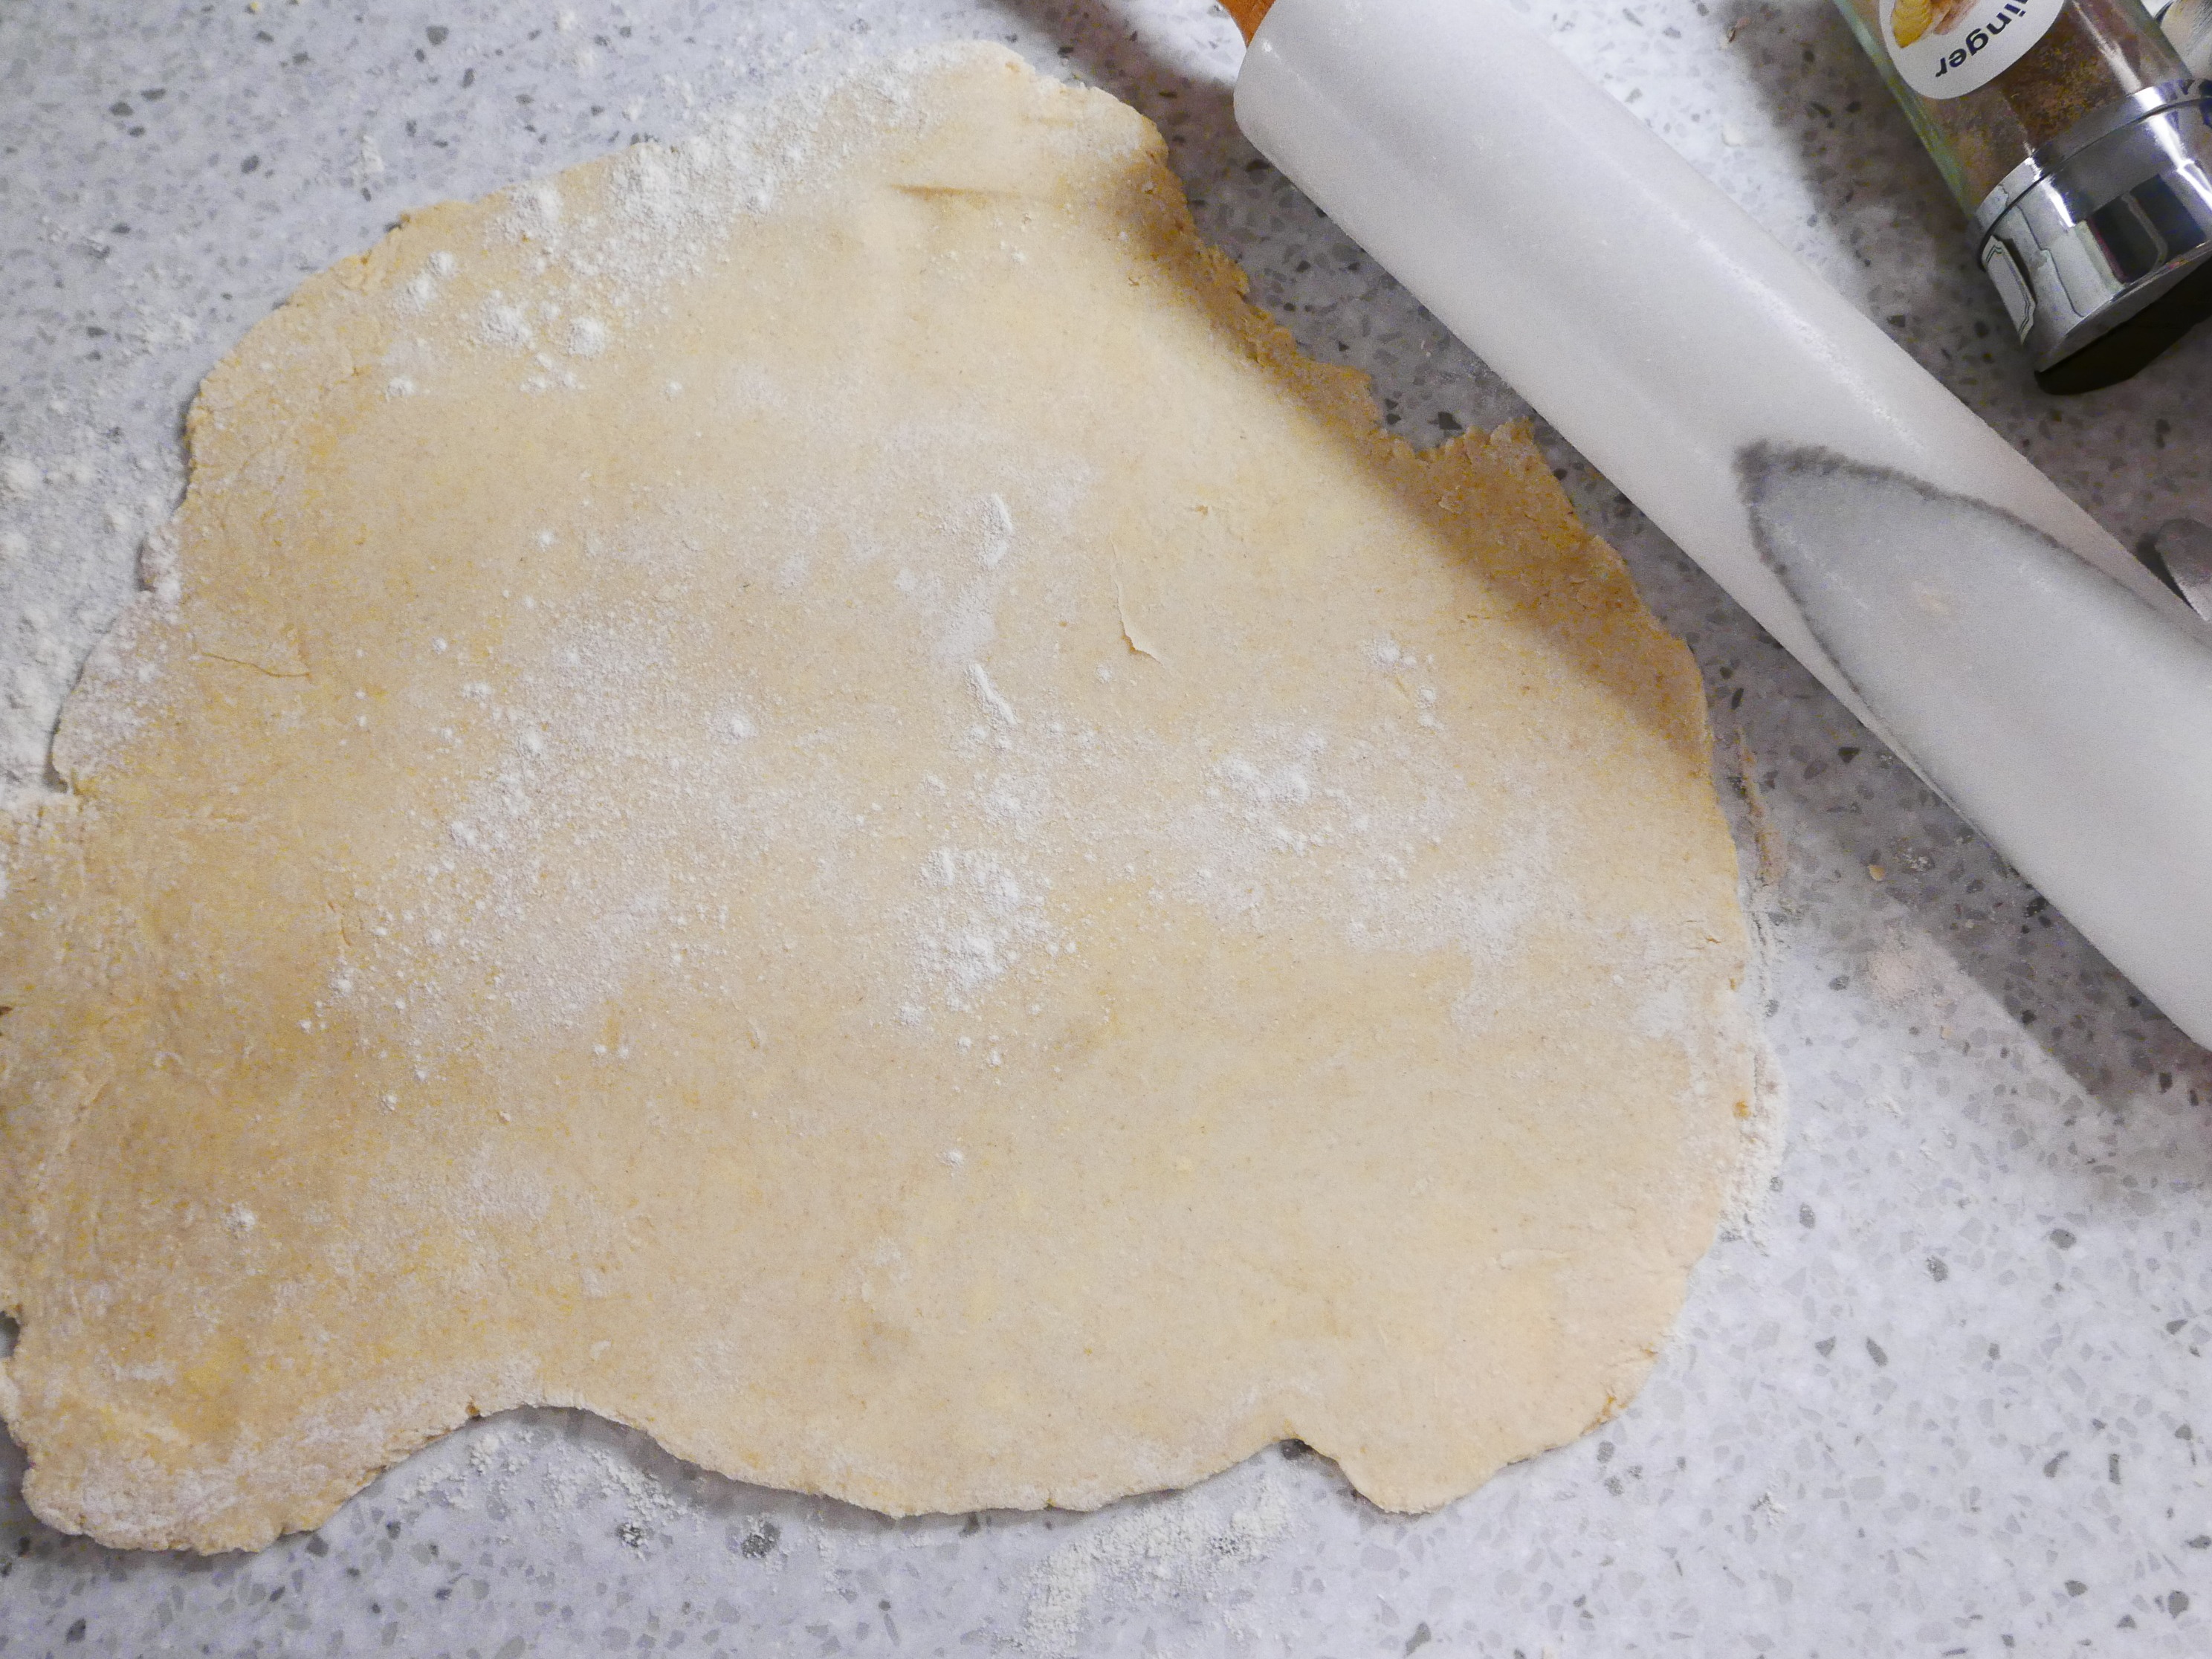
- Roll the pastry 2-3 times up and down, then gently lift the pastry, give it a quarter turn, and turn it upside down, making sure that there is some flour on the board, and also a little on the side that’s going to be rolled this time. The biggest cause of trouble with pastry is if it sticks to the surface – Try to always make sure that there’s enough, but not an excess, of flour both under and on top of the piece being rolled.
- Try not to add more flour yet, just move whatever’s there underneath the piece you’re rolling.
- Continue rolling and turning until you think it’s the right size for your pie dish.
- Lift it gently but firmly and lay it down over the dish.
- Push it around and into the base of the dish, then cut off the excess with the knife.
- If the filling is cold, then fill the pie, and then roll the lid as before, re-flouring the work top before you start again.
- If you’re using a warm filling, then roll the pastry for the lid before filling the pie.
- Use some cold water or egg wash to paint the surface where the base will meet the top of the pie – this will help them stick together and prevent spilling while cooking.
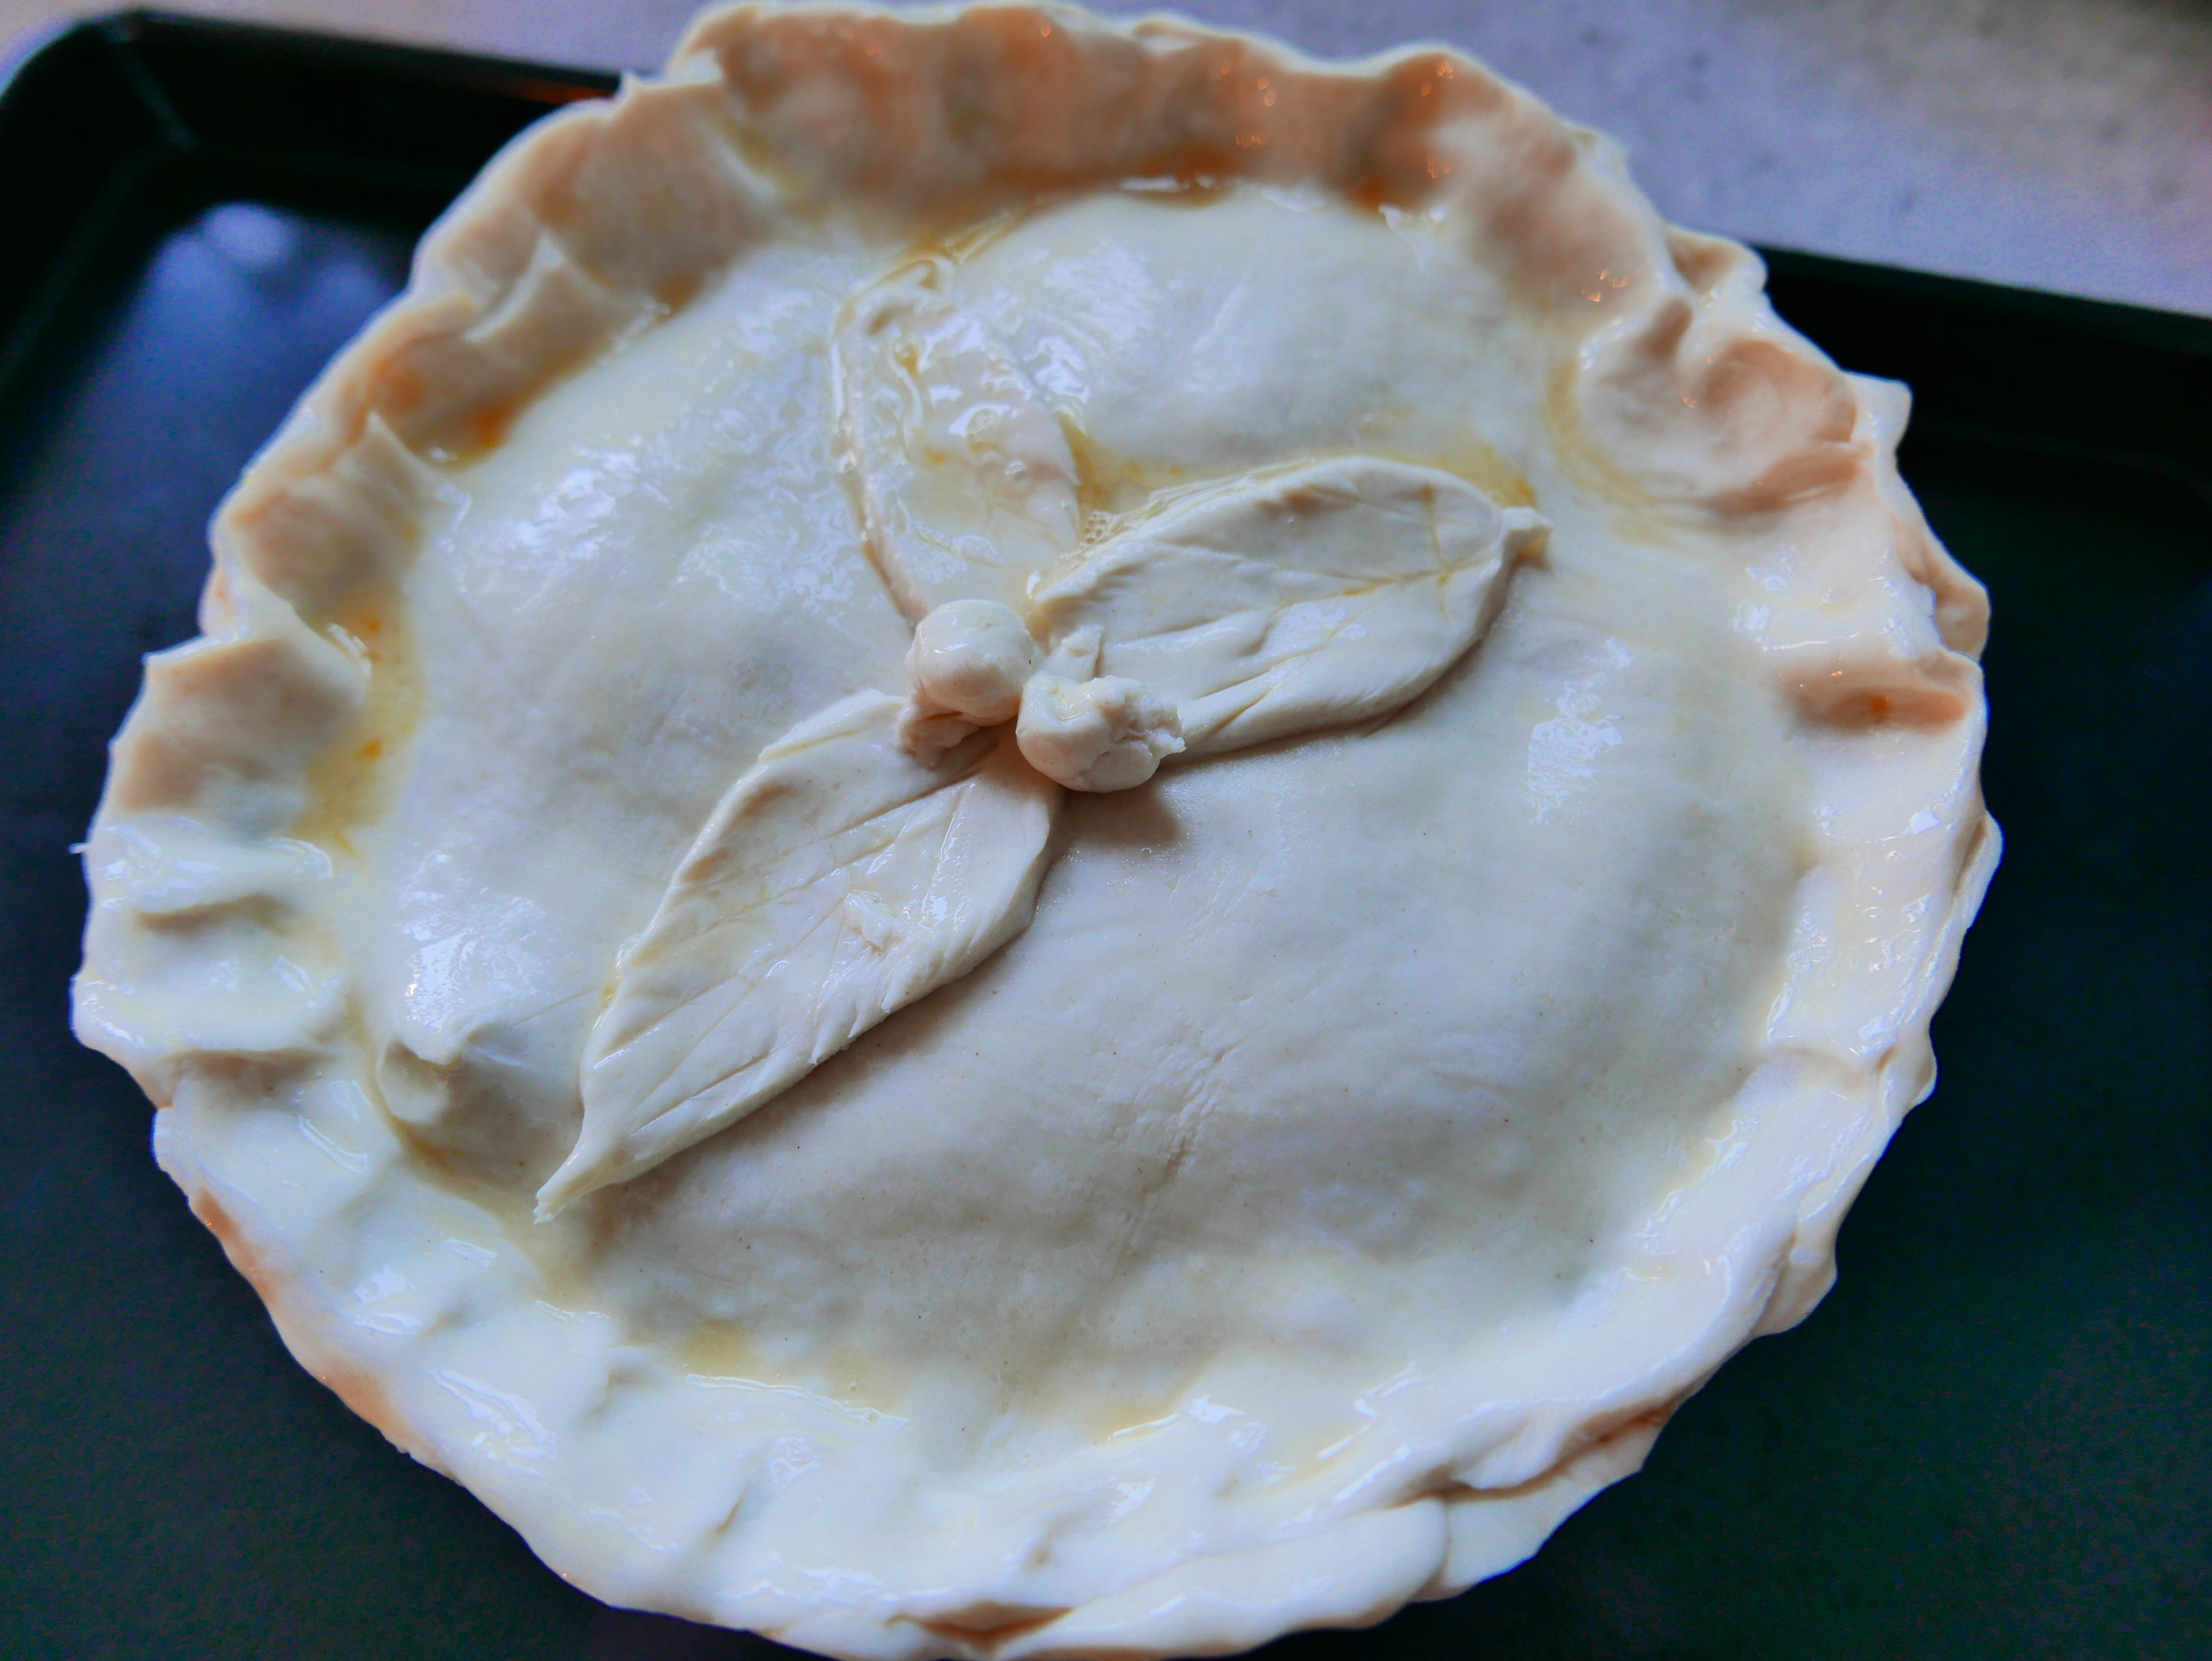
- Crimp the edges, using your fingers or the tines of a fork.
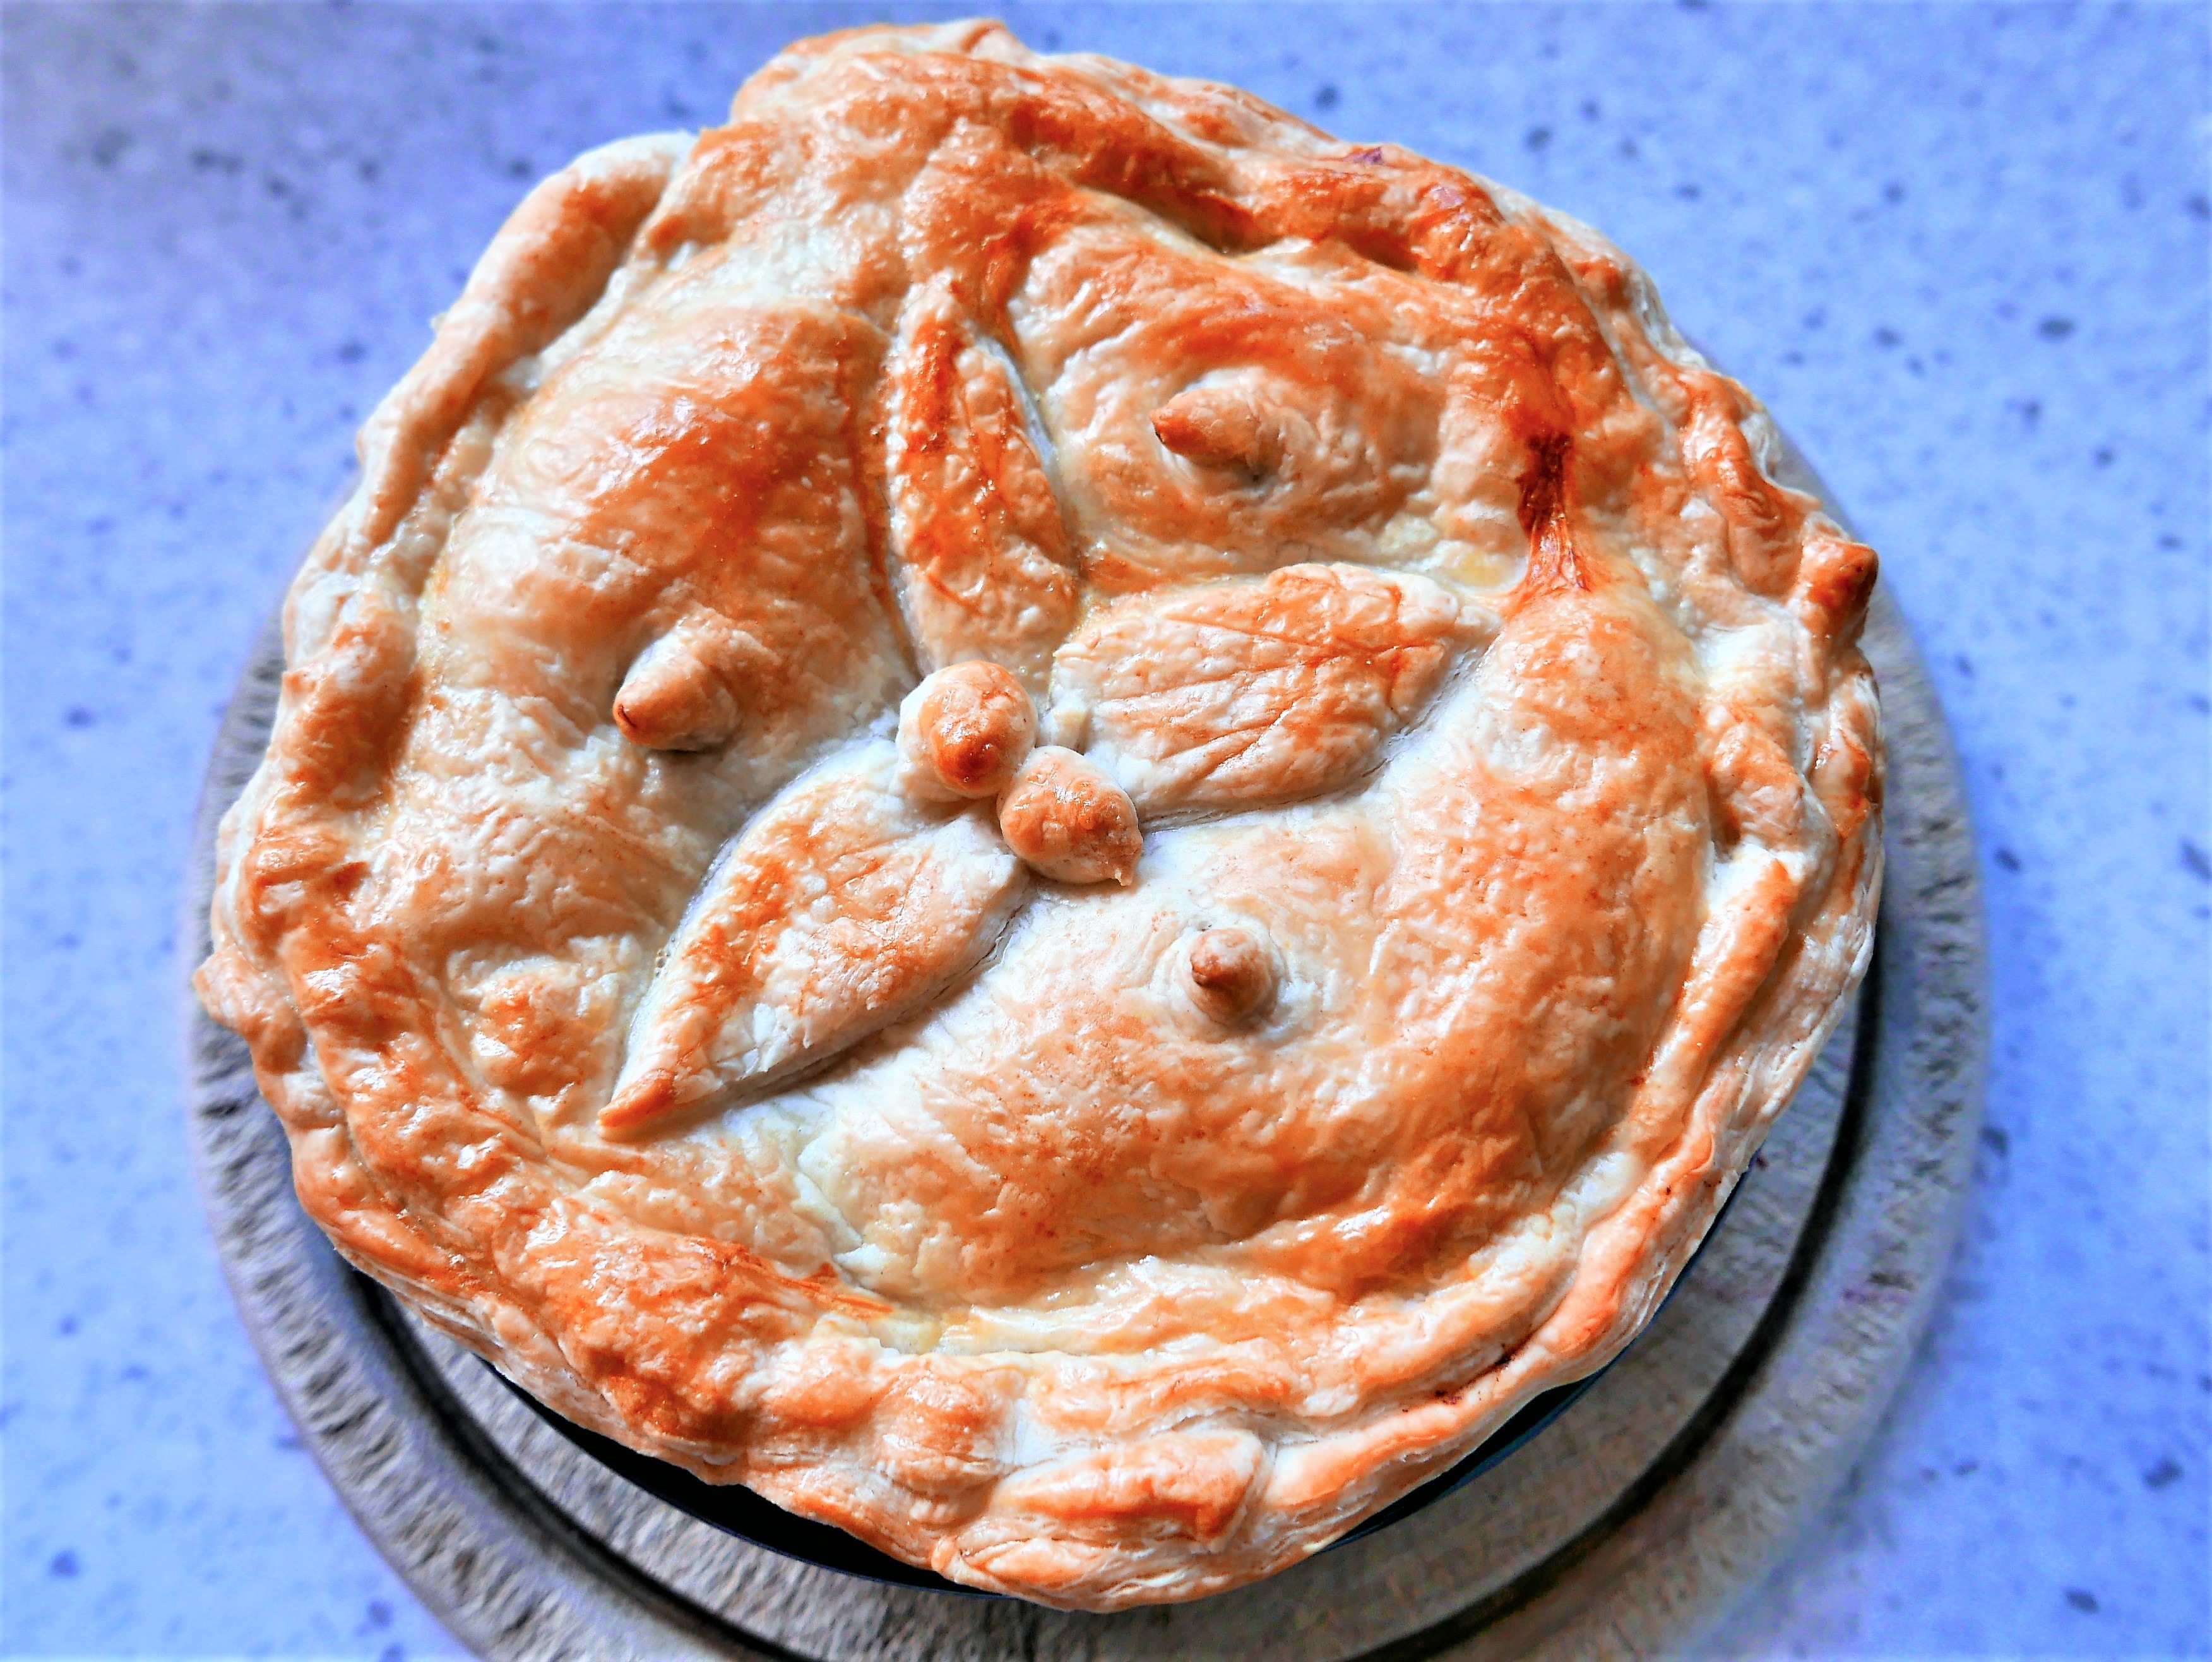
- If you fancy it, make some decorations out of the cuttings, fix them on with egg wash, then give the whole thing a good coating with egg wash (it makes it look very pretty) and pop it into the hot oven.
#need to get out more..
- Give it 10 minutes at the high heat, then reduce it to 160 fan for the remainder of the cooking time.
- It depends on your filling how long it will take to cook, but regardless, it usually takes 30-40 minutes – until it’s a lovely golden colour.
NOTES:
- Egg wash: Very simply: a small egg beaten gently with a tablespoon or so of cold milk. Paint egg wash on all pastry dishes before cooking – it gives a lovely shine. It’s also useful as a ‘glue’ to seal two pieces of pastry together.
- Don’t worry if the pastry breaks off at an inconvenient spot – just patch it up; nobody’s going to worry about that.
- The more often you make this recipe, the better you’ll become – honestly! I couldn’t make pastry for years and now, with this recipe, I’m a pretty dab hand it – if I do say so myself

I started writing down recipes in an old copybook when I was about 16. With 6 children at home, my Mother was always glad of a hand in the kitchen, and really allowed us to experiment - as long as we washed up afterwards, and left the kitchen immaculate! Having a tidy kitchen has followed me through my life, as has the habit of writing down my favourite recipes; except that these days I write them for my website, and add photographs when I can. The website really started when it occurred to me that my daughter might like to have these recipes when I've forgotten them. In my early days of cooking for family and friends, I used to phone my Mum all the time to ask her for the recipe for some of our favourite family dinners. She rarely had a recipe to hand - I think, like me, she made a lot of it up as she went along.. So welcome to Eating for Ireland - these are the recipes that my friends and family having been eating these past 40 years.. yes, I truly am ancient! They are tried and tested, and have worked for me for all that time - I have updated them as new ingredients became available - I really hope you'll find something that you can make into a family favourite of your own. You don't have to tell anyone where you found these great new dishes that you're serving up - it can be our little secret, but I'd really love it if you could give me a sneaky 'follow' on Facebook and Instagram.. So off you go - have a good rummage around, you're bound to find something new! My sincere thanks to all of you who have found a recipe that you liked and dropped me a line to tell me - I really do love to hear from you! Happy Cooking! Becks xx