

My much-missed neighbour Corrine had a wonderful Victoria plum tree in her back garden which produced copious amounts of fruit. She had such a glut one year that we seemed to be eating plums at every meal, and the fruit bowls never emptied. I looked up all my books to find a recipe for a plum cake, and there were quite a few. I discarded all the ones with ground almonds (nut-allergic daughter) and made this my go-to recipe.
This cake is one of my Sunday afternoon regulars, and can be made winter or summer as there are always cartons of plums in the shops, and frankly, in the winter, they are much better cooked. I have also served this up as a desert at a dinner party, and was astounded at the enthusiastic response. In recent times, it’s proved popular in the staffroom at work too!
EQUIPMENT:
- 20cm, loose-bottomed, spring-release cake tin
- non-stick baking parchment
- electric beater
INGREDIENTS:
- 400g Victoria plums (that’s usually a carton from the supermarket)
- 175g butter
- 175g golden caster sugar
- 3 eggs
- 175g Self-Raising flour
- 2 capfuls of Vanilla extract or paste
- 1 heaped teaspoon of Cinnamon powder – optional
METHOD:
- Heat the oven to 160 degrees fan.
- Butter the tin and line the sides and base with baking parchment.
 Cut the plums in half and twist to separate them, remove the stones, and put them cut side up into the tin. Continue doing this until there is a densely packed layer covering the bottom of the tin. This is actually the most time consuming part of this recipe.

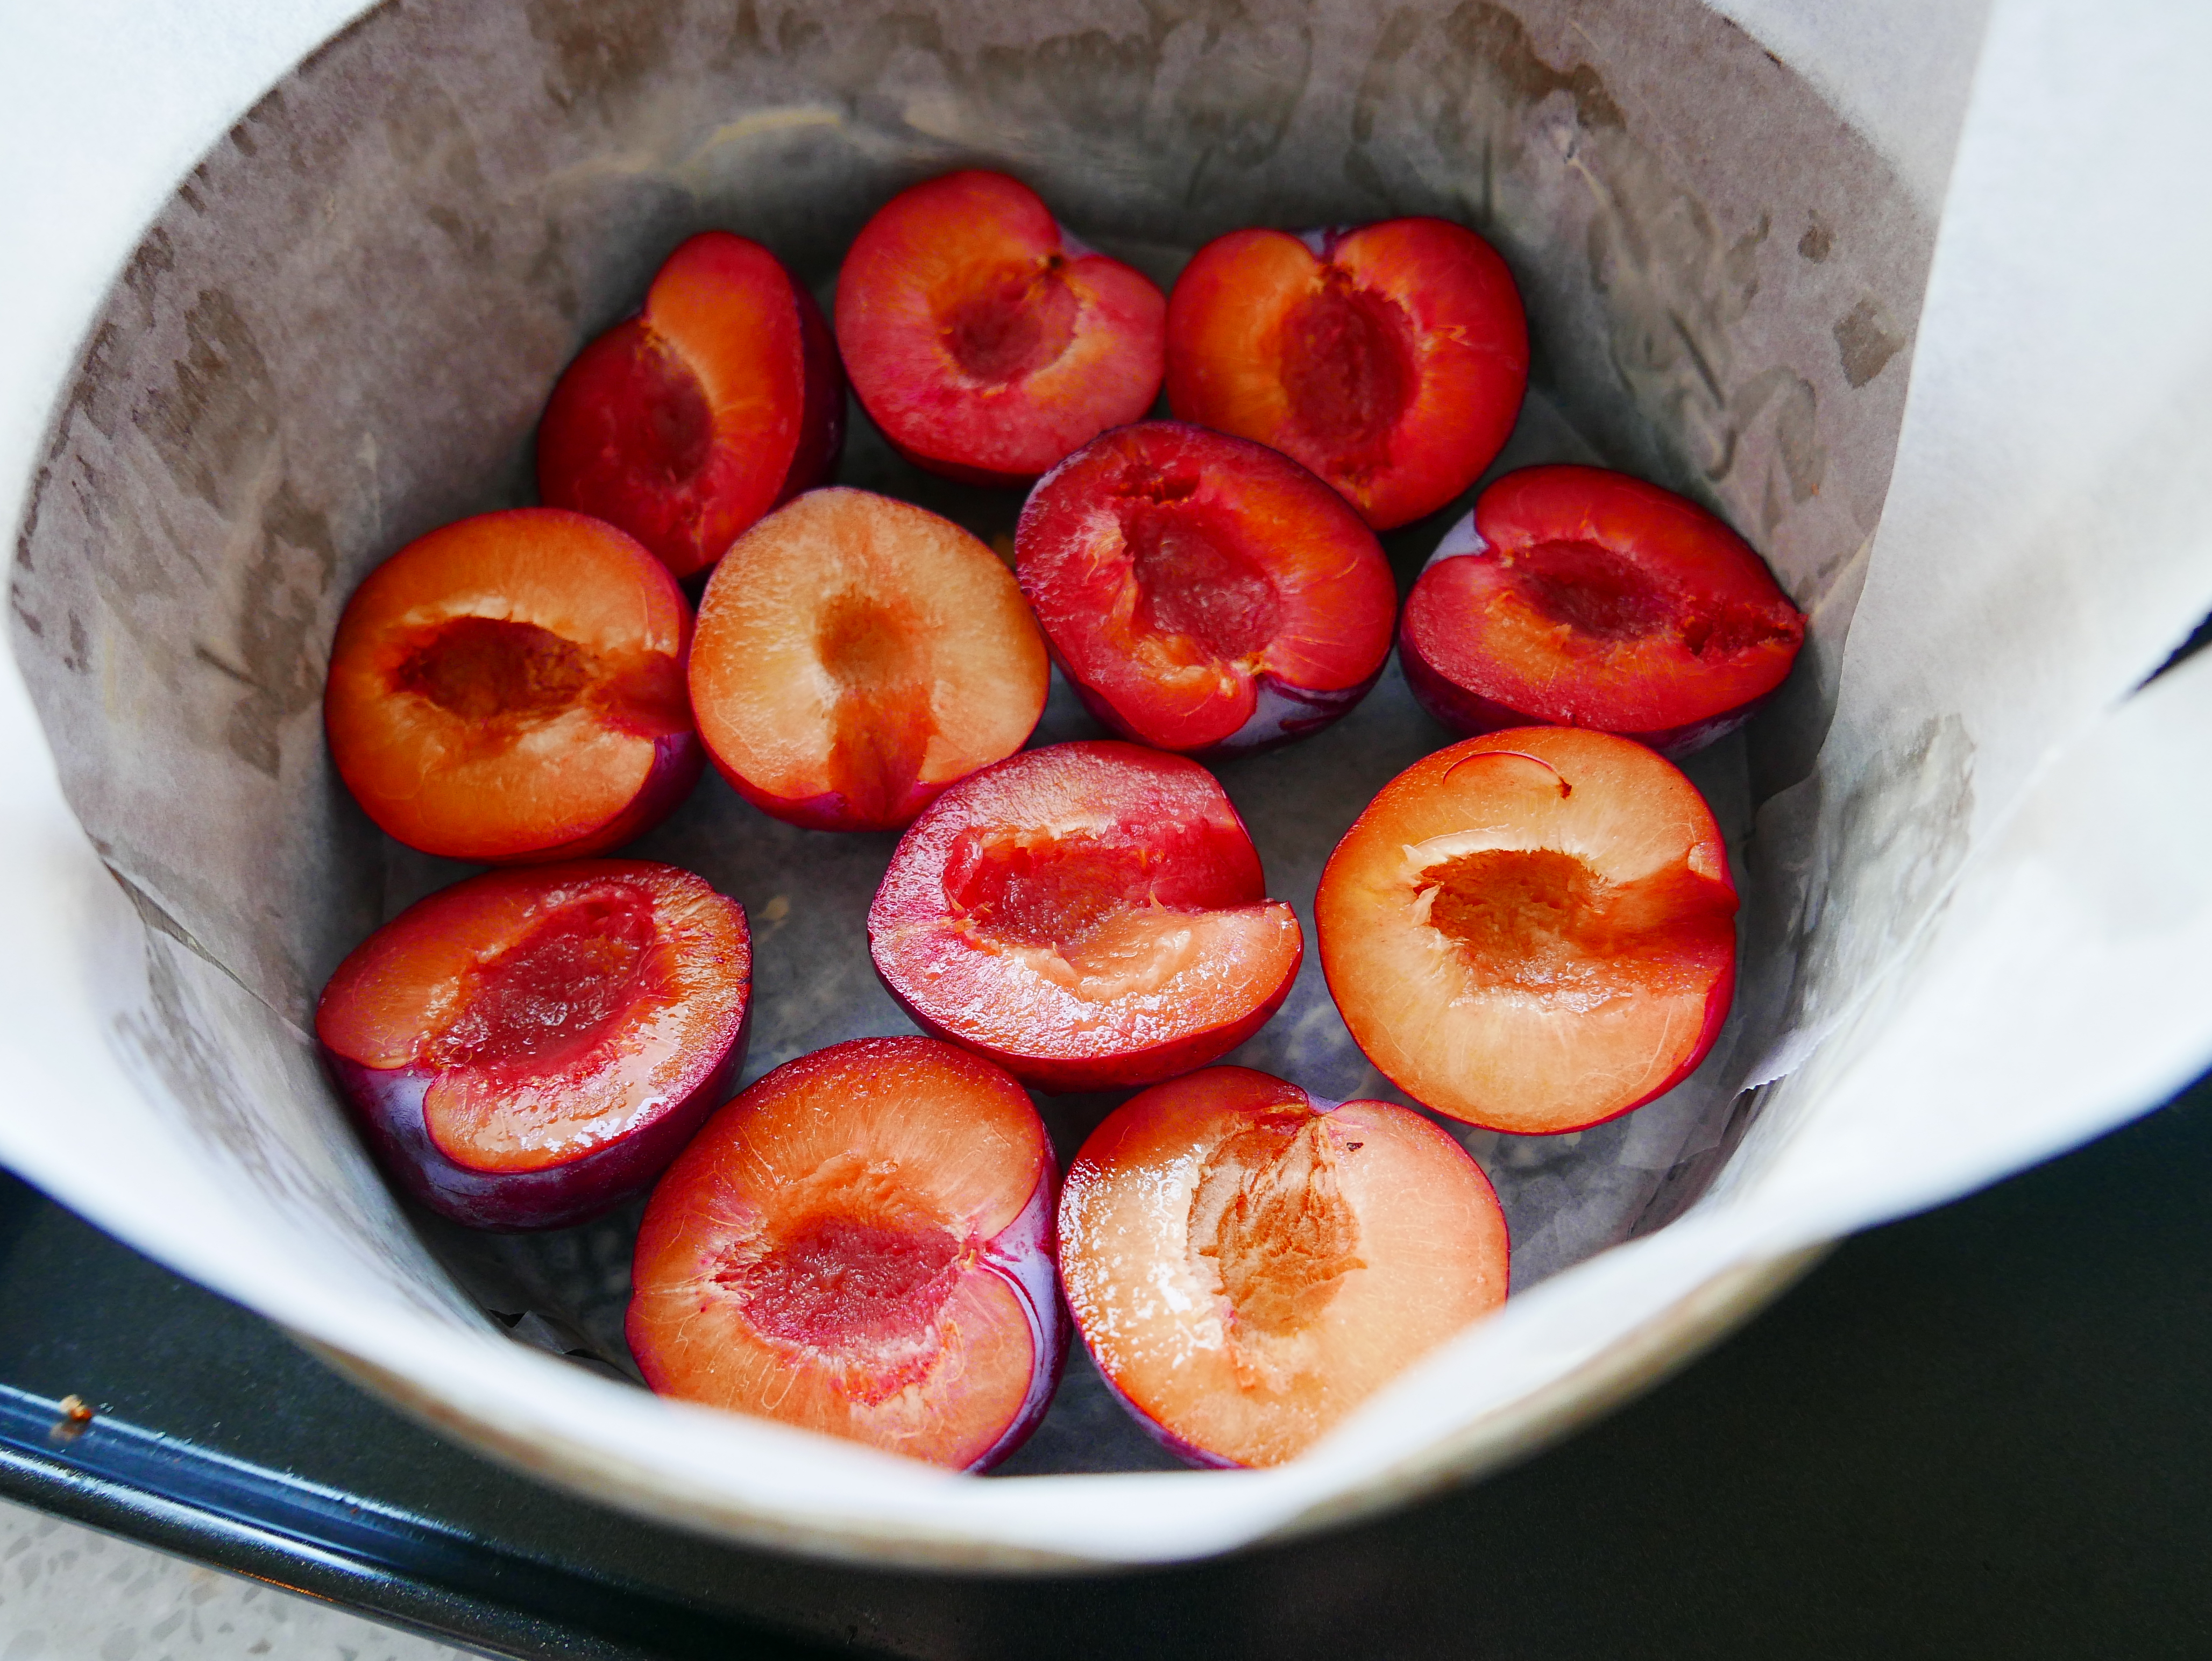
- Put the plums, cut side UP into the prepared tin.
NOTE: I used to cream the butter and sugar, add the eggs etc, but I grew impatient with this, so now I just put everything into the bowl and beat the living daylights out of it. Cool, eh? 
Honestly, it turns out exactly the same – would I lie to you? So here are my amended instructions –
- Weigh the flour, butter, sugar, vanilla paste and eggs into the bowl then beat, starting off slowly but quickly going to a high speed until everything is well mixed together. This takes all of about 3 minutes. Use a spatula to make sure that everything at the bottom of the bowl has been mixed in..
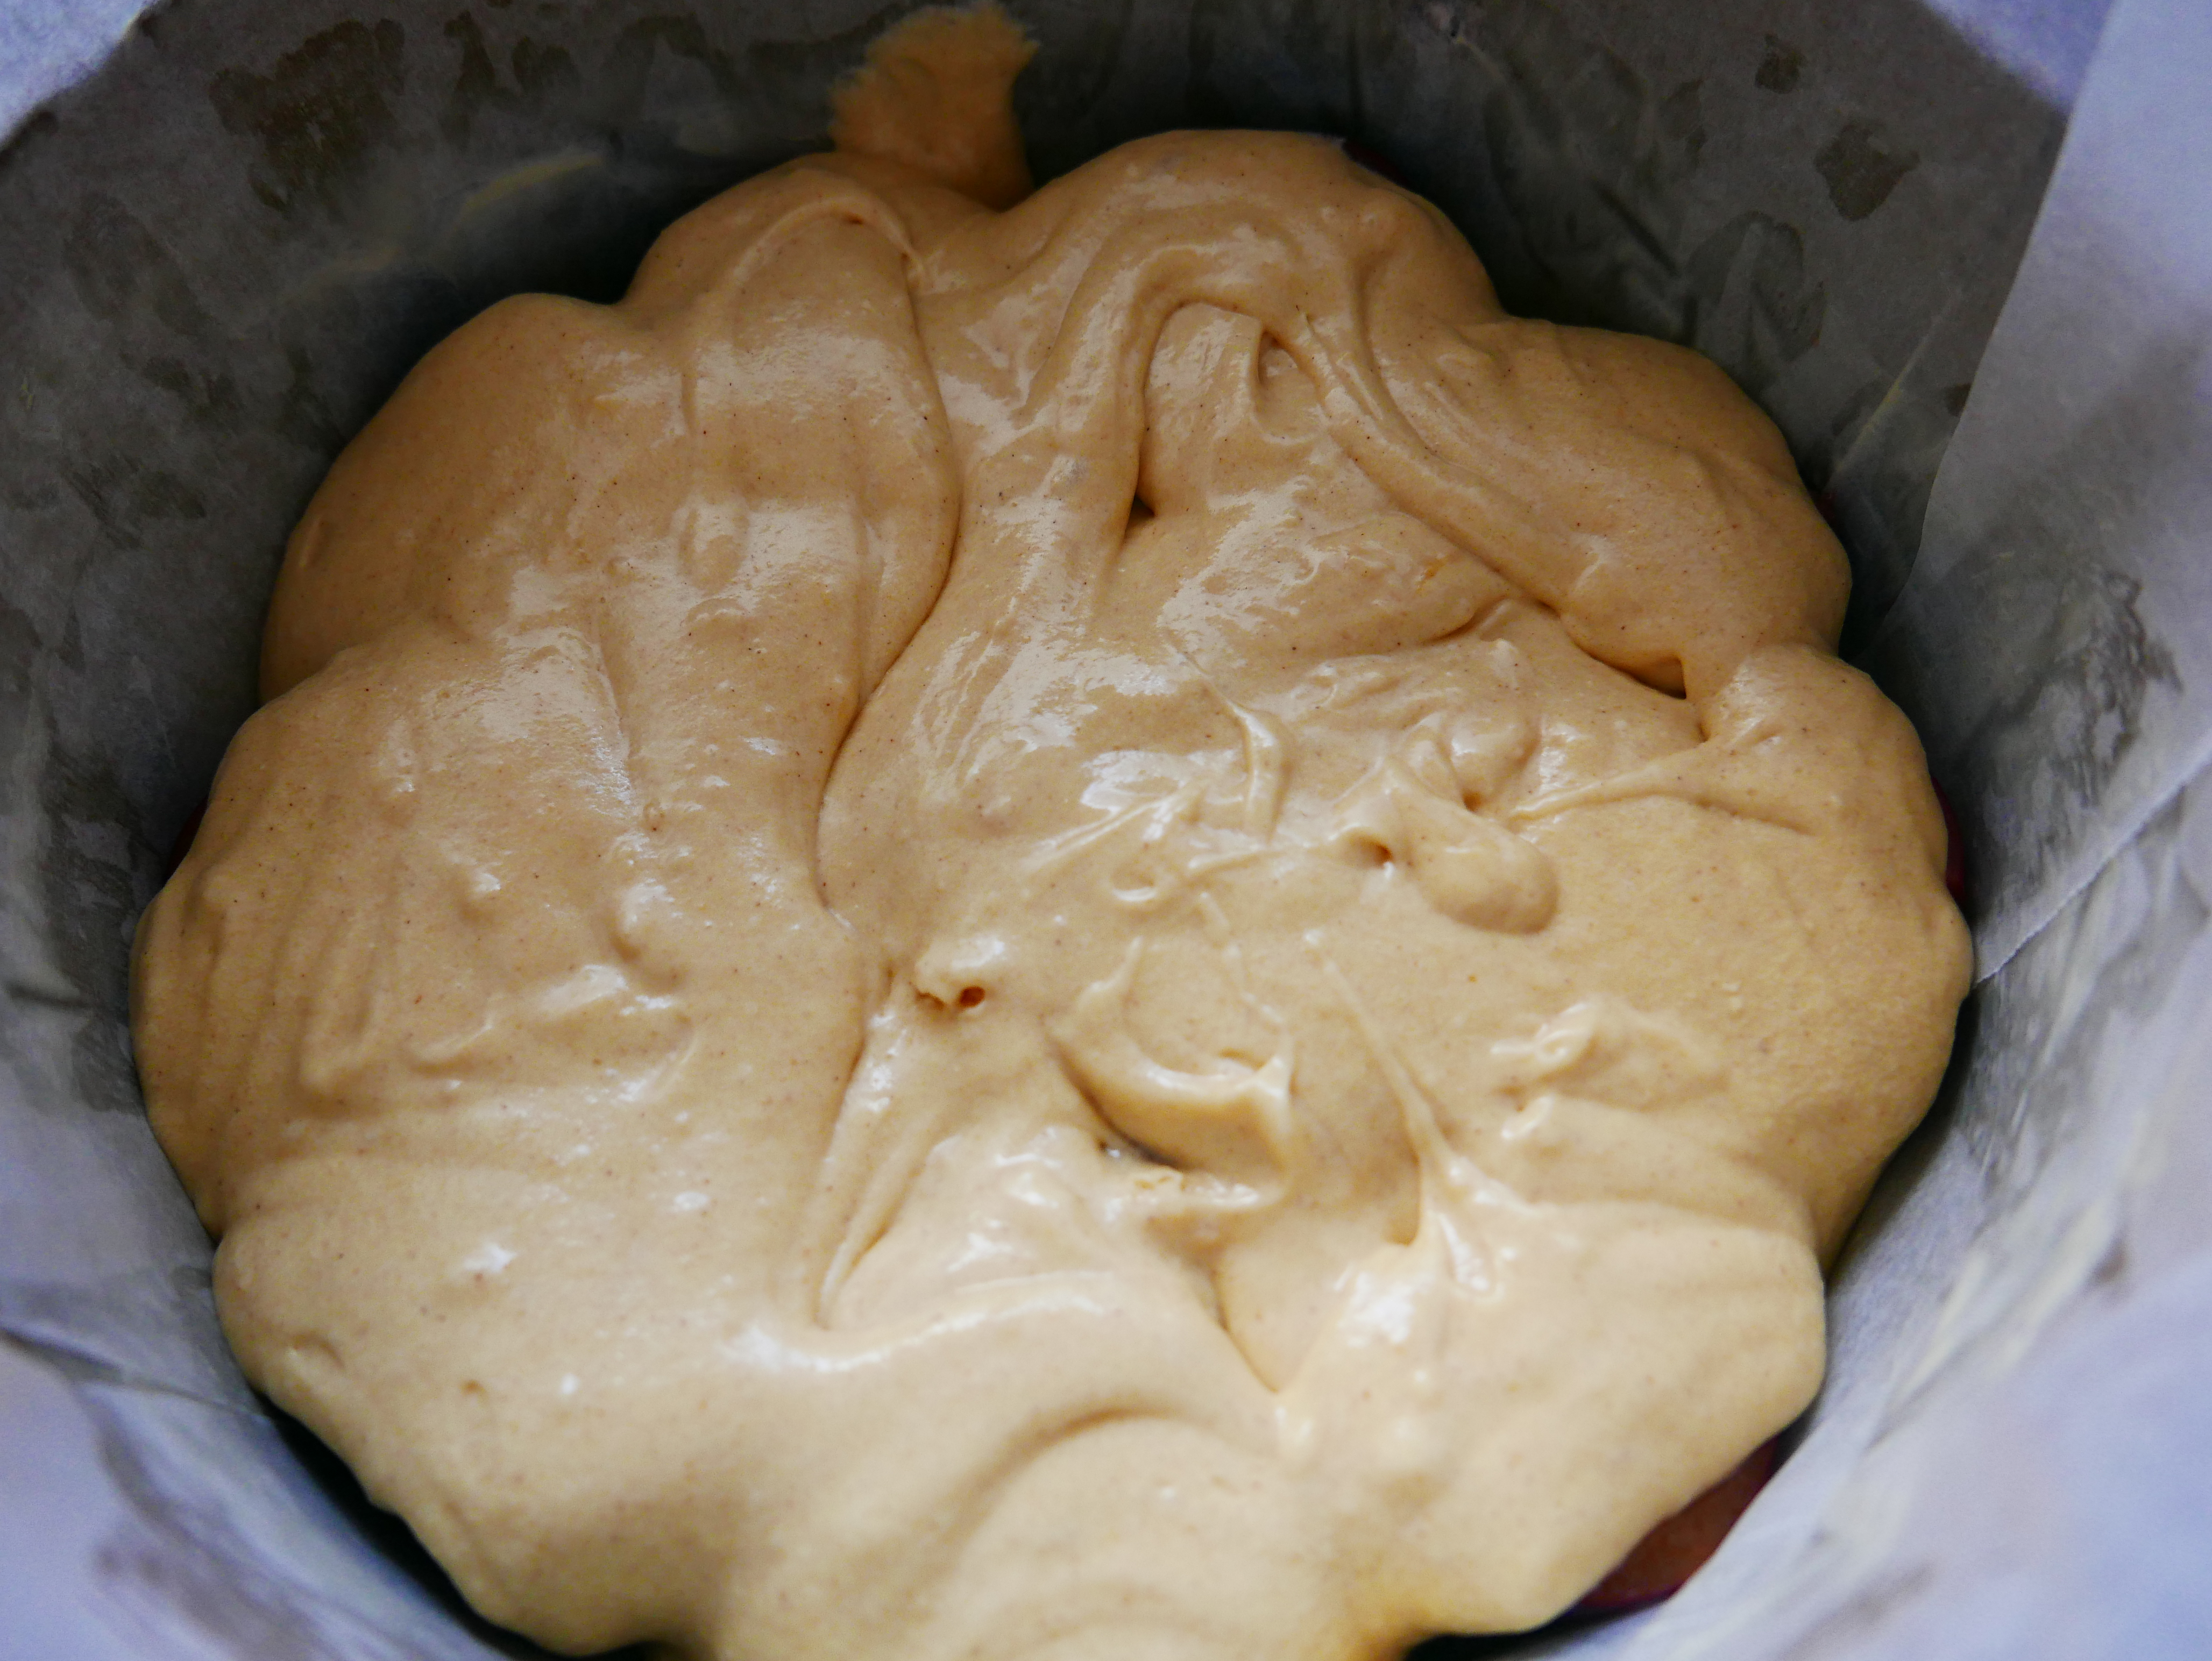
- Pour the cake mix over the plums in the cake tin.
- Put into the oven and cook for about 50-60 minutes or until the middle of the sponge bounces back when you press it. Use a sharp knife or cake tester to make sure that the plums are soft and cooked. If the cake is getting too brown, just cover it with a doubled sheet of baking parchment with a hole cut in the middle of it, and continue the baking in 10-minute intervals, testing after each interval to see if the plums are cooked.
- When you are satisfied that the cake is cooked, remove it from the oven and allow to stand for at least 15 minutes.
- Release the spring, and remove the sides of the tin. Remove the baking parchment from the sides of the cake, and allow to cool fully.
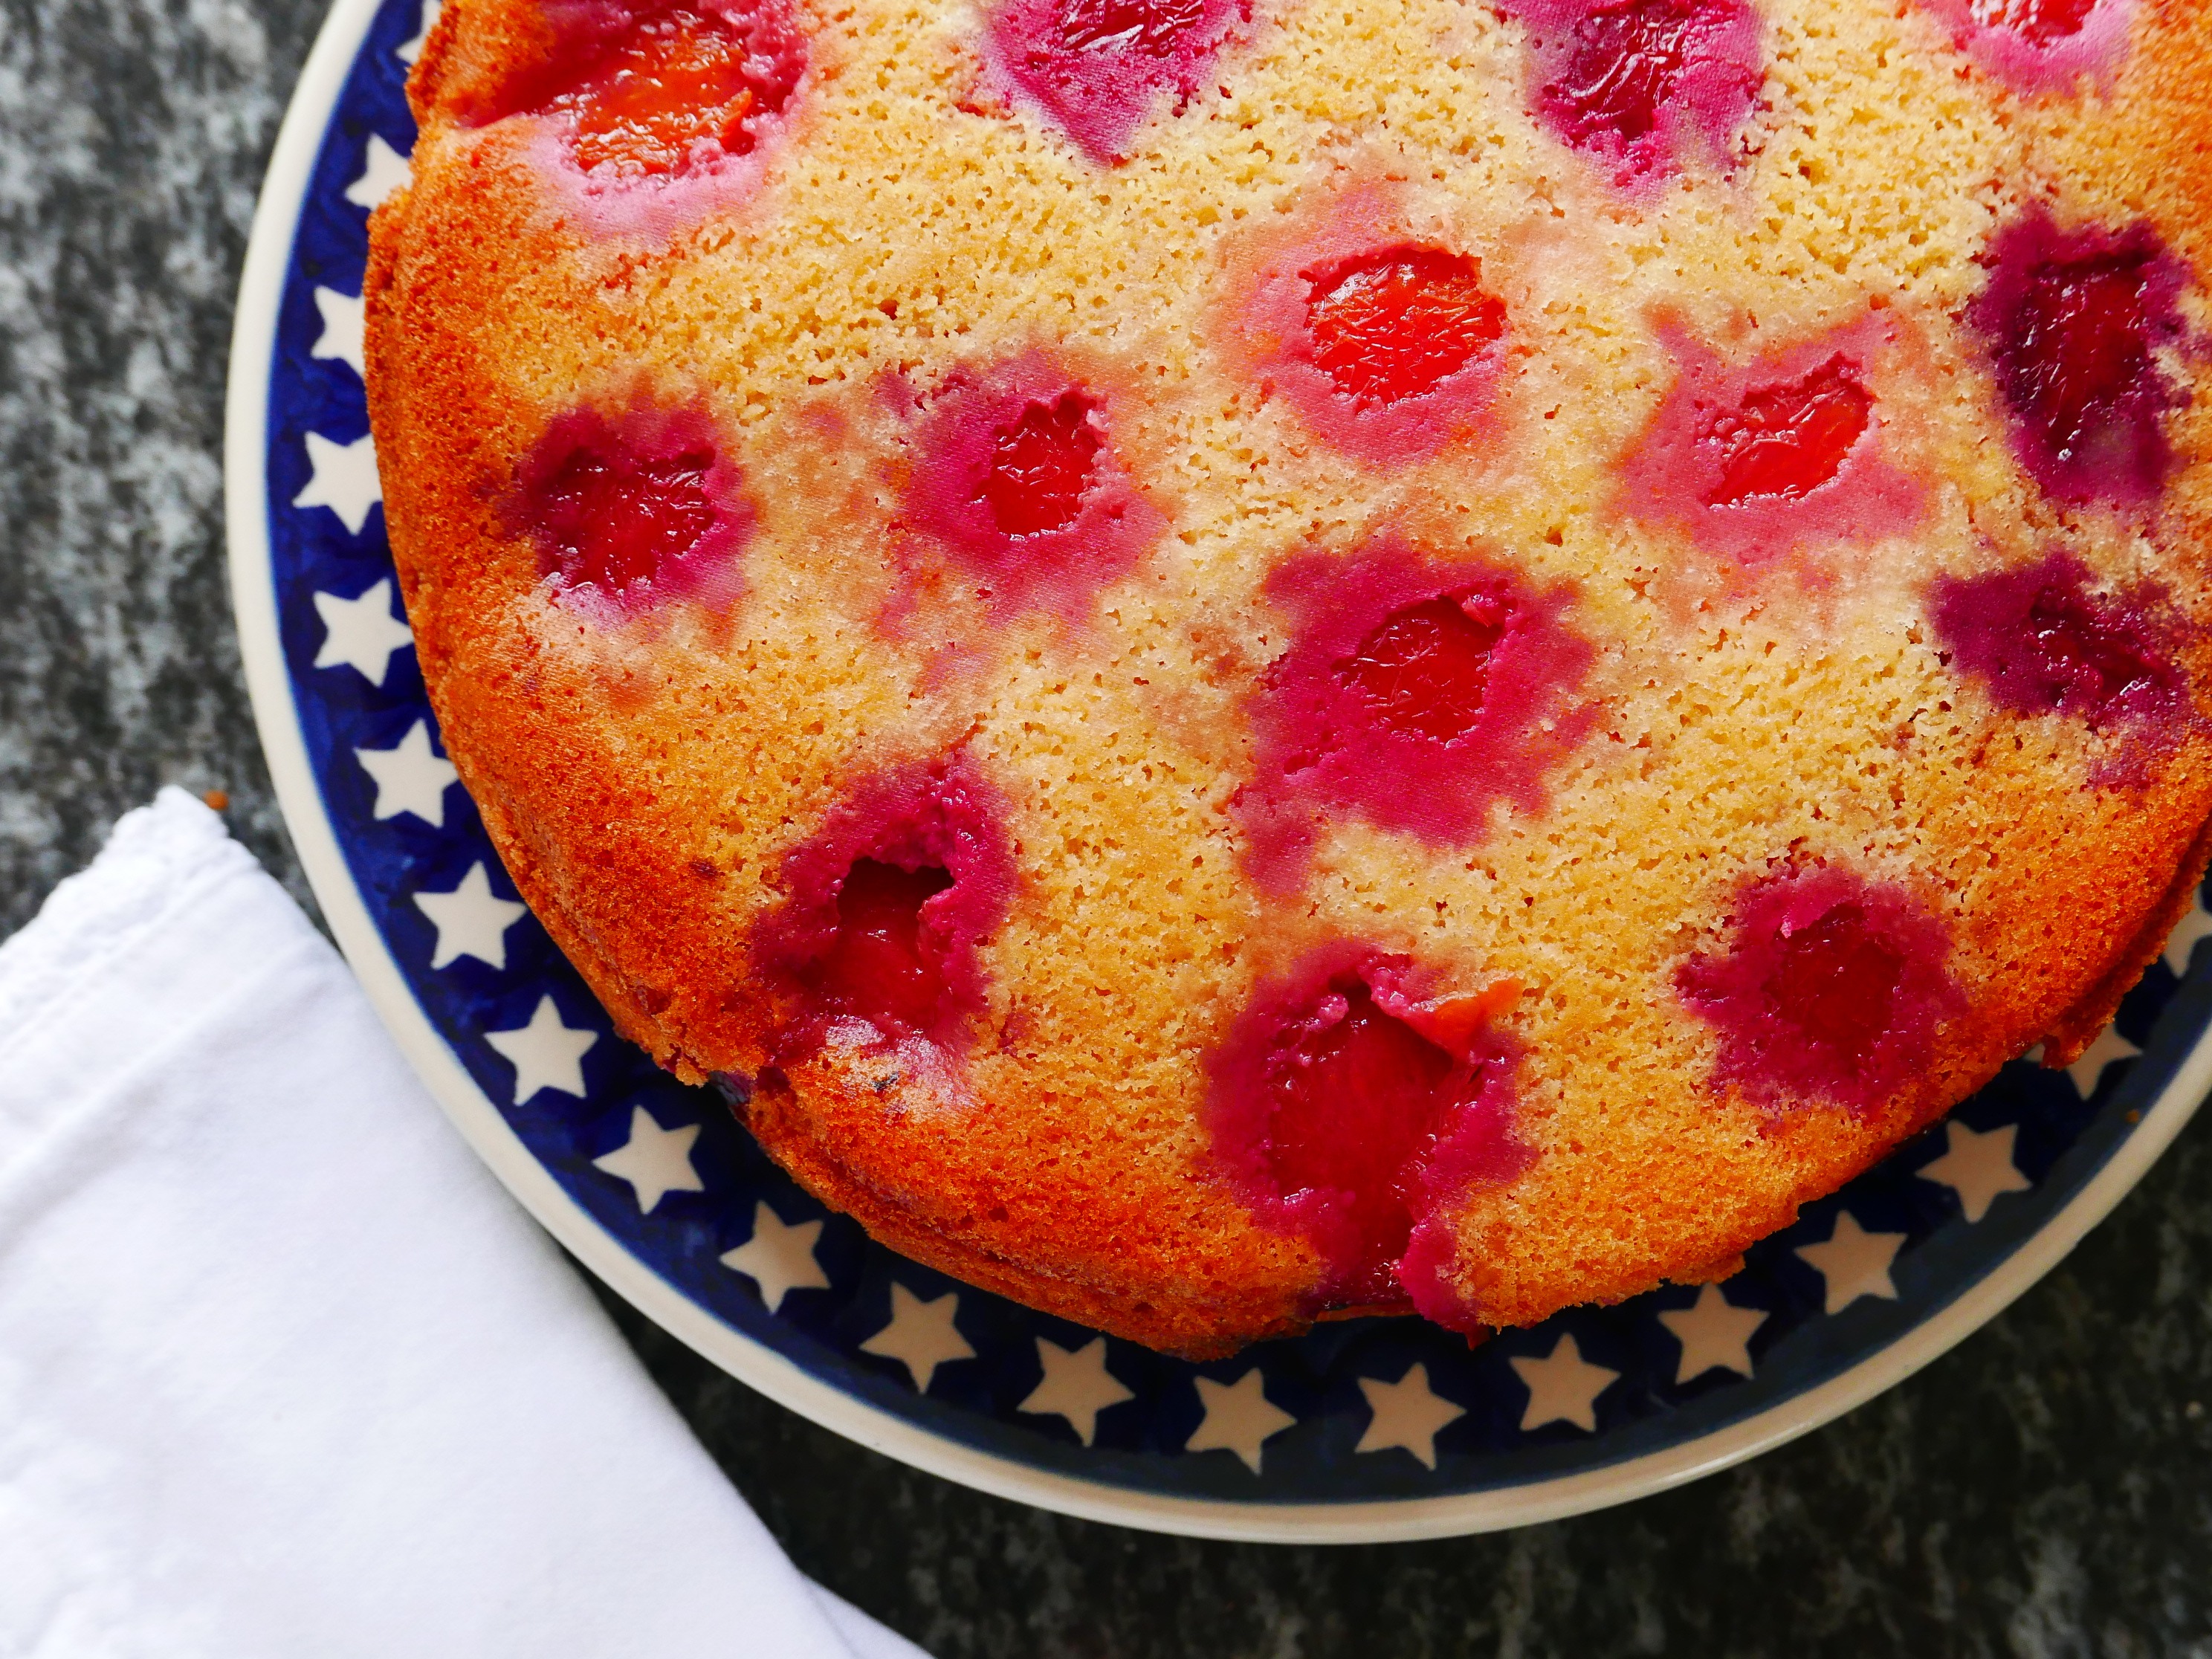
 Now comes the tricky bit, but don’t worry, the cake itself is fairly robust, and still has the base of the tin attached. So, with your cake plate on a level surface, invert the cake onto it, and push it into the middle of the plate.
- Remove the base of the tin, and then the baking parchment.
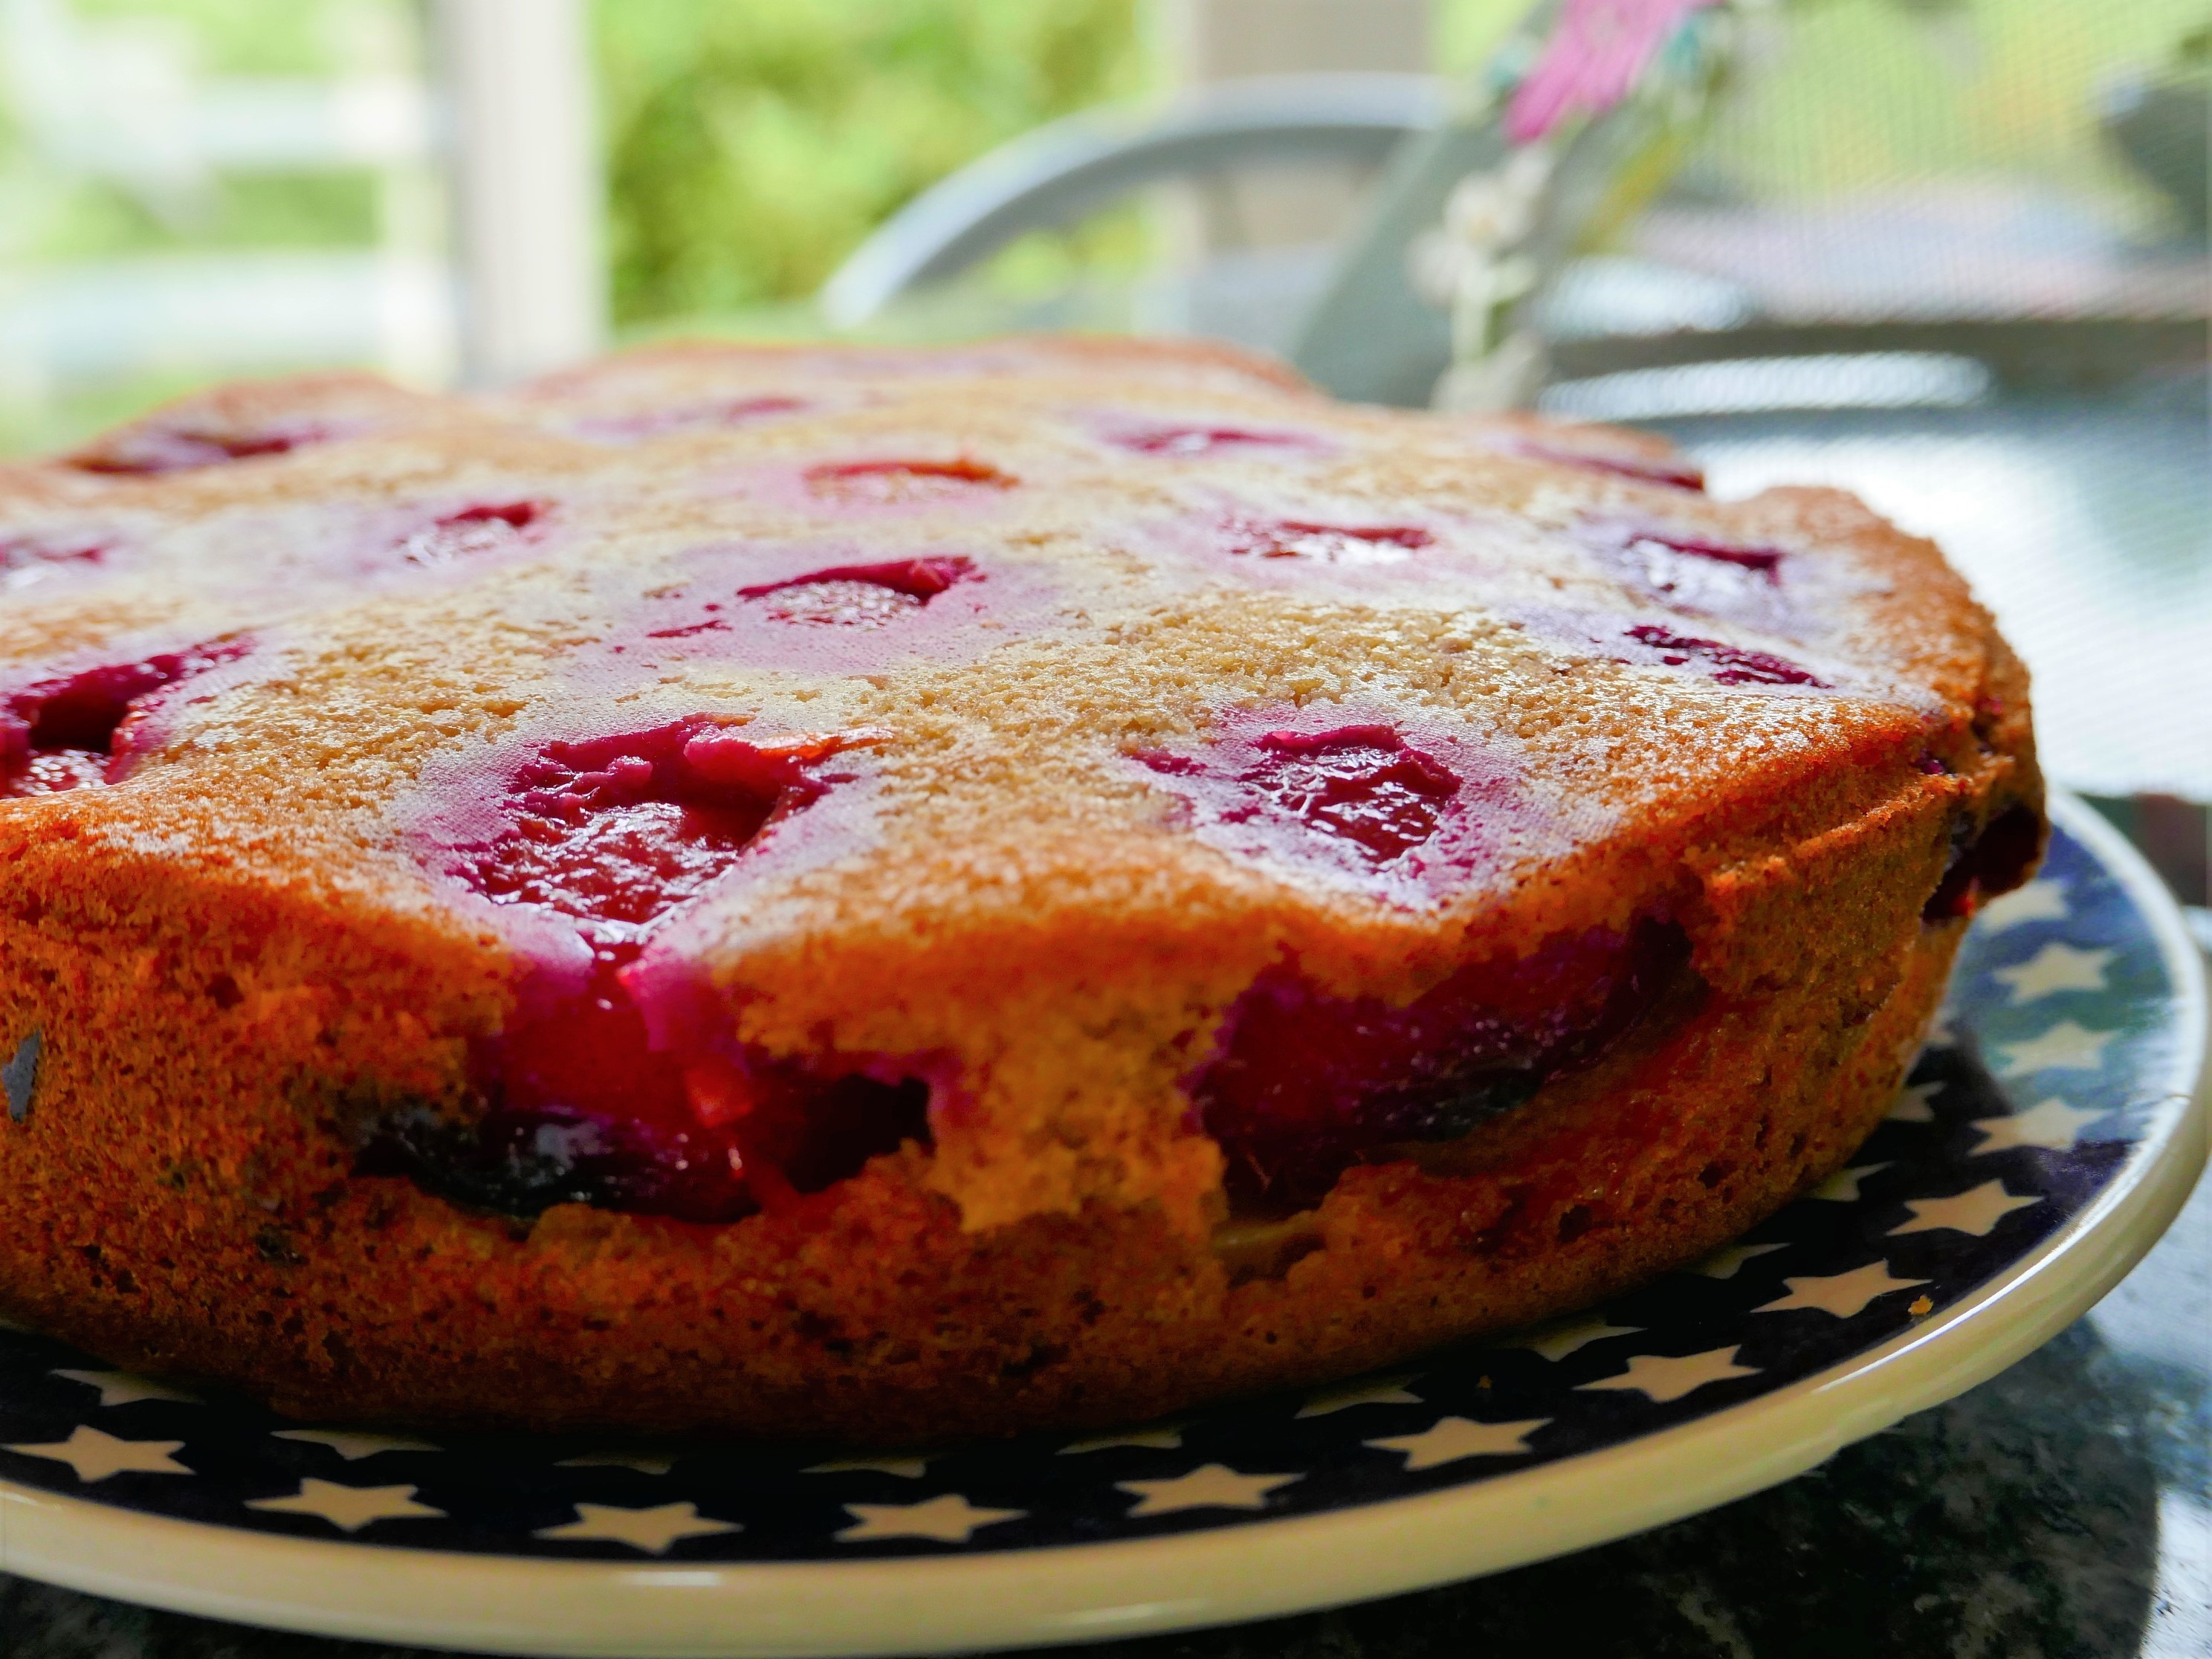
- The plums are now visible, nestling amongst the rest of the cake.
NOTES:
- This cake is delicious served warm or cold, with whipped cream, ice cream or custard.
- My friend Julie heats it for a few seconds in the microwave when she’s having hers – just a thought!
- During the summer, I often use nectarines or peaches instead of plums.
- You can add a teaspoon or so of ground cinnamon if you fancy it – I often do!
I started writing down recipes in an old copybook when I was about 16. With 6 children at home, my Mother was always glad of a hand in the kitchen, and really allowed us to experiment - as long as we washed up afterwards, and left the kitchen immaculate! Having a tidy kitchen has followed me through my life, as has the habit of writing down my favourite recipes; except that these days I write them for my website, and add photographs when I can. The website really started when it occurred to me that my daughter might like to have these recipes when I've forgotten them. In my early days of cooking for family and friends, I used to phone my Mum all the time to ask her for the recipe for some of our favourite family dinners. She rarely had a recipe to hand - I think, like me, she made a lot of it up as she went along.. So welcome to Eating for Ireland - these are the recipes that my friends and family having been eating these past 40 years.. yes, I truly am ancient! They are tried and tested, and have worked for me for all that time - I have updated them as new ingredients became available - I really hope you'll find something that you can make into a family favourite of your own. You don't have to tell anyone where you found these great new dishes that you're serving up - it can be our little secret, but I'd really love it if you could give me a sneaky 'follow' on Facebook and Instagram.. So off you go - have a good rummage around, you're bound to find something new! My sincere thanks to all of you who have found a recipe that you liked and dropped me a line to tell me - I really do love to hear from you! Happy Cooking! Becks xx