
I totally love this peach-themed dish – it was wedding present 30 years ago, and when I make this dessert no one knows that the design is there except me :)
I’ve been making this summer dessert for years and, as far as I can remember, it all came together under my usual set of circumstances:
- Unexpected guests for dinner,
- A short time-scale,
- A limited supply of goodies in the house.
I love unexpected guests – (no, really, I do!) – they never demand that you have your house tidied, so there’s never that flurry of cleaning that’s required for other entertaining occasions..
Plus, and I might have mentioned this once or twice, I seem to do my best thinking on my feet. No one was more surprised than me to realise that in this crazy world ‘making use of what’s available’ is my super-power!
Here are a few tips that I’ve picked up over the years:
- Peaches are better than Nectarines – it’s easier to get the stones out for a start – but Nectarines are suitable for this dessert too.
- Unripe fruit is not an issue.
- You can make this for just the two of you, or for a huge crowd. My rule of thumb is 3 peaches for every two people. This means everyone gets 3 halves..
Let’s give it go…
EQUIPMENT:
- A sharp knife
- A small teaspoon
- A shallow, oven-proof dish big enough to hold all the peaches in a single row
- A sheet of tinfoil
- You’ll be using both the oven and the grill for this..
INGREDIENTS:
- 3 peaches for every two people to be served; you do the hard sums..
- Juice of half a lemon
- 250g tub of Mascarpone (this would be enough to serve about 6 people)
- a tablespoon of caster sugar
- a teaspoon of either Vanilla paste (I love the little seeds) or Vanilla extract
- 50ml whipping cream.
- 100g light (or dark) Muscavado sugar
METHOD:
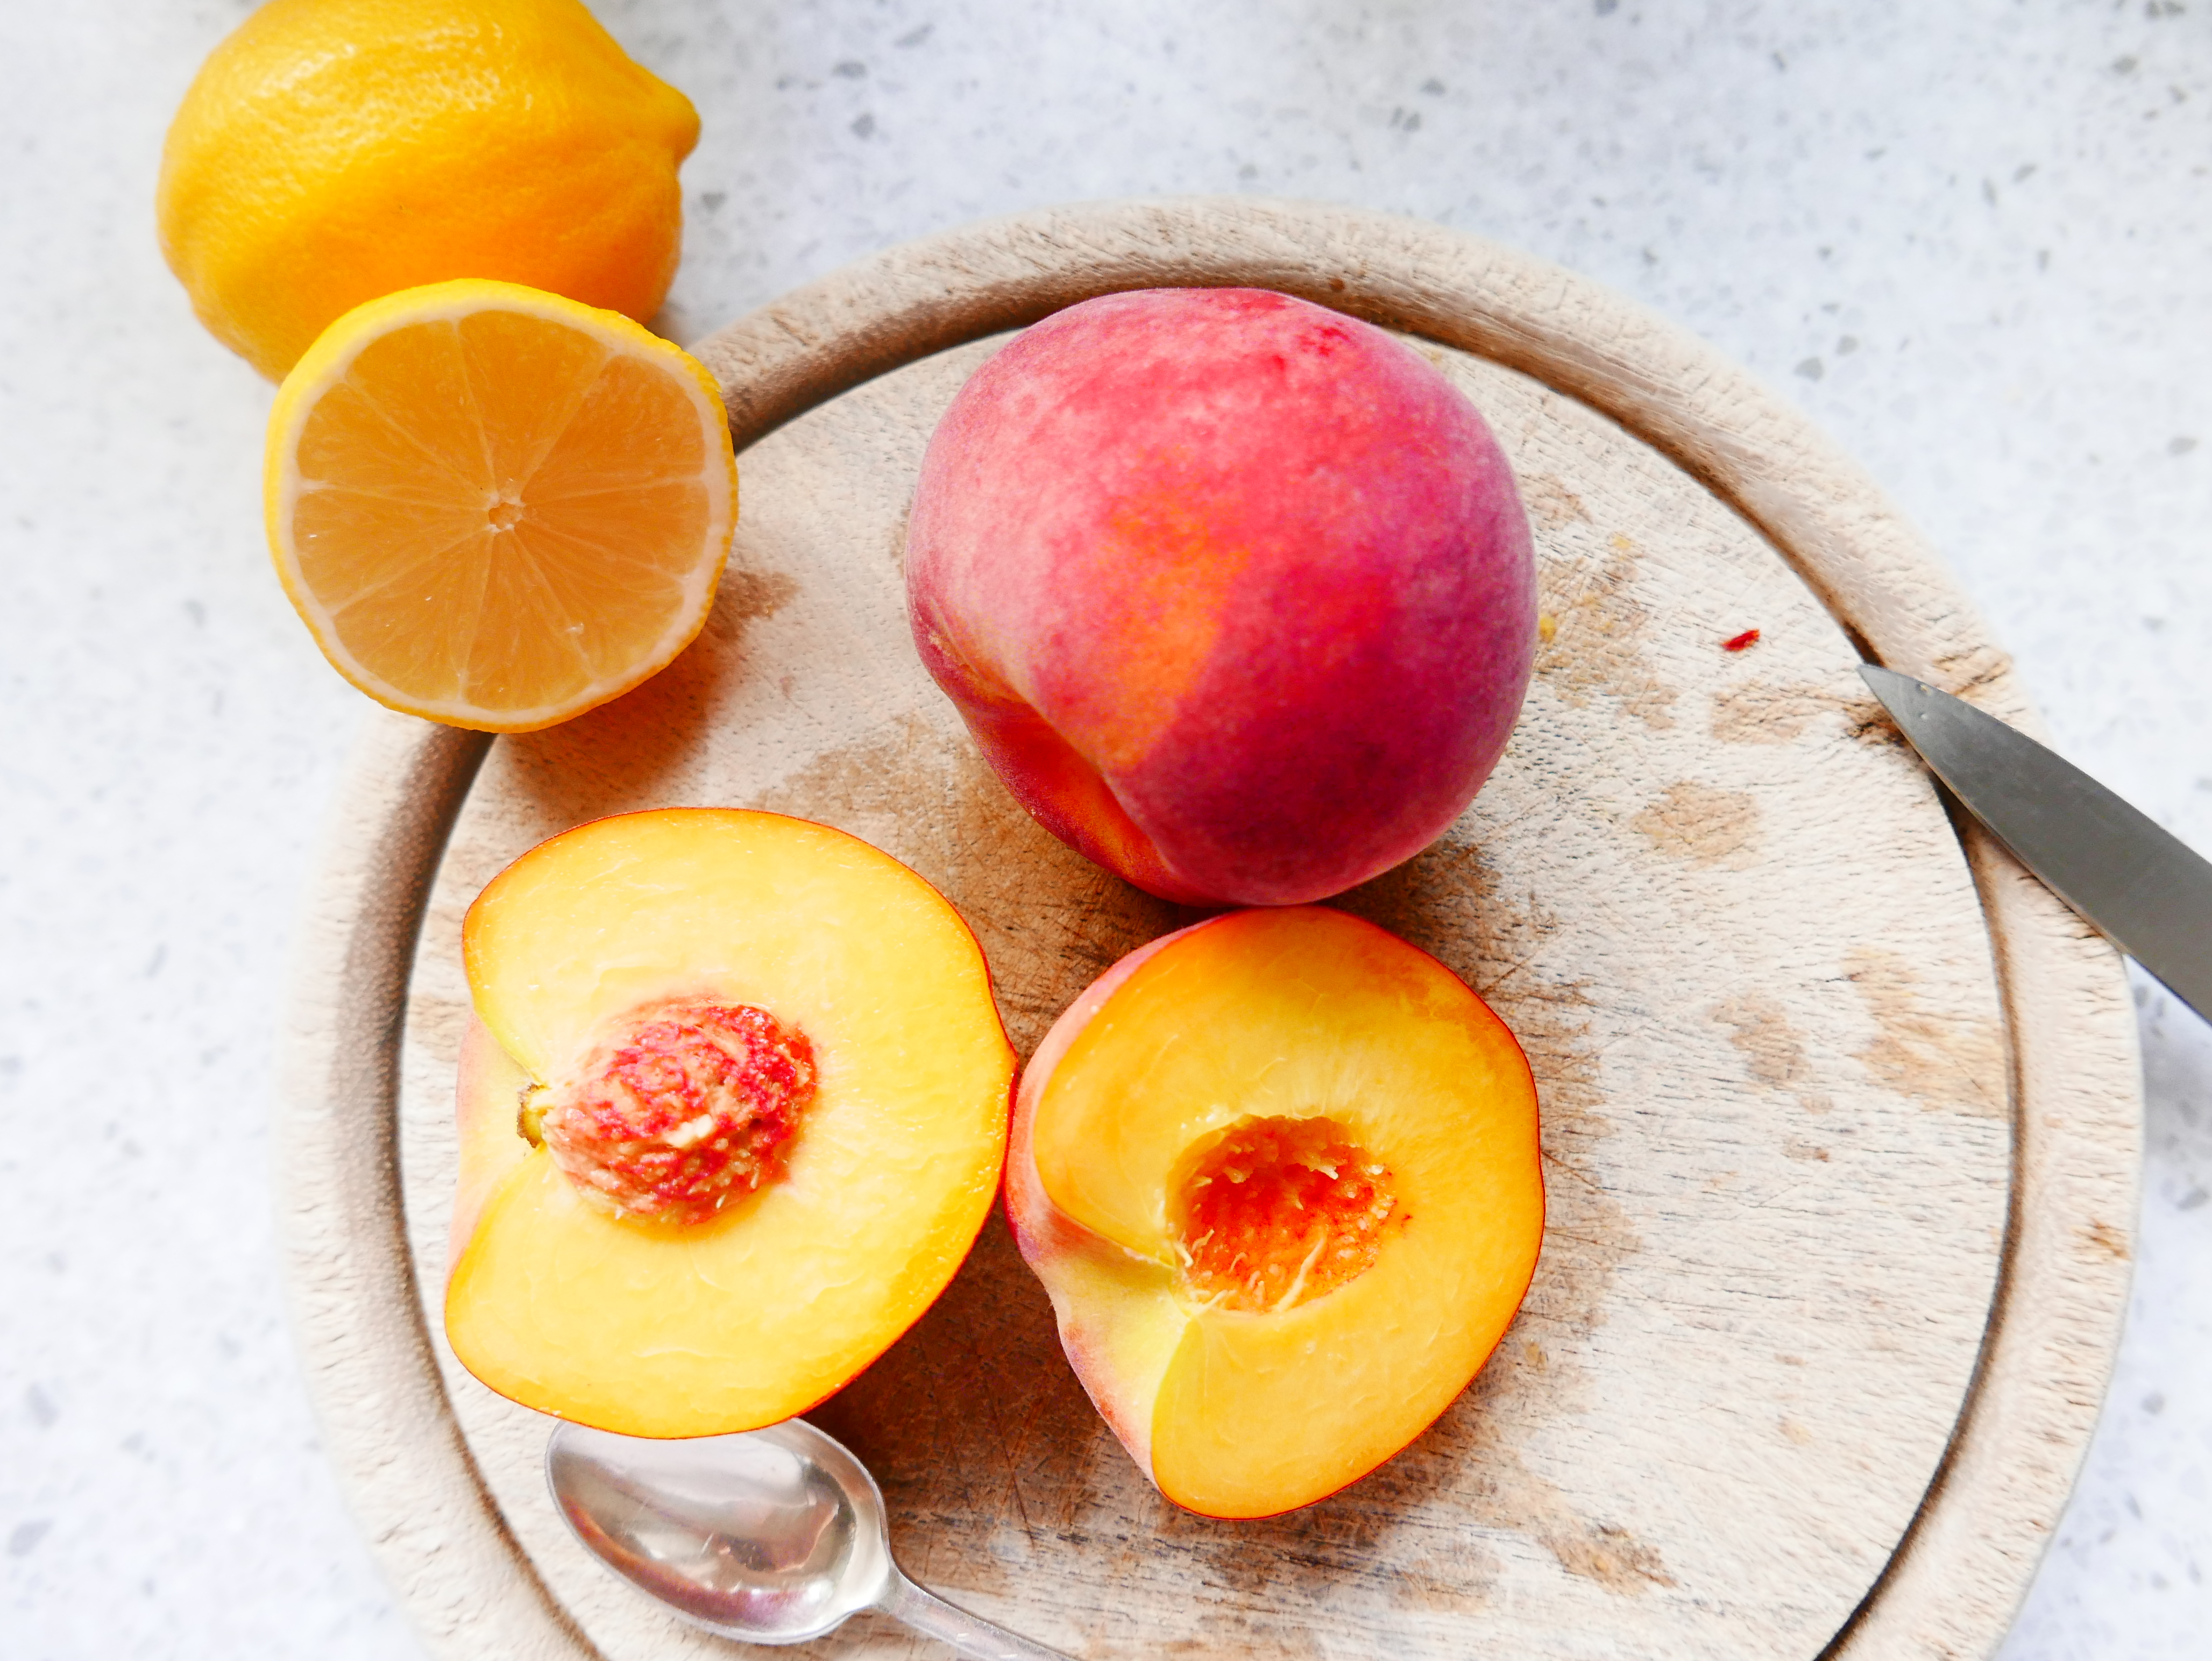
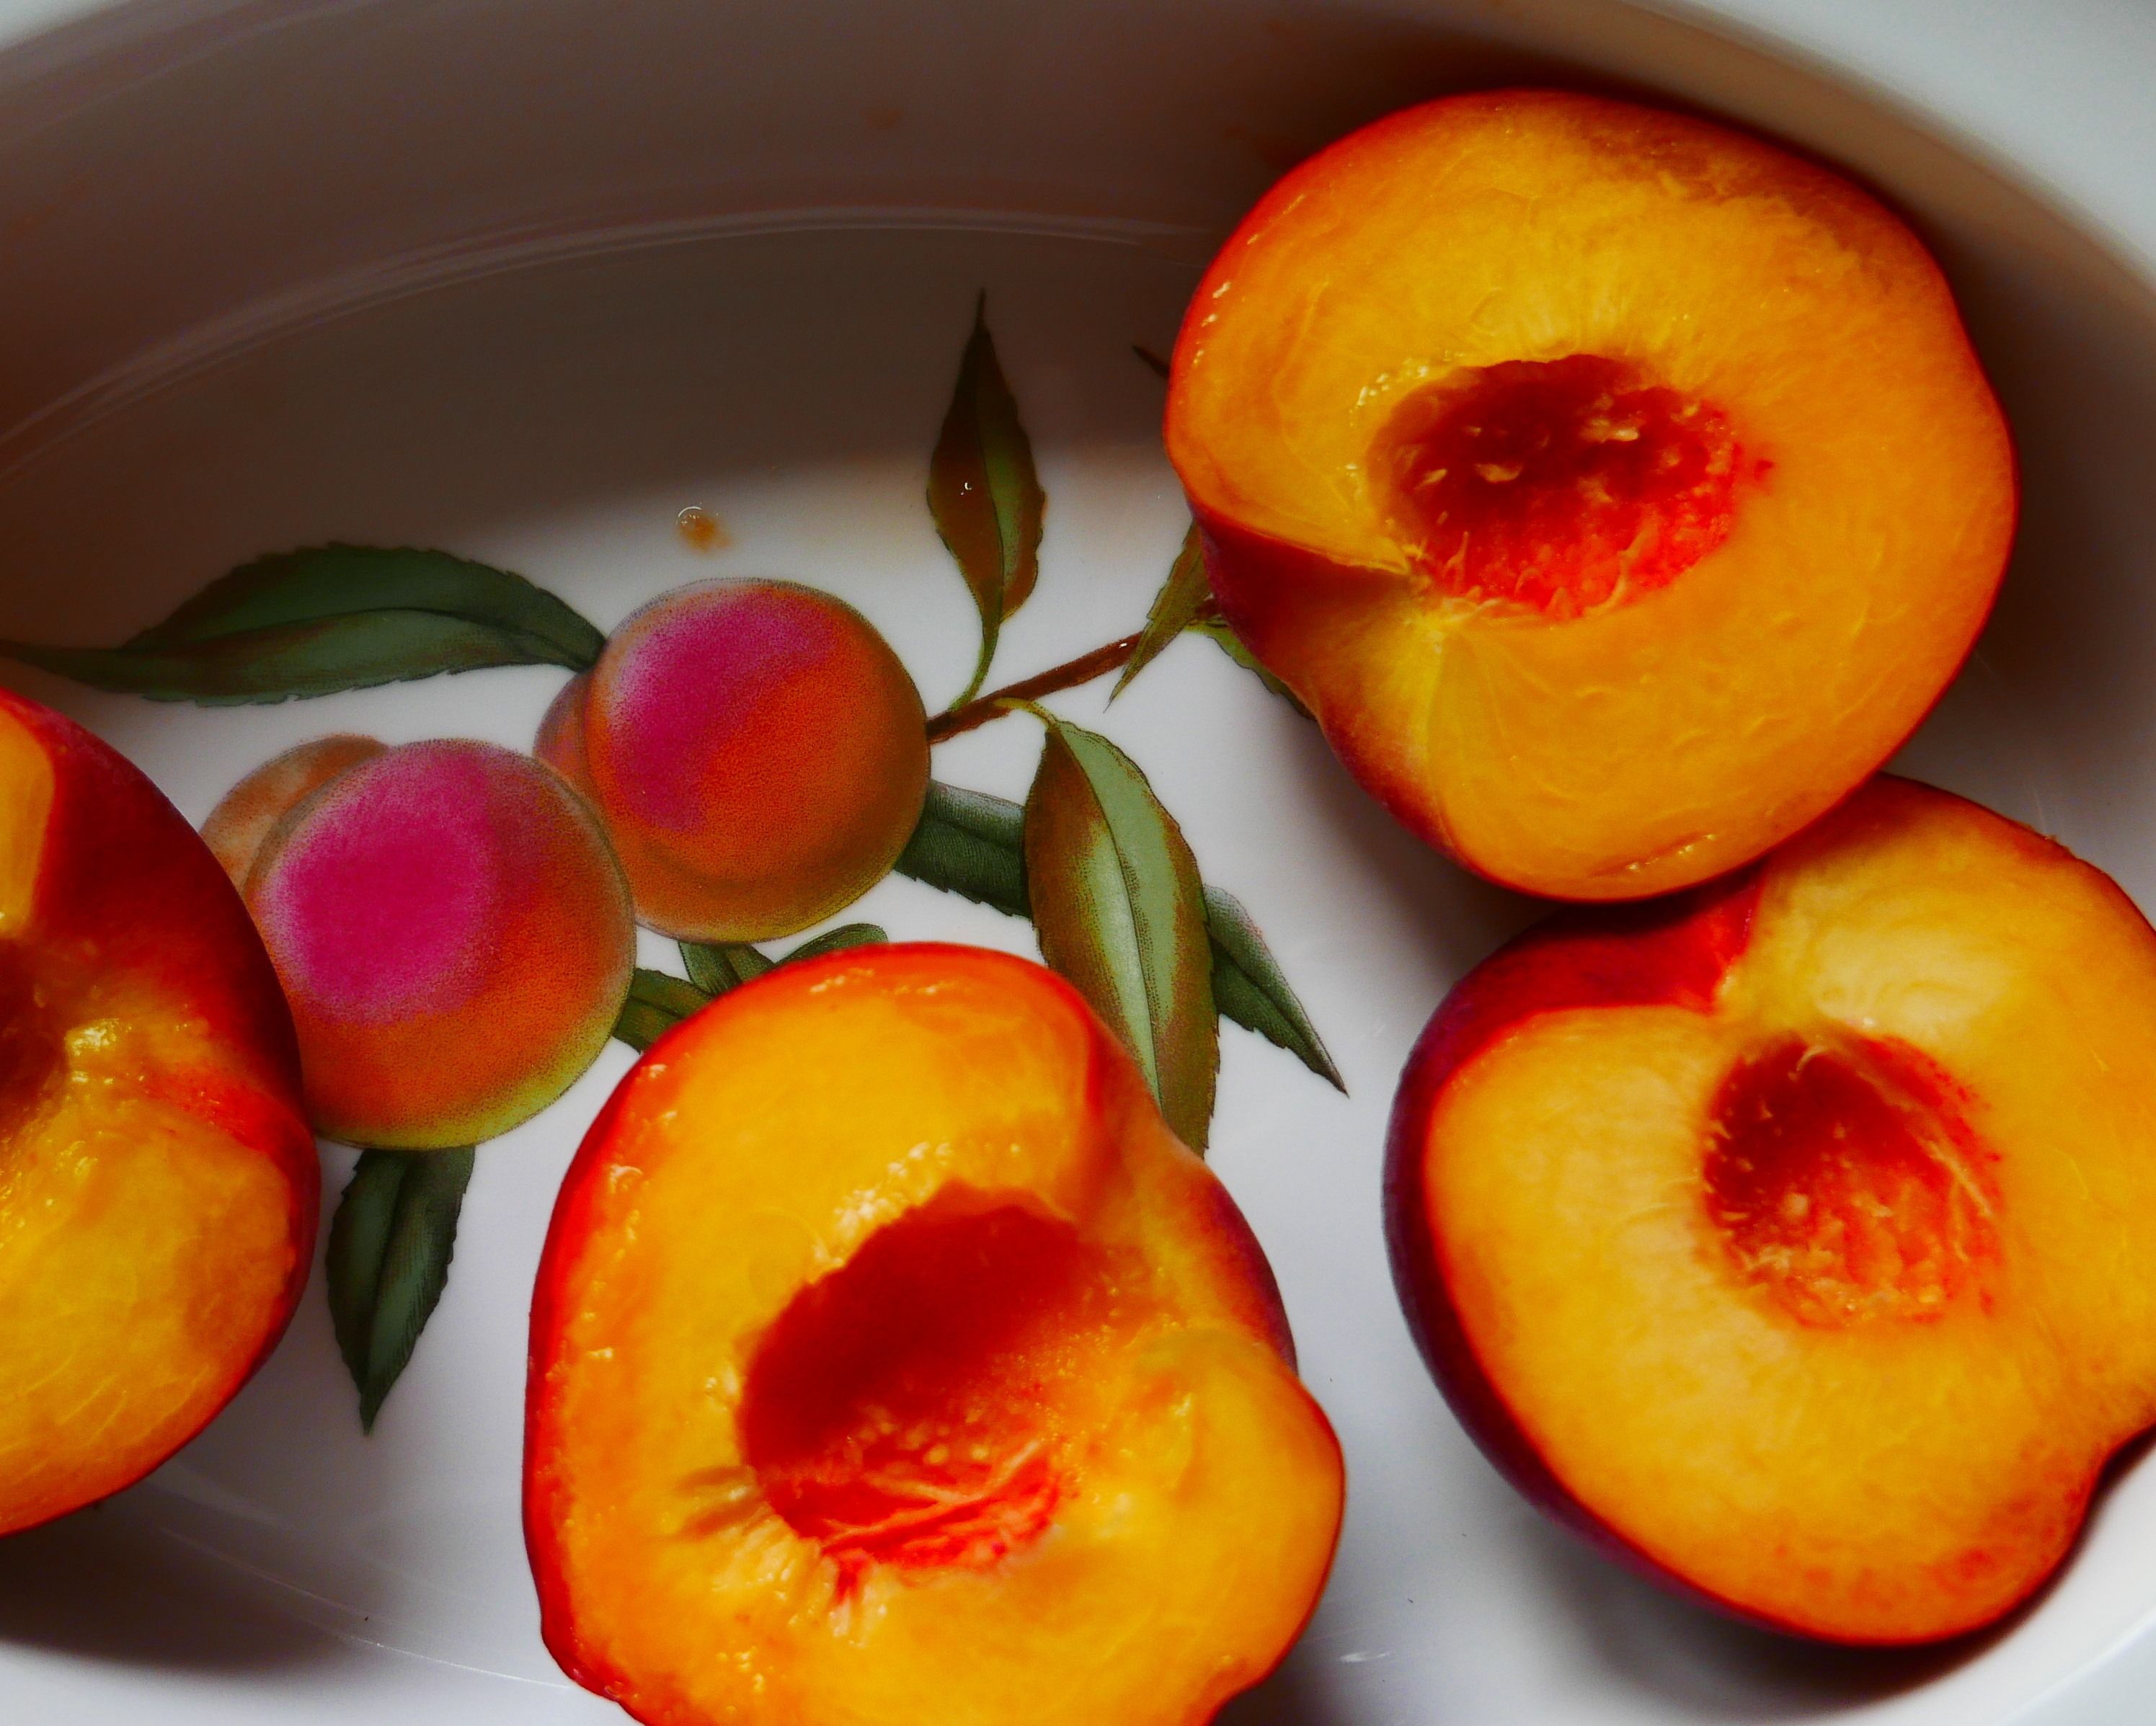
- Cut the peaches in half and use the teaspoon to remove the stones (this is, without a doubt, the most time-consuming part of this recipe) Place them in a single layer in your chosen dish.
- Squeeze over the lemon juice, cover with the tinfoil and place in the oven at 160 fan for 30 minutes or so, until they are tender when tested with the tip of a knife. The time will vary with the size of the peaches, and their general state of ripeness! Test them with the tip of a knife- it should slide in easily.
- The peaches need to be soft enough to allow them to be cut with a dessert spoon. Another way of telling if they’re ready is when the sensational smell of roasting peaches fills your kitchen – it’s indescribable until it happens – I wish I could bottle it!
- Once the peaches are tender they can be left, covered with the tin foil, until you’re ready to complete the recipe.
- To make the sauce, put the Mascarpone, caster sugar, Vanilla paste and cream into a bowl and whisk to combine, until there are no visible lumps left, then beat until the mixture thickens (I use a hand-held electric beater). Chill until needed.
- Break up any clumps in the Muscovado sugar, and keep in a separate bowl until required.
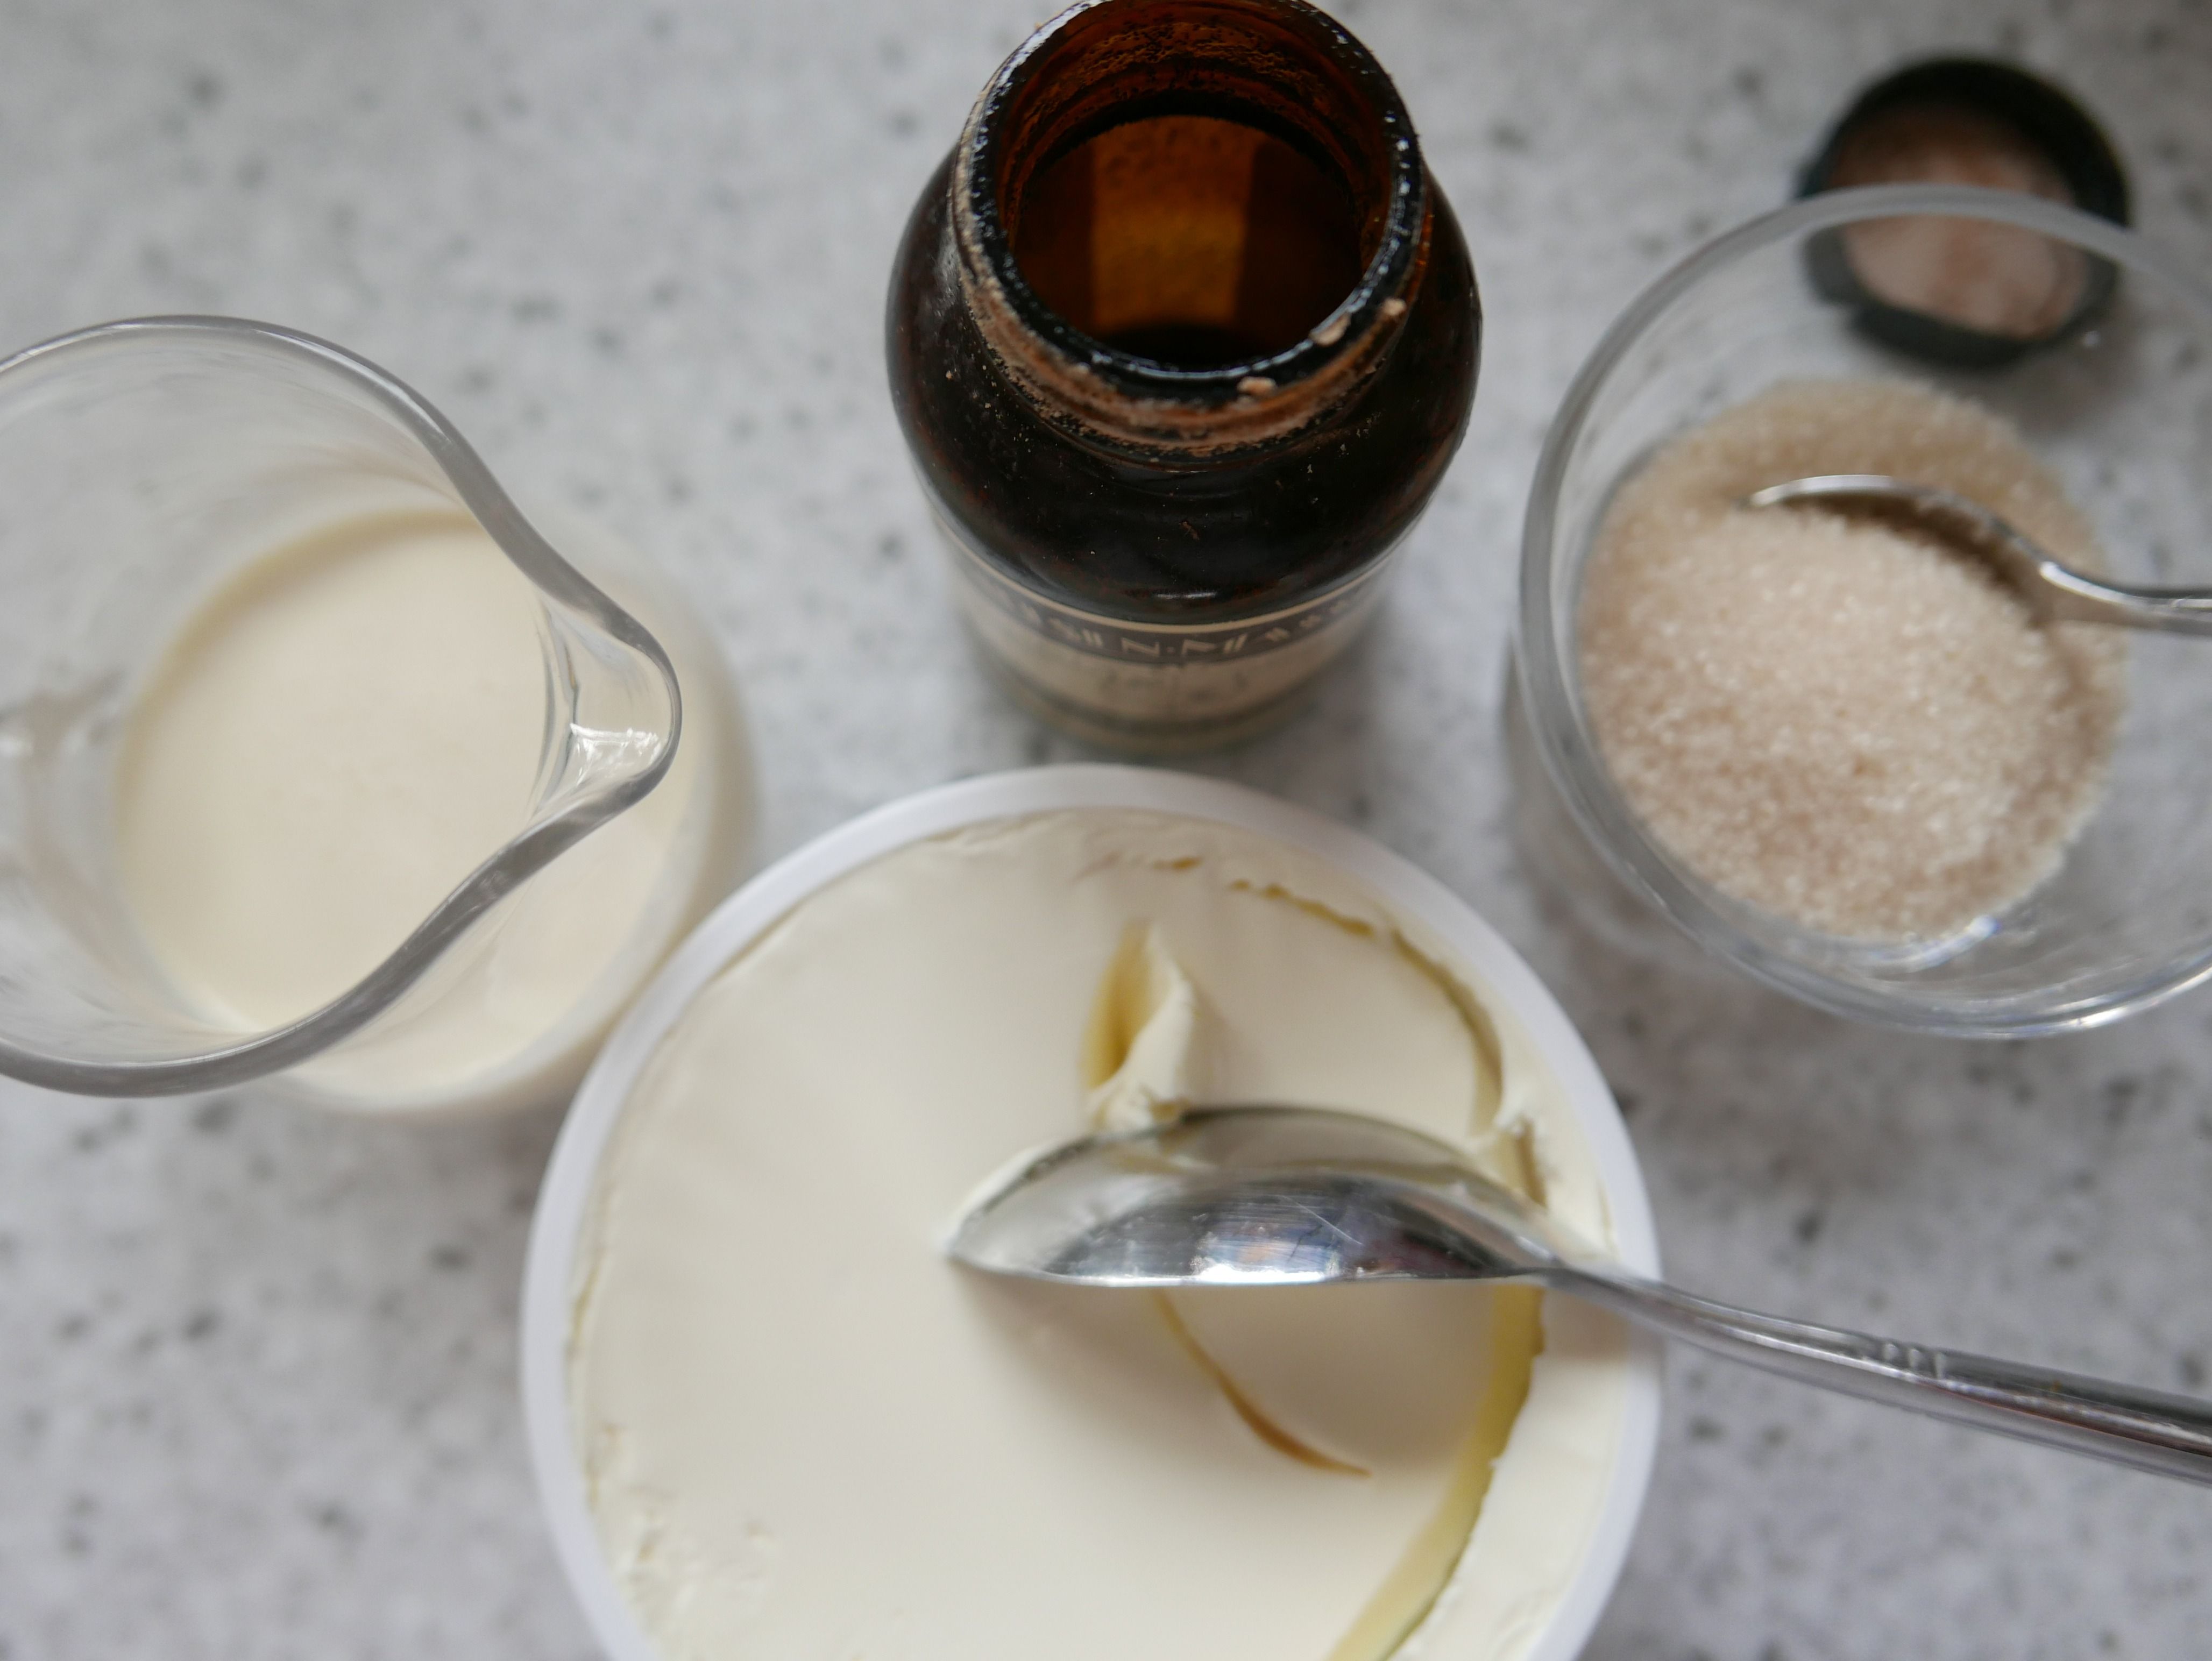

I just adore the look of the tiny Vanilla seeds ..
When you’re ready to serve:
- Heat the grill to maximum.
- Carefully place a dessert-spoonful of the Mascarpone mixture into the hollow of each peach.
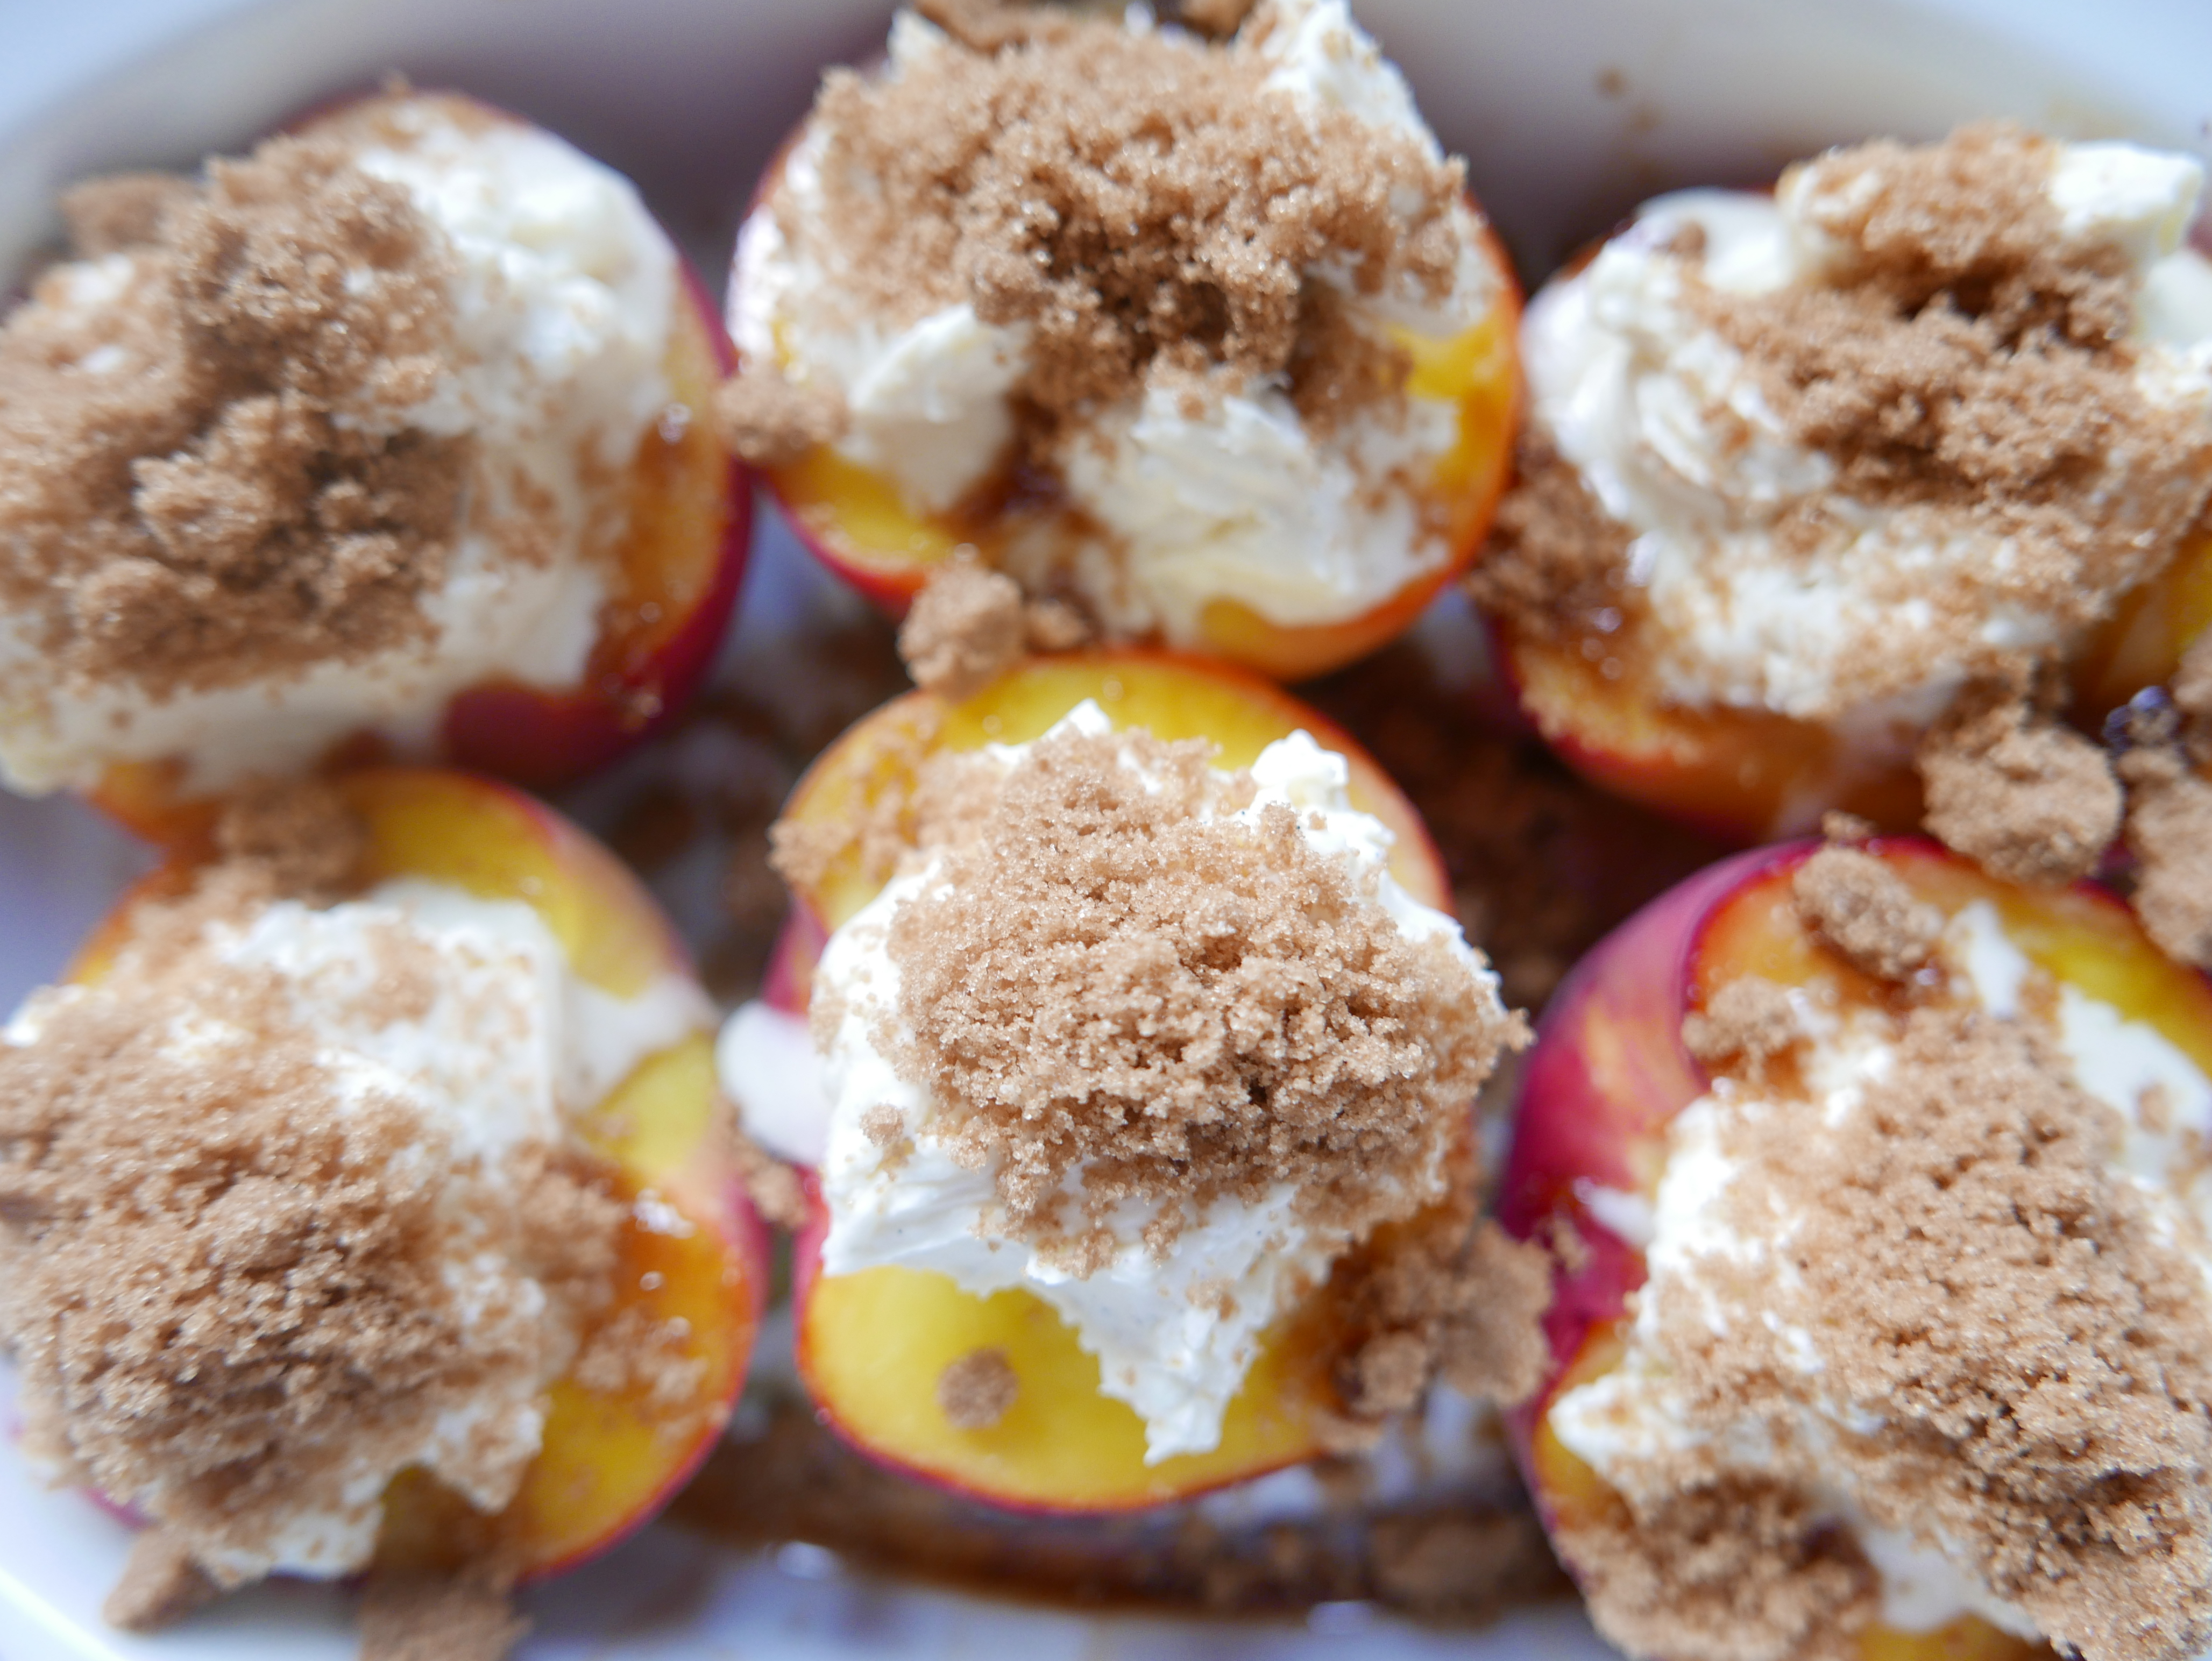
Ready for the grill!
- Sprinkle the Muscovado sugar generously over the Mascarpone.
- Place under the grill until the Mascarpone mixture has melted over the peaches, and the edges are starting to brown. Using my grill, this usually takes between 5-10 minutes.
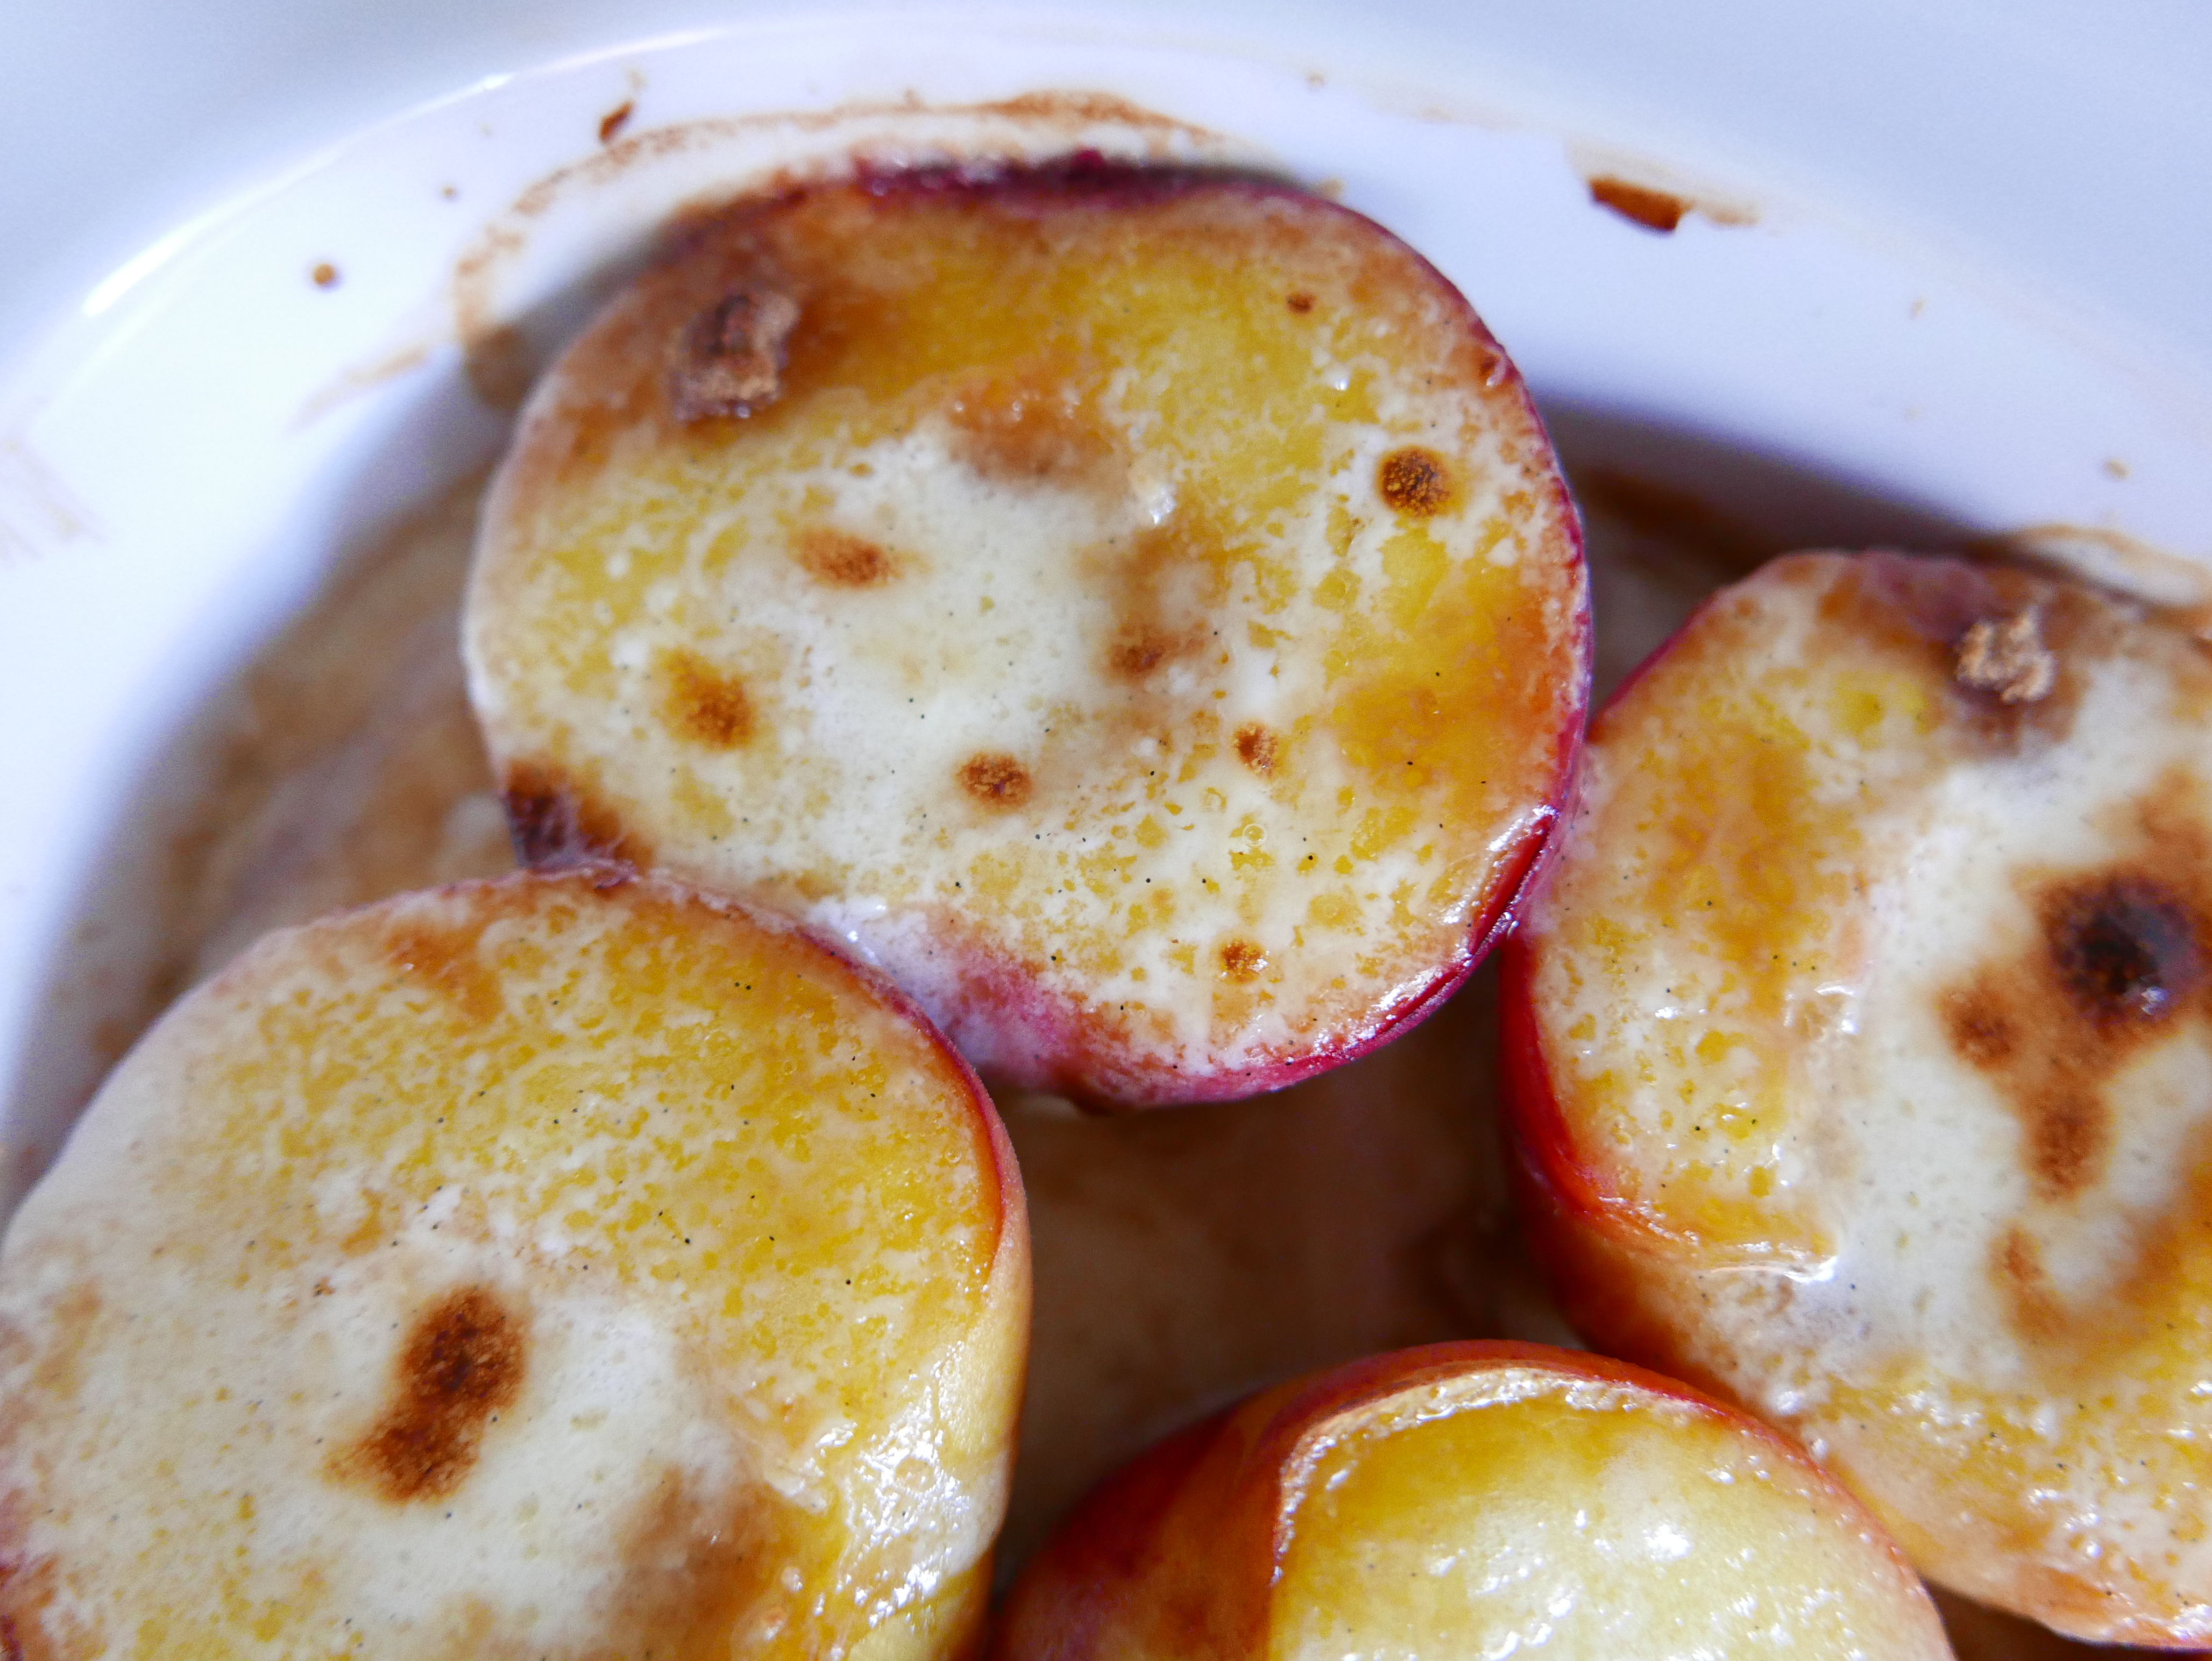
- When it’s ready, the Mascarpone will have melted down into a beautiful coffee-coloured sauce, and there will be bits of caramelised sugar on the edges of the fruit.
- This bit’s important: Allow it to cool for at least 5 minutes before serving!
- Put 3 peach-halves into each dessert bowl, and spoon the sauce over.
- I tend to offer both a dessert spoon and fork to make eating them easier.
I hope you’ll enjoy this as much as we do! x
NOTES:
- I’ve just eaten leftovers (I always make extra portions 😉 ) cold, from the fridge, and it’s till pretty yummy..
- You can offer pouring cream but really it’s not necessary, the lovely creamy, vanilla-flavoured sauce is plenty.
I started writing down recipes in an old copybook when I was about 16. With 6 children at home, my Mother was always glad of a hand in the kitchen, and really allowed us to experiment - as long as we washed up afterwards, and left the kitchen immaculate! Having a tidy kitchen has followed me through my life, as has the habit of writing down my favourite recipes; except that these days I write them for my website, and add photographs when I can. The website really started when it occurred to me that my daughter might like to have these recipes when I've forgotten them. In my early days of cooking for family and friends, I used to phone my Mum all the time to ask her for the recipe for some of our favourite family dinners. She rarely had a recipe to hand - I think, like me, she made a lot of it up as she went along.. So welcome to Eating for Ireland - these are the recipes that my friends and family having been eating these past 40 years.. yes, I truly am ancient! They are tried and tested, and have worked for me for all that time - I have updated them as new ingredients became available - I really hope you'll find something that you can make into a family favourite of your own. You don't have to tell anyone where you found these great new dishes that you're serving up - it can be our little secret, but I'd really love it if you could give me a sneaky 'follow' on Facebook and Instagram.. So off you go - have a good rummage around, you're bound to find something new! My sincere thanks to all of you who have found a recipe that you liked and dropped me a line to tell me - I really do love to hear from you! Happy Cooking! Becks xx