
the ‘easy-cut’ version!

The traditional version – both taste equally good!
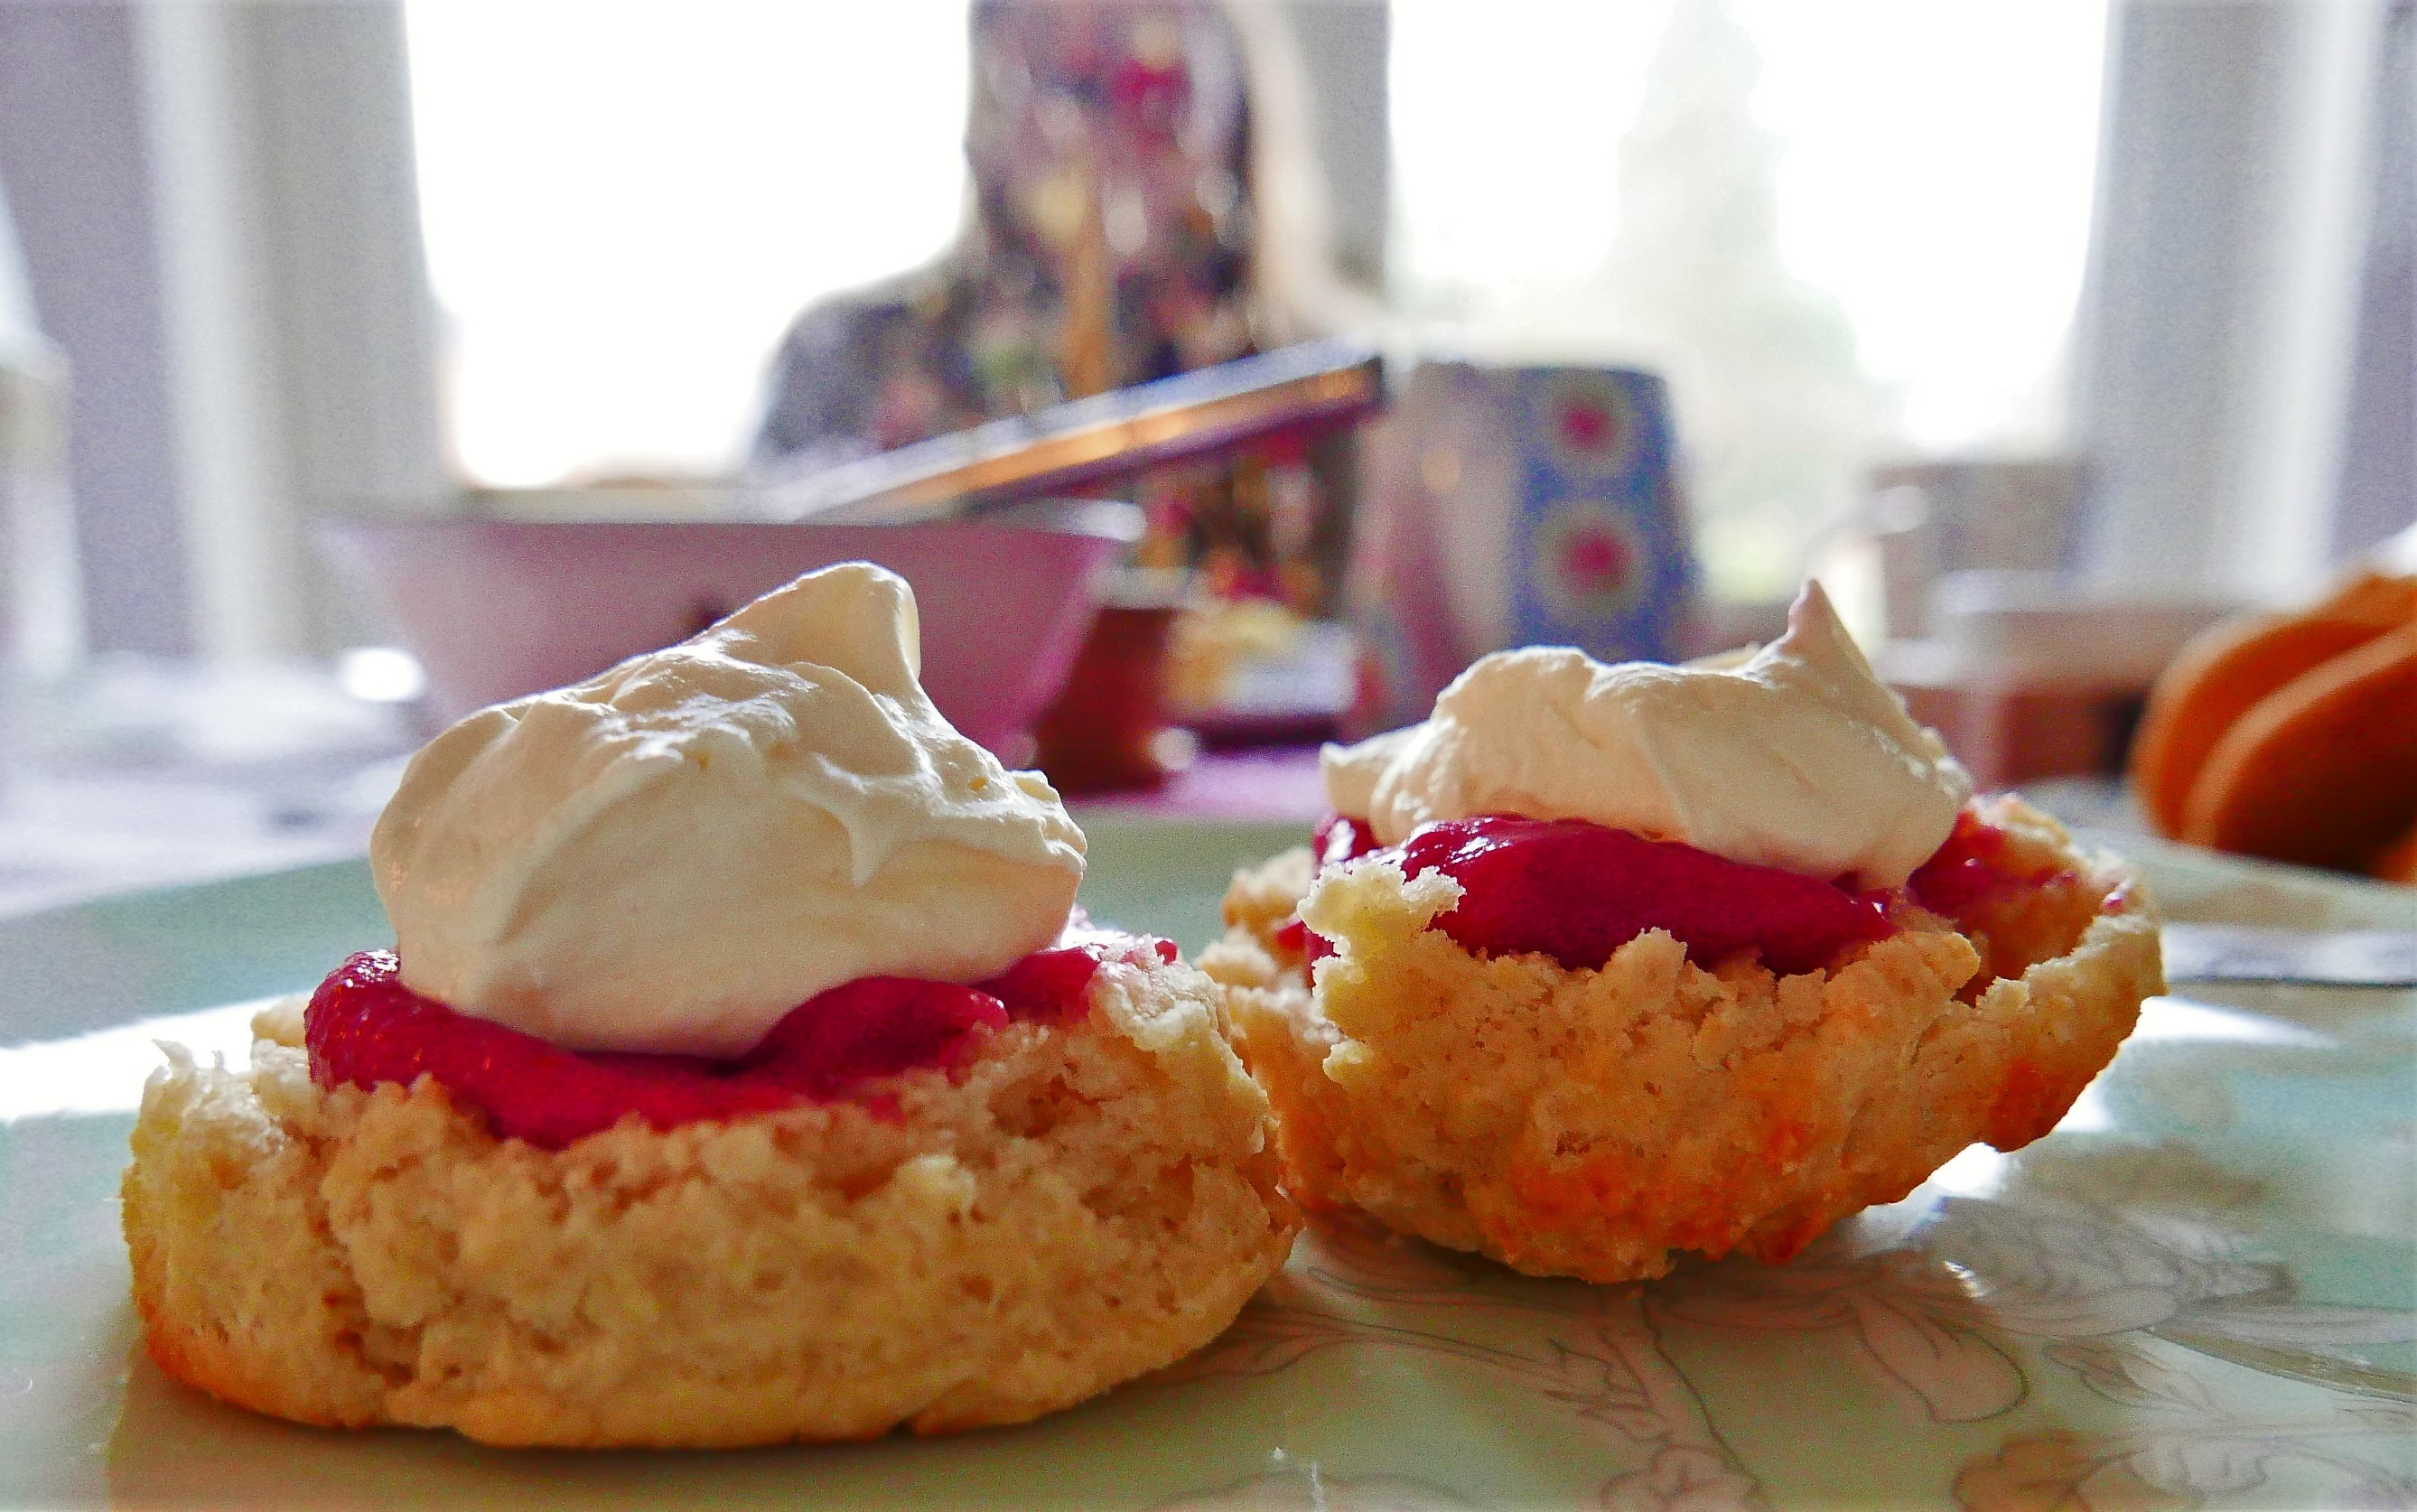
I’m seriously fond of my own ‘simple scones’ – they are so light and fluffy, and a perfect receptacle for some delicious whipped cream and jam. I think that they were the very first recipe I posted here on Eating for Ireland.
Here’s the link in case you just want plain scones!
https://eatingforireland.com/recipe/home-made-scones/
I’ve always felt though, that the very lightness of them didn’t really support any additions, so I’d been looking for a good fruit scone recipe, and I finally found it!
This recipe came from the Good Food website, and I make these scones literally at the drop of a hat. They always turn out beautifully – she said modestly..
It’s a slightly bigger recipe than my simple scones, but you get 8-10 really good-sized scones for your money – don’t worry about over-catering – they’ll be gone in a flash!
EQUIPMENT:
- A large mixing bowl
- measuring spoons
- Balloon whisk
- Large shallow baking tray
- Coarse grater
- flat-bladed knife
- Sharp knife for cutting scones
- Rolling pin
- Pastry brush
INGREDIENTS: This recipe will give you 8-10 large scones
- 350g Self Raising Flour
- 1 spoonful of Baking Powder – please use measuring spoons for this, it’s actually quite important
- 1/4 teaspoon salt
- 85g very cold unsalted butter
- 3 tablespoons of caster sugar – I use Golden caster.
- 100g Sultanas or Raisins
- 100-150mls Buttermilk
- 1 capful of Vanilla or Orange extract – optional
- a small egg, and a splash of milk, beaten together – optional.
METHOD:
- Heat the oven to 200°Fan – so yes, very hot.
- Put the baking tray in to heat. Cut a sheet of baking parchment for the tray, and keep it nearby when cutting the scones.
- Sift the Flour, Baking Powder and salt together into the mixing bowl, mix it together with the Balloon whisk.
- Grate in the butter – dip it into the flour mixture to keep it from sticking to your hands as you grate. Using your hands, crumble/rub the butter into the flour, until there are no big lumps of butter left.
- Mix in the sugar.
- Add the fruit, and mix through.
- Add about 100mls of the Buttermilk and the vanilla or orange extract –
- Then – using the flat-bladed knife – start to bring the dough together, adding extra Buttermilk a little at a time as you need it to make a fairly thick dough. Turn the dough over and over to gather up all the last bits of dryish mixture.
- Flour your hands, then move the dough in one piece onto a floured surface, and fold it over itself 2 or 3 times – as with all scone mixtures, avoid over-handling it.
- Pat it into an oval shape about 3cms deep.
- Give it a gentle roll with the Rolling pin to smooth out the top
- Remove the heated tray from the oven, put it on a heat-proof board, and put the sheet of baking parchment on it.
- Start cutting out the scones, and as you do, place them onto the tray immediately.
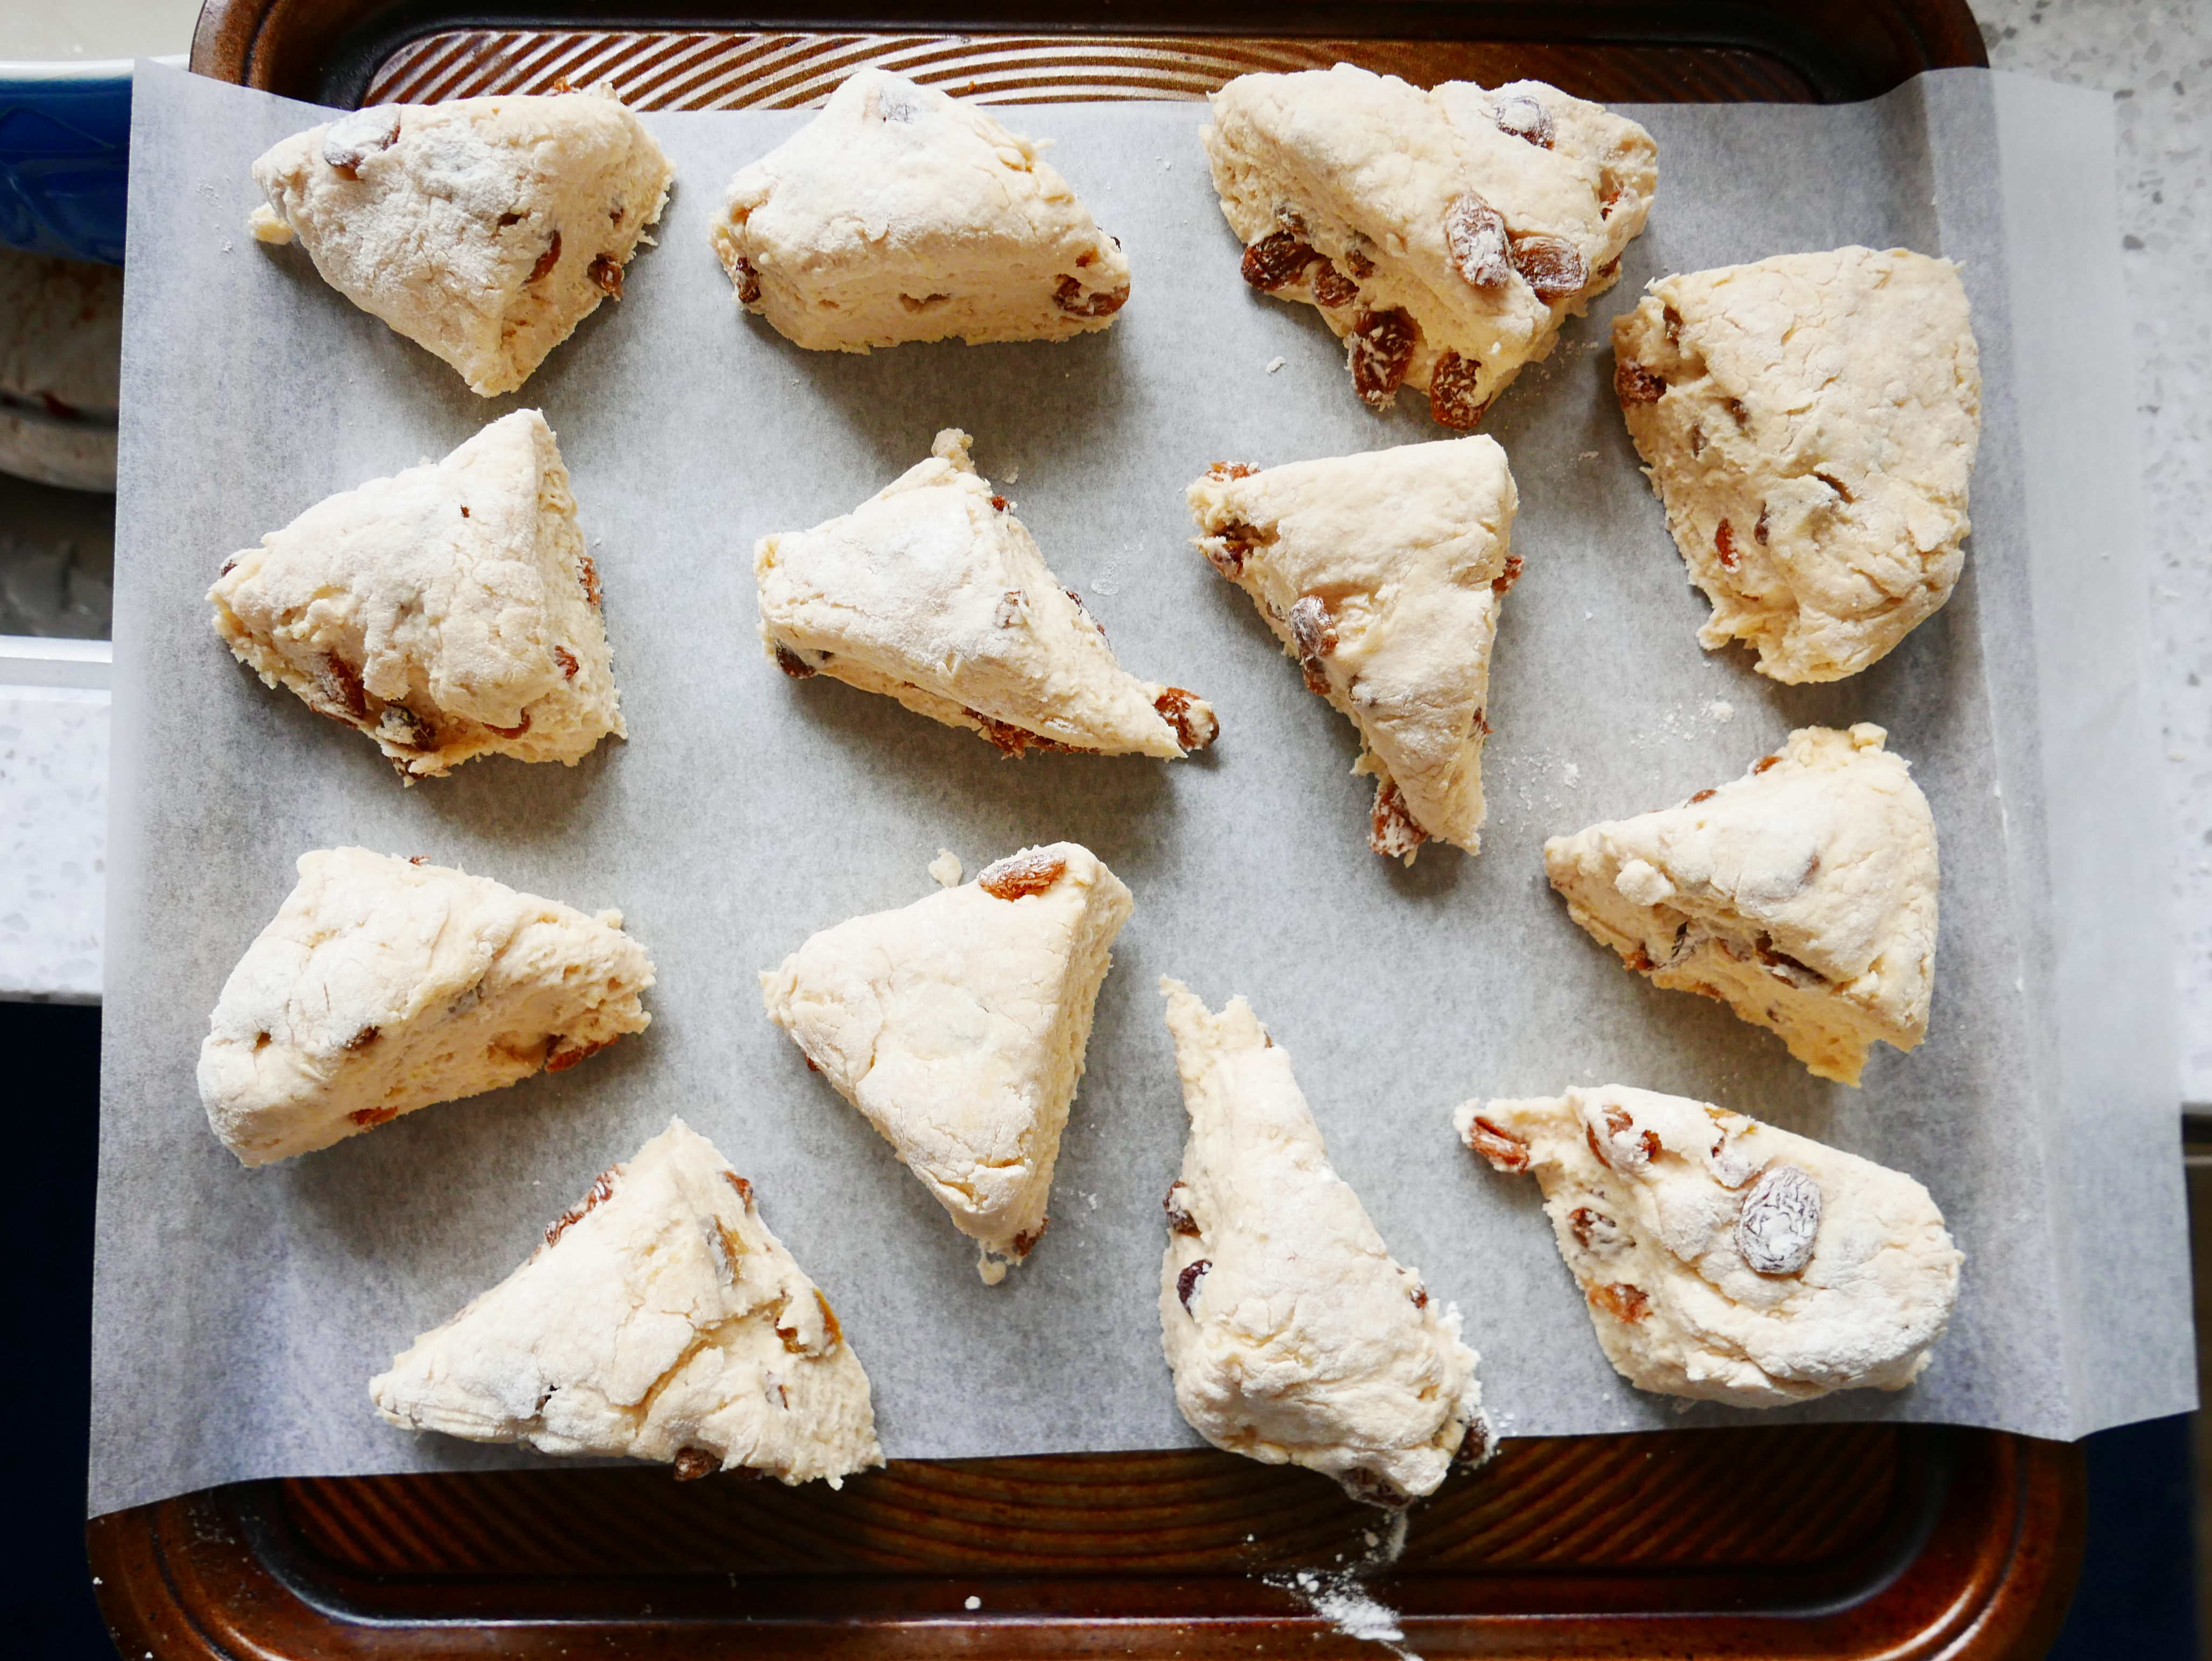
- Here’s the easy ‘no-cutters’ method of cutting this dough! I gave up using pastry cutters for fruit scones very early on, as I kept running into those pesky raisins! This method is really quick and easy, AND there’s no re-rolling! Result!
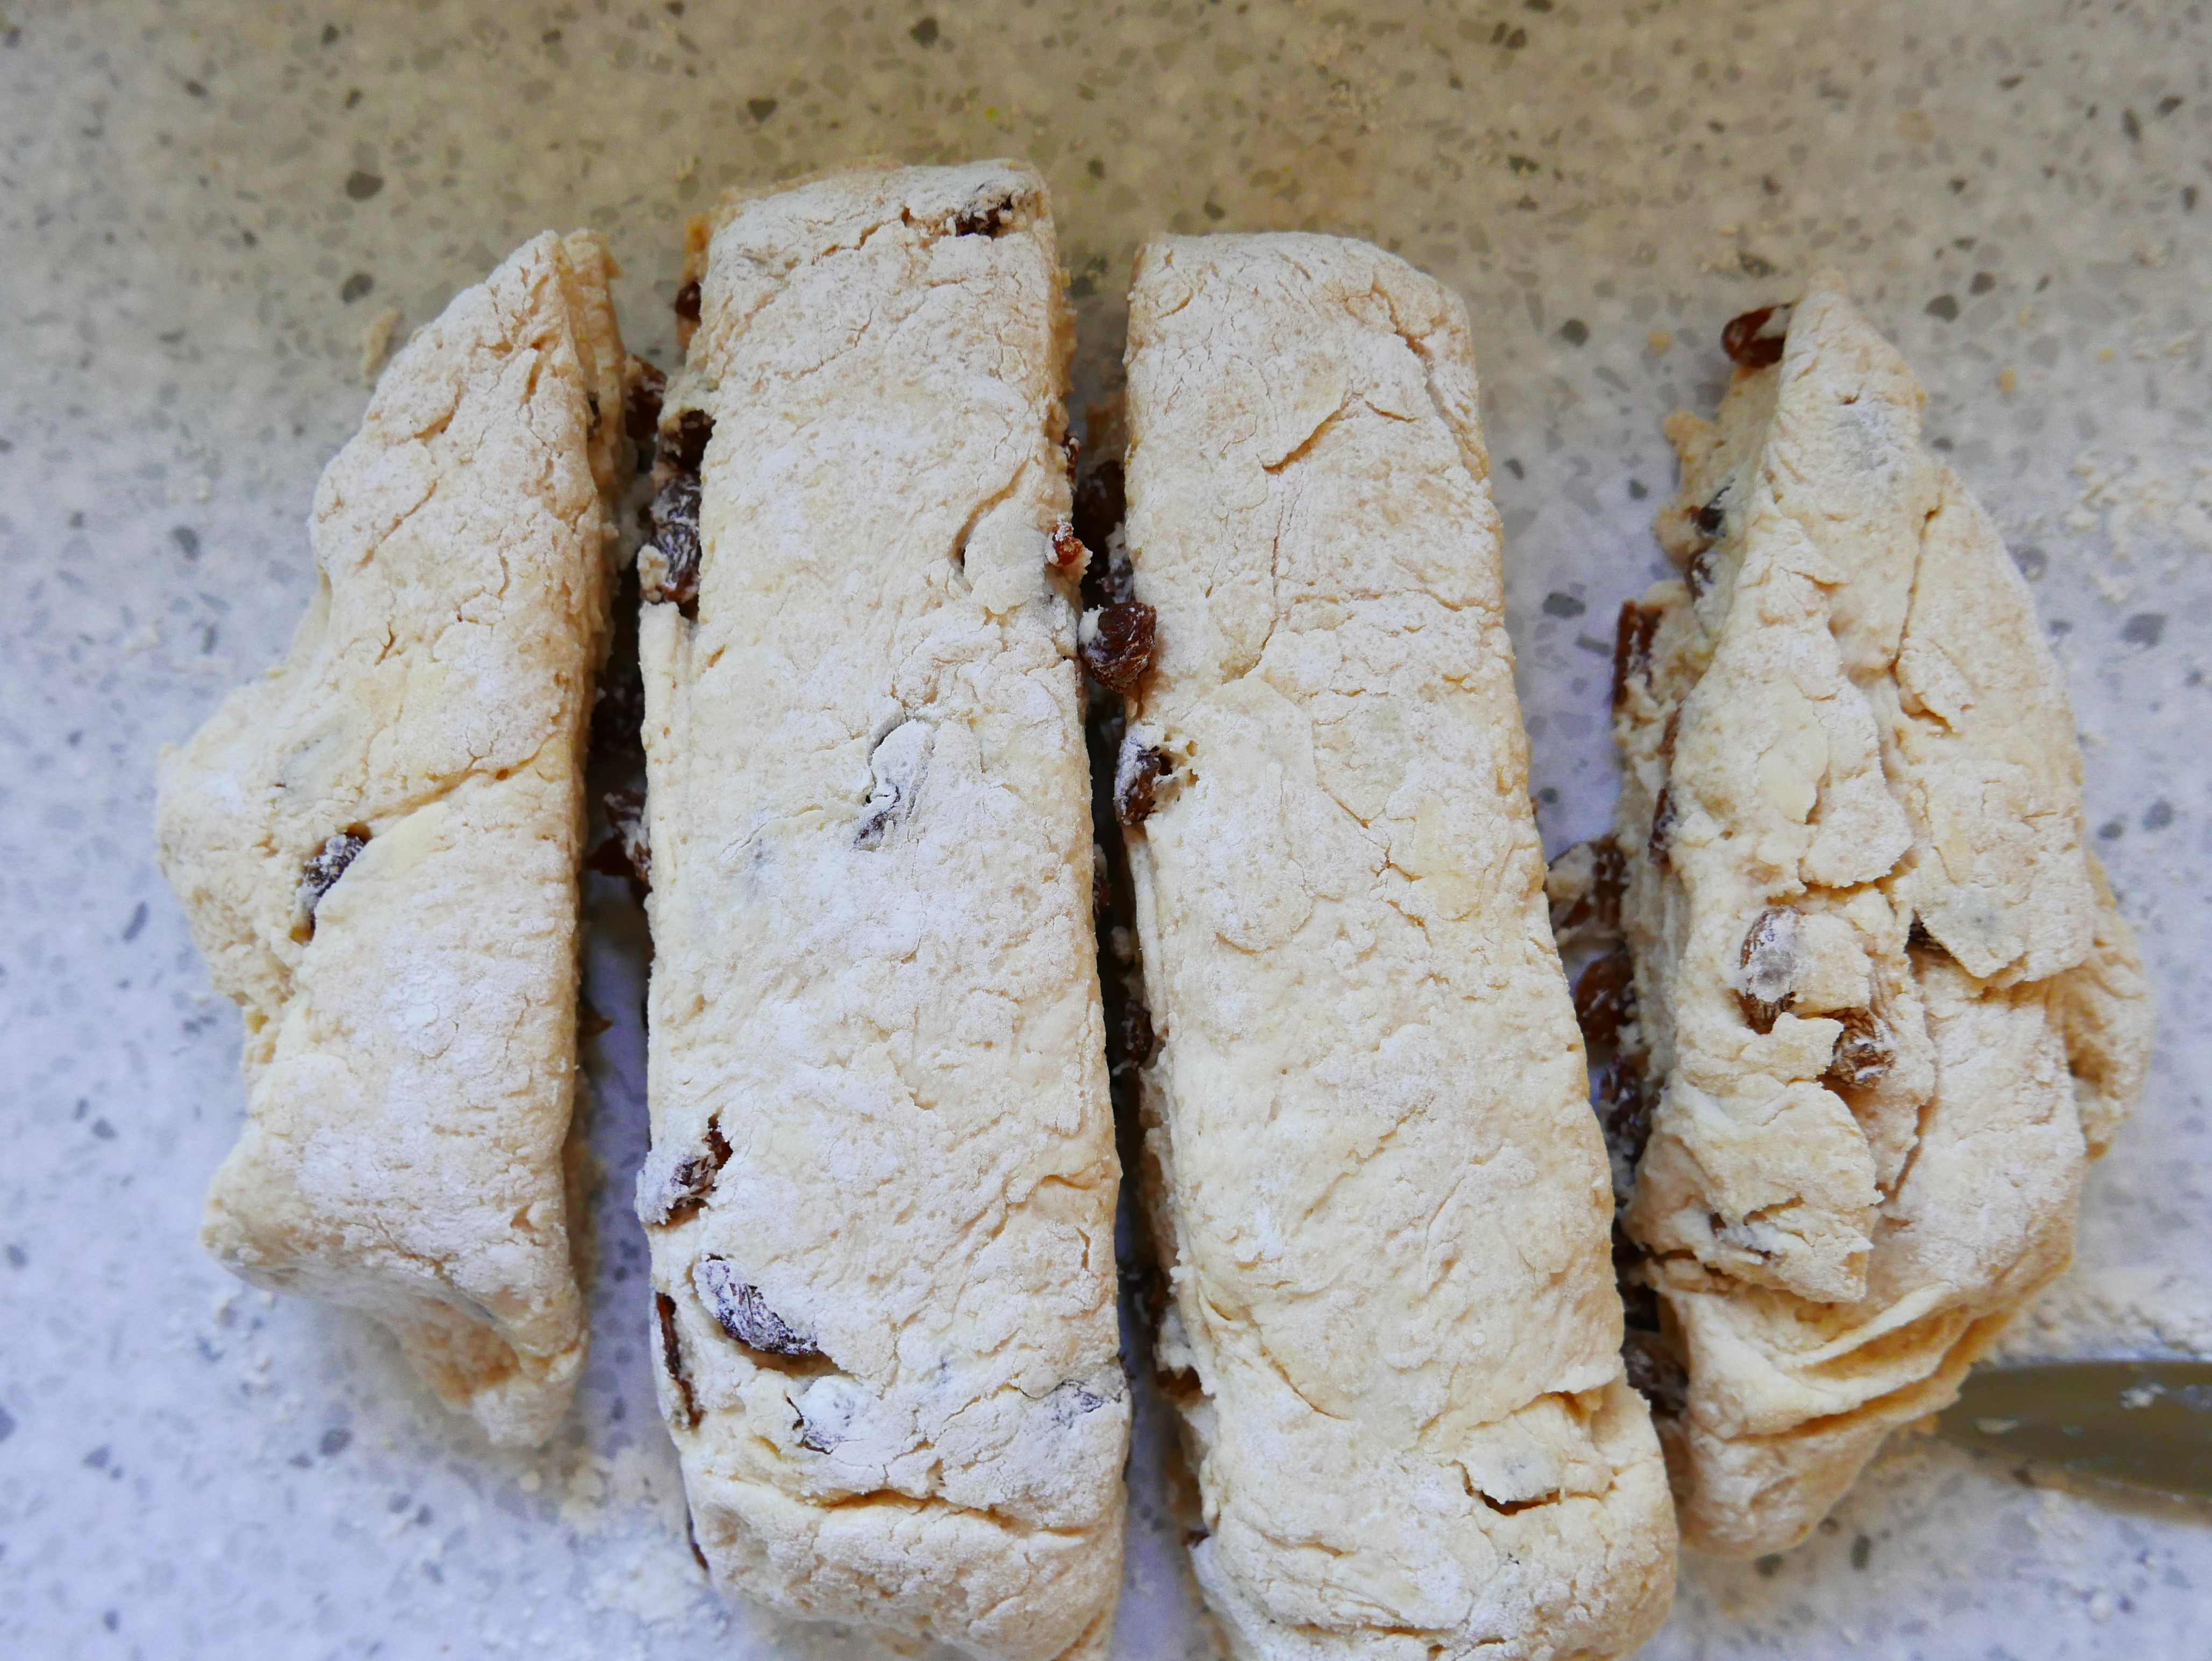
- Bring the dough to the ready-to-cut stage, then, using a sharp knife, cut it into 4 bands as seen above.
- Cut the two end blocks into 2 scones each.
- Then cut the two central blocks into 4.

- Cut each long piece into 4 triangular pieces
- Pop them onto the heated tray as you cut them.
- Using a pastry brush, paint the tops of the scones with an egg wash, or if you’re short of time/bone idle like me, with just a little extra buttermilk – or, you know, not at all…
- Put the tray straight into the hot oven and put 12 minutes on the timer.
- After 10 minutes, have a look – the scones will have risen nicely, but will be a bit pale still – so gently turn the tray around, and give them another 3-4 minutes until they’re nicely browned.
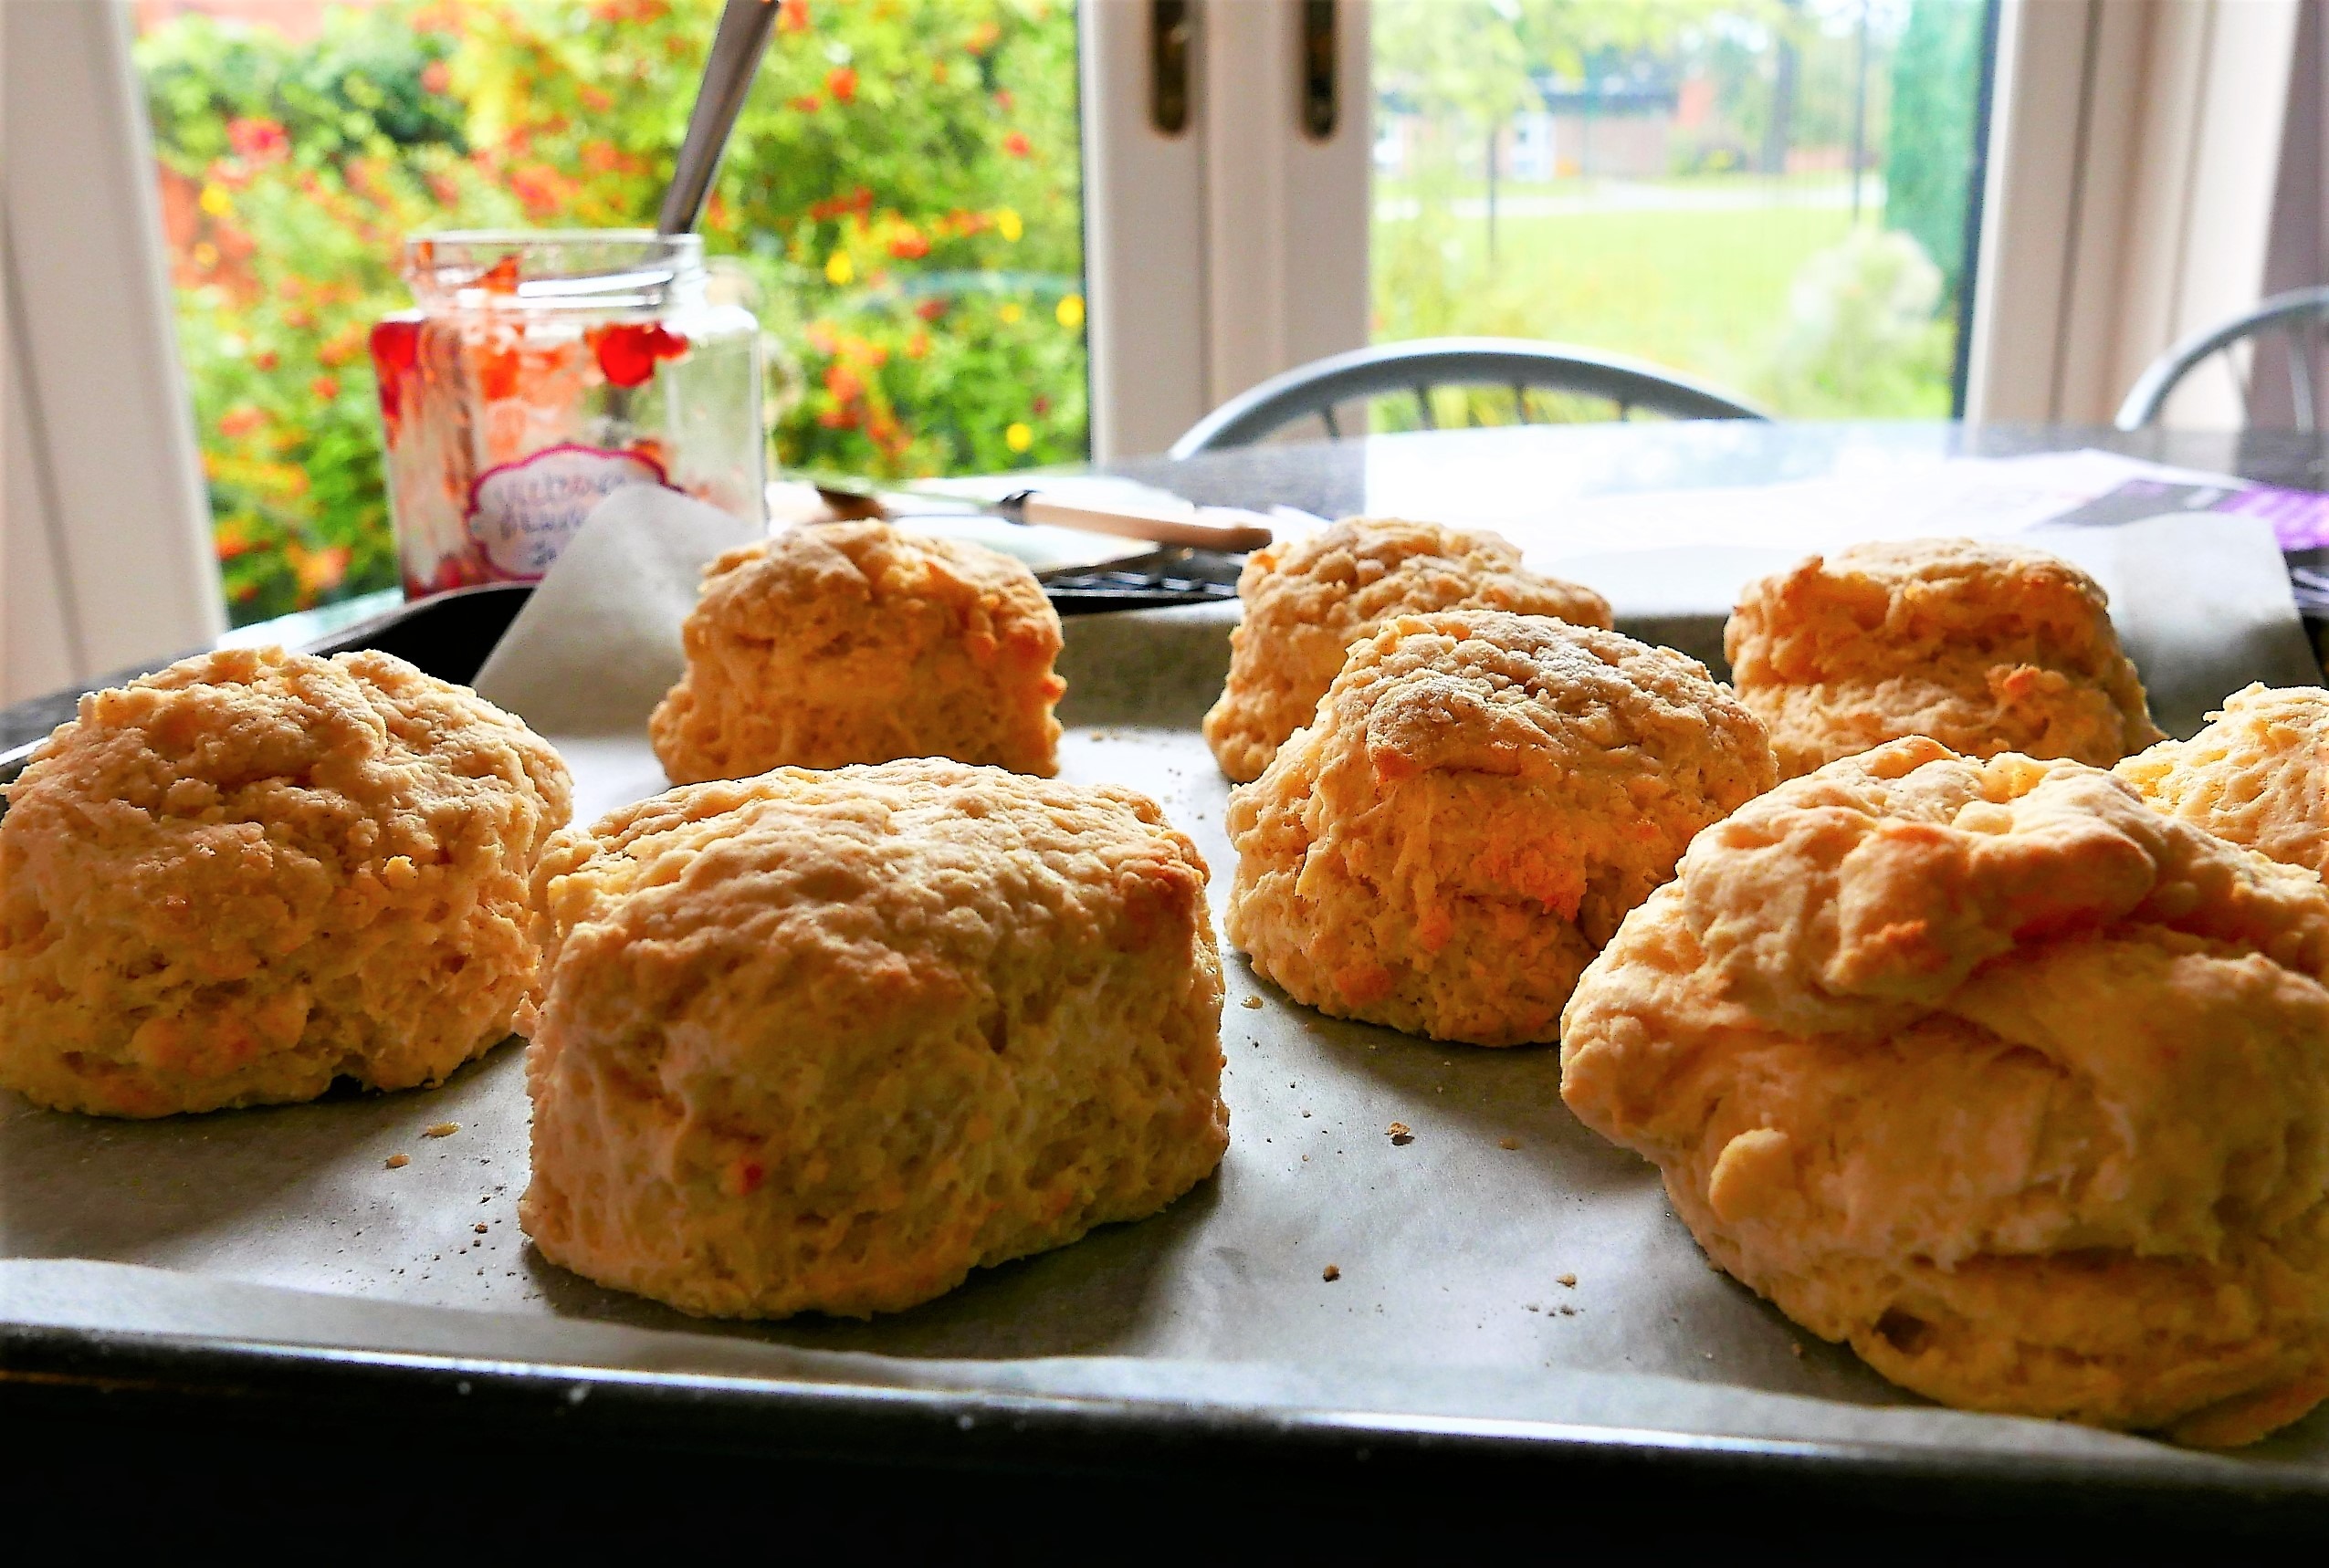
- Once browned to your liking, remove them to a cooling rack.
- These are lovely warm, with some butter, or cooler with butter or cream, and jam.
- They’re best on the day they’re made, but absolutely fine for even a day or two afterwards.
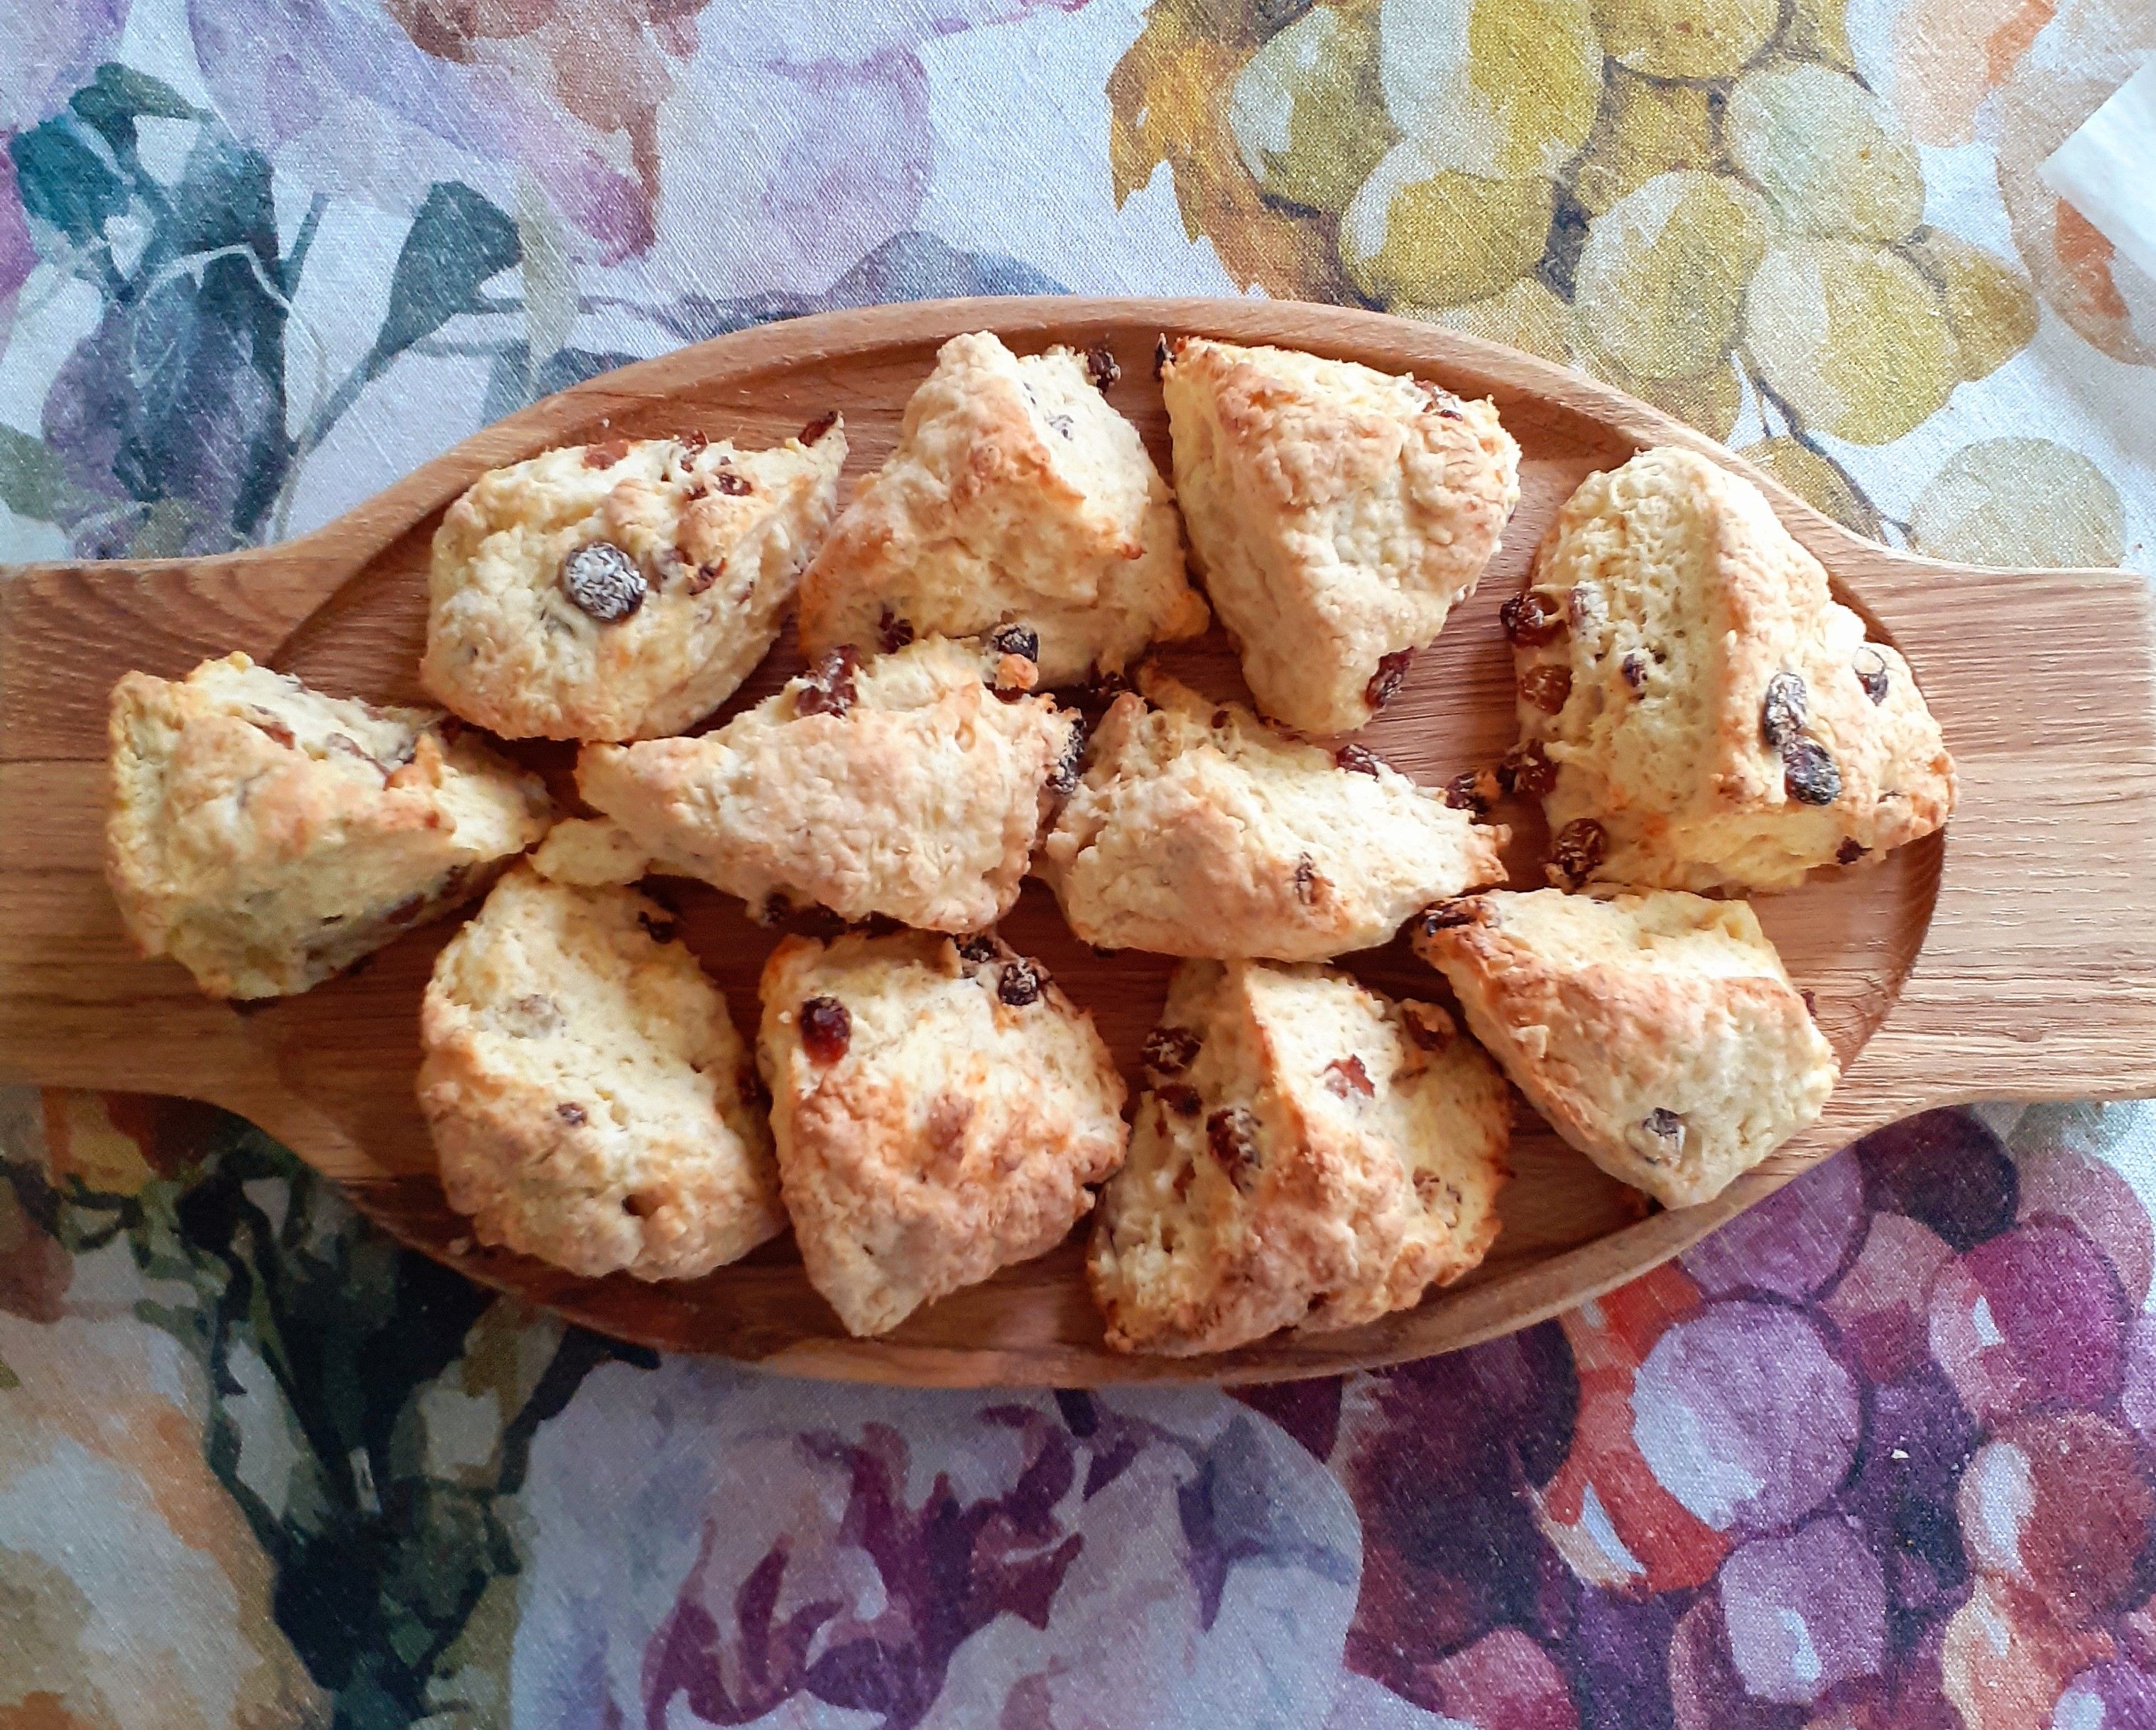
Look at them! Aren’t they so cute?
NOTES:
- Mostly I don’t bother with the egg wash etc. ‘cos that’s the sort of me.. 😉
- However, I have started using measuring spoons for things like Baking Powder etc. I used to just pull a spoon out of the cutlery drawer, which was a bit haphazard, so I’m happier using proper measuring spoons – if you can get yourself a set, they’re a good investment..
I started writing down recipes in an old copybook when I was about 16. With 6 children at home, my Mother was always glad of a hand in the kitchen, and really allowed us to experiment - as long as we washed up afterwards, and left the kitchen immaculate! Having a tidy kitchen has followed me through my life, as has the habit of writing down my favourite recipes; except that these days I write them for my website, and add photographs when I can. The website really started when it occurred to me that my daughter might like to have these recipes when I've forgotten them. In my early days of cooking for family and friends, I used to phone my Mum all the time to ask her for the recipe for some of our favourite family dinners. She rarely had a recipe to hand - I think, like me, she made a lot of it up as she went along.. So welcome to Eating for Ireland - these are the recipes that my friends and family having been eating these past 40 years.. yes, I truly am ancient! They are tried and tested, and have worked for me for all that time - I have updated them as new ingredients became available - I really hope you'll find something that you can make into a family favourite of your own. You don't have to tell anyone where you found these great new dishes that you're serving up - it can be our little secret, but I'd really love it if you could give me a sneaky 'follow' on Facebook and Instagram.. So off you go - have a good rummage around, you're bound to find something new! My sincere thanks to all of you who have found a recipe that you liked and dropped me a line to tell me - I really do love to hear from you! Happy Cooking! Becks xx