
These are Mr Saturday Night’s favourite traybakes, ever since a lady in his sister’s Florist shop brought them to work many moons ago.
It’s taken this long to get a recipe because they only seem to appear in old charity cookbooks, so I’m very grateful to our cousin Elisabeth for digging out her Mother’s much-loved and well-worn Women’s Institute cookbook to find this for me.
In my usual spirit of not being able to leave well alone, I’ve made a few small changes, to reflect newer ingredients etc. but these little slices of heaven turned out pretty much as Mr SN remembered them.
There is also one serious down-side (apart from the calorie count 😉 ) – you really must let them chill over-night, so that they’ll hold their shape. They are definitely better the next day, or even the day after that (if you have the strength of character – which I lack… )
All that said, they really are delicious, so let’s have a go..
Makes either 16 or 25 traybakes; although as a little goes a long way, I got 25 out of this batch
EQUIPMENT:
- Food processor
- Medium sized bowl
- 8″/20cm square, 4cm deep baking tray, greased and lined with baking parchment

- Electric beater
INGREDIENTS:
For the biscuit base:
- 200g Ginger nut biscuits, whizzed to crumbs (I recommend doing this in two batches, or else you’ll get lumps)
- 100g butter, melted
For the cream-cheese layer:
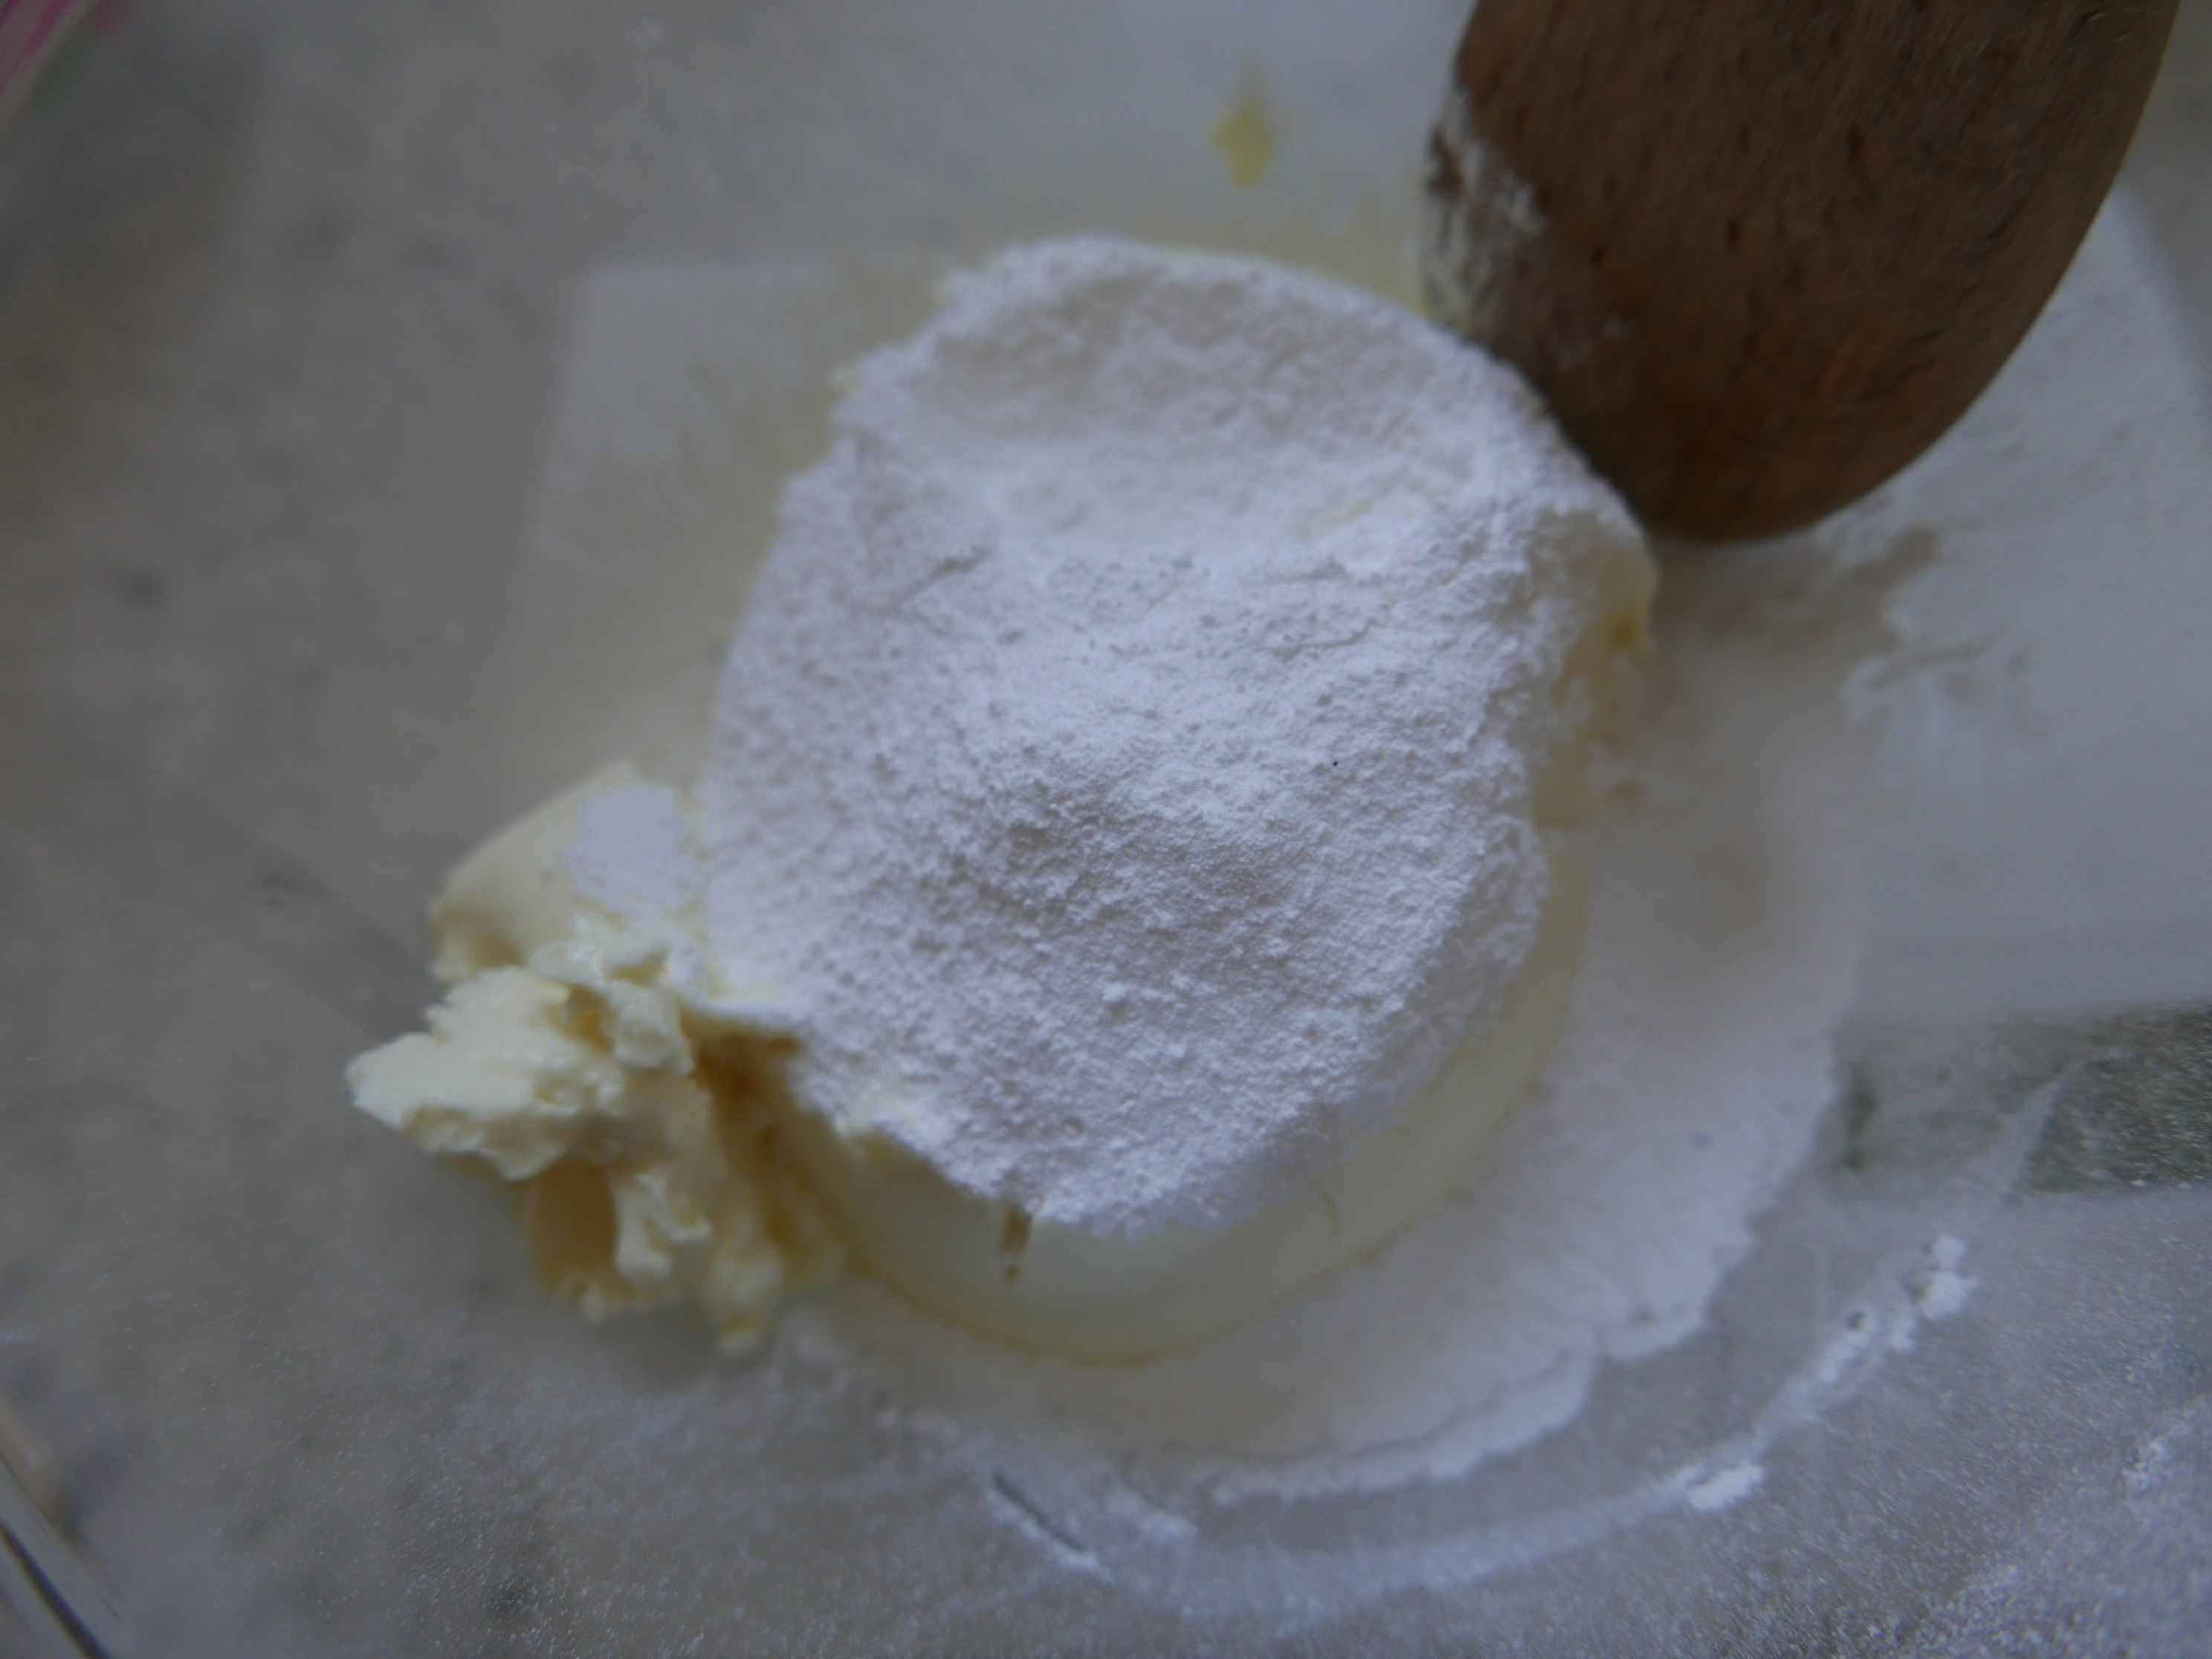
- 250g tub of Mascarpone
- 50g icing sugar
- 1 level teaspoon of ground Coriander (see NOTES ↓) or a Capful of vanilla extract
For the Pineapple and cream topping:
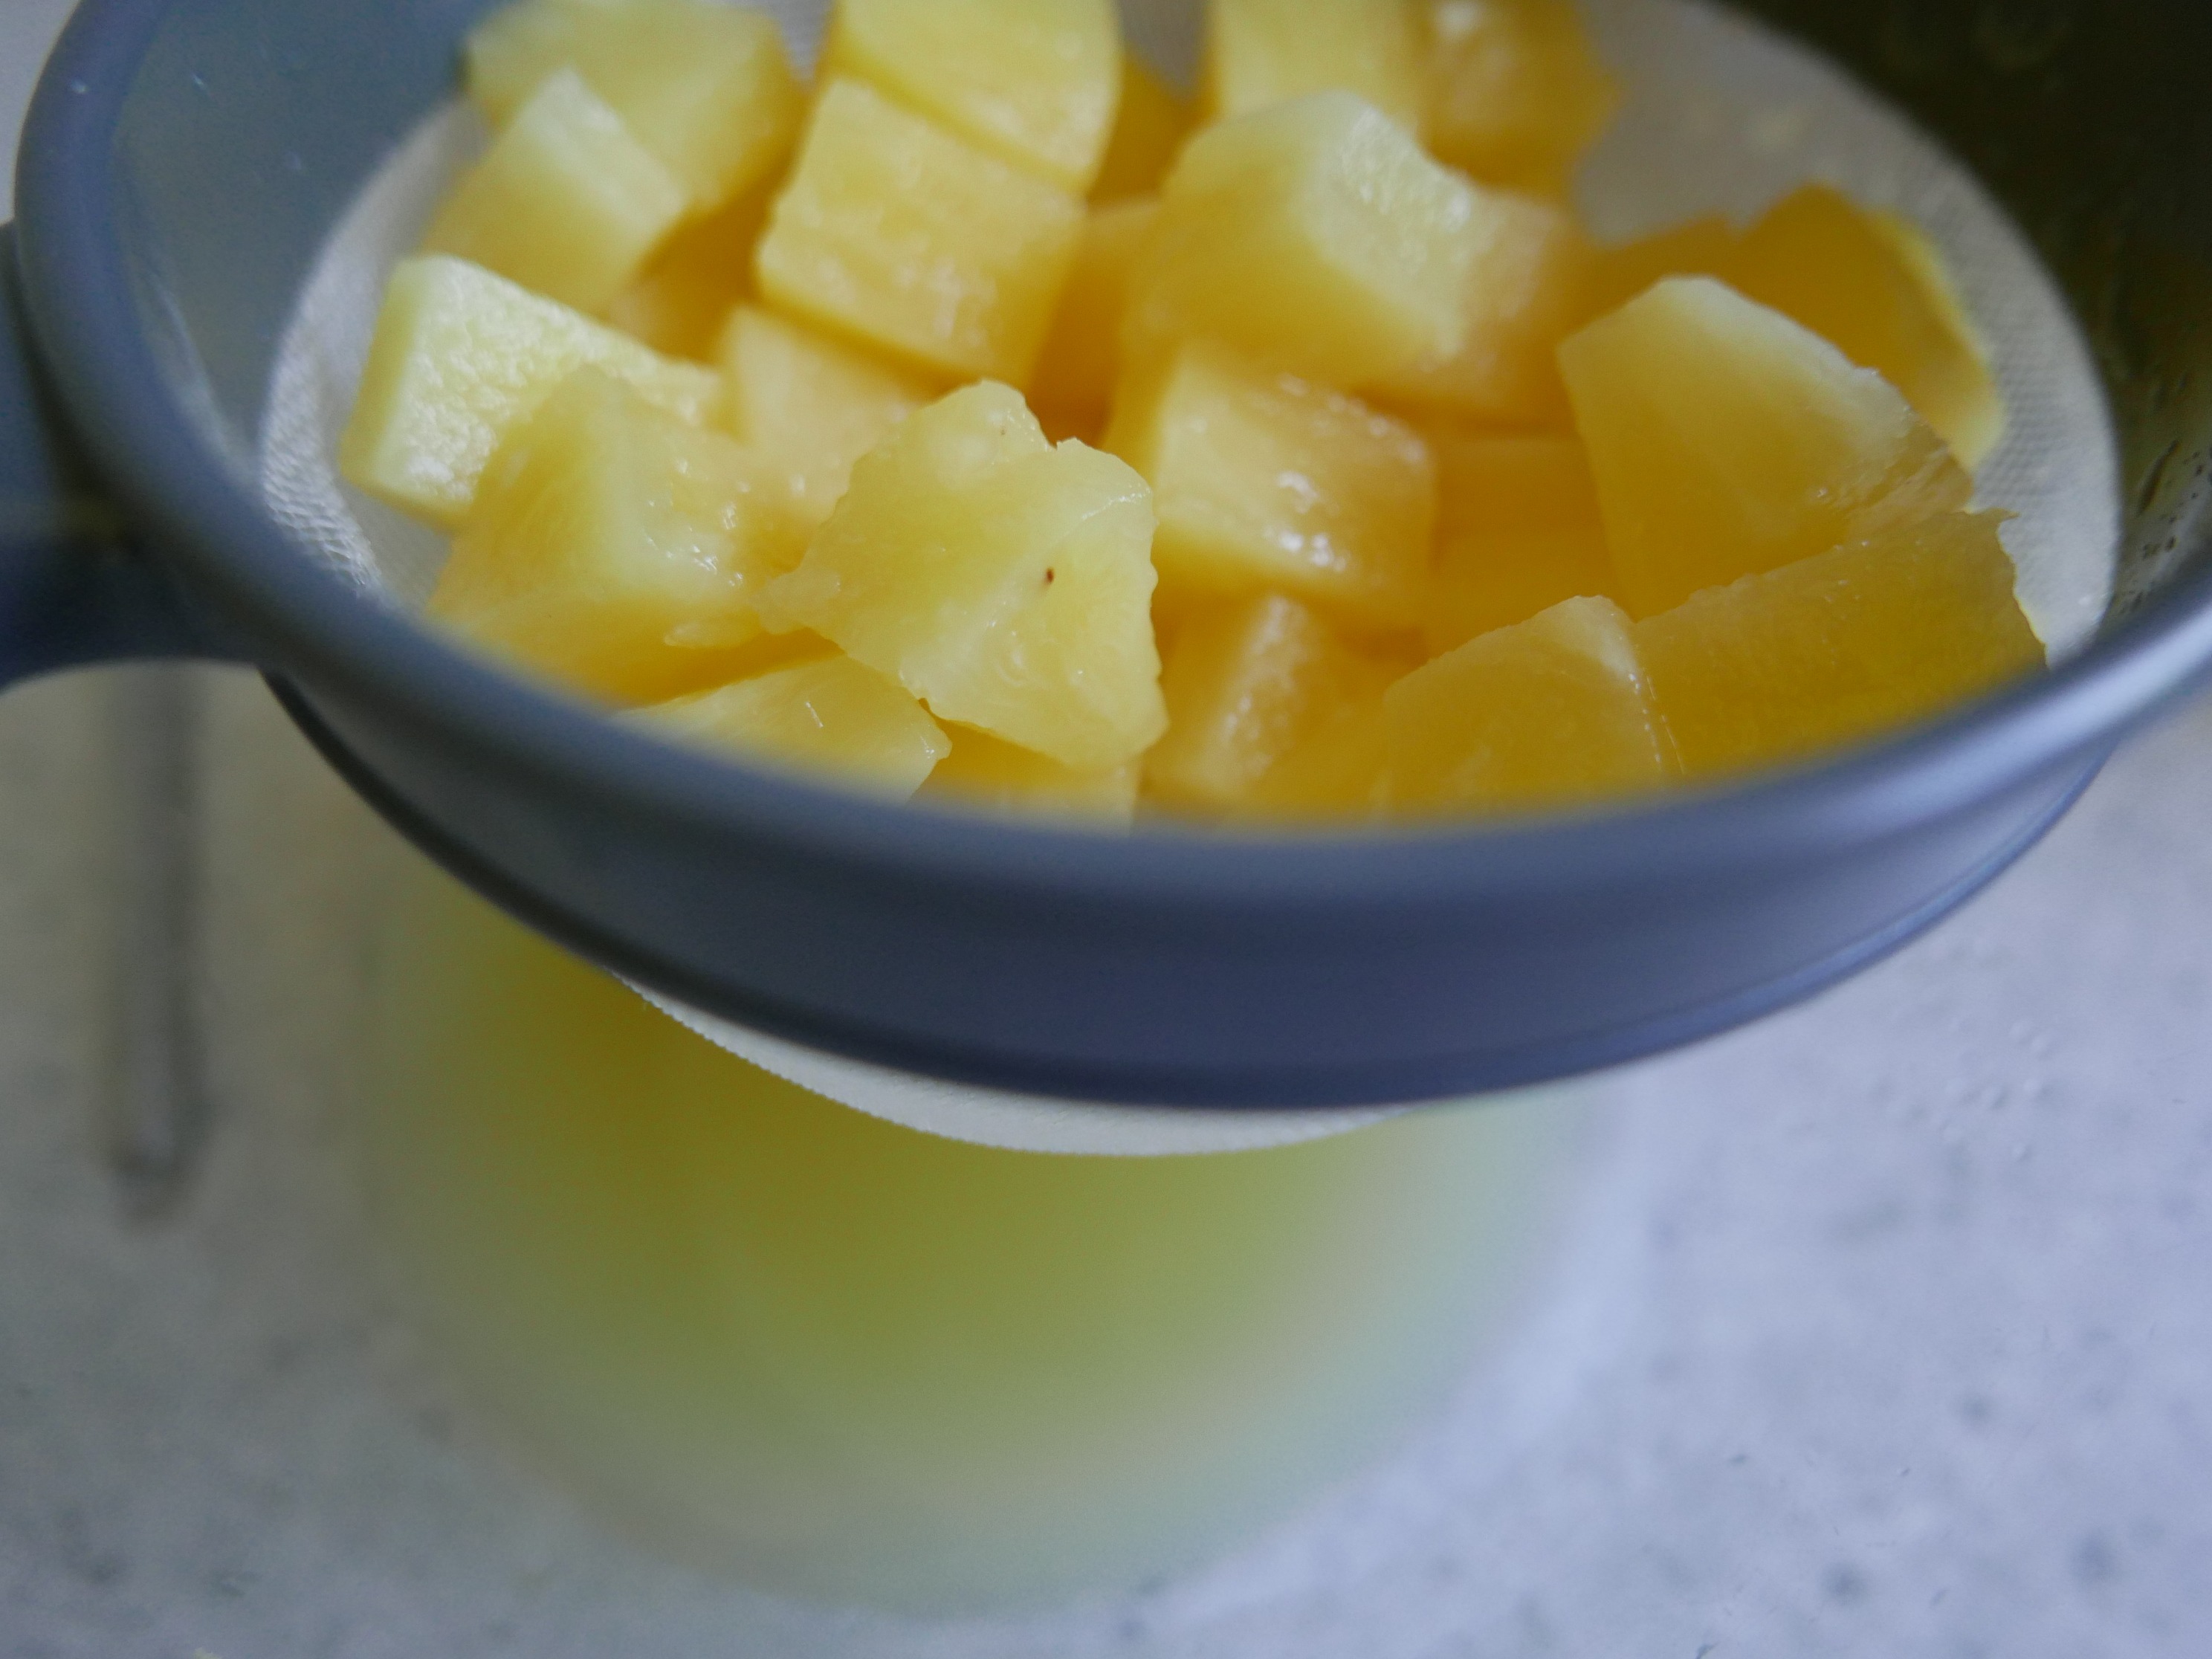
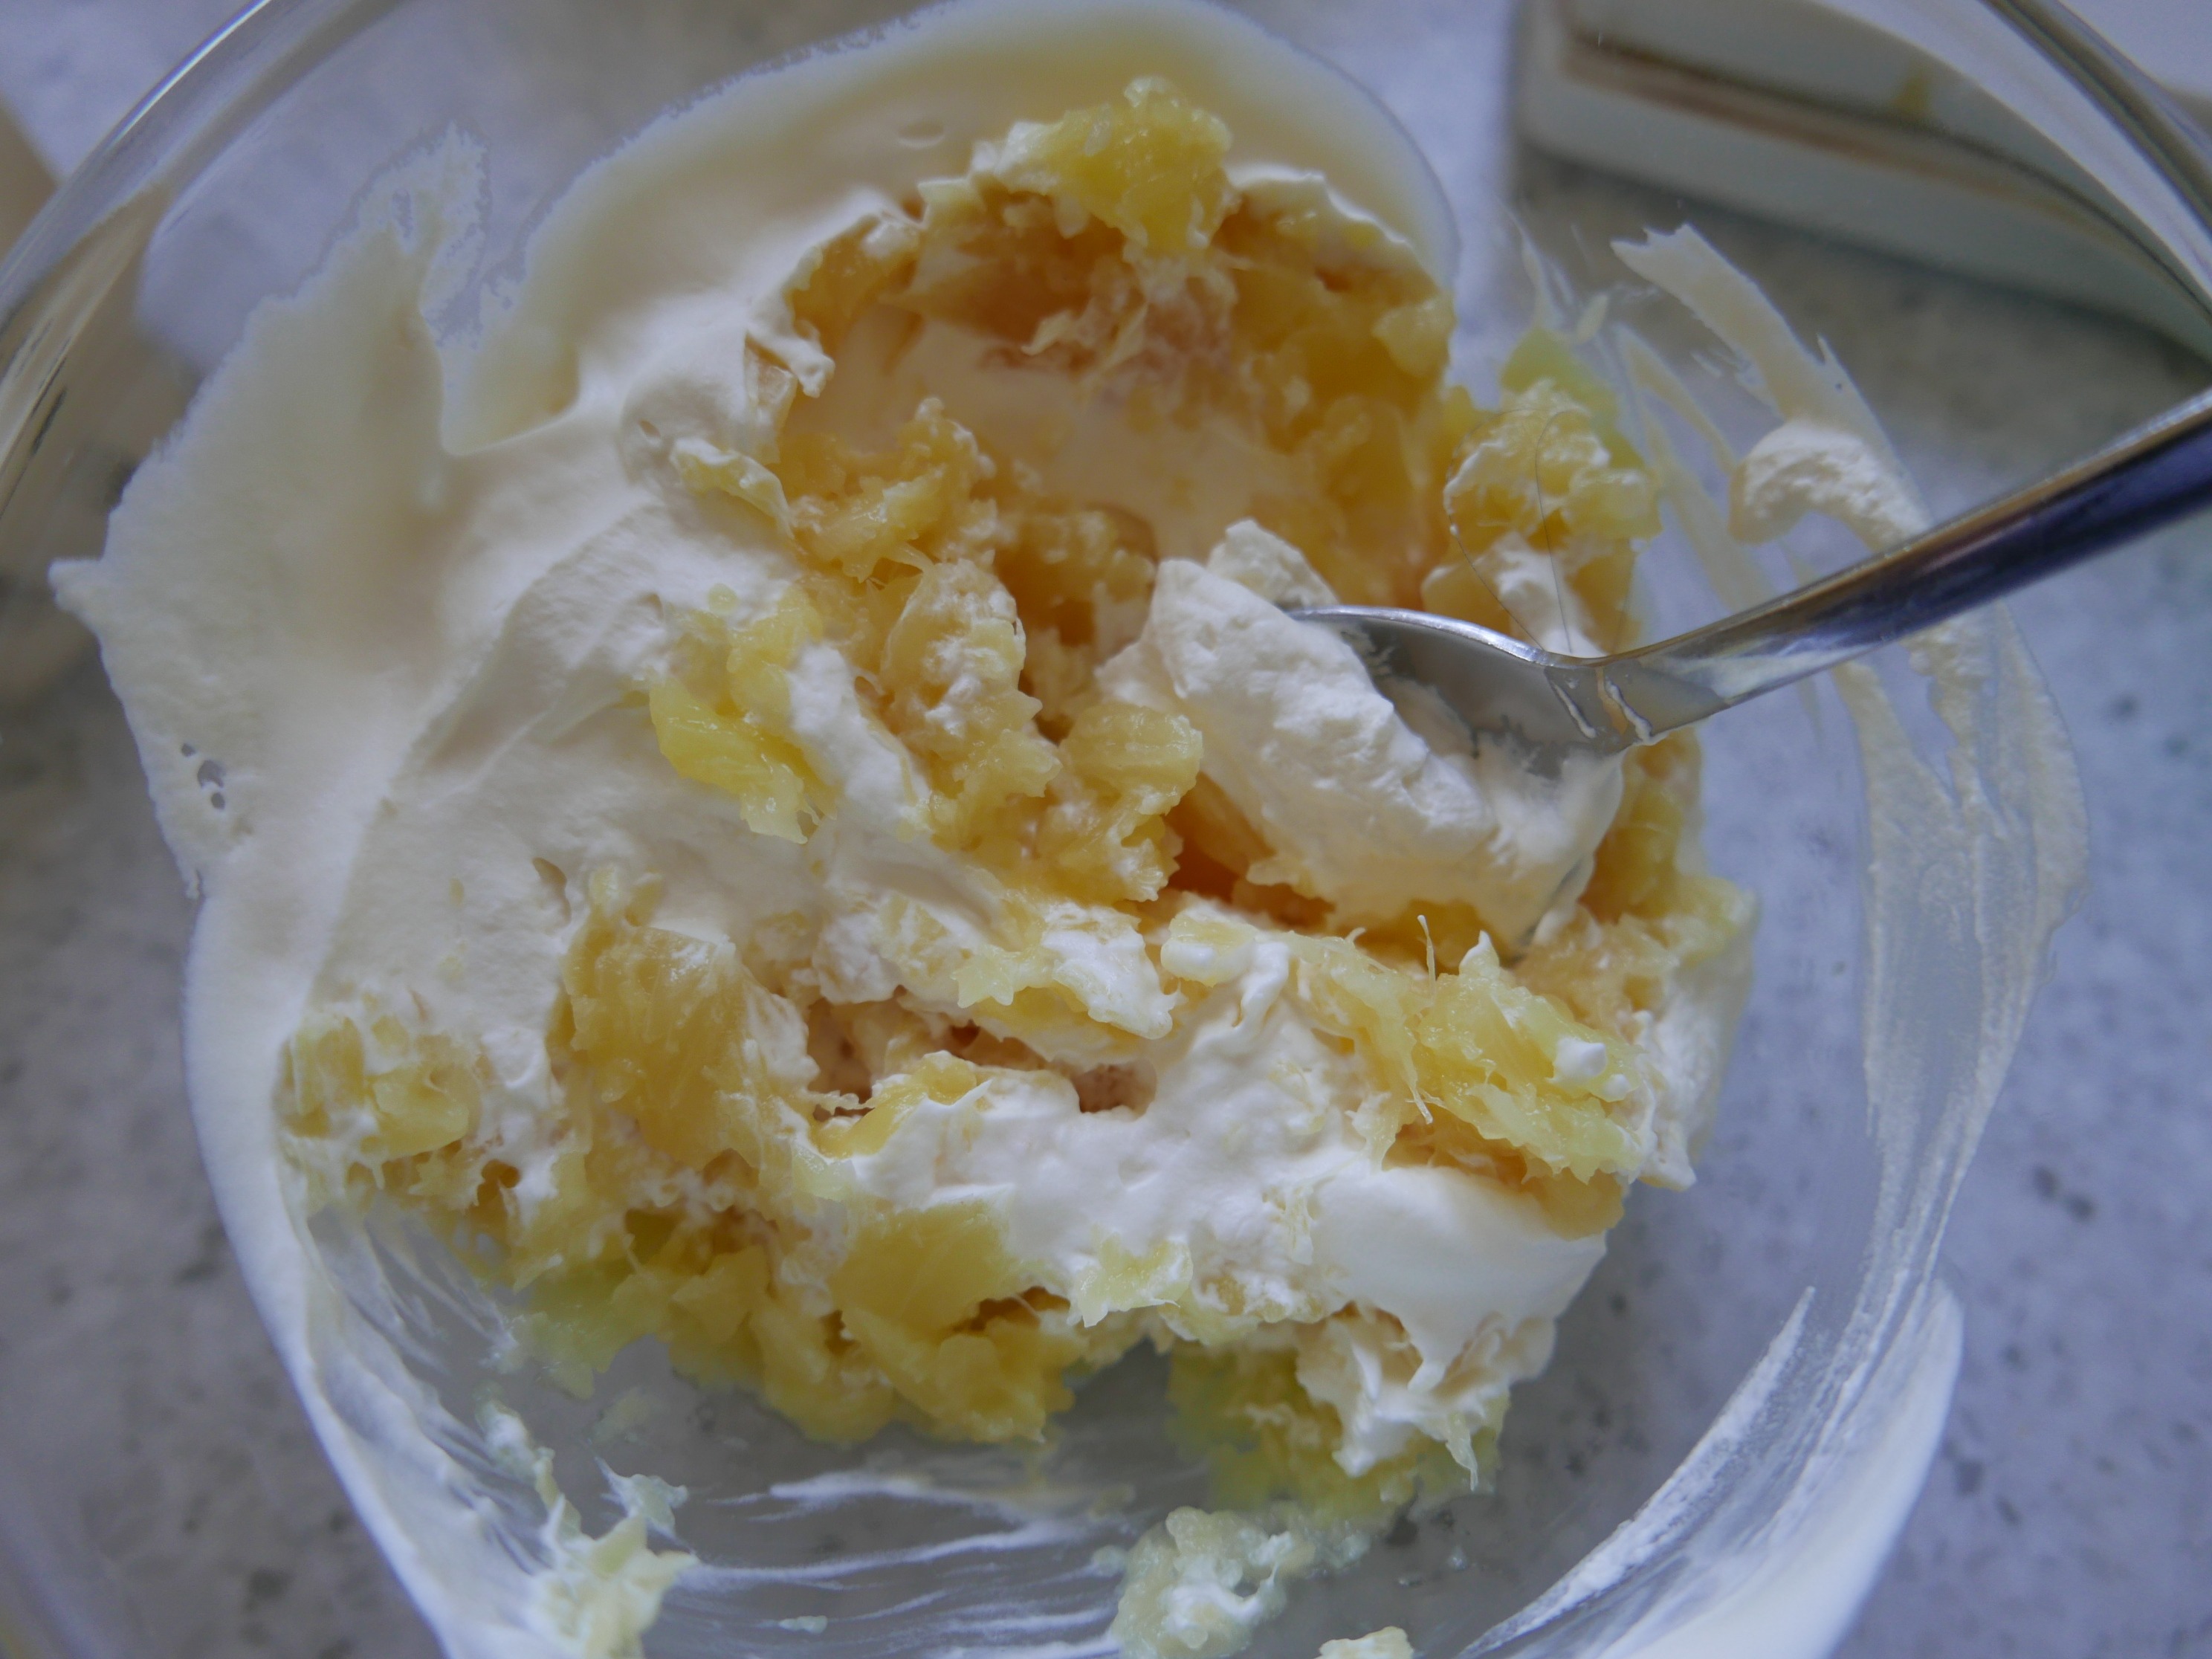
- 430g tin of crushed Pineapple in juice, drained (see NOTES ↓)
- 250ml whipping cream
- toasted desiccated coconut (optional) for a final garnish, or some more biscuit crumbs, or a sprinkle of sifted cocoa…
METHOD:
- Firstly, empty the pineapple into a sieve to drain.
- Heat the oven to 180 fan
- Crush the biscuits, and mix through the melted butter until it’s well combined.

- Empty this into the prepared tray and distribute evenly, pressing down into the corners etc. with the back of a spoon
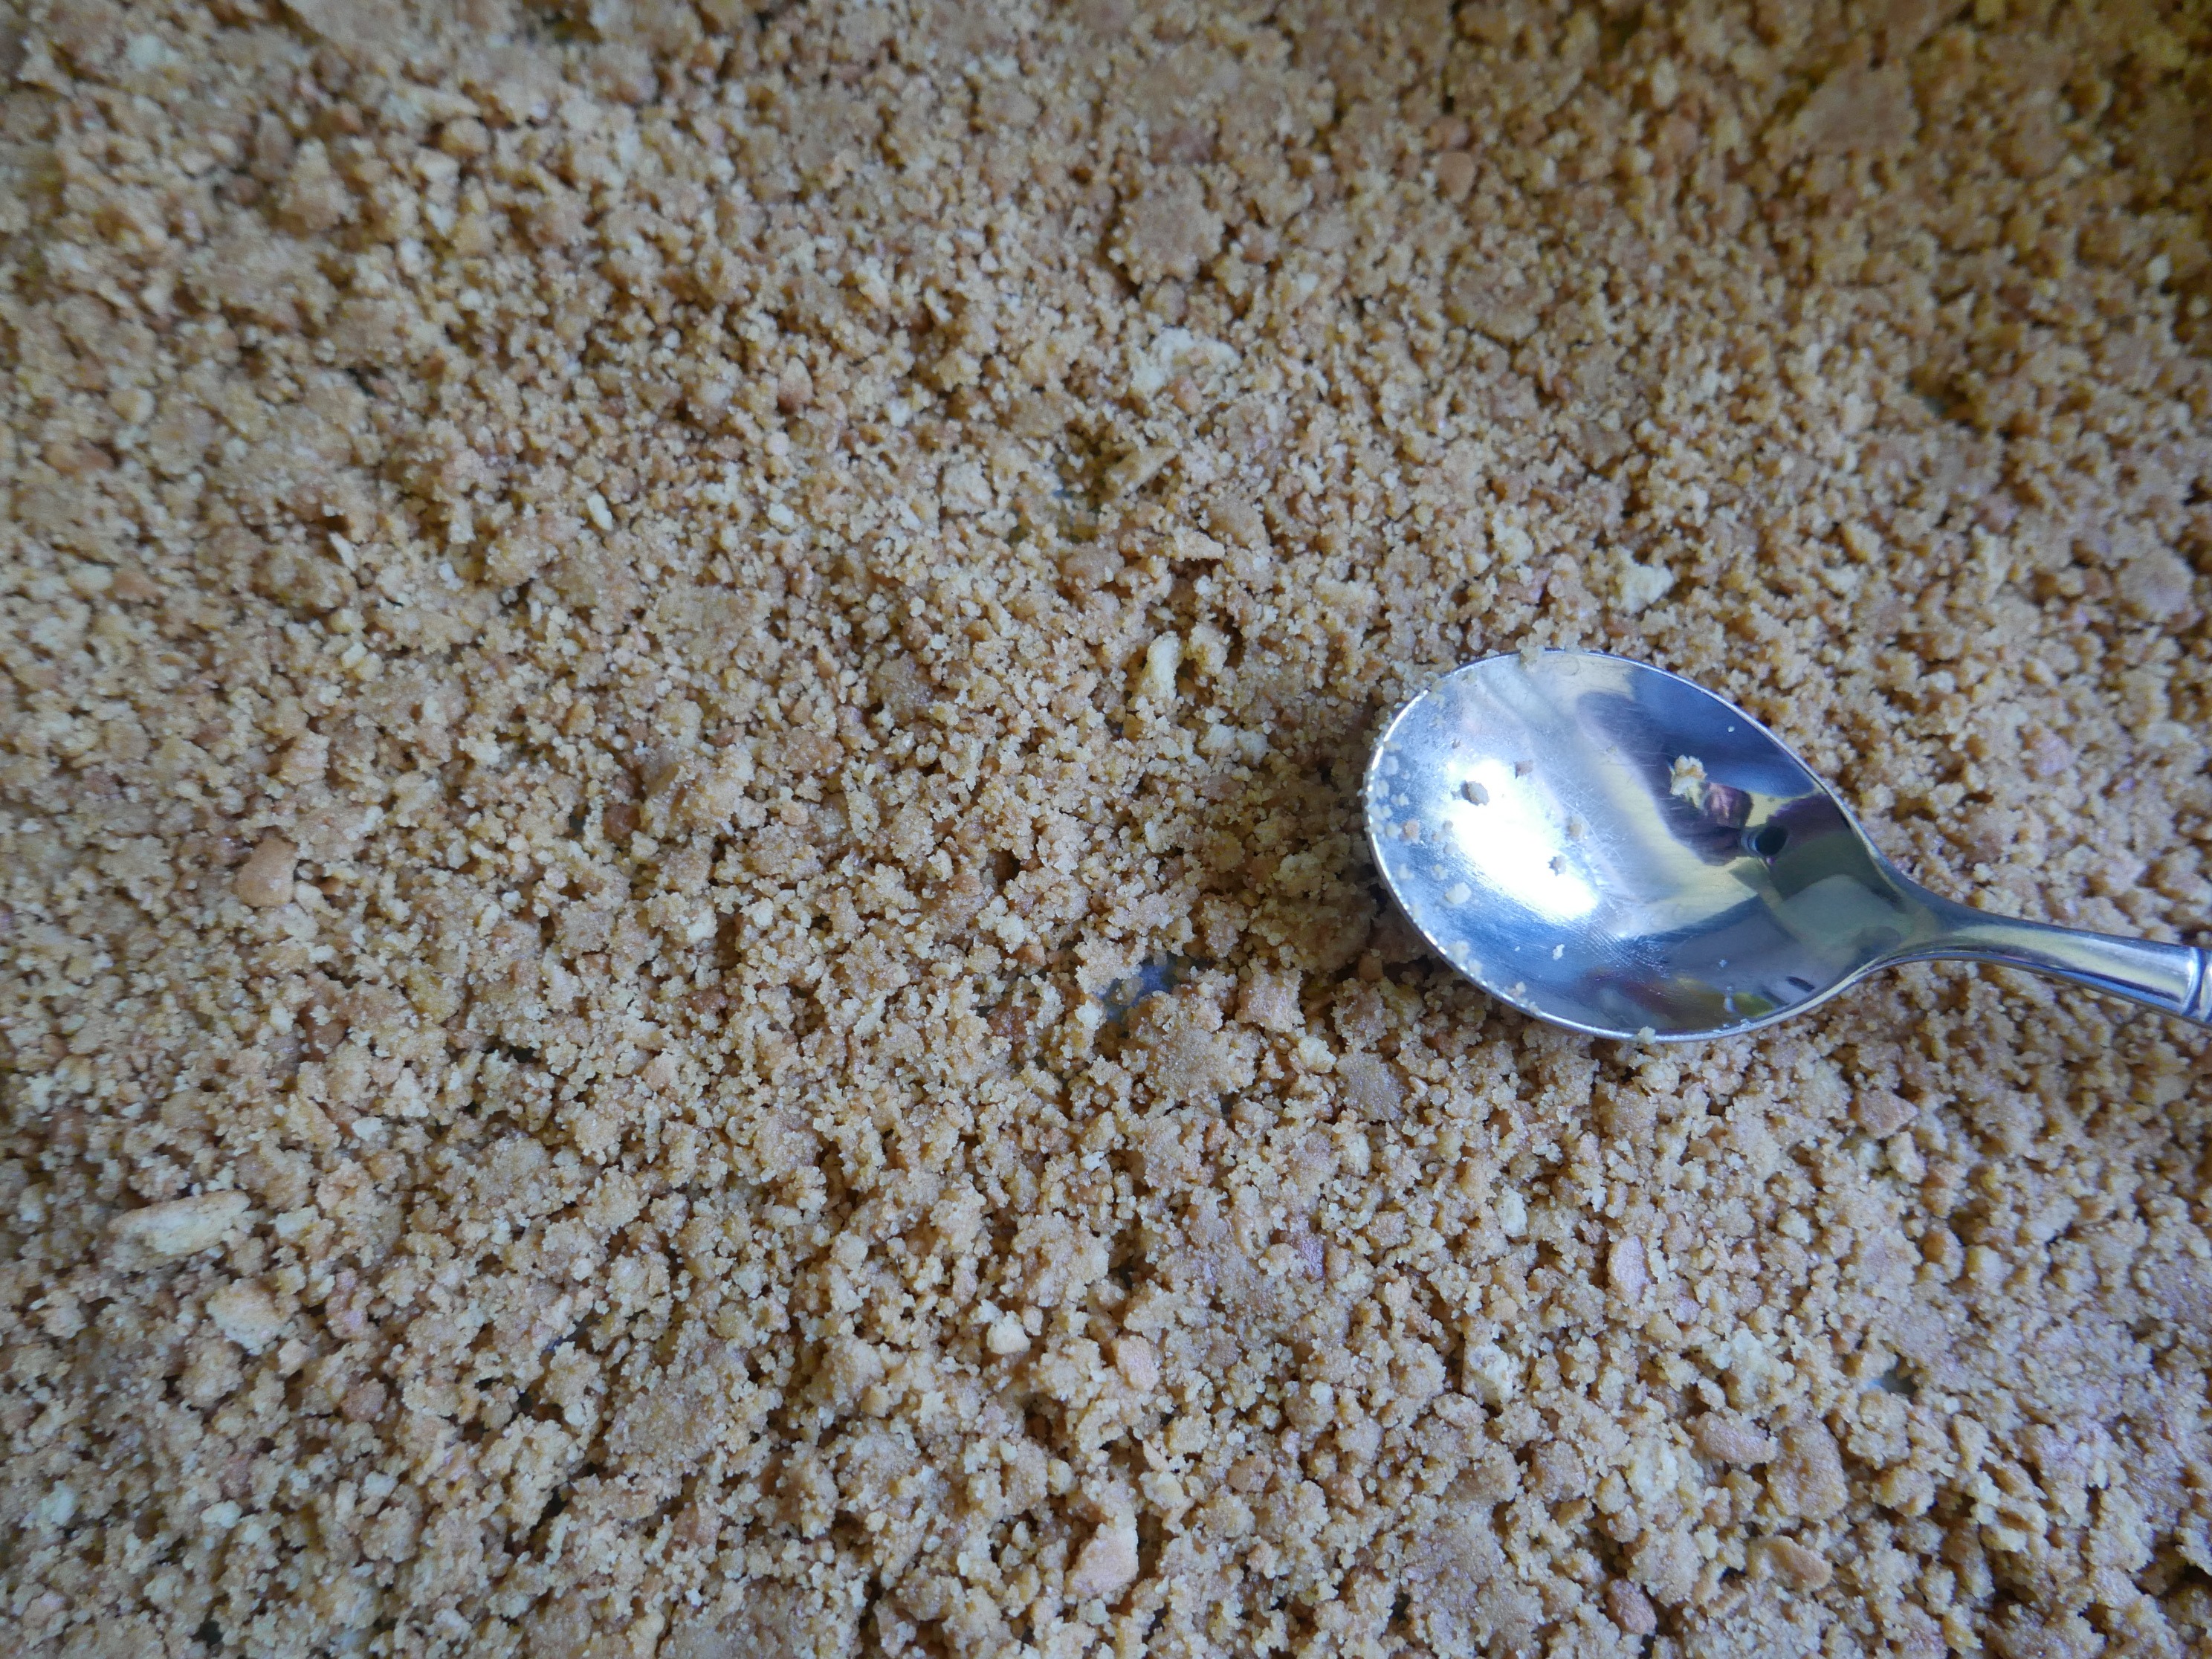
- Bake for 15-20 minutes until crisp, then remove and cool.
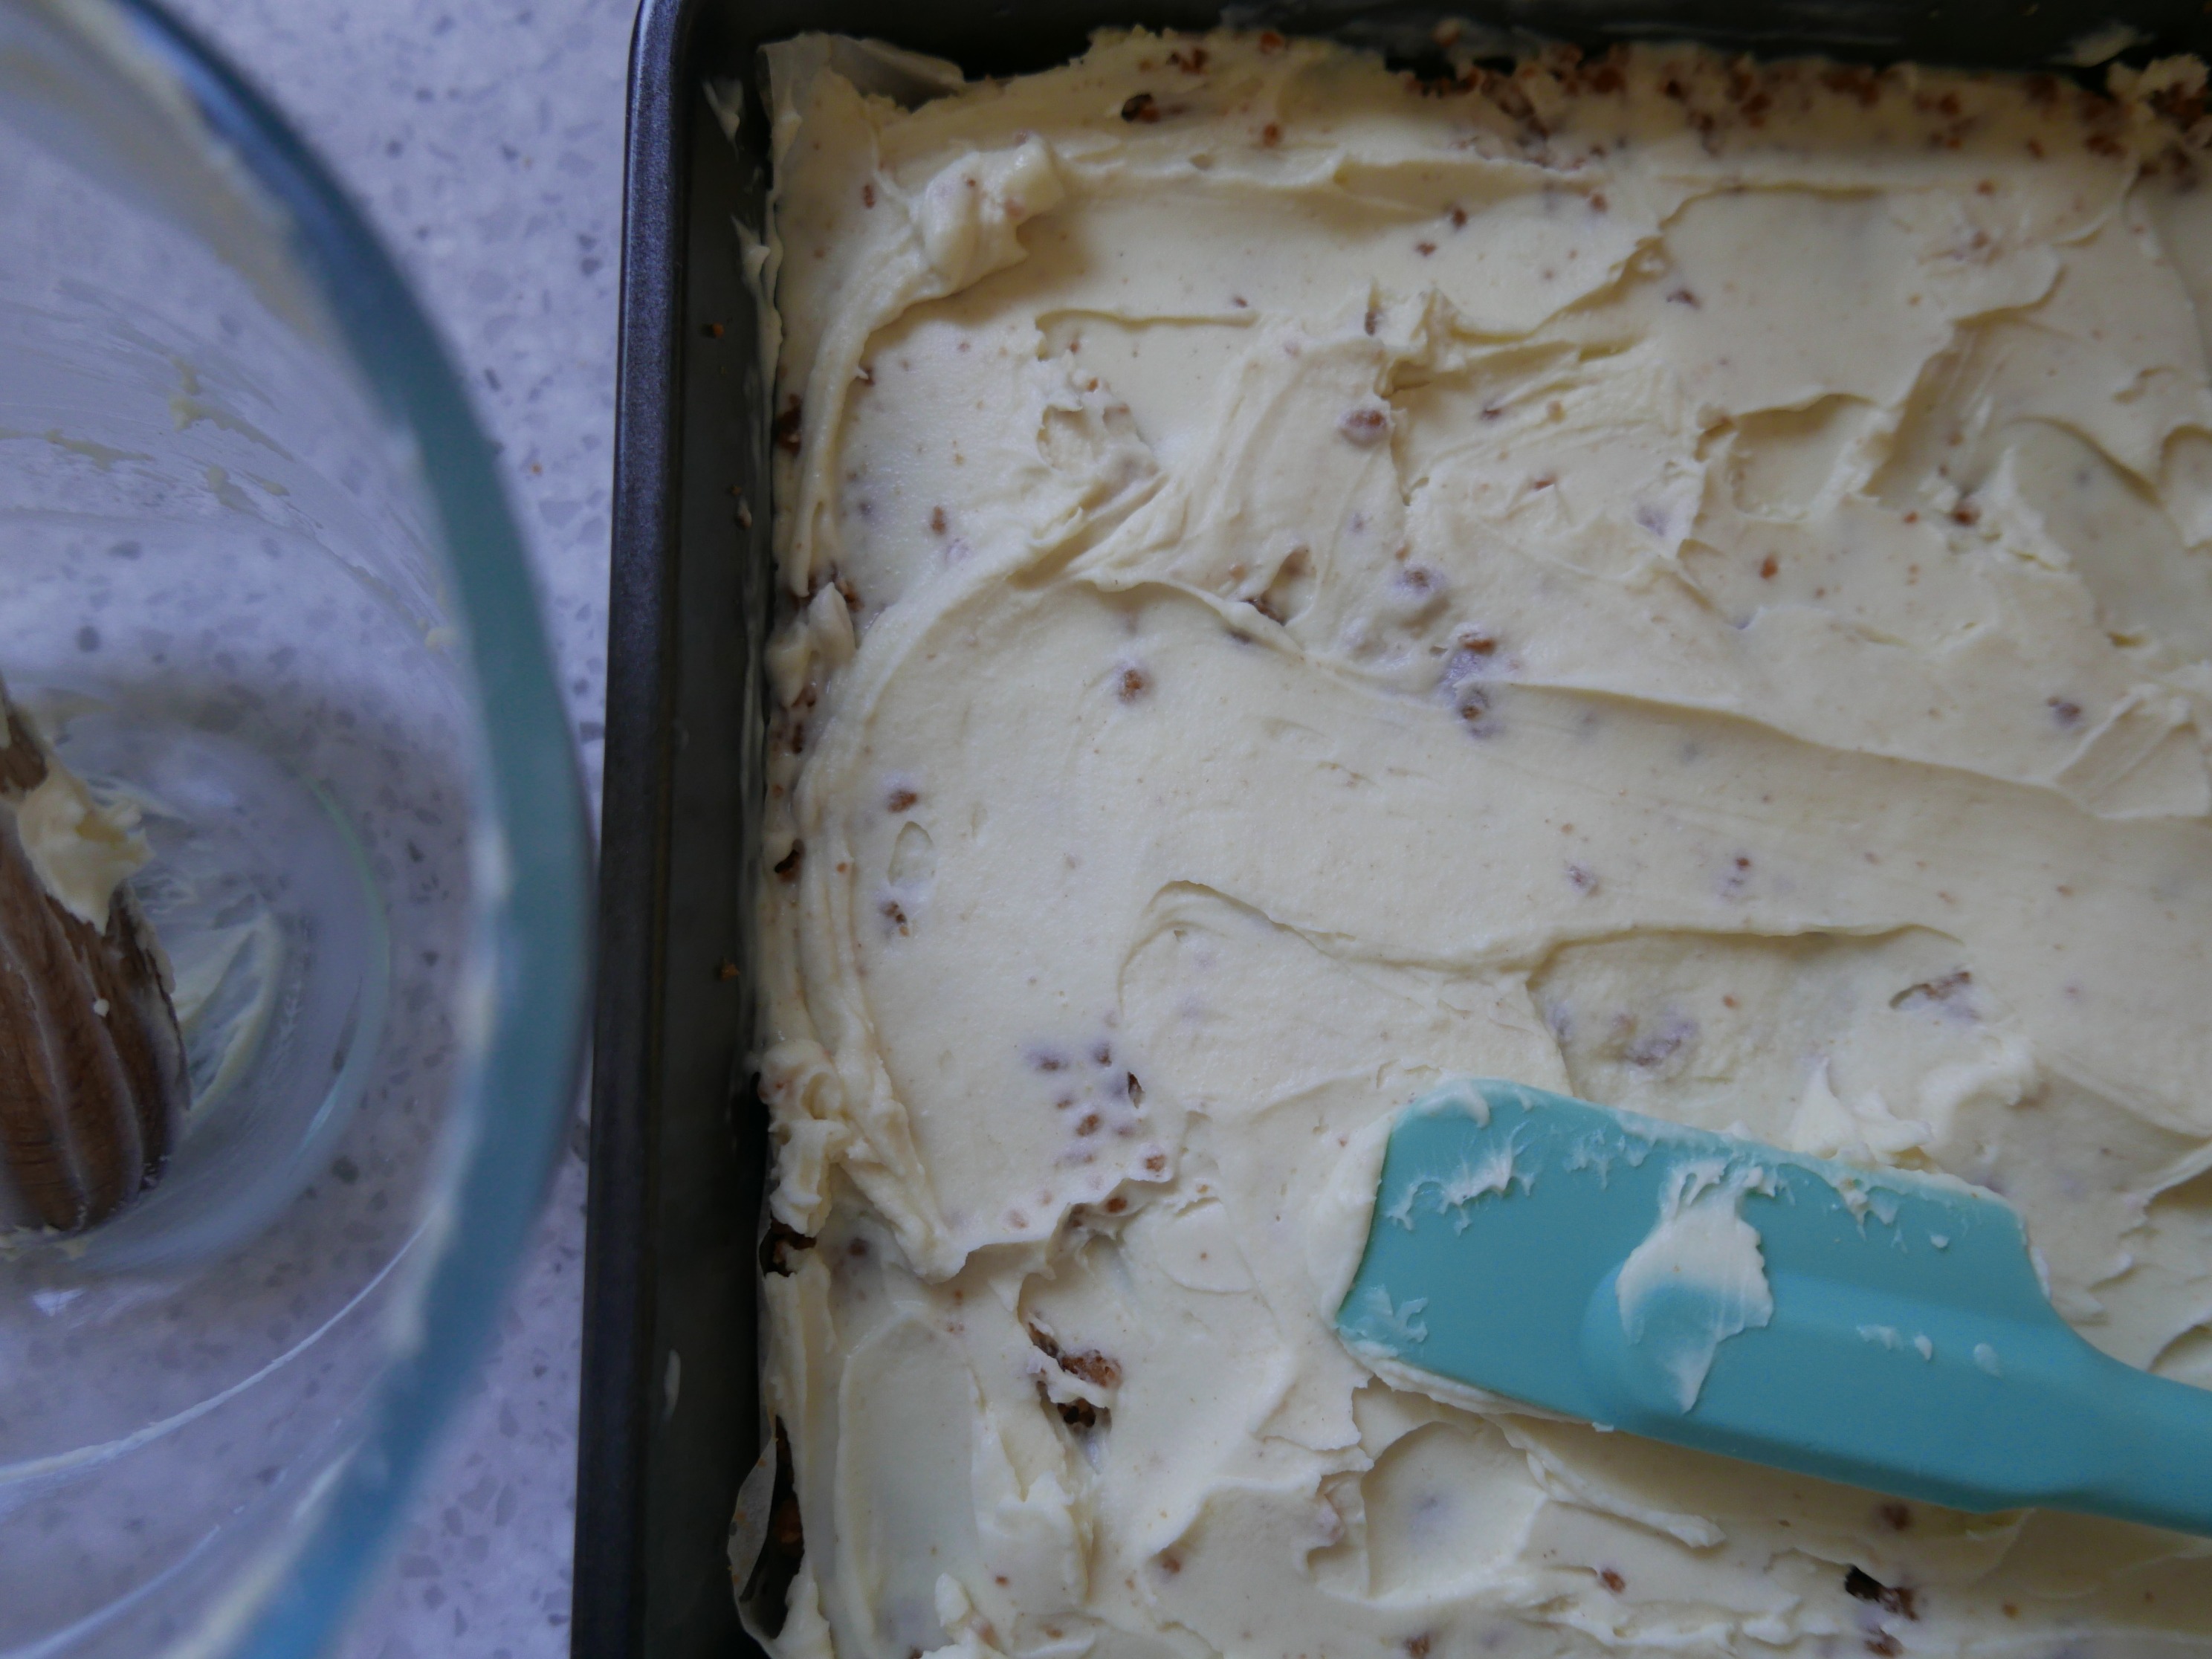
- Make the Mascarpone cream – mix the mascarpone, icing sugar and ground Coriander or Vanilla extract (if using) together until well combined. Chill until the base is fully cooled.
- Whip the fresh cream and fold through the drained Pineapple.
Put it all together:
- Spoon the Mascarpone mix over the base, and spread it out evenly –
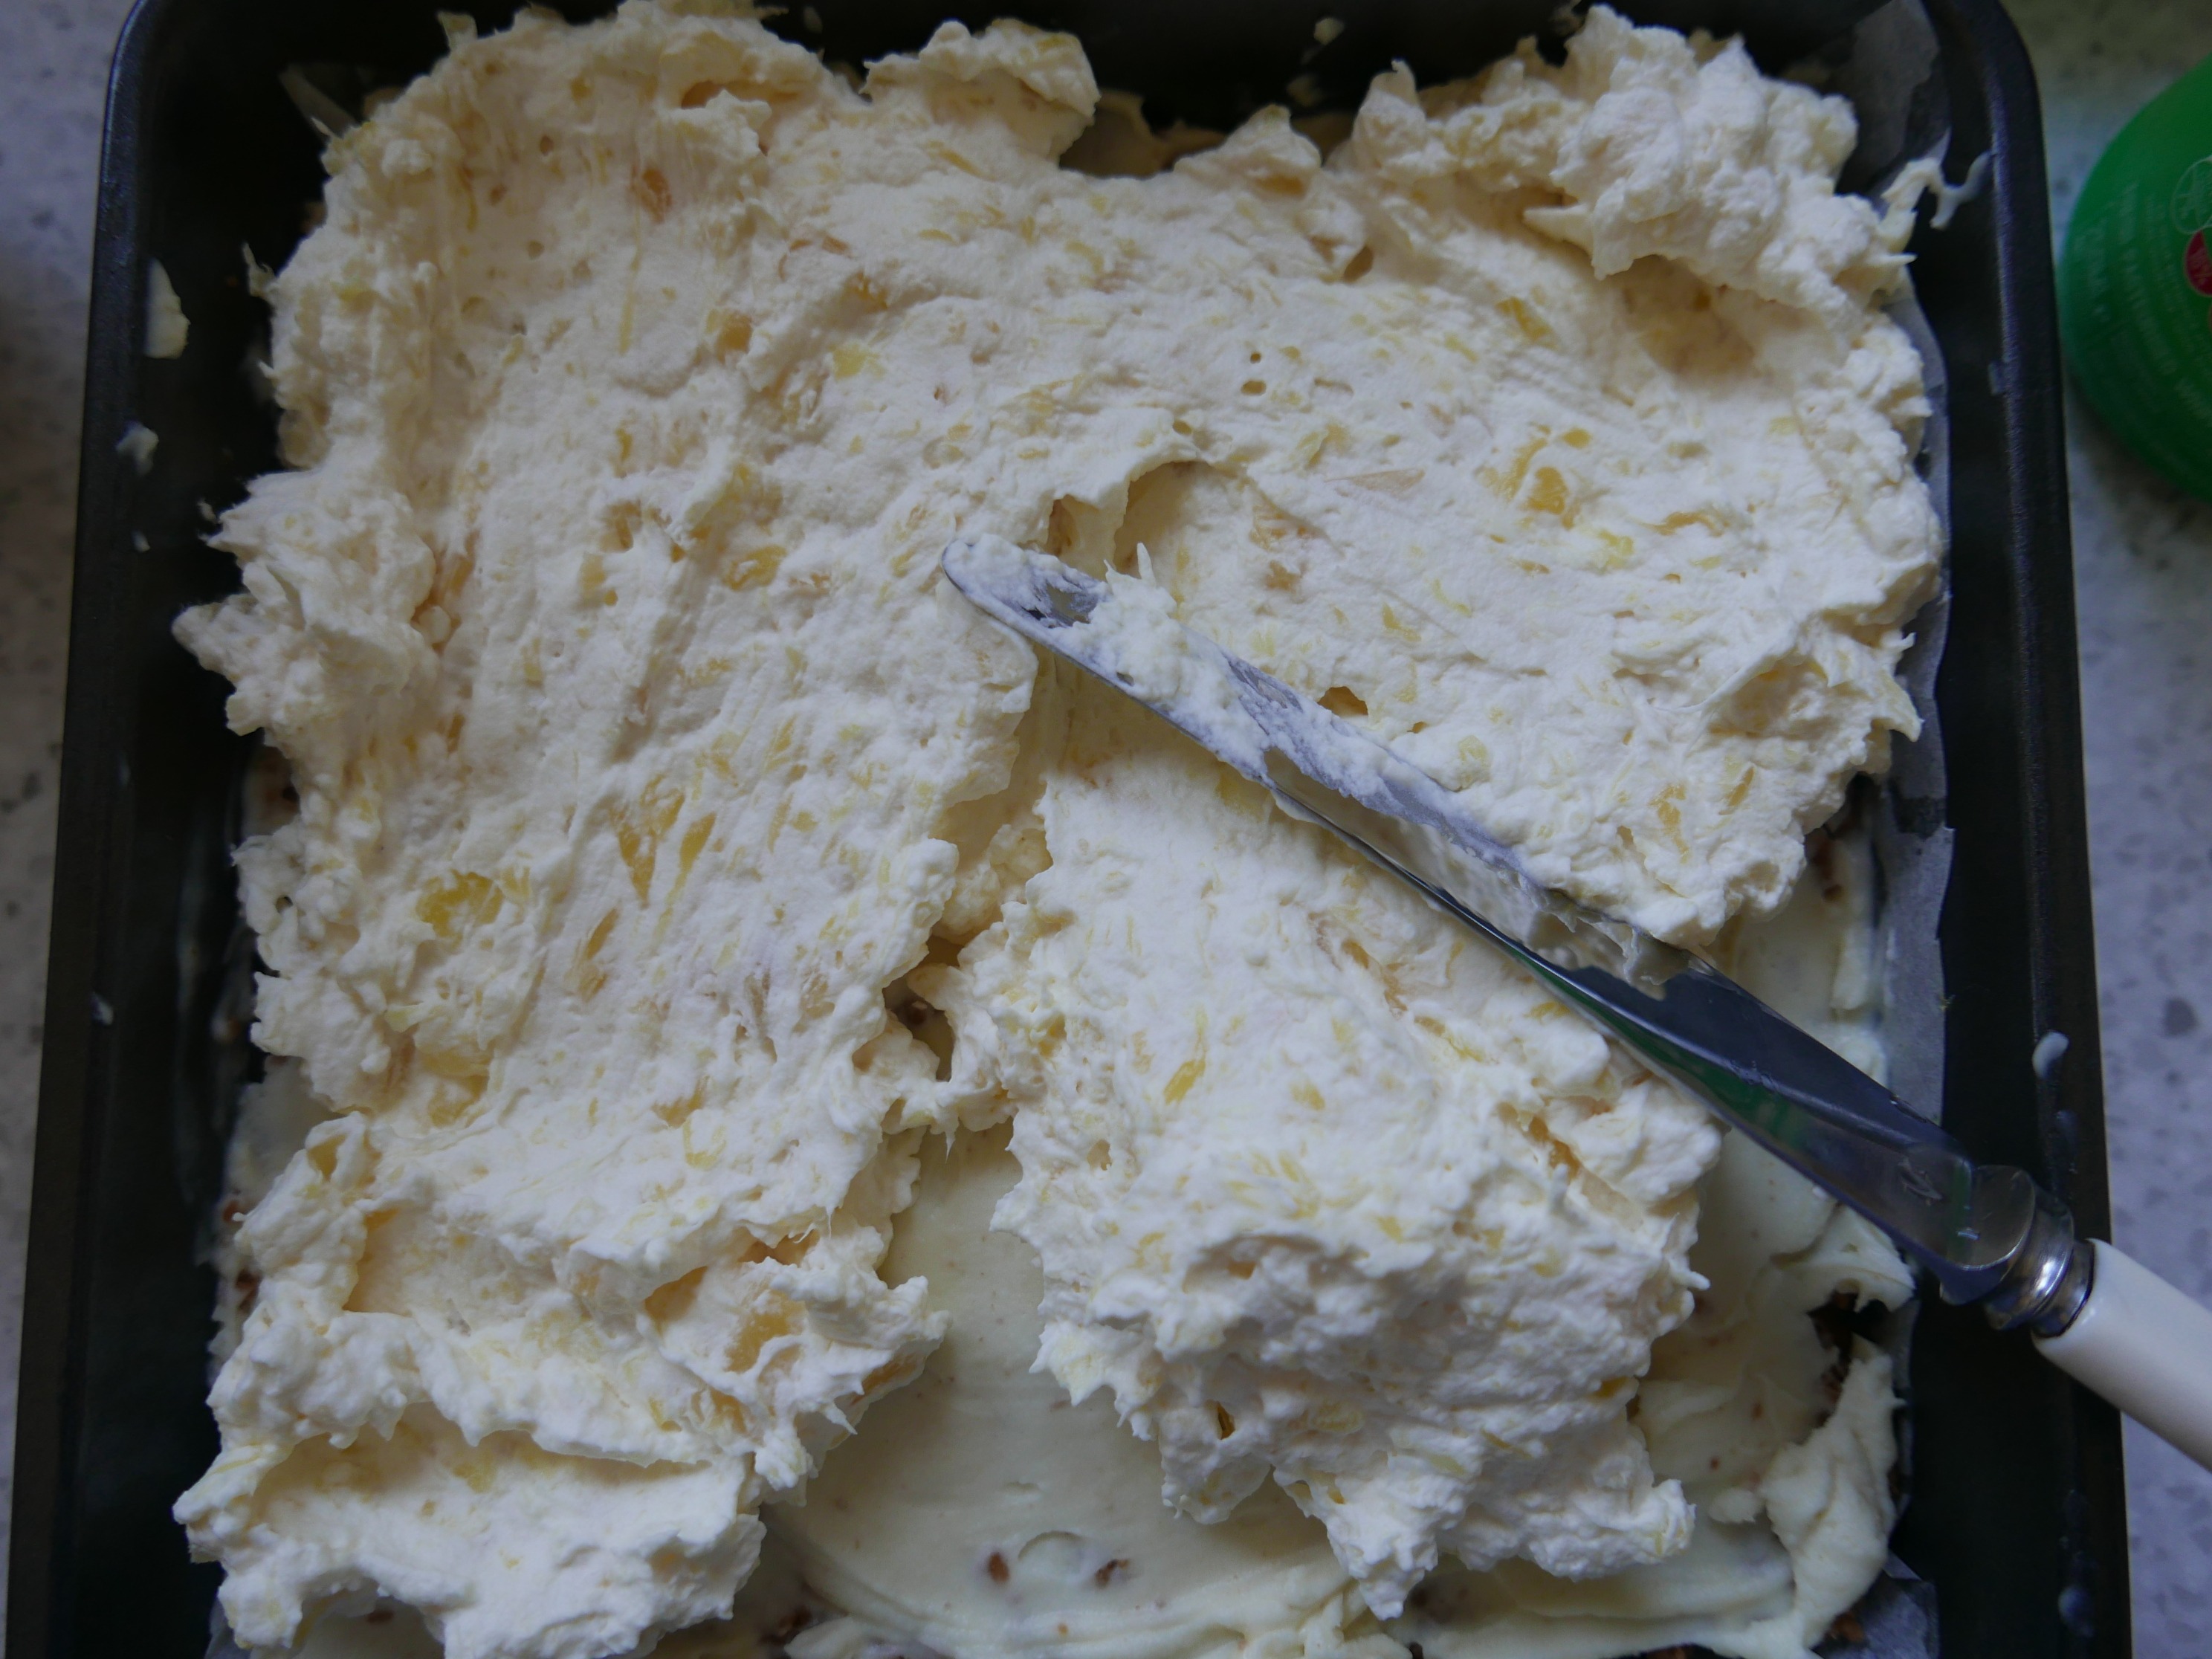
- Top this with the Cream and Pineapple mixture – again, spread as evenly as possible, and into all the corners!
- Cover with clingfilm and chill in the fridge overnight, or for at least 6 hours.
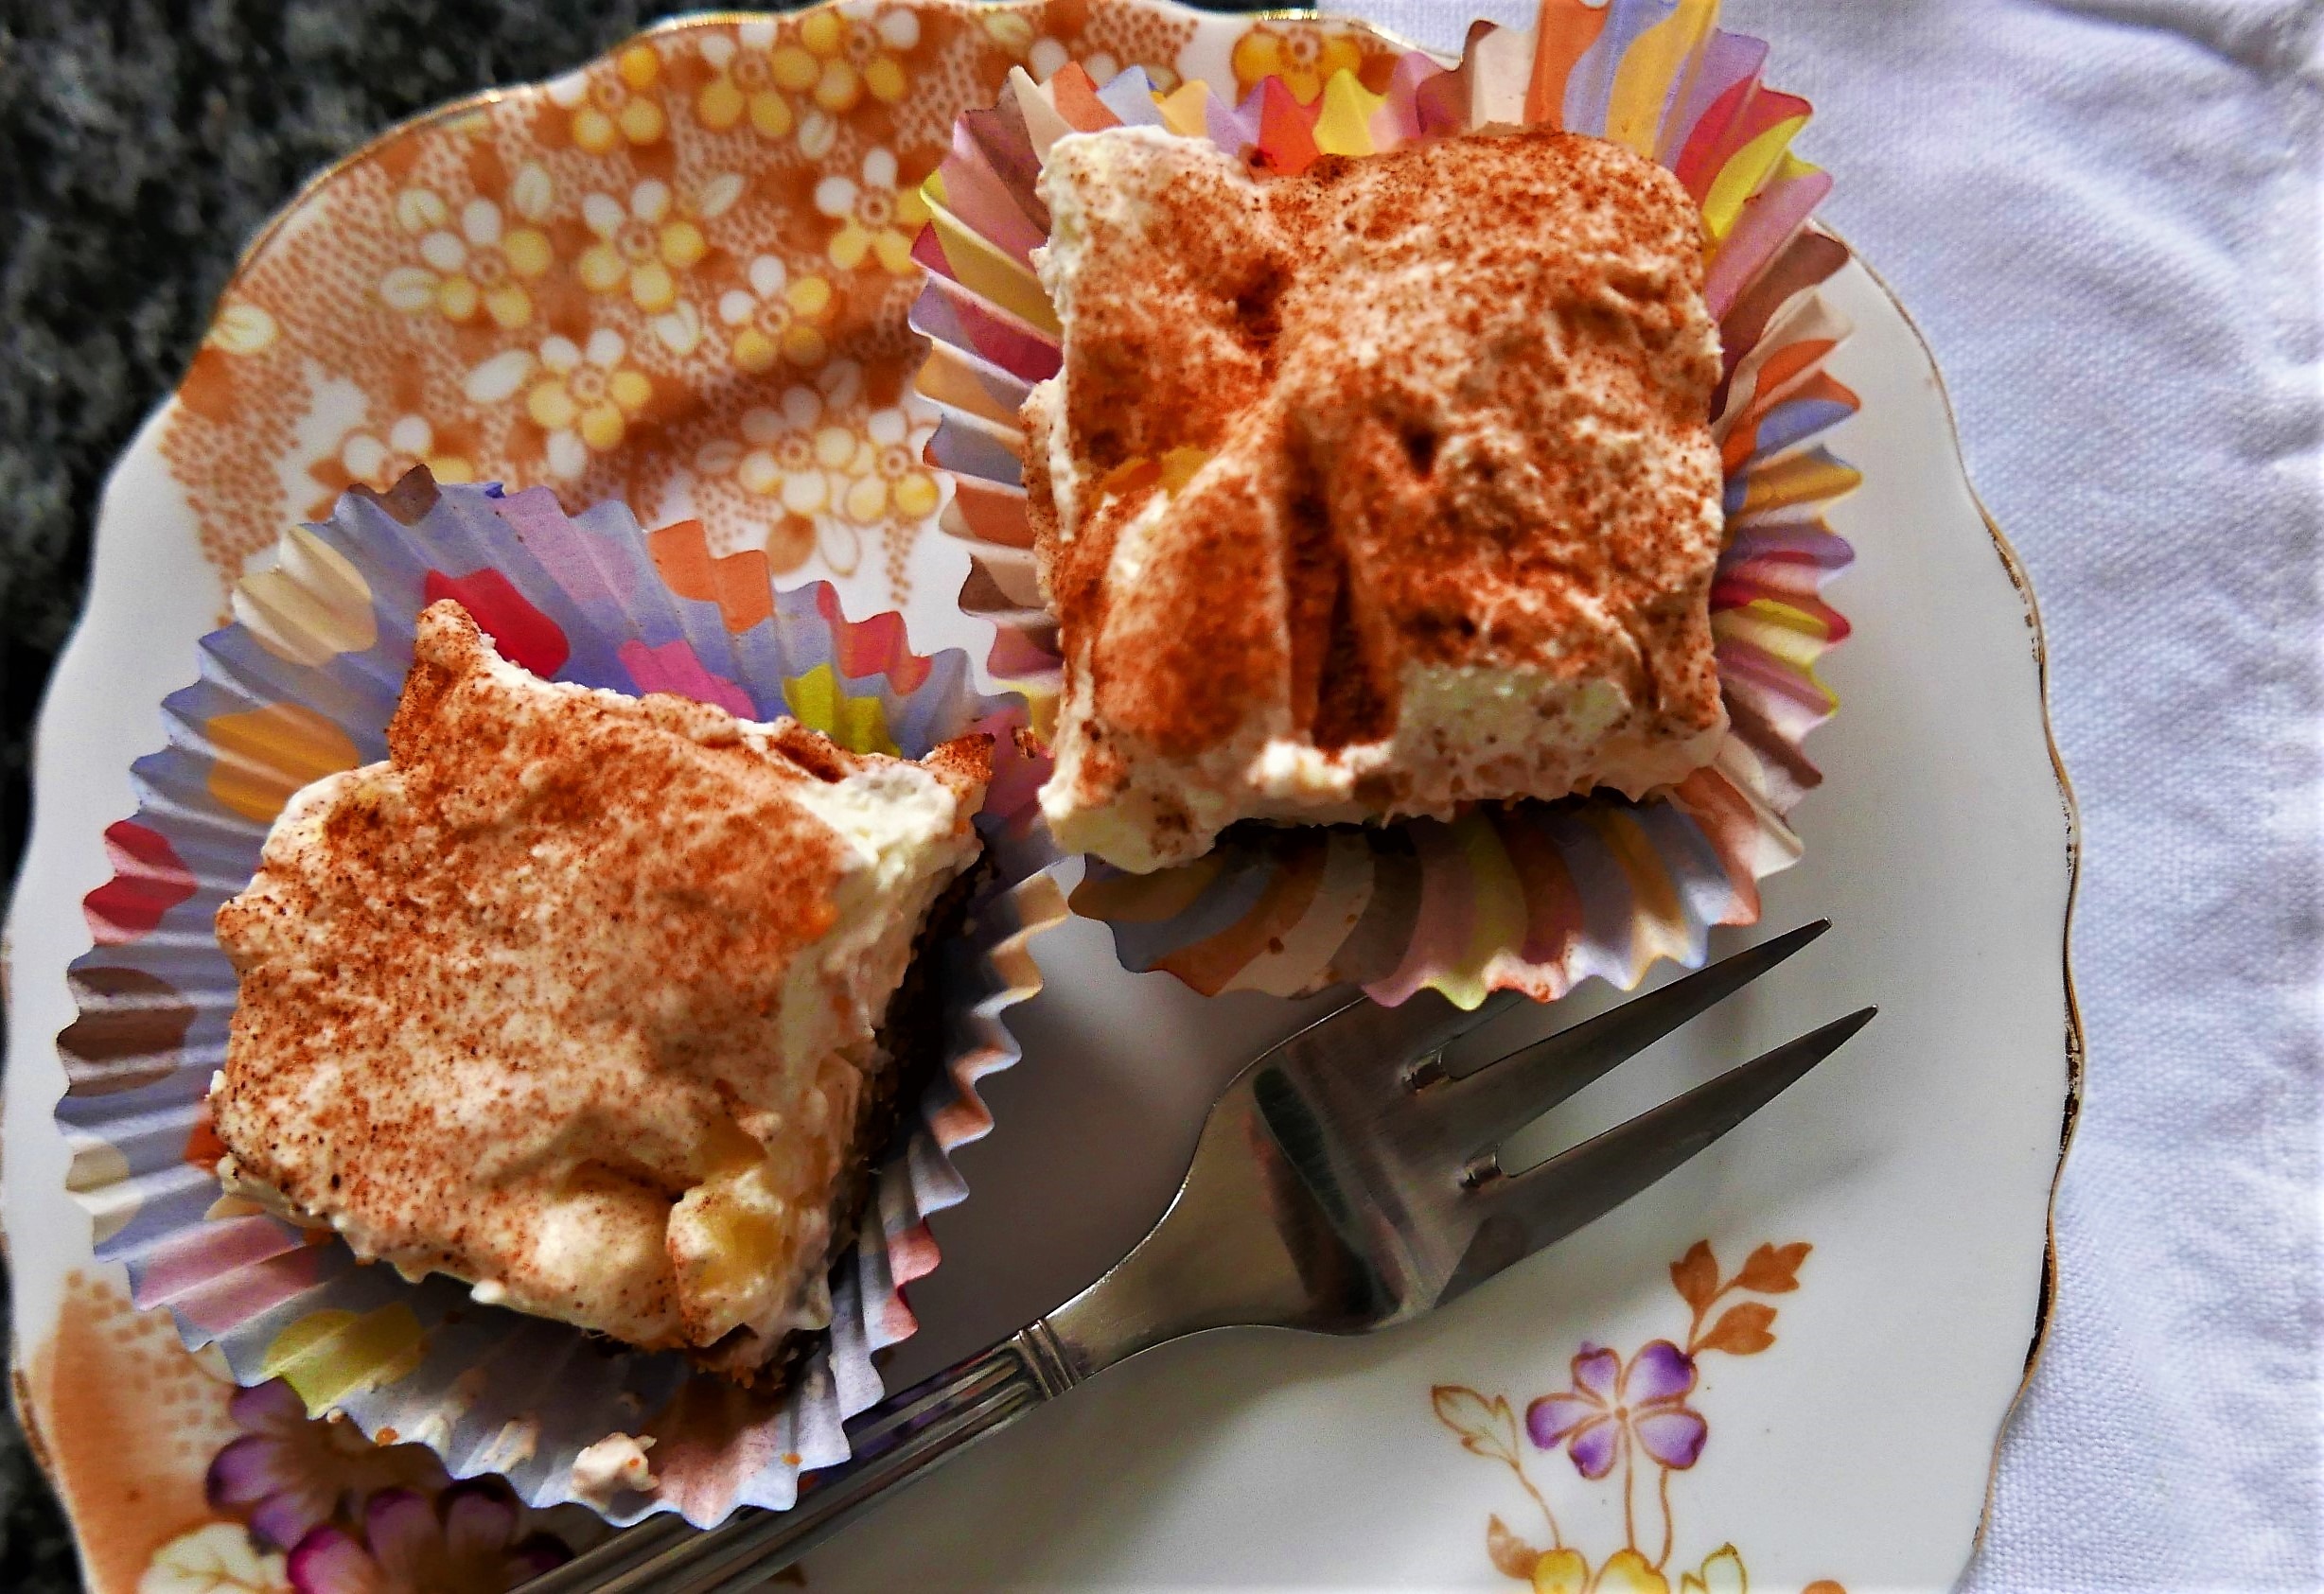
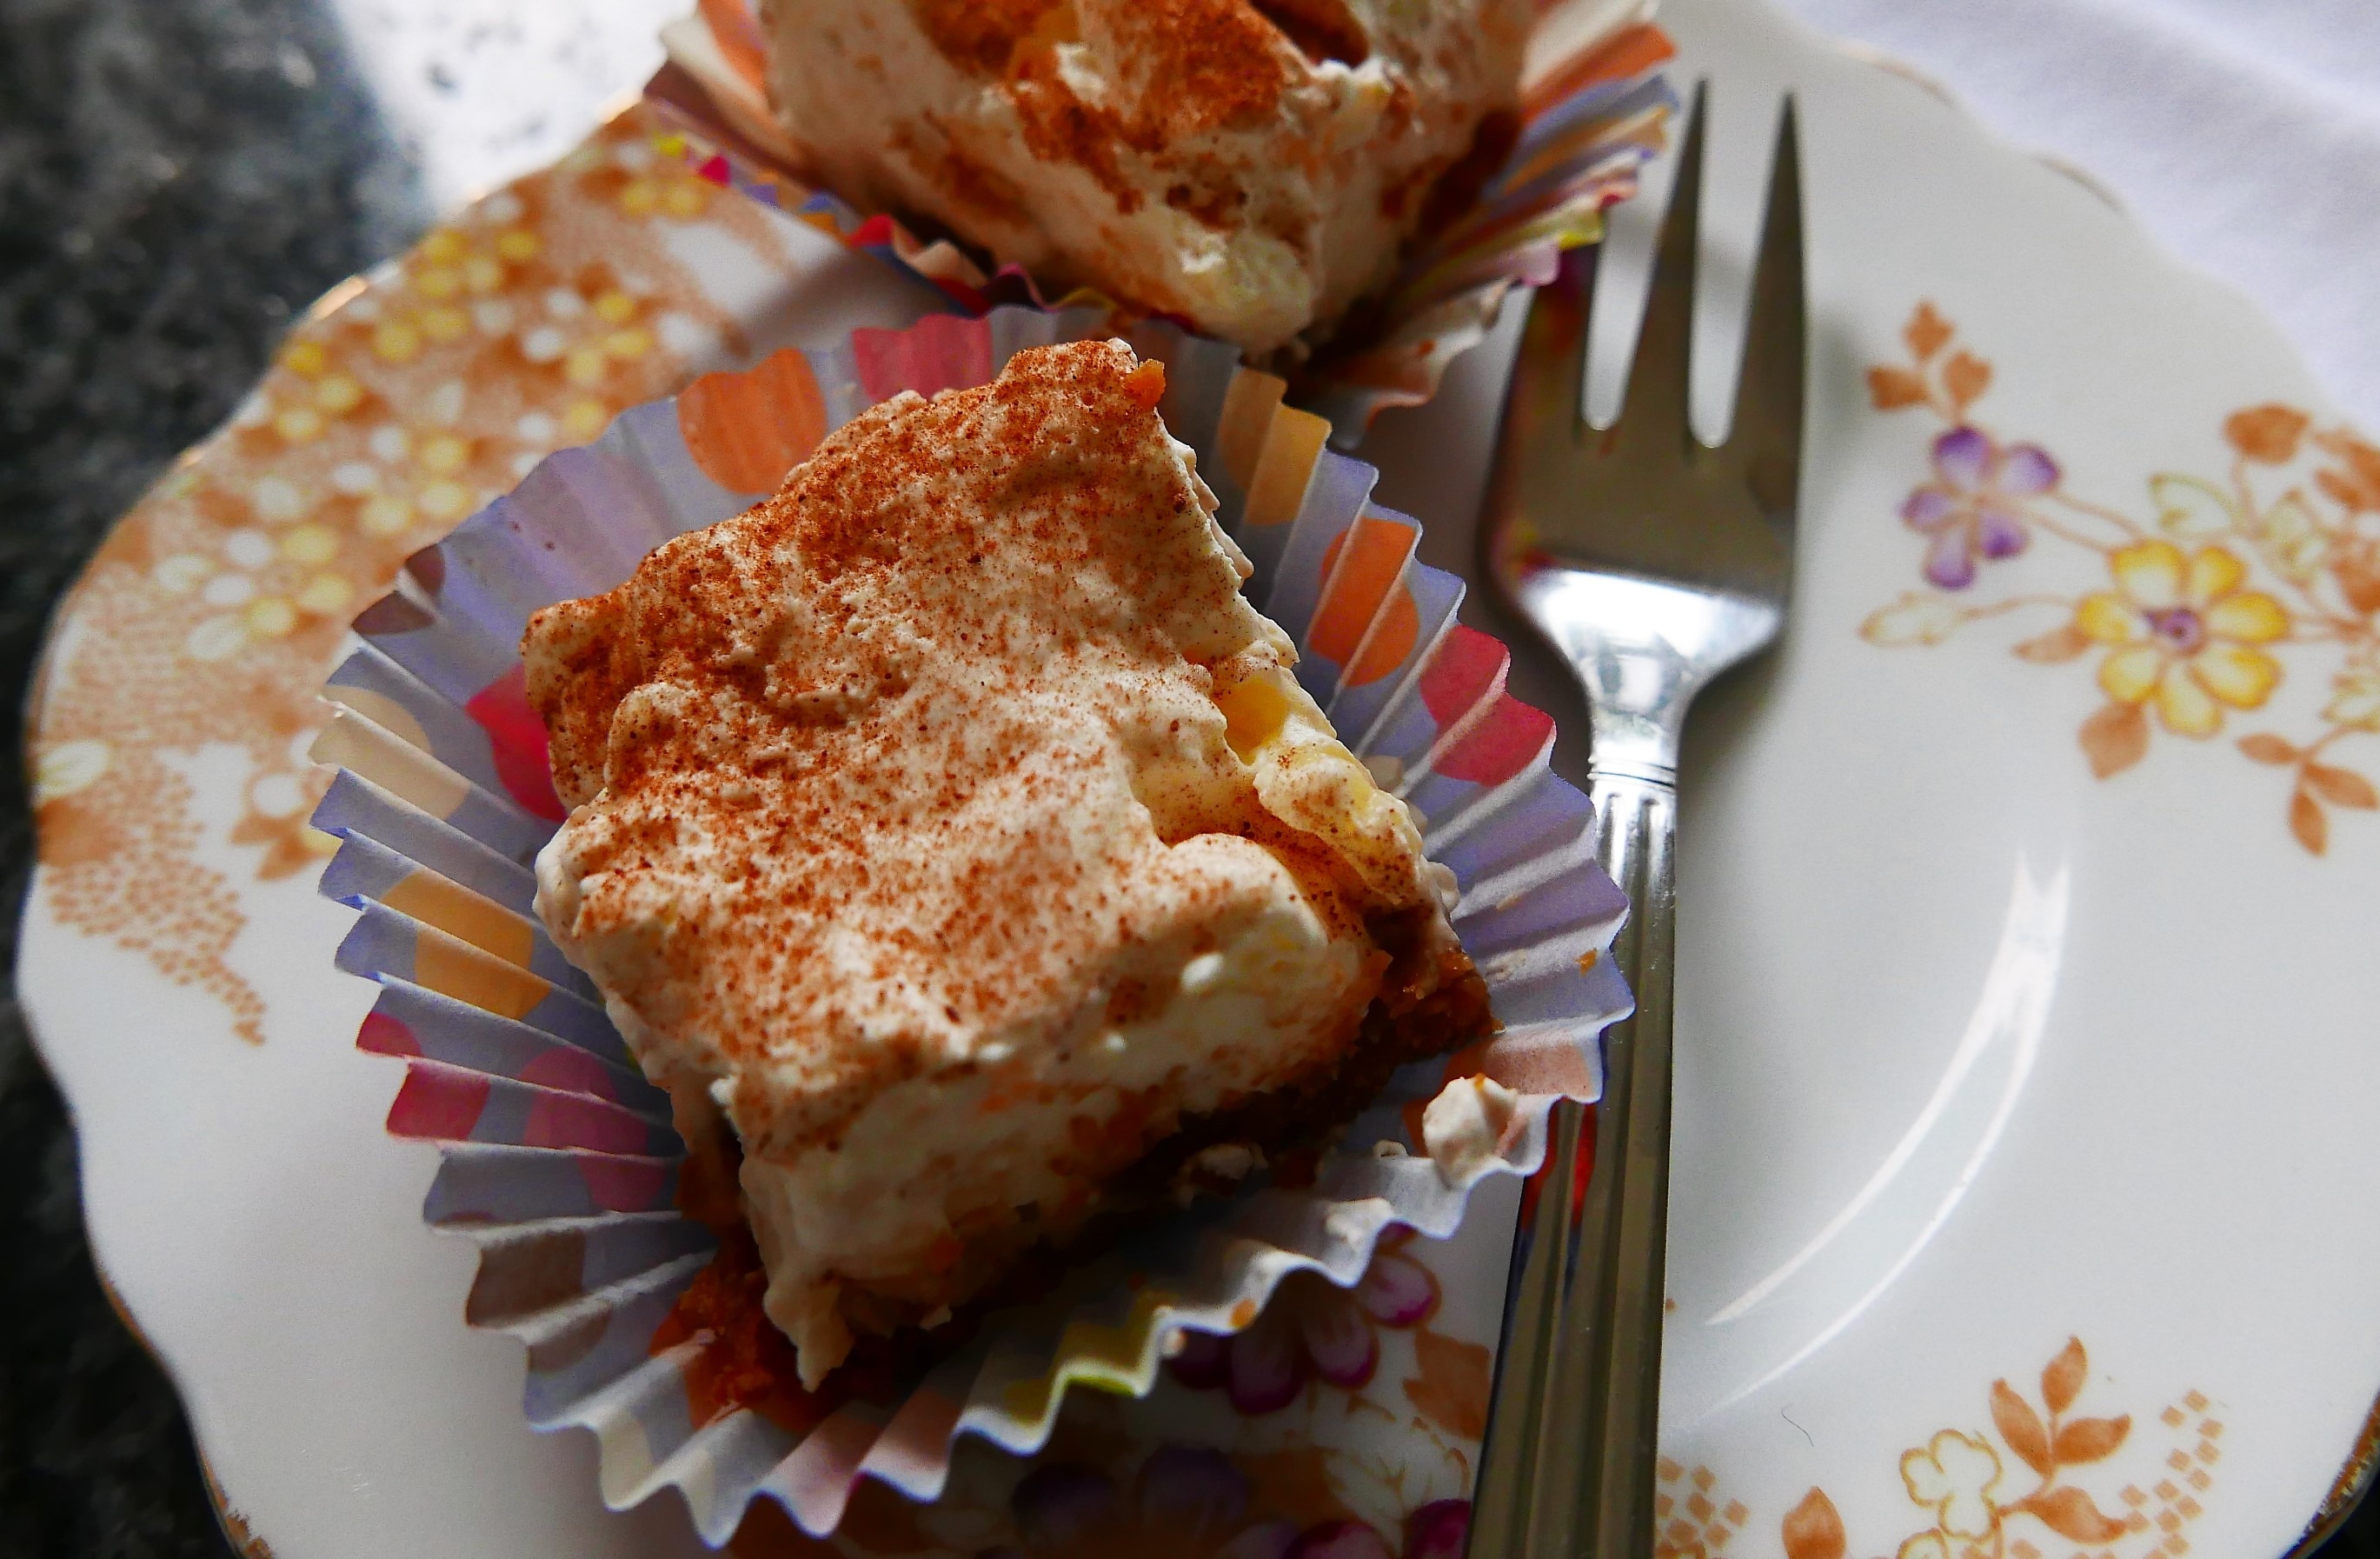
- After chilling, sprinkle over your topping (in these pictures I just used some cocoa powder)
- Then, using a sharp, pointed knife, cut the traybake into squares, and place each one in a paper case.
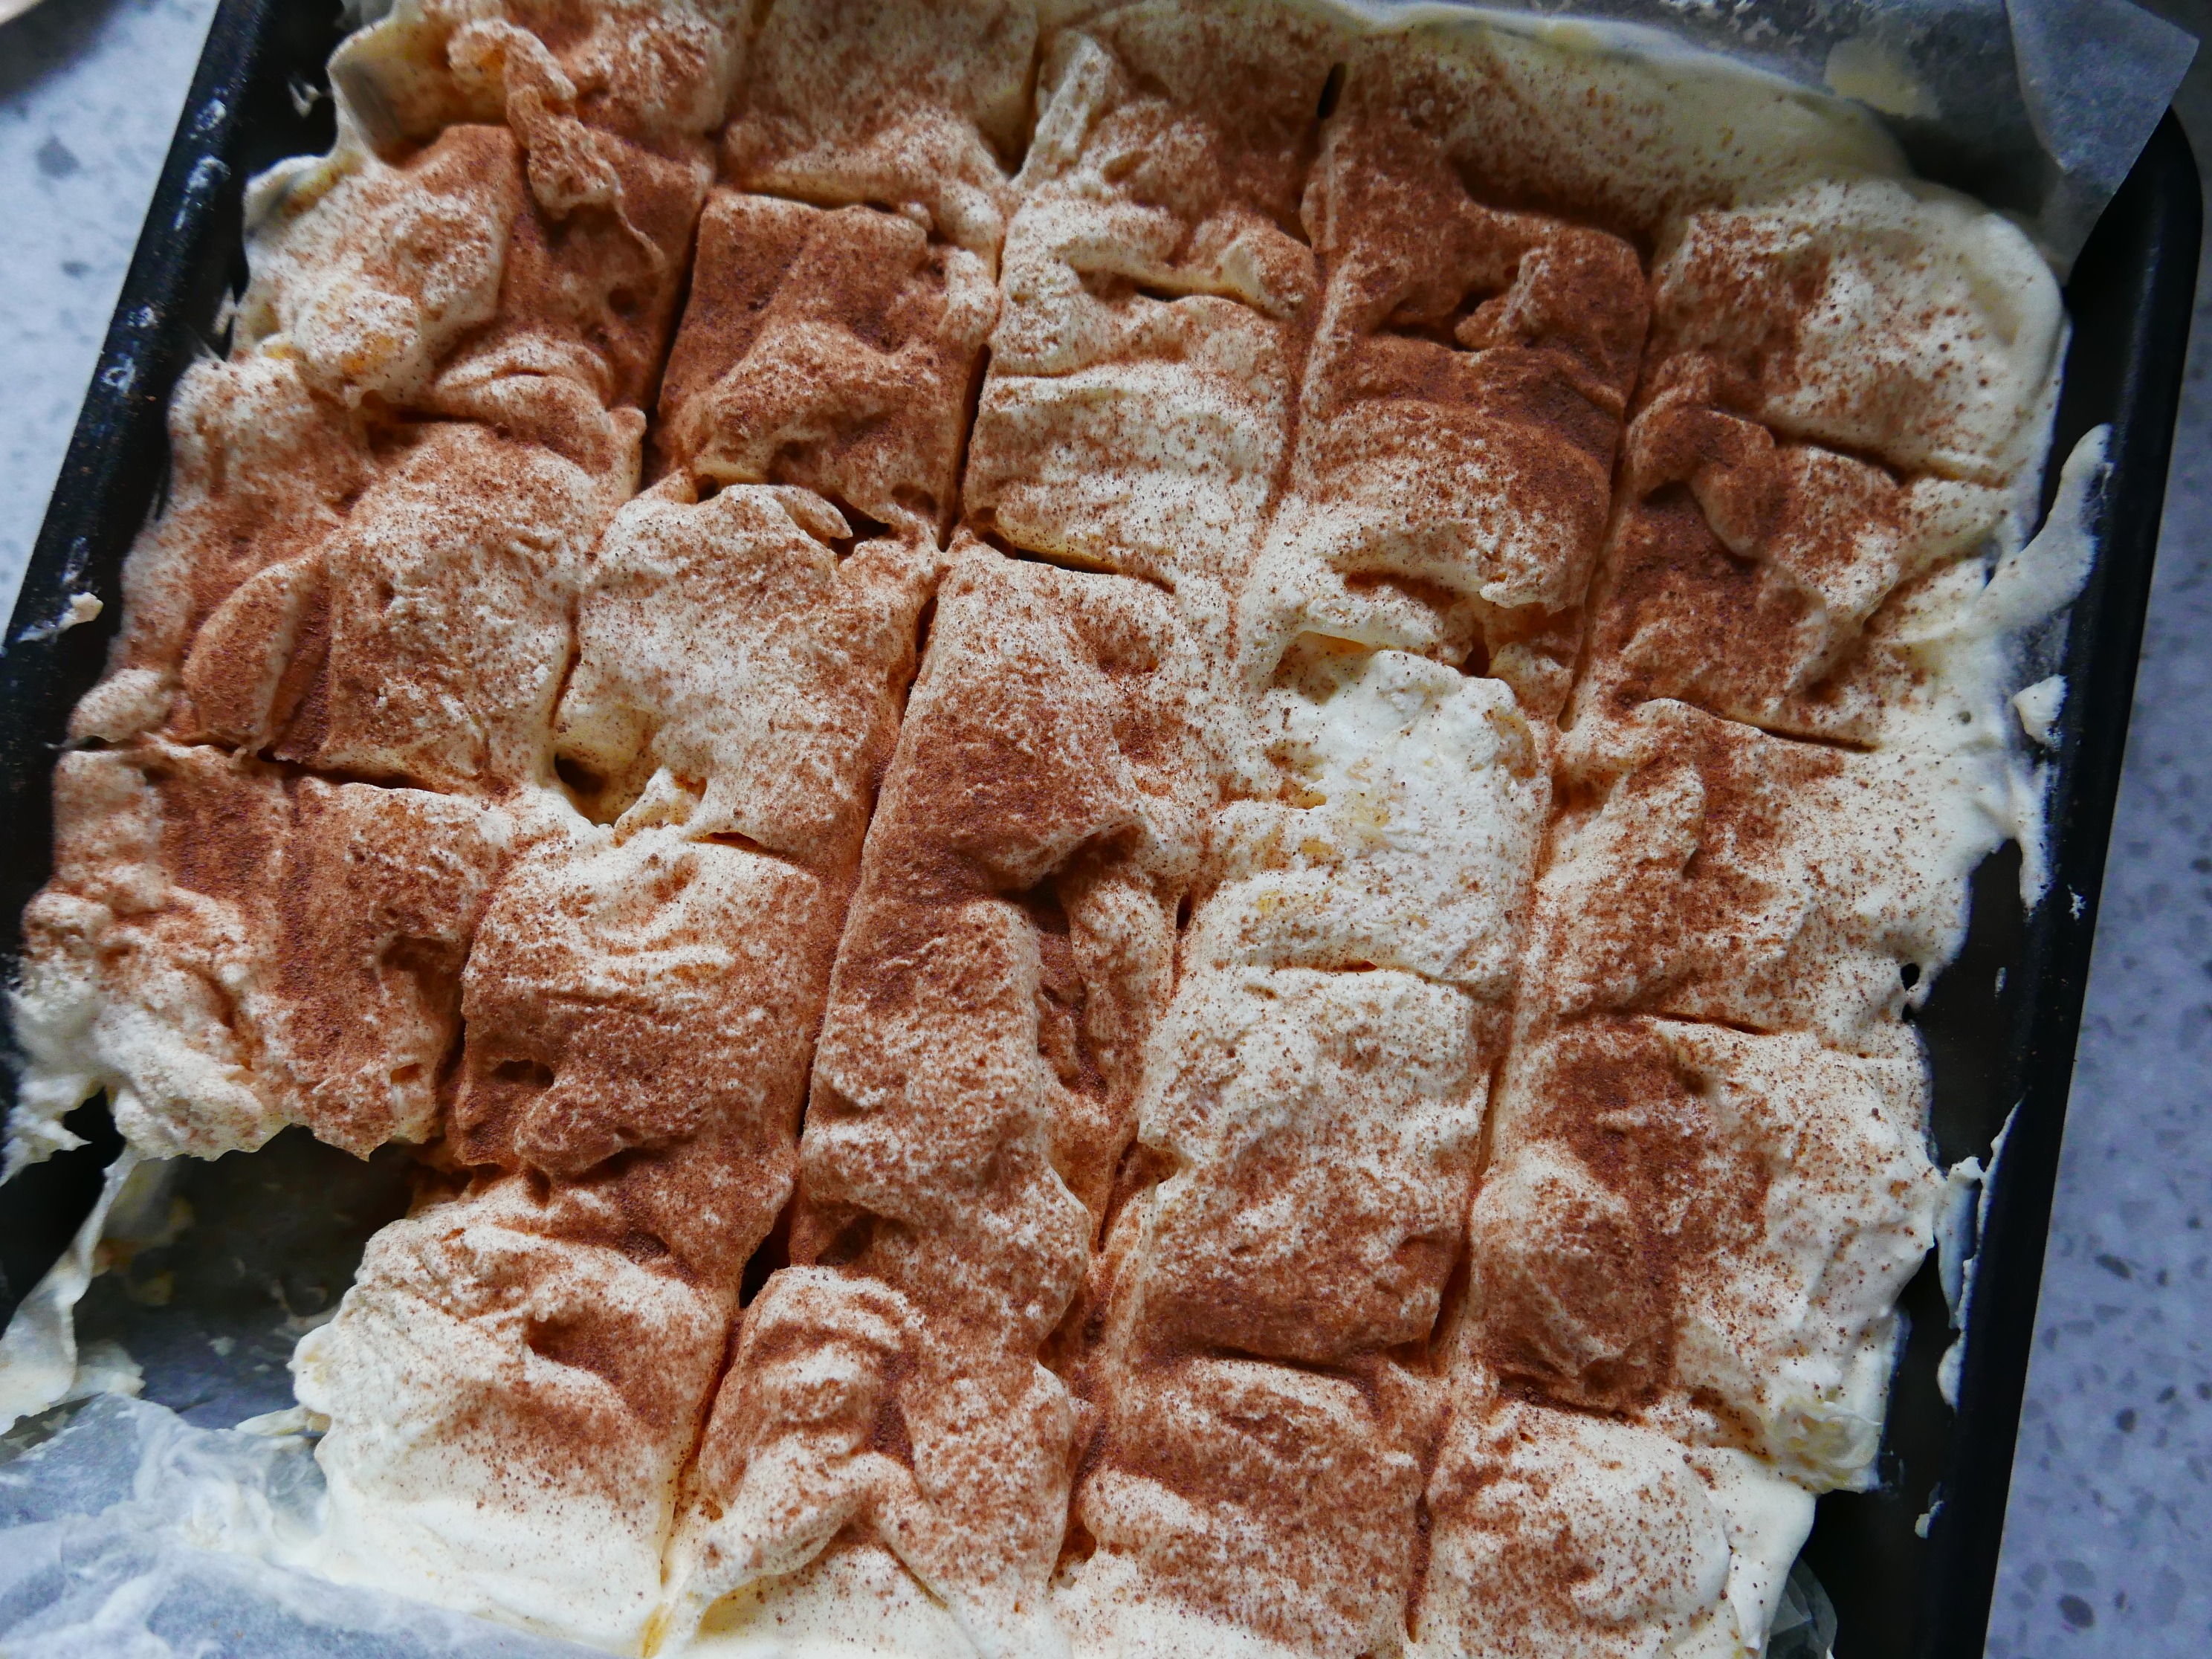
- Serve straight from the fridge, and store them there too.
NOTES:
- My 430g tin of Pineapple only yielded 155g when drained – I’ll probably use more Pineapple next time, although I did notice that the flavour intensified with time. Be careful that the Pineapple is not too wet to set the cream properly.
- I found it hard to find crushed pineapple, so I just used ordinary and mashed it up a bit with a fork – didn’t seem to do it any harm..
My Changes (from the original recipe)
- The original recipe used Digestive biscuits for the base. I hadn’t had a Digestive biscuit in years, so I don’t know what they’ve done to the recipe, but to me they were completely tasteless. This is why I decided to use Ginger nuts instead. (Ginger and Pineapple are really good together anyway)
- Instead of Mascarpone, the original recipe used butter cream – please feel free to use this is you want.
- The addition of the ground Coriander makes a really interesting change – it adds a slight citrus flavour to the Mascarpone.
I started writing down recipes in an old copybook when I was about 16. With 6 children at home, my Mother was always glad of a hand in the kitchen, and really allowed us to experiment - as long as we washed up afterwards, and left the kitchen immaculate! Having a tidy kitchen has followed me through my life, as has the habit of writing down my favourite recipes; except that these days I write them for my website, and add photographs when I can. The website really started when it occurred to me that my daughter might like to have these recipes when I've forgotten them. In my early days of cooking for family and friends, I used to phone my Mum all the time to ask her for the recipe for some of our favourite family dinners. She rarely had a recipe to hand - I think, like me, she made a lot of it up as she went along.. So welcome to Eating for Ireland - these are the recipes that my friends and family having been eating these past 40 years.. yes, I truly am ancient! They are tried and tested, and have worked for me for all that time - I have updated them as new ingredients became available - I really hope you'll find something that you can make into a family favourite of your own. You don't have to tell anyone where you found these great new dishes that you're serving up - it can be our little secret, but I'd really love it if you could give me a sneaky 'follow' on Facebook and Instagram.. So off you go - have a good rummage around, you're bound to find something new! My sincere thanks to all of you who have found a recipe that you liked and dropped me a line to tell me - I really do love to hear from you! Happy Cooking! Becks xx