
Hand up now – who here doesn’t like Jammie Dodgers?
I don’t think I’d ever had one until our daughter started to pick out her own stuff when we went shopping. What had I been missing? That stretchy jam, and that shortbread – perfection! Now she’s all grown up and doing her own shopping, so I’ve no excuse to pop a bright red pack into my shopping trolley these days.
Only one thing for it – learn how to make my own. And, as if by magic, here is a recipe for you! 
It’s a recipe by an Irish Chef called Shane Smith, but as usual I’ve made the mistakes so you don’t have to!
EQUIPMENT:
- 2/3 large baking trays, with a sheet of baking parchment on each
- an electric beater
- A sieve
- pastry cutters – One about 5-6cm diameter, and one much smaller, to make the central hole. I used Christmas cutters in these pictures, but this recipe is for life, not just for Christmas, so pick your own!
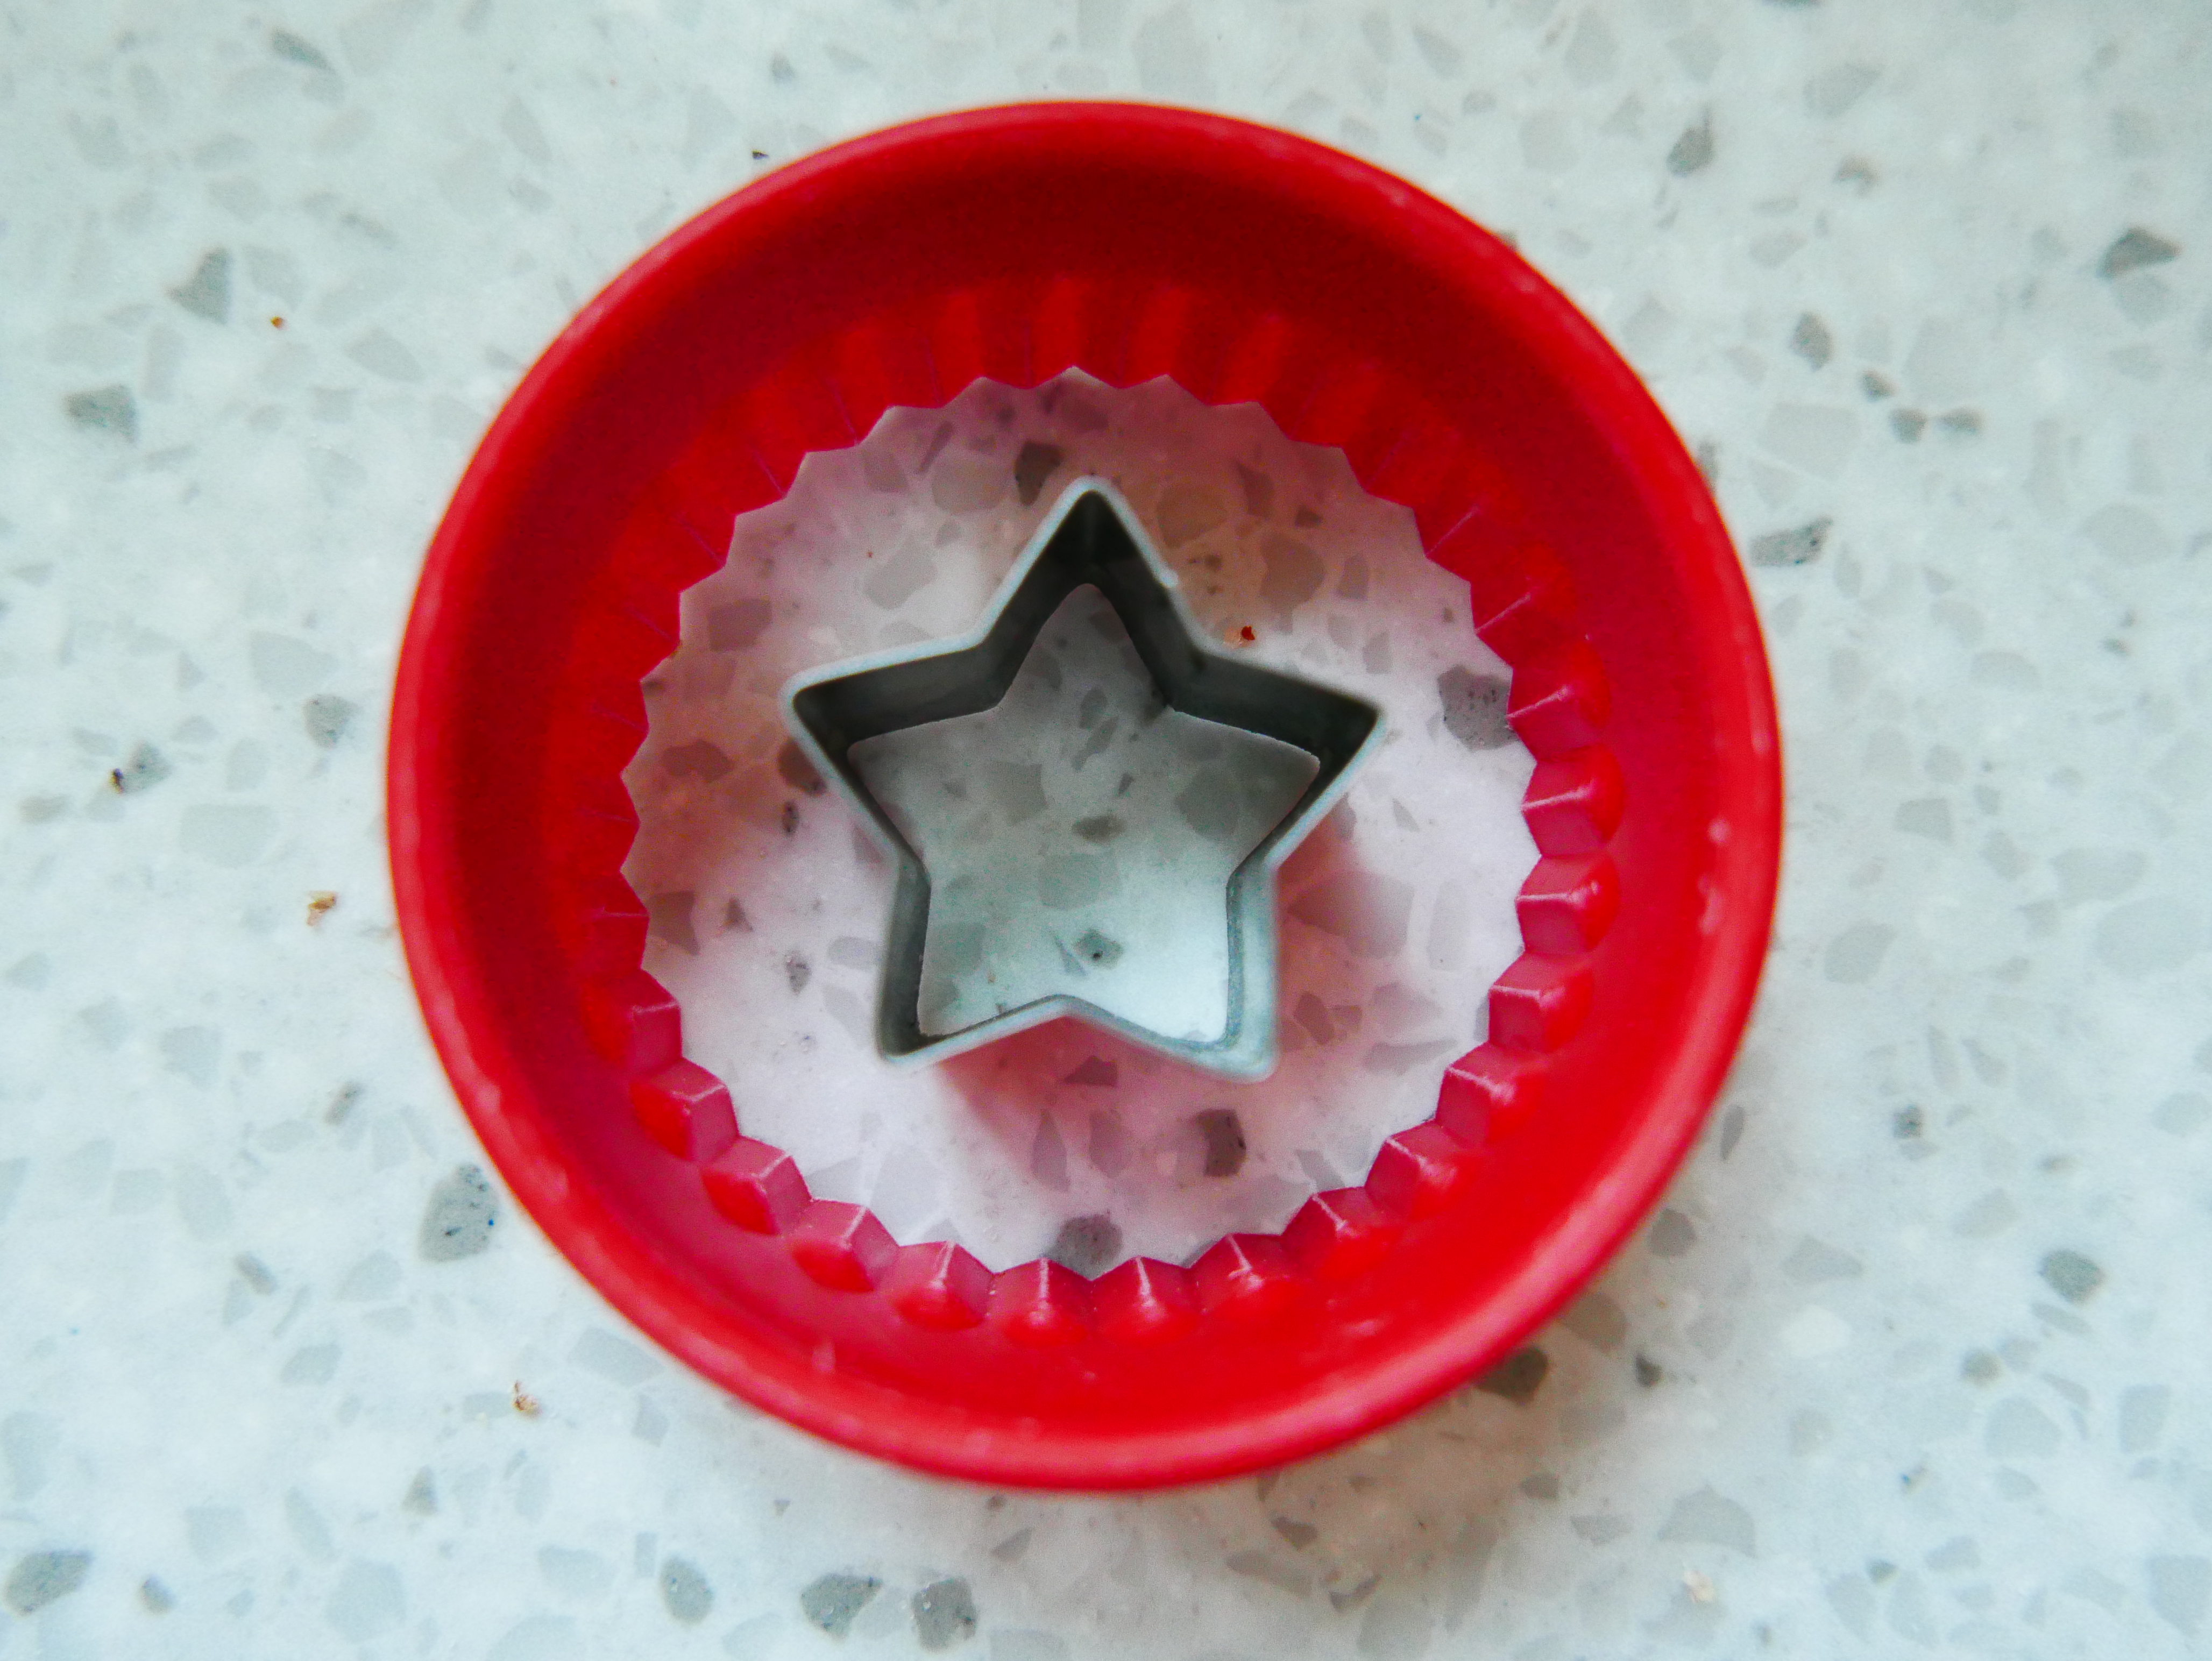
5cm, and a tiny star, about 1cm
- Clingfilm, or one of those ecological waxed sheets (thanks Liz!)
INGREDIENTS:
- 100g Unsalted Butter at room temperature
- 170g golden caster sugar
- 1 egg
- A capful of Vanilla Extract
- pinch of salt
- 200g Plain Flour
- a jar of Strawberry jam – you won’t need it all.
- a tablespoon of Icing sugar
METHOD:
- Beat the butter and sugar together until they’re pale and light.
- Add the egg and the Vanilla and beat in.
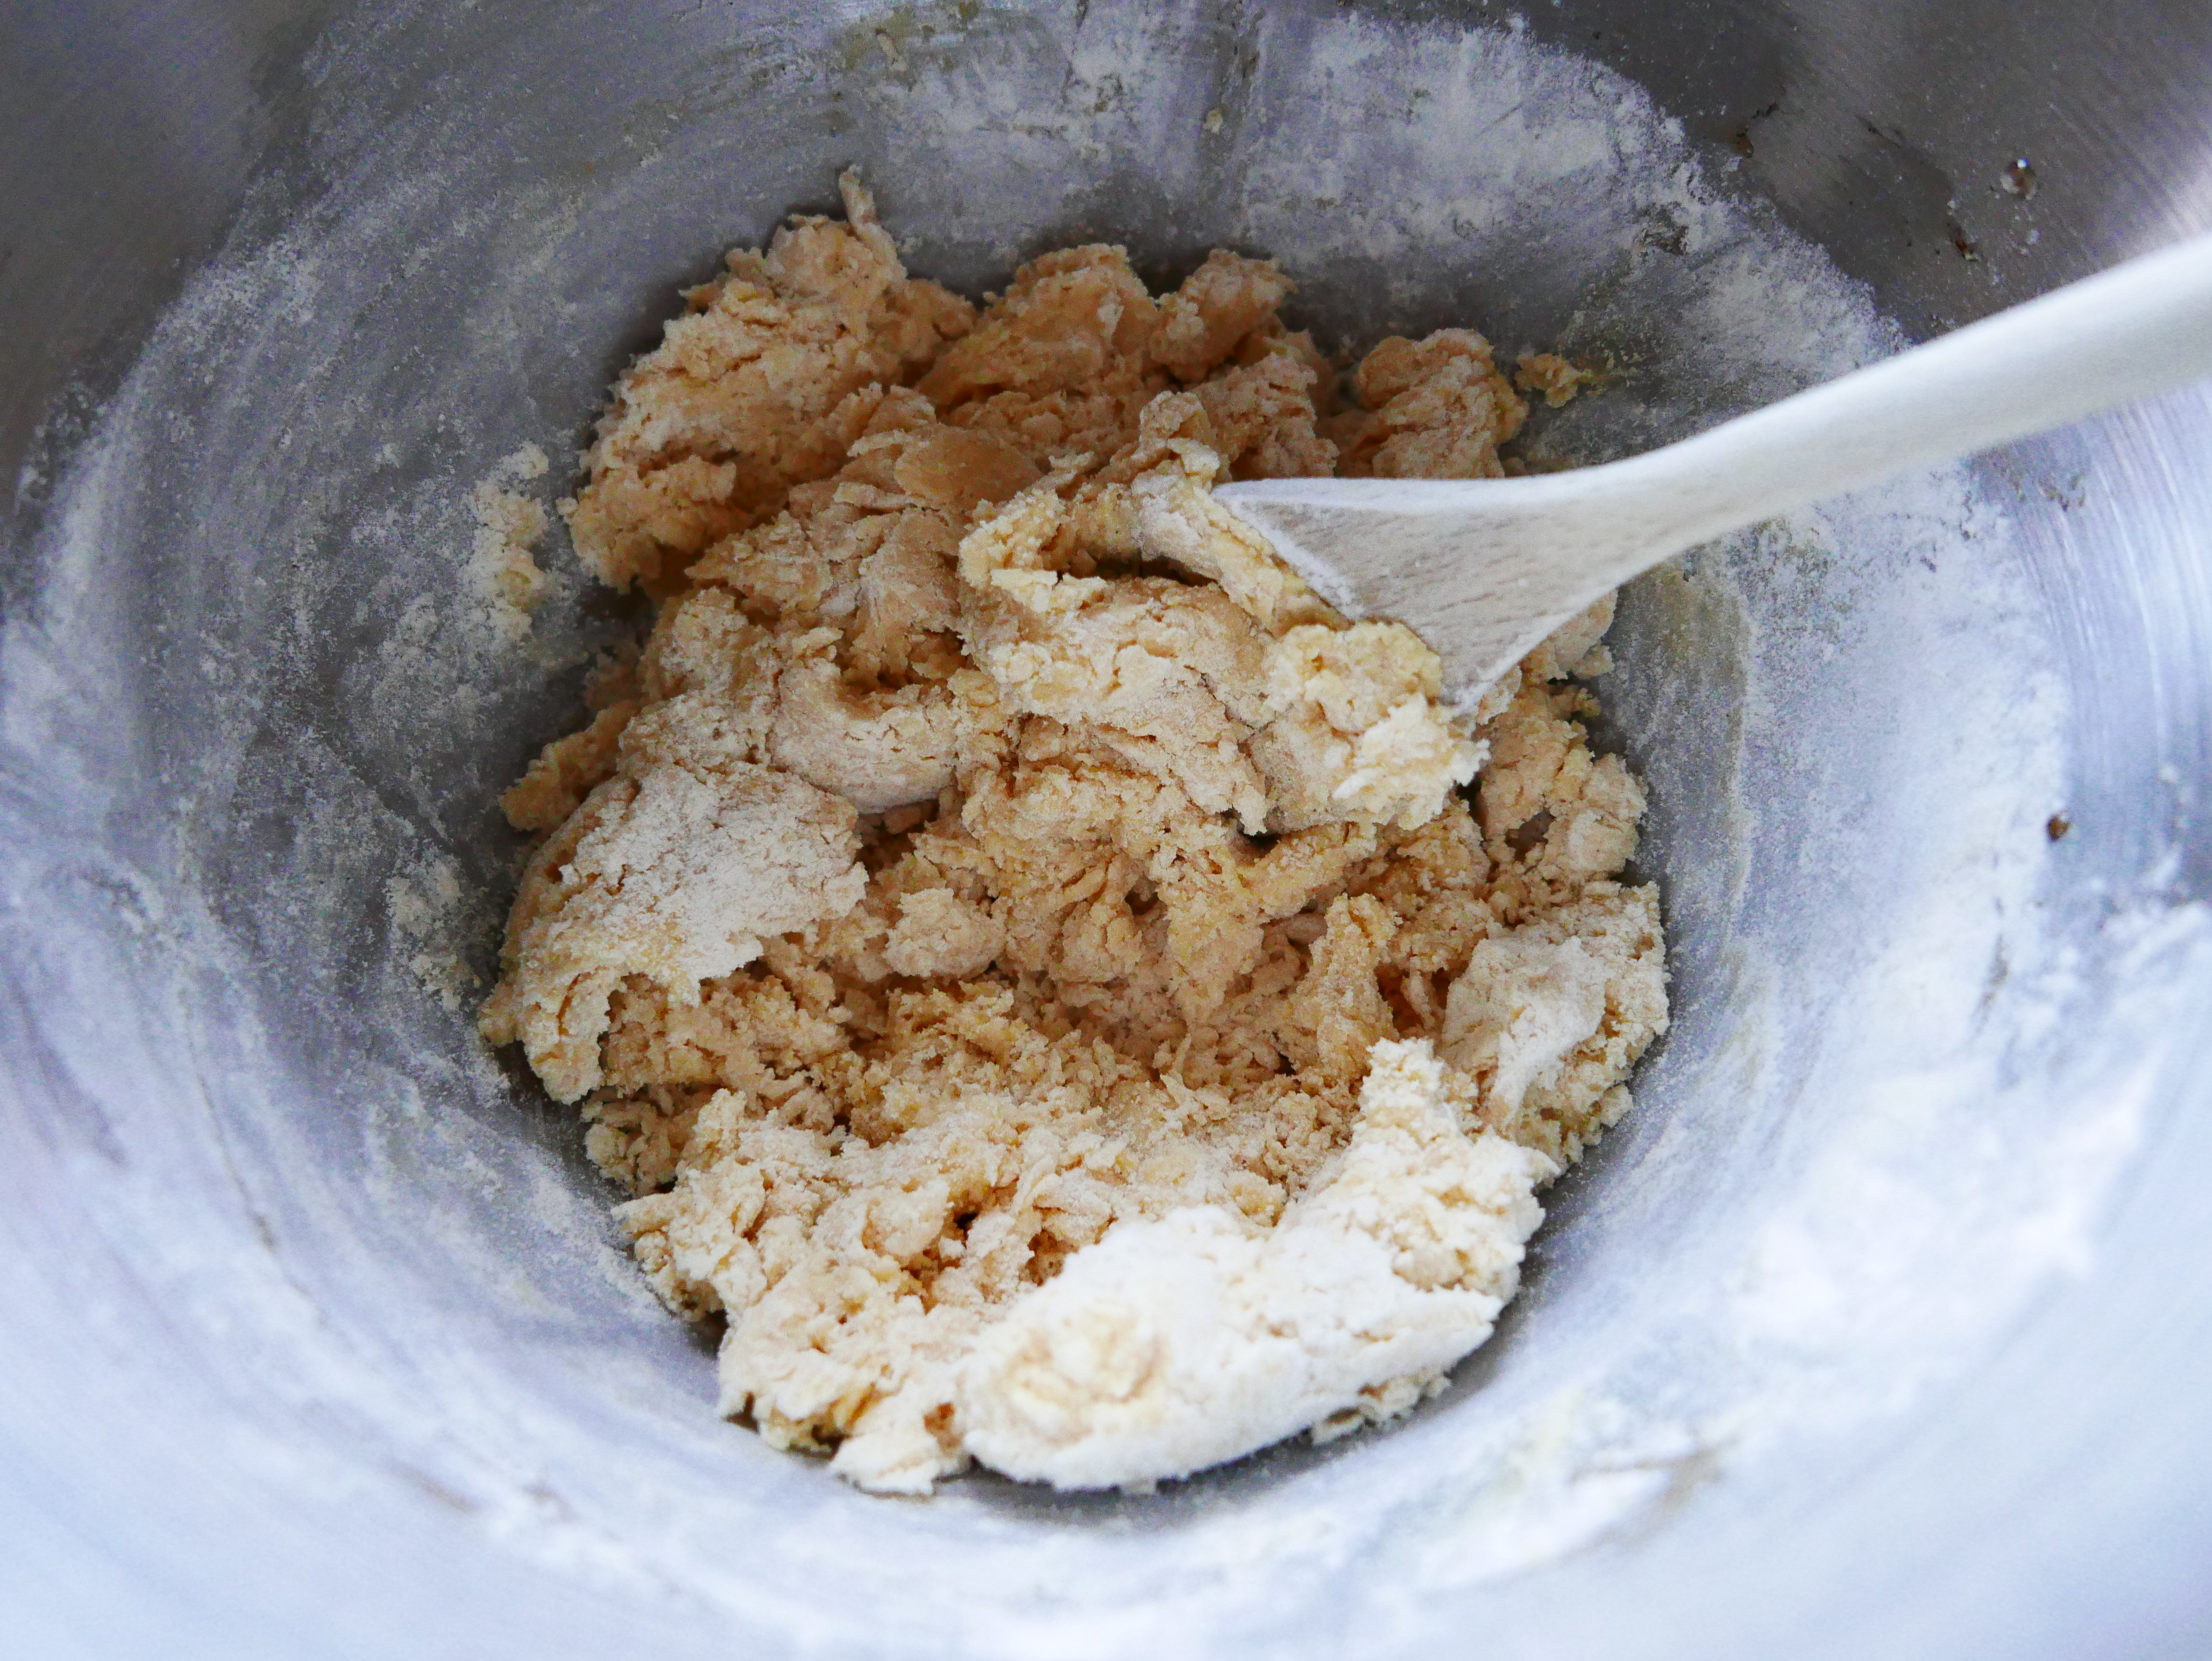
- Sift in the flour and mix until fully combined – don’t over-work it. It takes just a minute to do this.
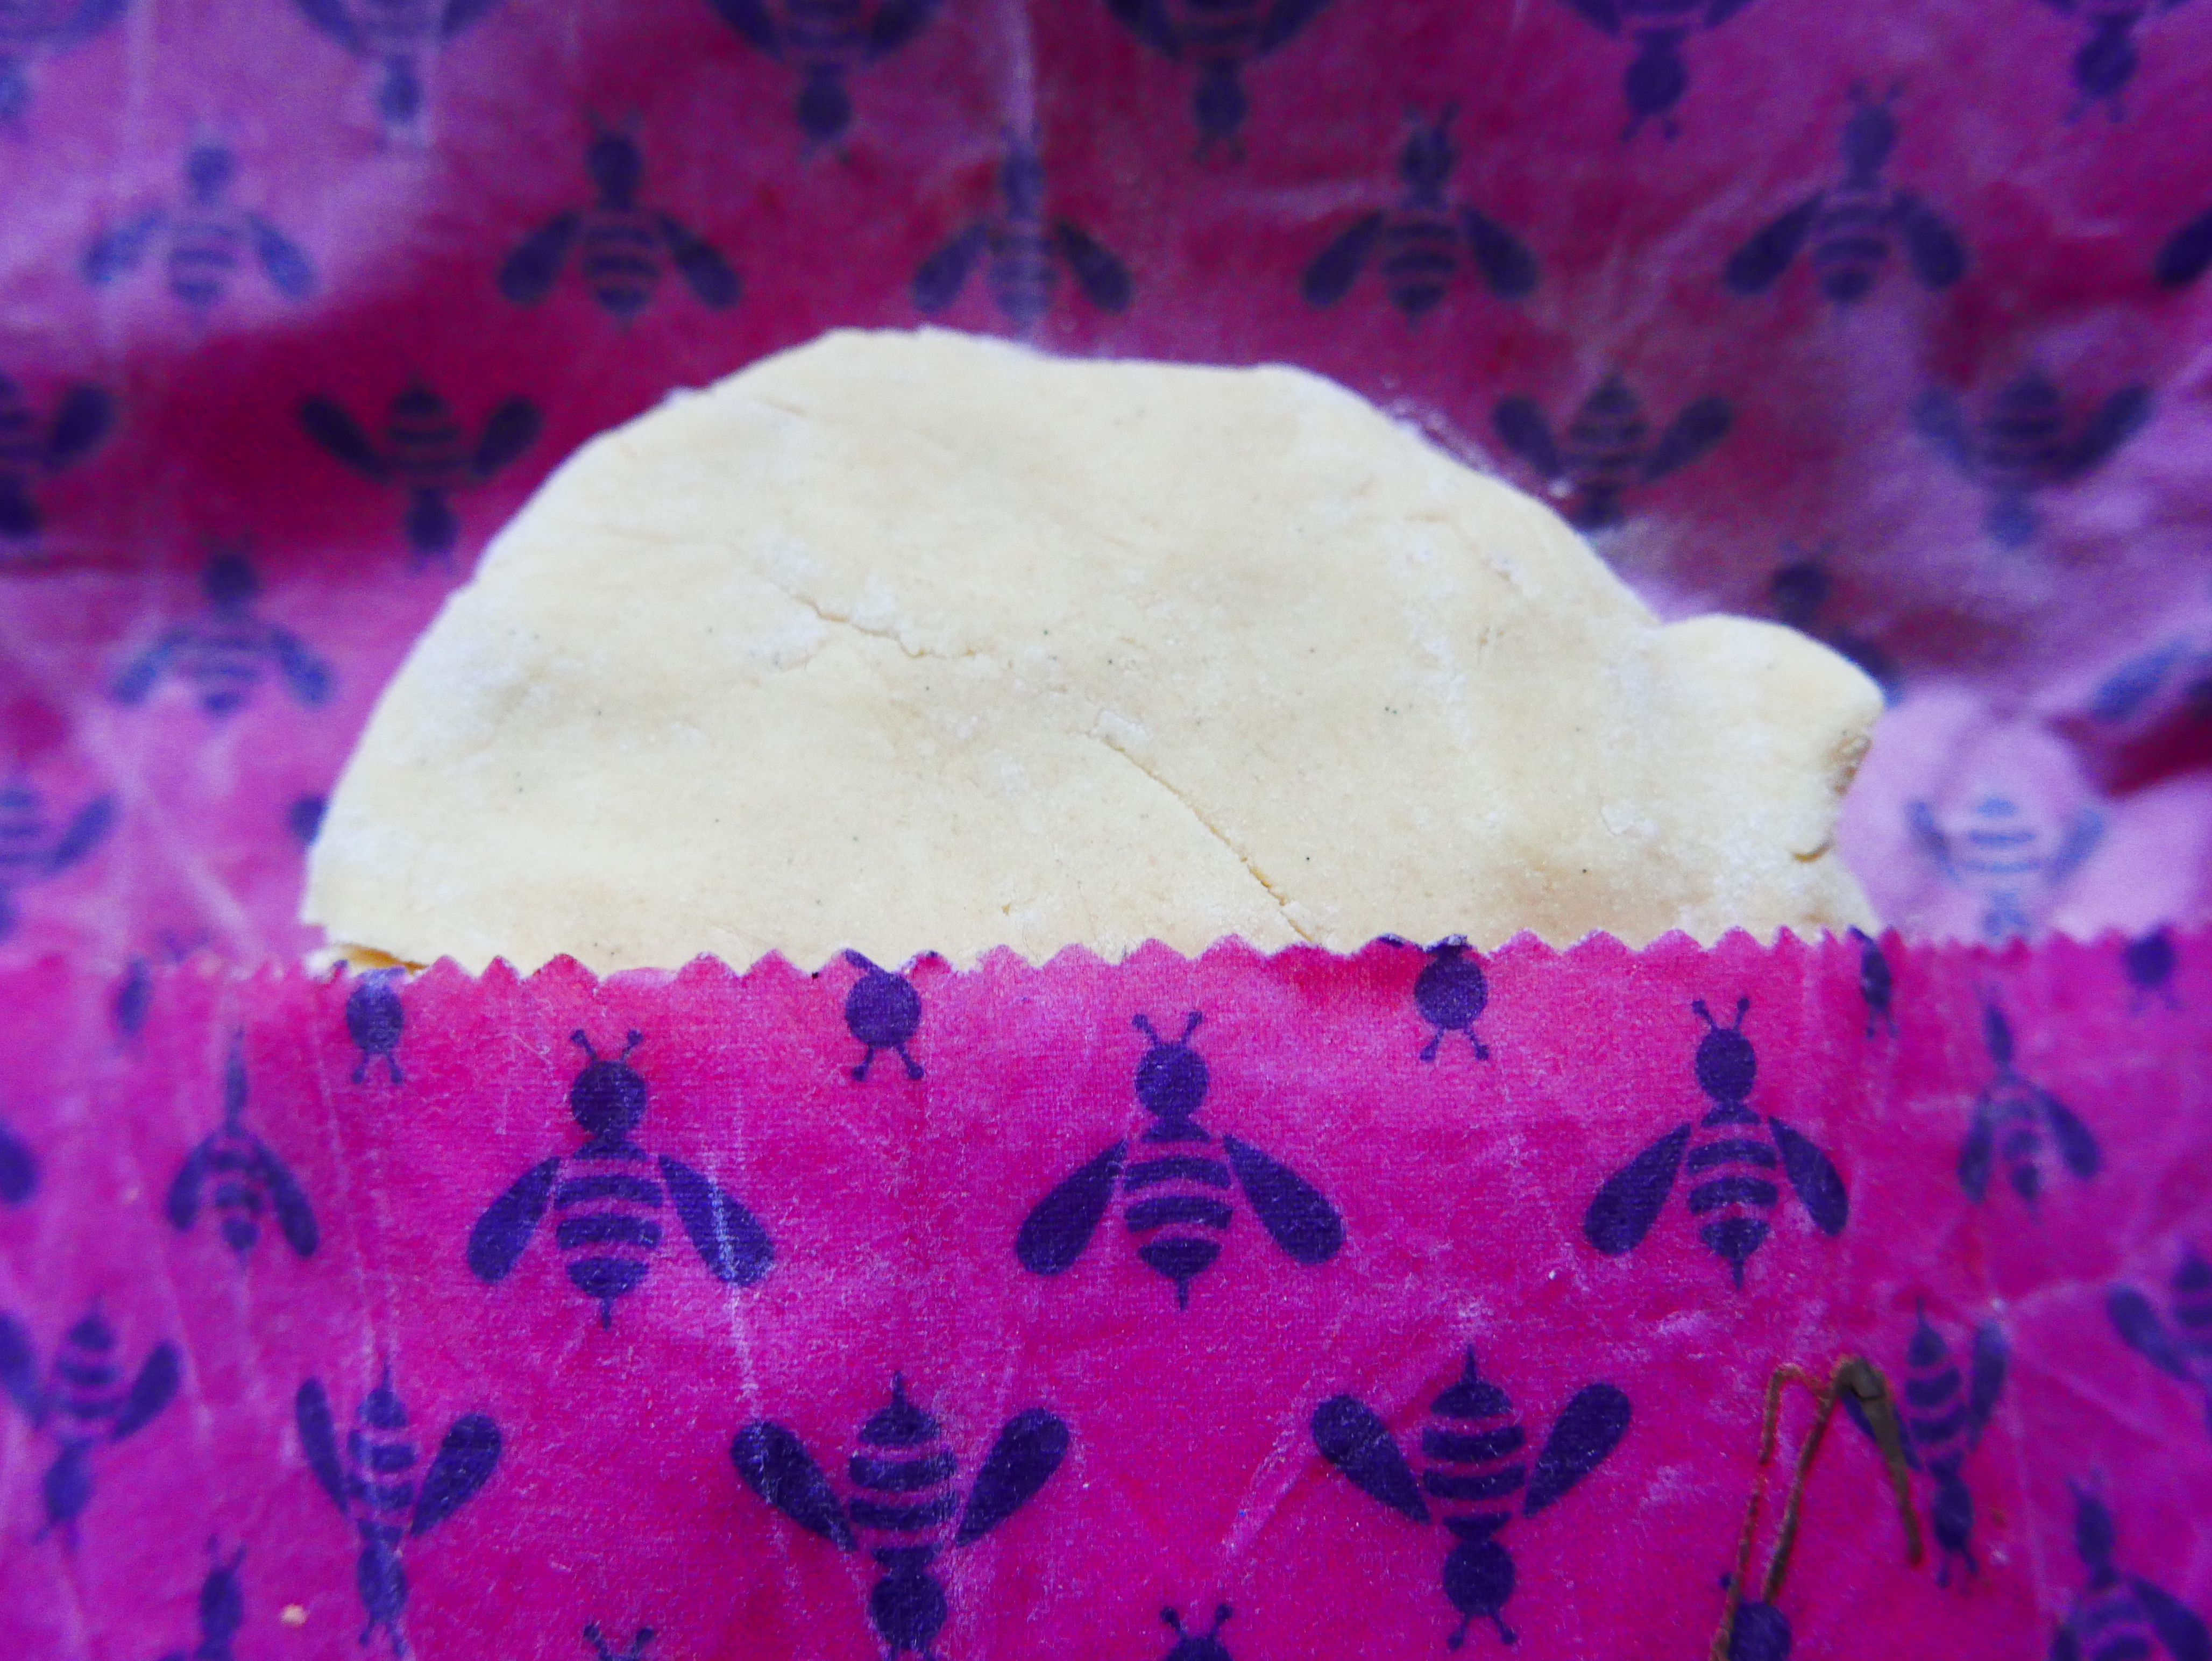
- Put the dough onto a lightly floured surface and pat it into a circular patty. Cover with Clingfilm/waxed thingy, and chill for at least 30 mins.
- Prepare your trays
- After the dough has had a nice rest, roll half of it out on a floured surface until it’s a uniform 1/2 cm thick.
- Cut out an even number of biscuits.
- Then roll out the other half – I did it in 2 batches to keep the dough cool and manageable.
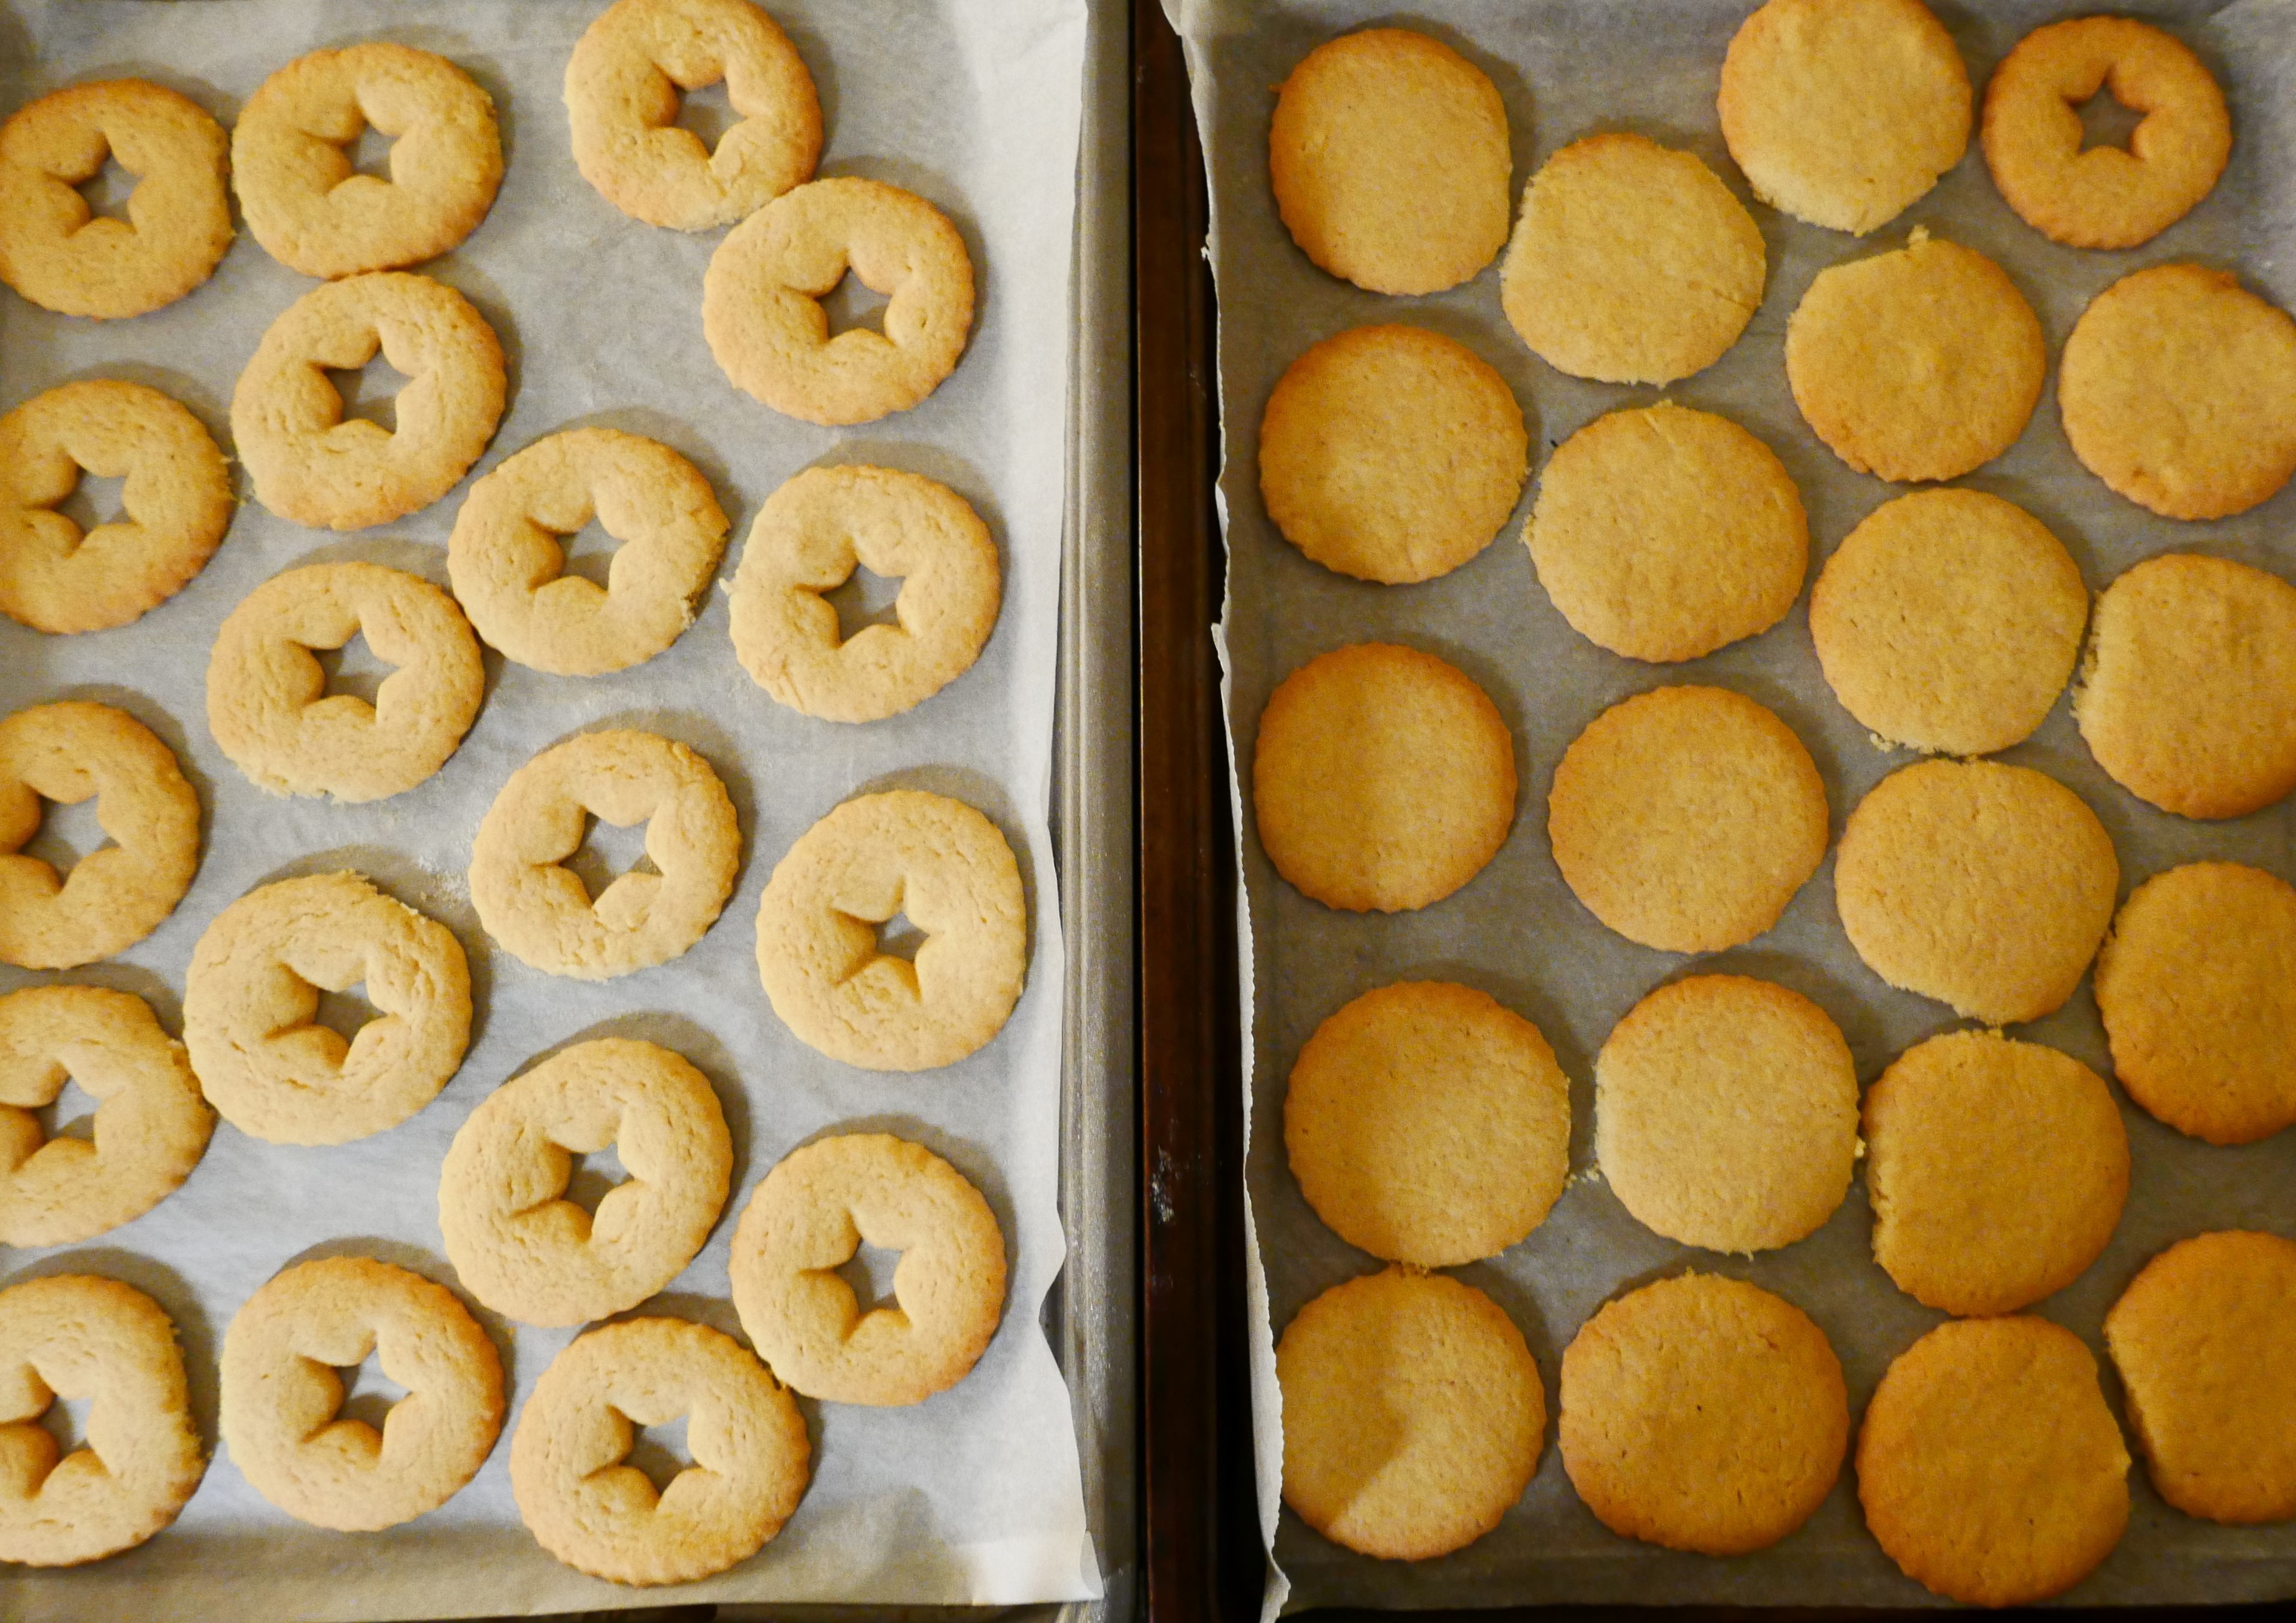
- I got 28 x 5cm biscuits, so 14 Jammies Dodgers in all.
- Put half the biscuits onto one tray as you cut them.

- Leave a decent-sized space between them – they rise more than you would think,
- Using your smaller cutters, cut a central shape out of the second lot of biscuits – these will be your top halves.
- Do a quick head count to make sure you’ve got an even number of biscuits overall,
- Put all the biscuits onto the baking trays, and CHILL for another 30minutes – the biscuits, not you, although you can have a cup of coffee now if you like 😉
- Heat your oven to 160Fan or equivalent.
- Put the biscuits in for 10-12 minutes, until pale golden.
I think I’ll give them 2 minutes more next time..
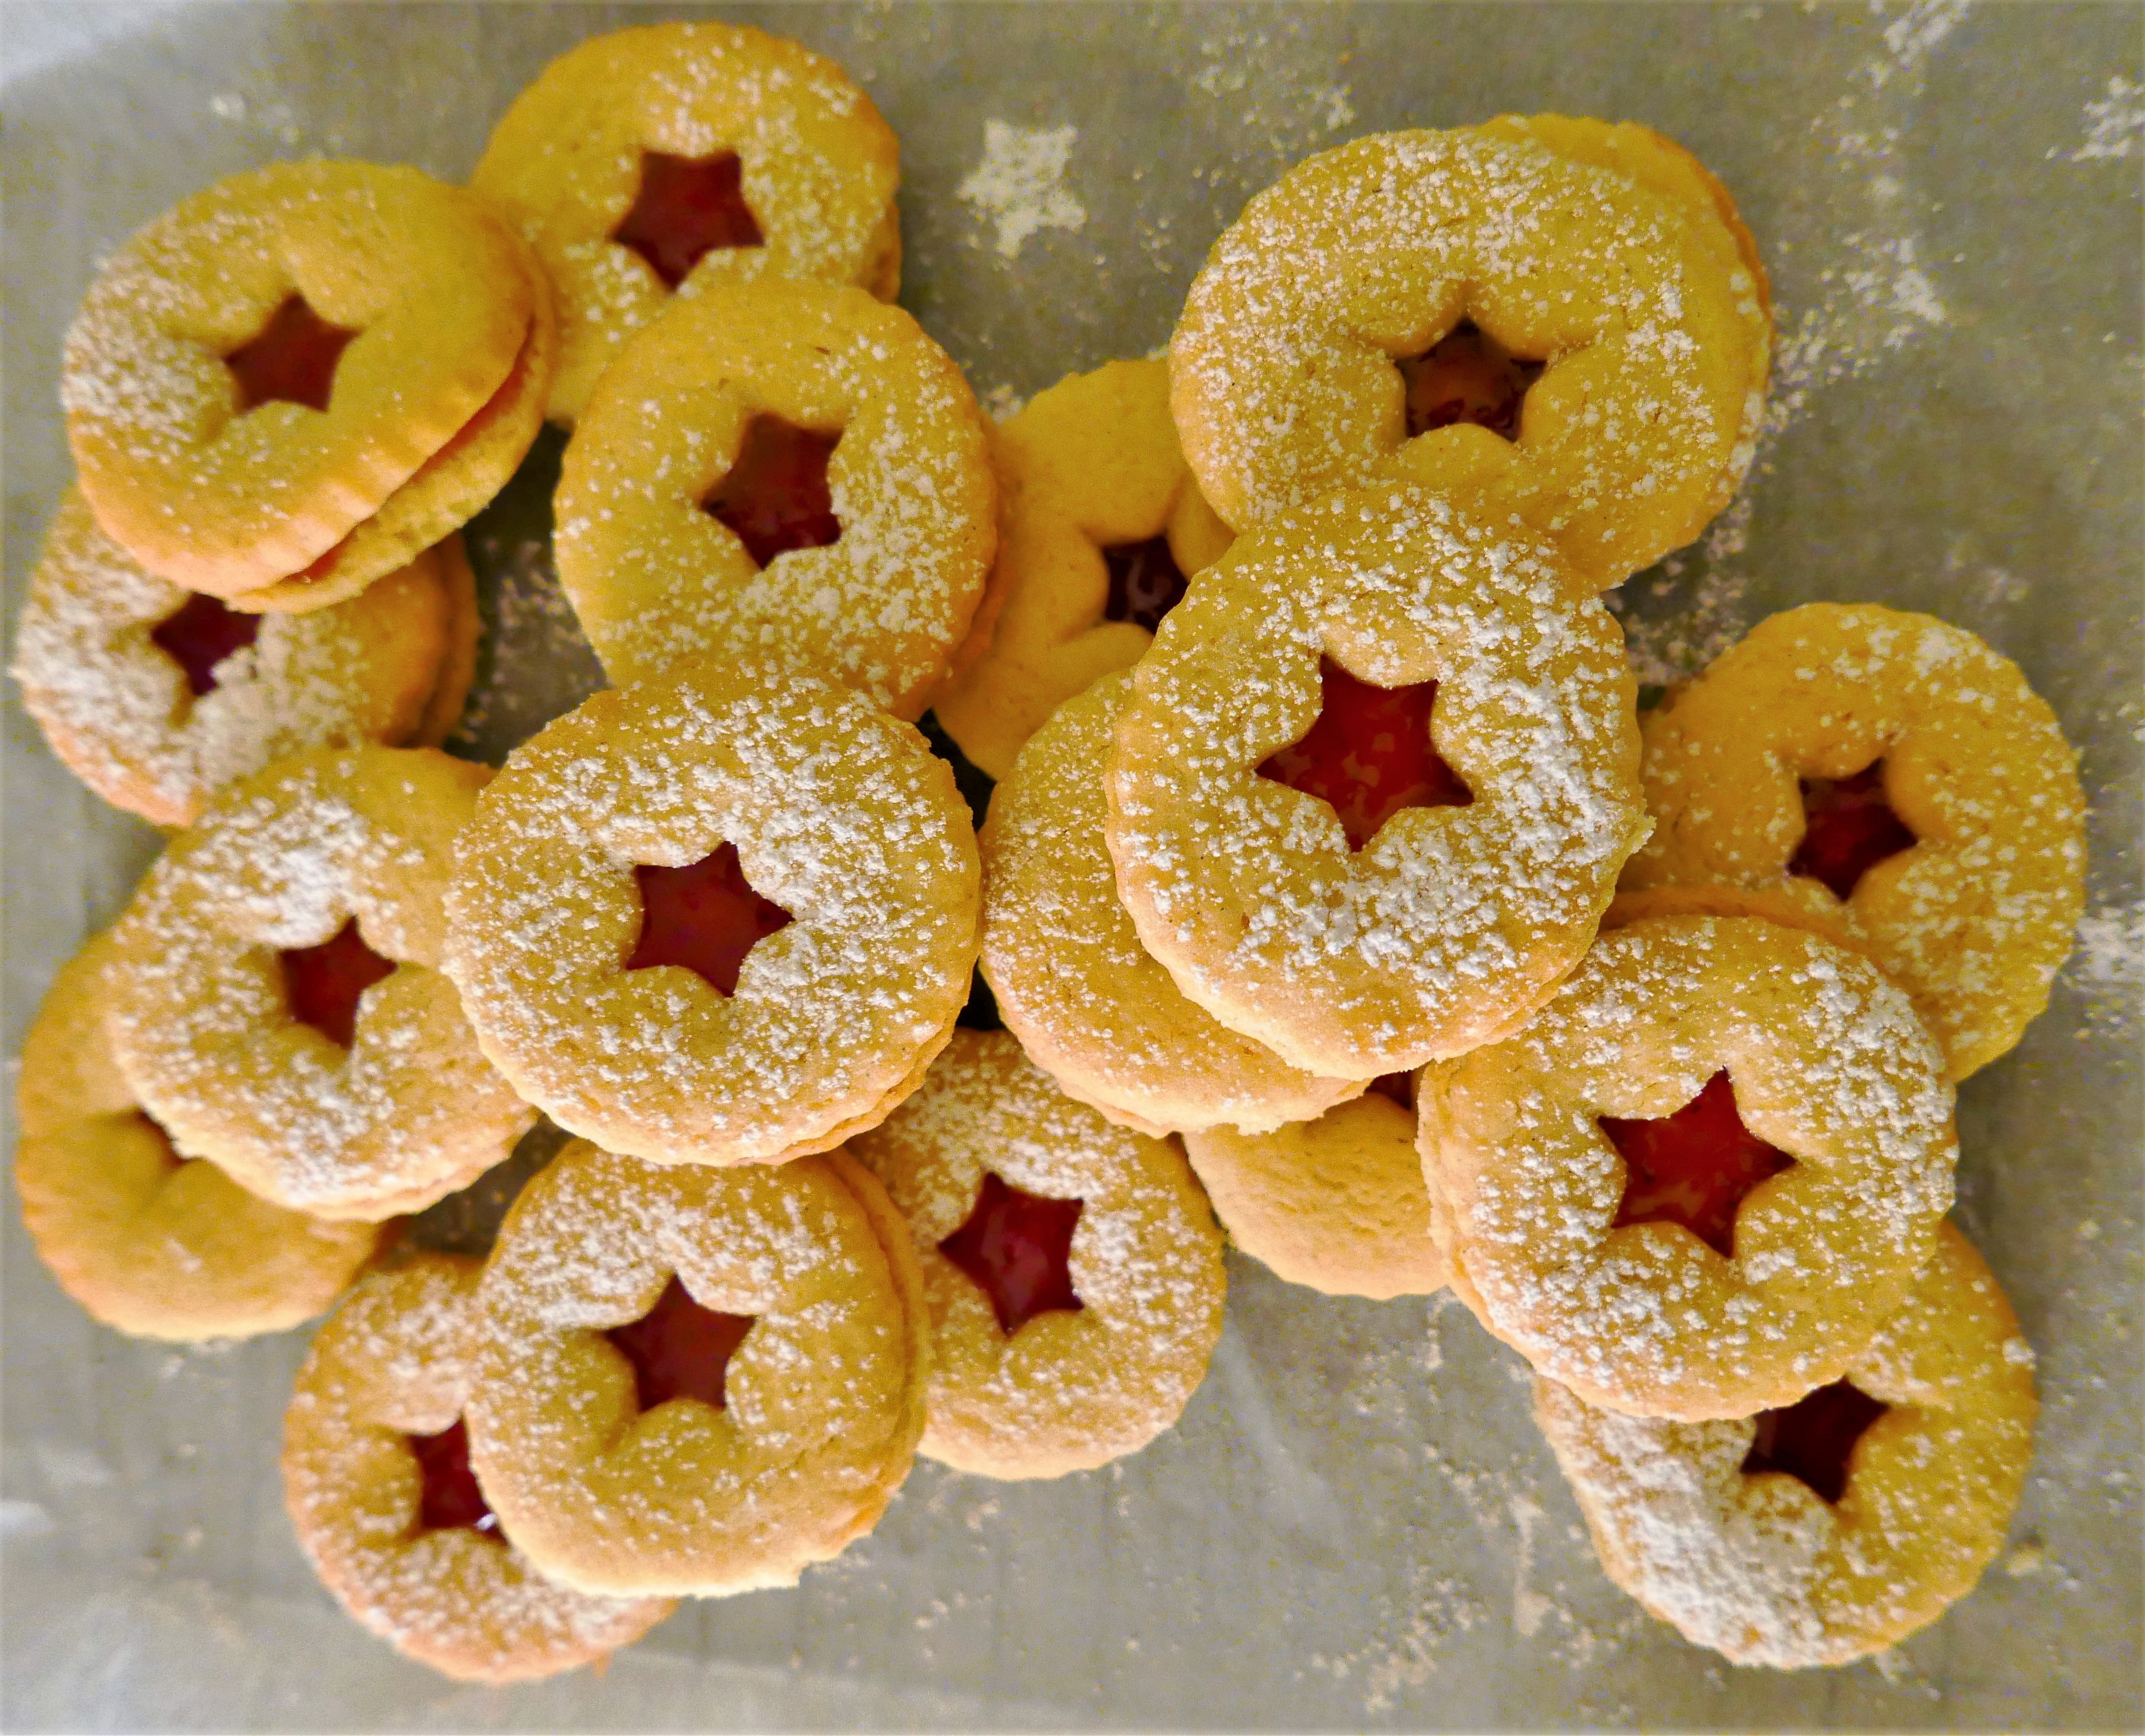
- Allow to cool, then dust the top layer of biscuits with icing sugar (this bit is optional, although it does make them very pretty)
- Spread a small spoonful of jam on each plain biscuit, not out to the edges, with the thickest jam in the middle.
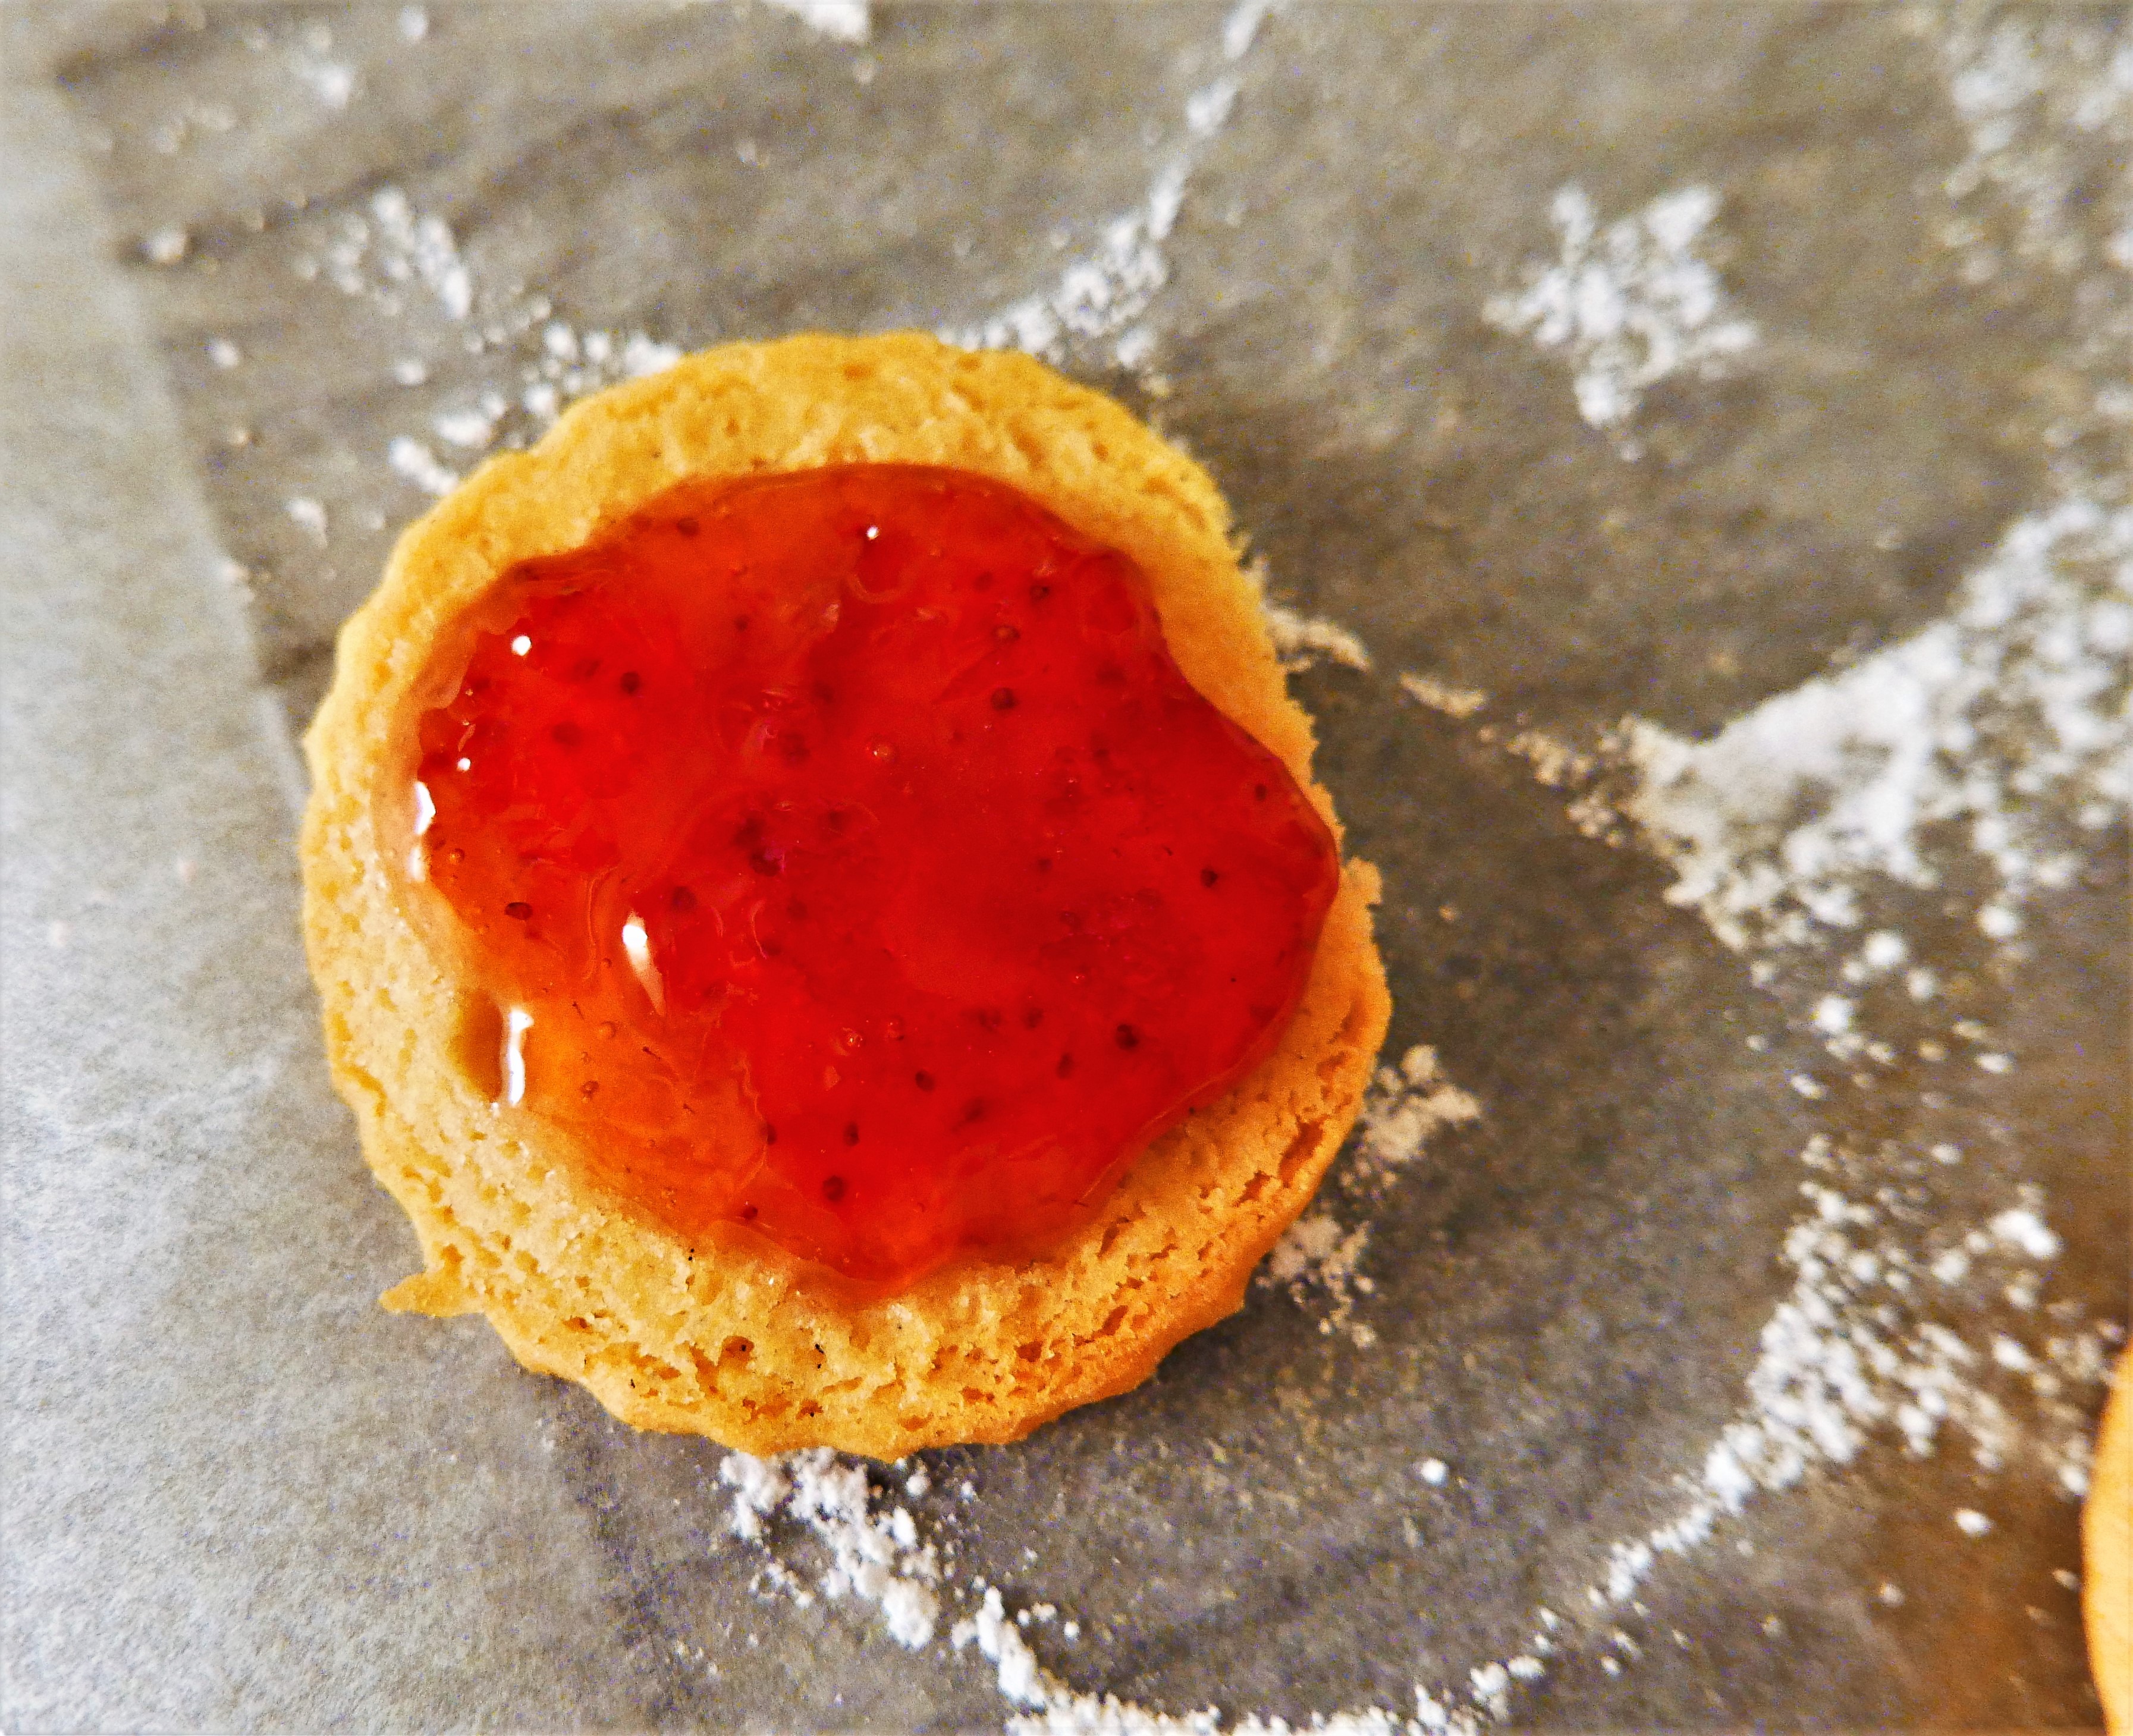
About this much jam, and not out to the edges!
- Then top them off with the cut-out ones.
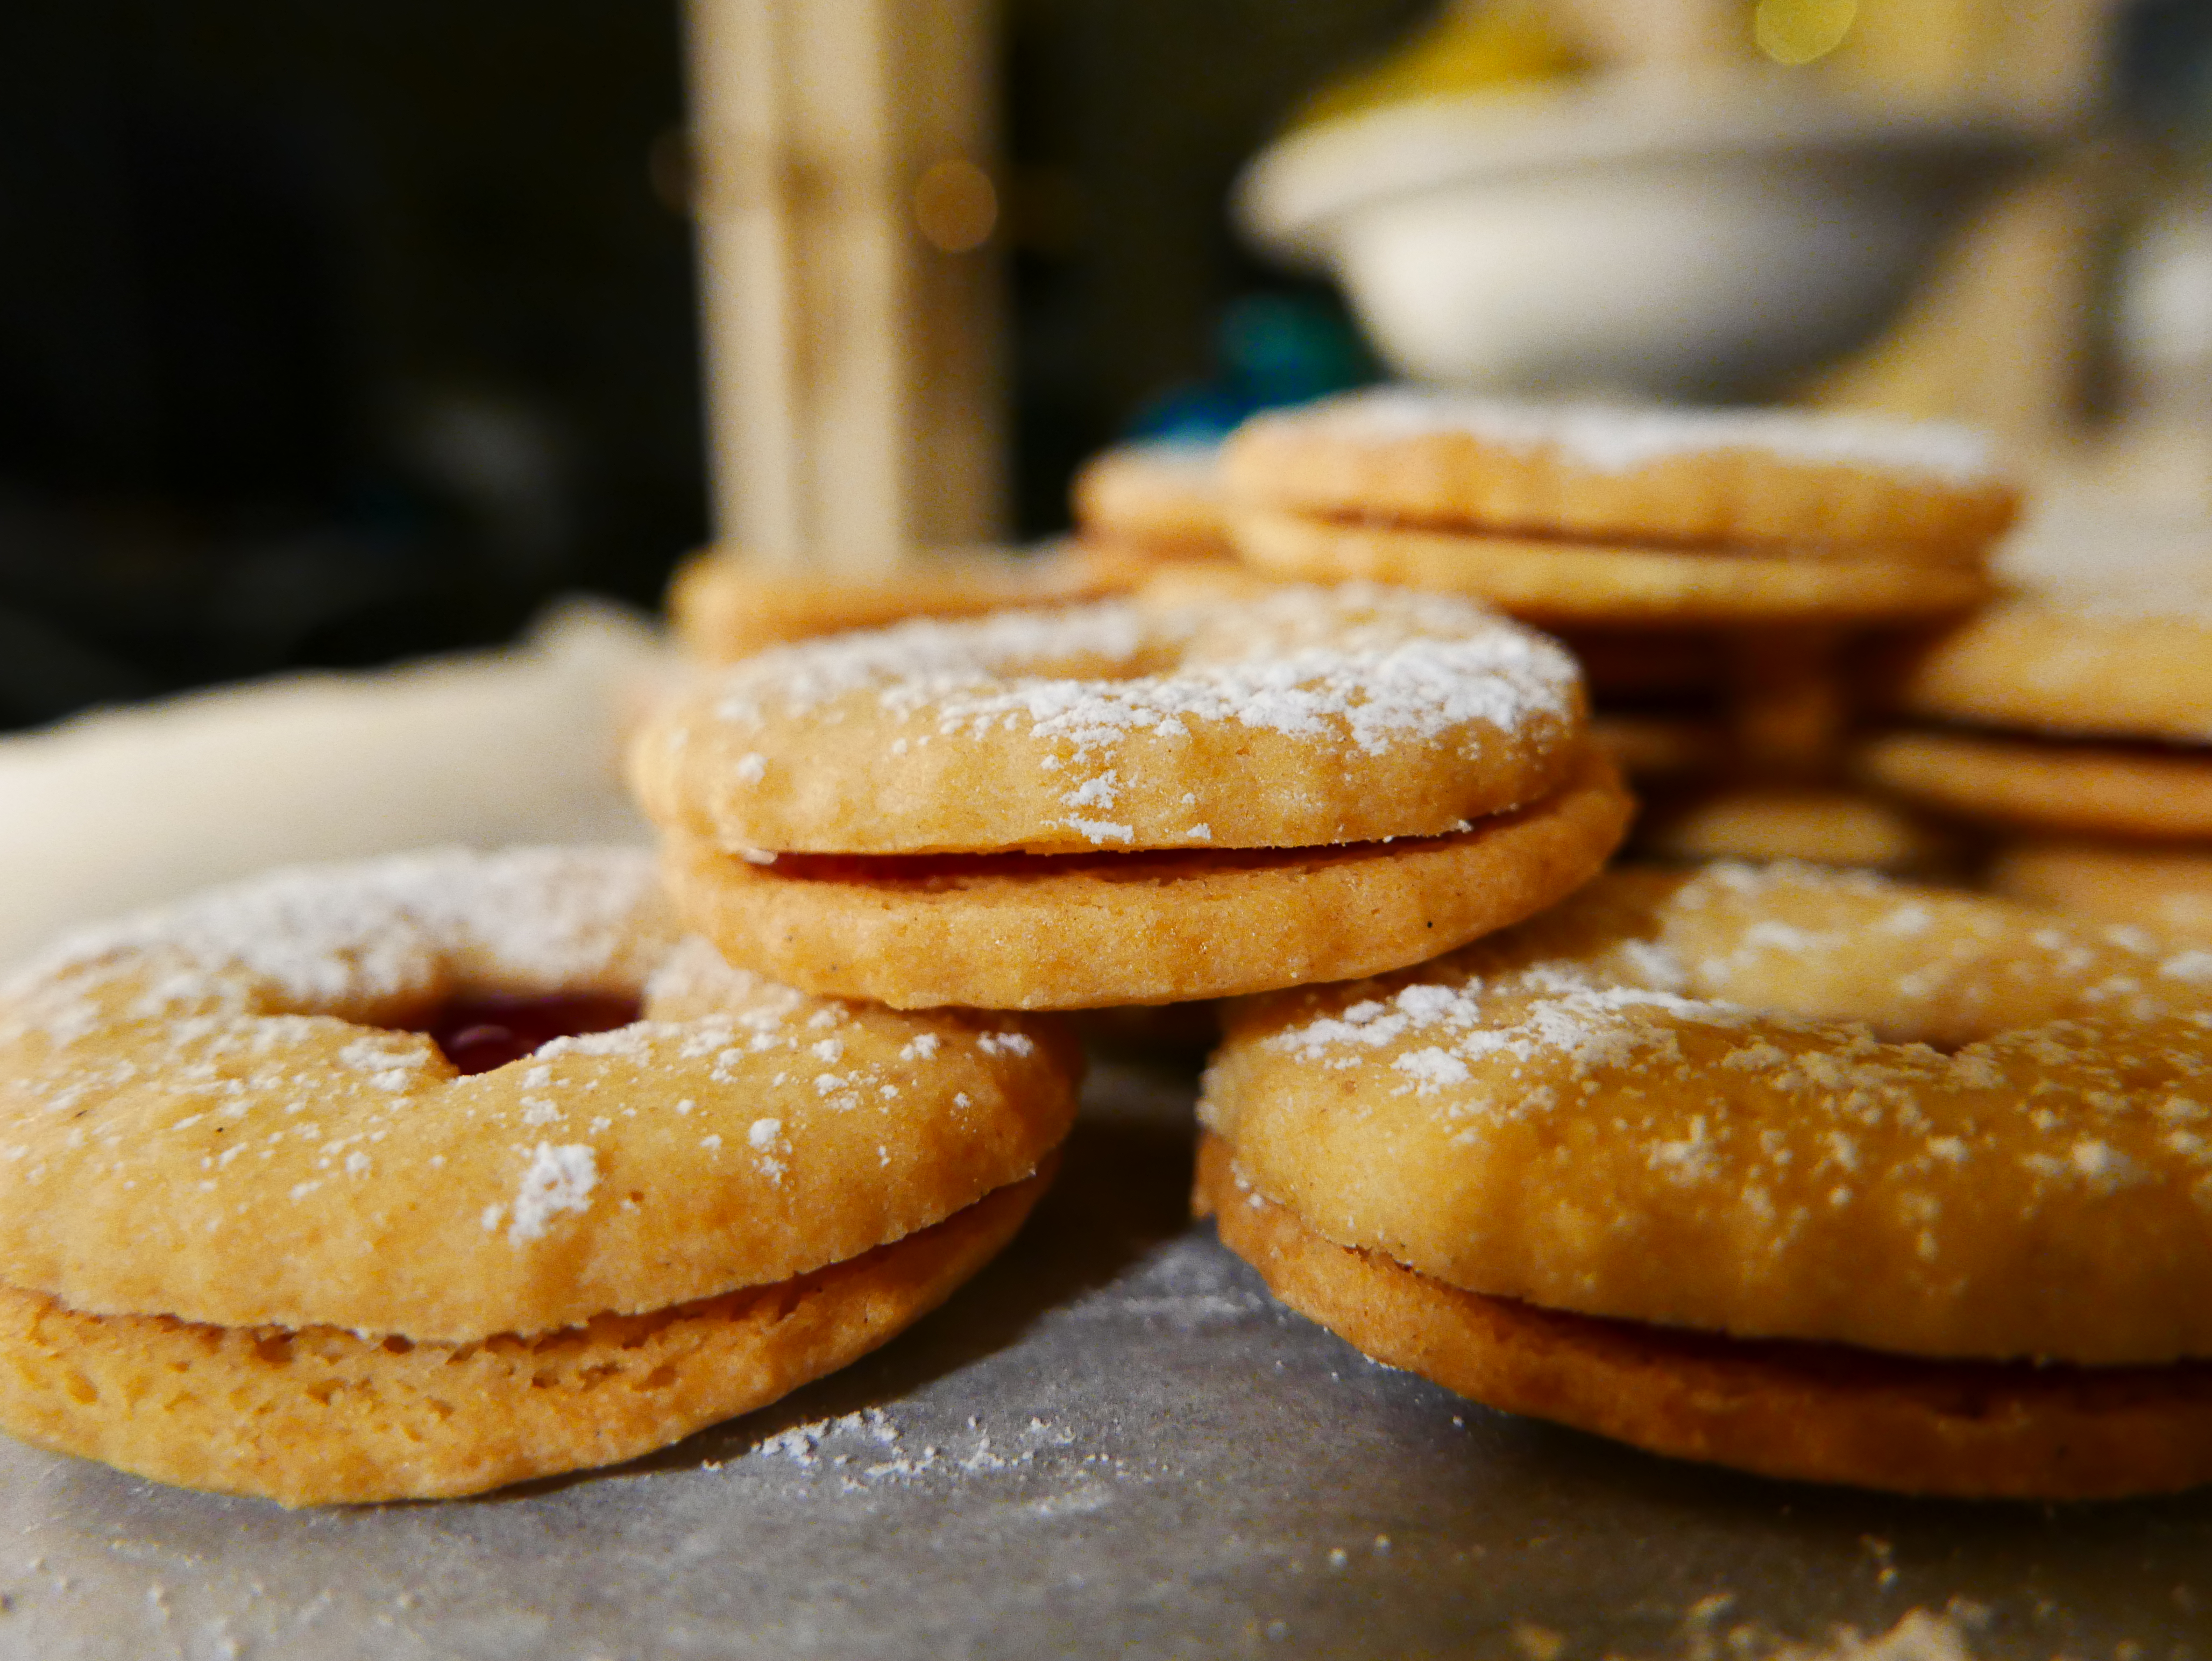
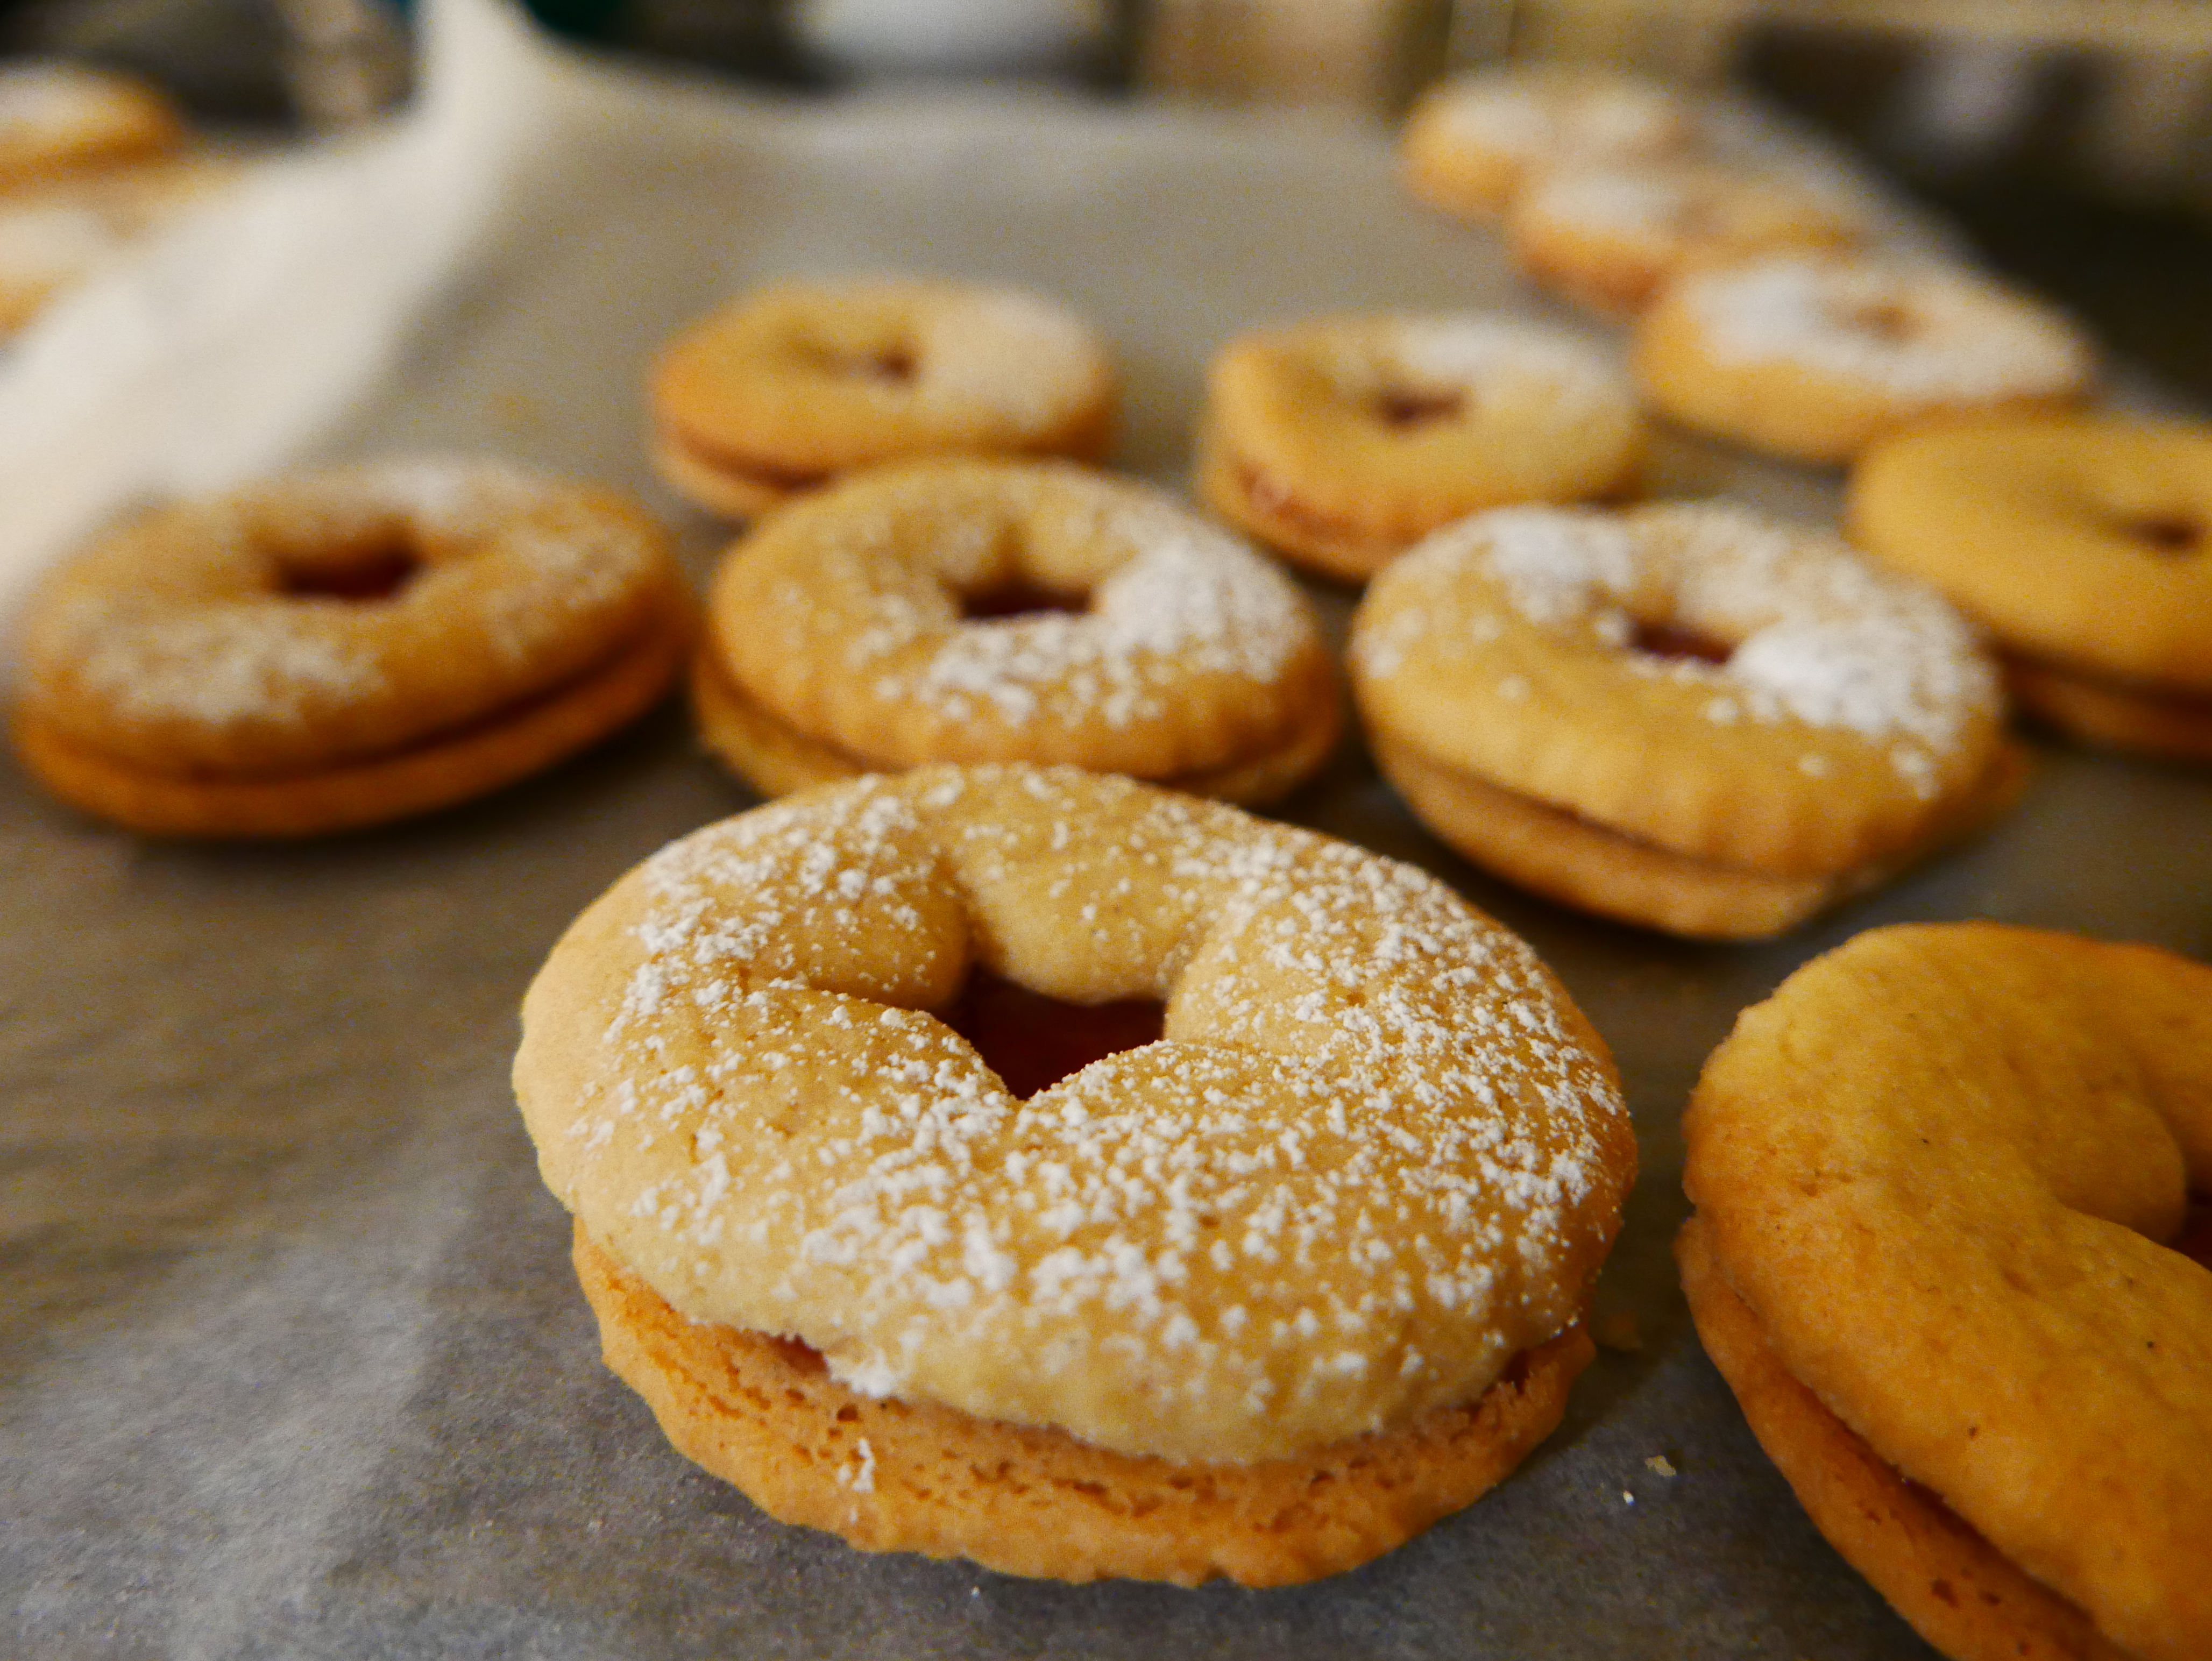
- And hey presto, you’ve got Jammie Dodgers!
NOTES:
- I thought when I tasted them first that they were too sweet, but I’m inclined to blame my homemade strawberry jam for that. However, the flavour grew on me as I continued to test them – plus my two
guinea pigs– ahem – volunteers, really liked them! - I think that I will perhaps give them about 2 more minutes baking next time, as the biscuits went a little – just a little – soft overnight. Still delicious and very edible though..
- I’m really looking forward to trying these with Lemon Curd for Easter..
- You could also use this recipe to make those other childhood favourites – German Biscuits. For those of you who don’t get out much – that’s all of us as I write – A German biscuit is two shortcake biscuits sandwiched together with jam, then iced and a light sprinkling of colourful sprinkles added!
I started writing down recipes in an old copybook when I was about 16. With 6 children at home, my Mother was always glad of a hand in the kitchen, and really allowed us to experiment - as long as we washed up afterwards, and left the kitchen immaculate! Having a tidy kitchen has followed me through my life, as has the habit of writing down my favourite recipes; except that these days I write them for my website, and add photographs when I can. The website really started when it occurred to me that my daughter might like to have these recipes when I've forgotten them. In my early days of cooking for family and friends, I used to phone my Mum all the time to ask her for the recipe for some of our favourite family dinners. She rarely had a recipe to hand - I think, like me, she made a lot of it up as she went along.. So welcome to Eating for Ireland - these are the recipes that my friends and family having been eating these past 40 years.. yes, I truly am ancient! They are tried and tested, and have worked for me for all that time - I have updated them as new ingredients became available - I really hope you'll find something that you can make into a family favourite of your own. You don't have to tell anyone where you found these great new dishes that you're serving up - it can be our little secret, but I'd really love it if you could give me a sneaky 'follow' on Facebook and Instagram.. So off you go - have a good rummage around, you're bound to find something new! My sincere thanks to all of you who have found a recipe that you liked and dropped me a line to tell me - I really do love to hear from you! Happy Cooking! Becks xx