

I can remember my Mum making this delicious curd jam when I was a kid. It wasn’t that she was a jam-making kind of gal – with 6 of us kids, plus Dad, she was way too busy! – but usually because she found herself with too many eggs about the house and needed to use them up. It was the same with rice pudding – she only made it when she had too many bottles of milk lying about.
Anyway, regardless of her motives, it’s always been one of my favourite jams, so today I thought I’d give it a go.
It’s actually surprisingly easy to make – just four ingredients.
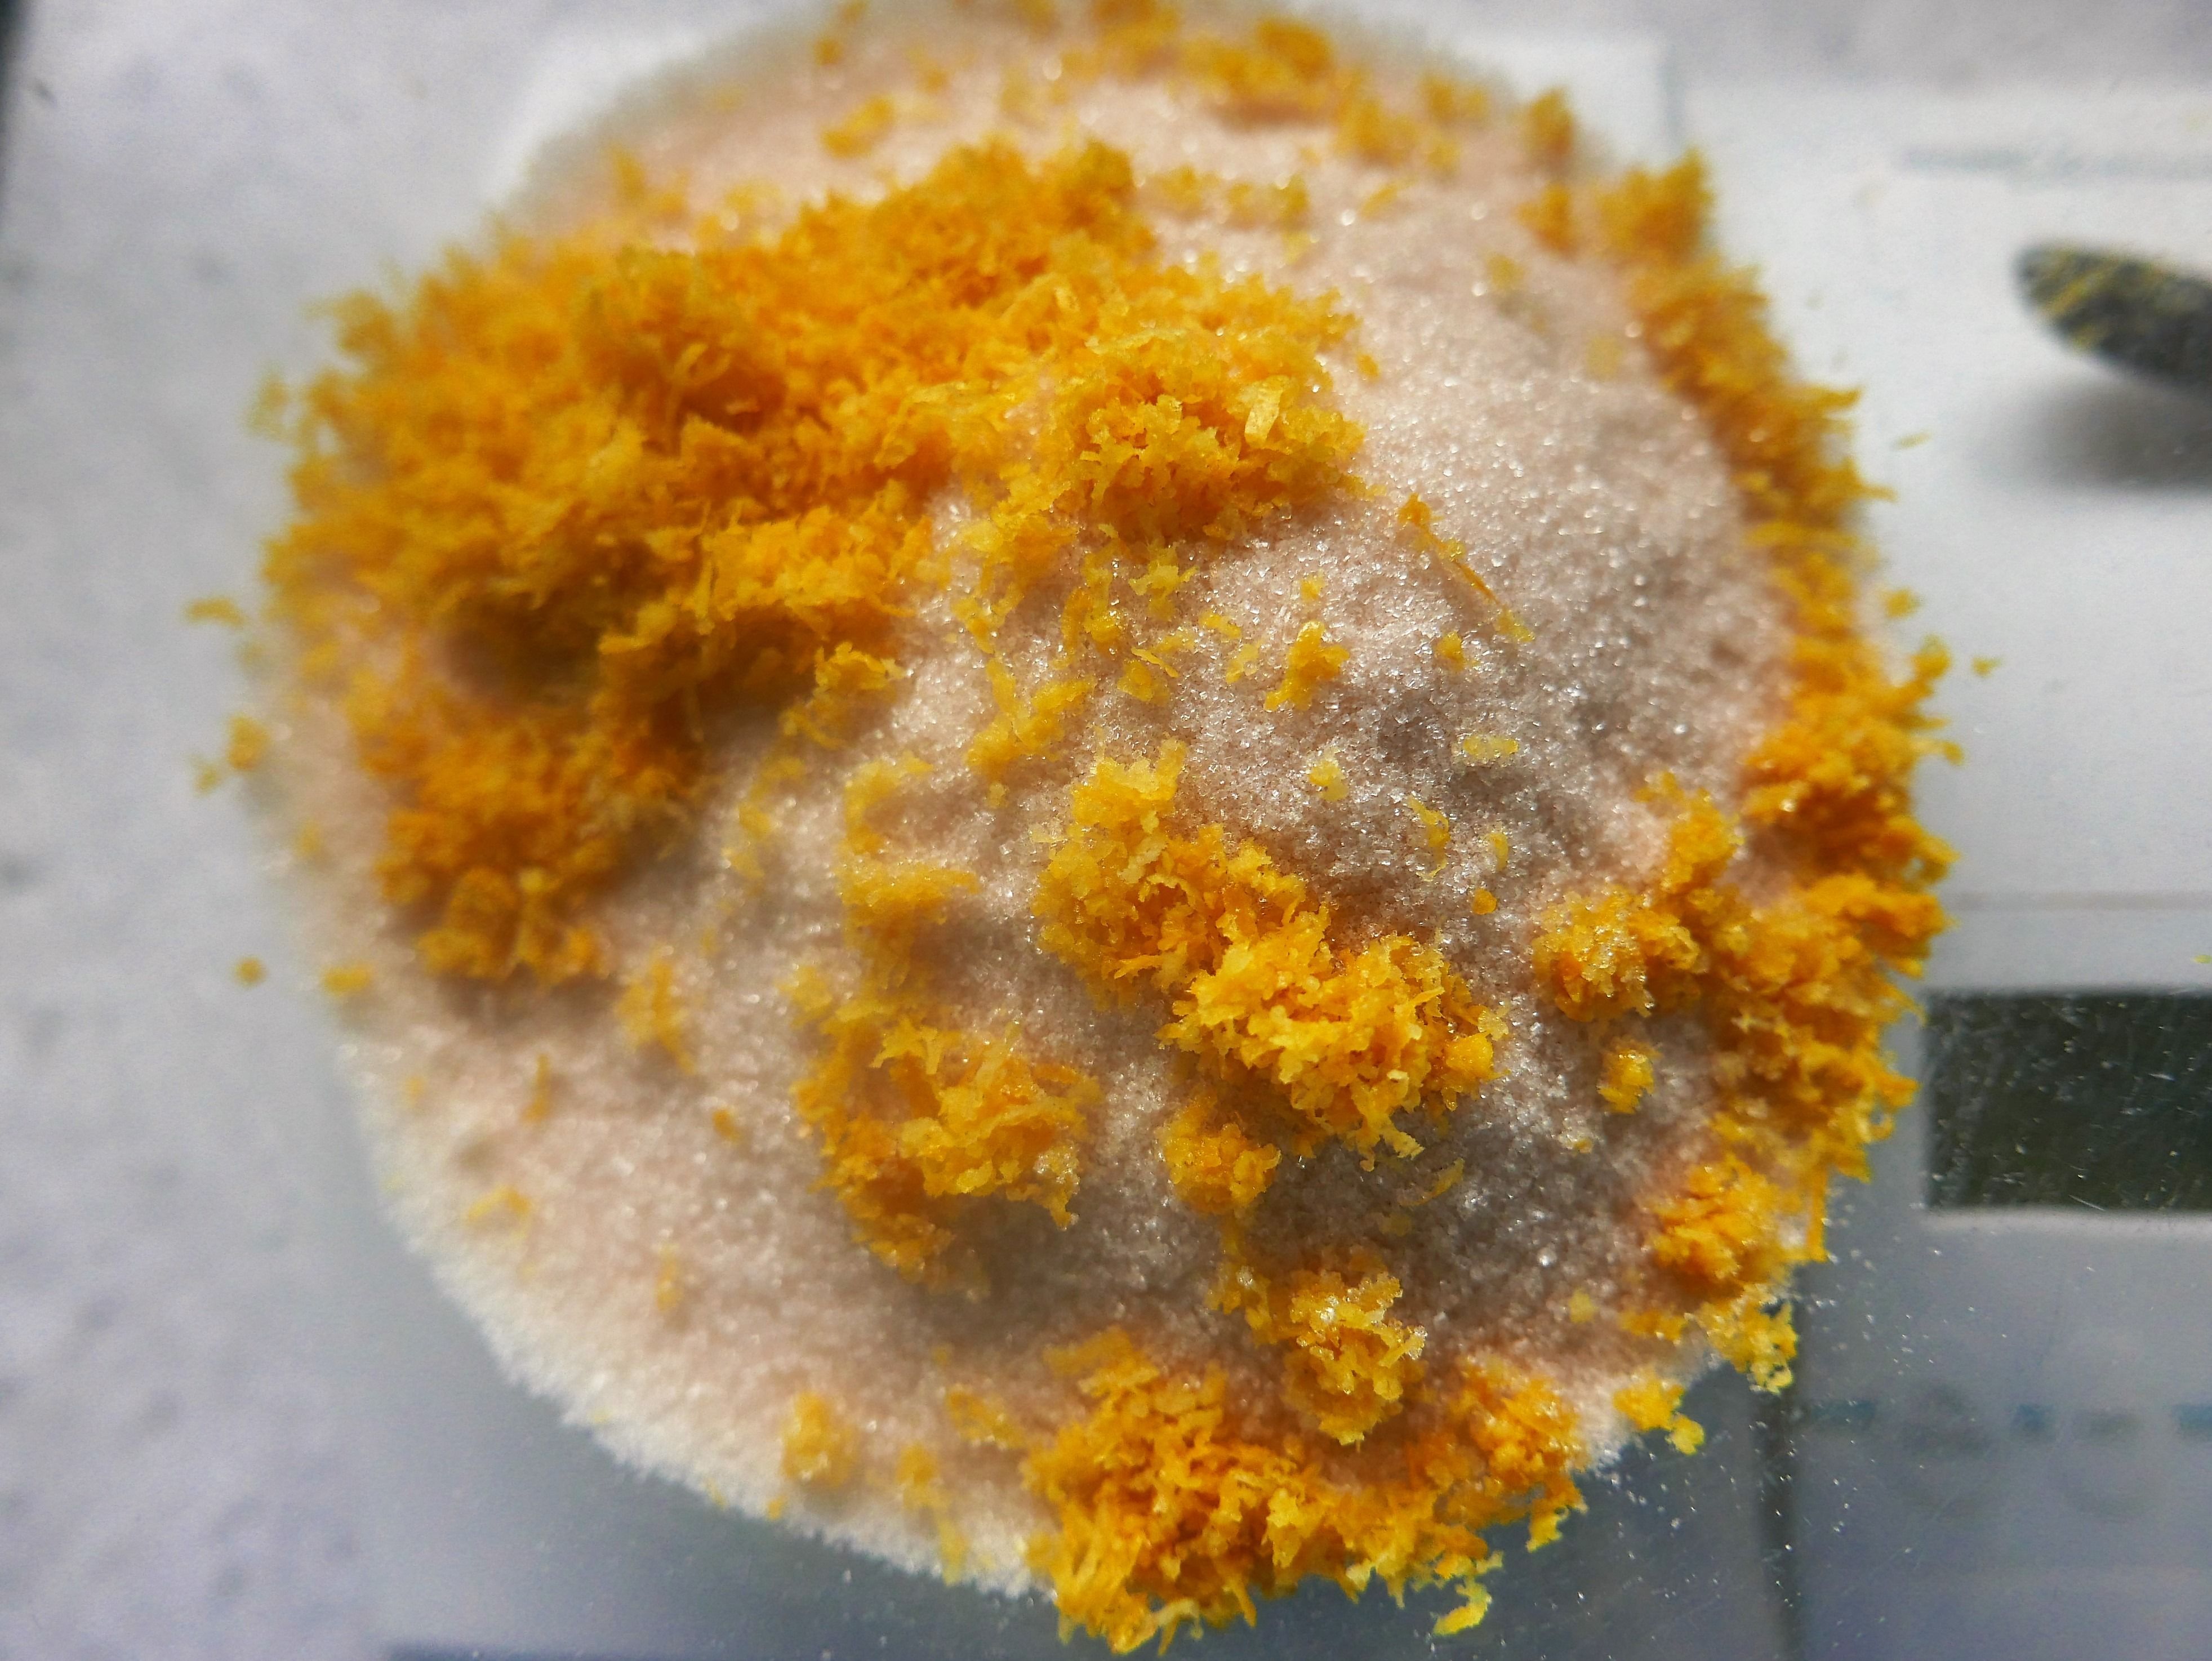
The most time-consuming bit is grating the rind and squeezing the lemons, and the upside of that is that your kitchen smells beautifully lemony!
The curd itself is very tolerant and doesn’t require a lot of minding, as long as the heat isn’t too high. The water in the pan should be barely simmering.
The recipe books all warn you that lemon Curd doesn’t keep, but mine is cooling in sealed sterilized jars as I write – I just took an admiring glance at it there  – and will be kept in a very cold fridge, so I expect to get several weeks out of it. Certainly long enough to bore the pants off anyone who calls in the next few weeks!
Right. Enough waffle – let’s crack on..if you’ll pardon the ‘eggy’ pun 😉
EQUIPMENT:
- A heat-proof bowl that sits neatly on top of an appropriately sized saucepan
- A hand whisk
- A sieve
- A fine grater
- A wooden spoon
- 2-3 small jam jars, either sterilized by putting them through the dishwasher, or boiled in a large saucepan for 10 minutes, then drained and (carefully) placed upside down in an oven at 100 degrees for 15 minutes.
INGREDIENTS:
- The finely grated rind and juice of four lemons (I got 100mls from my 4 small lemons today)

- 200g golden caster sugar
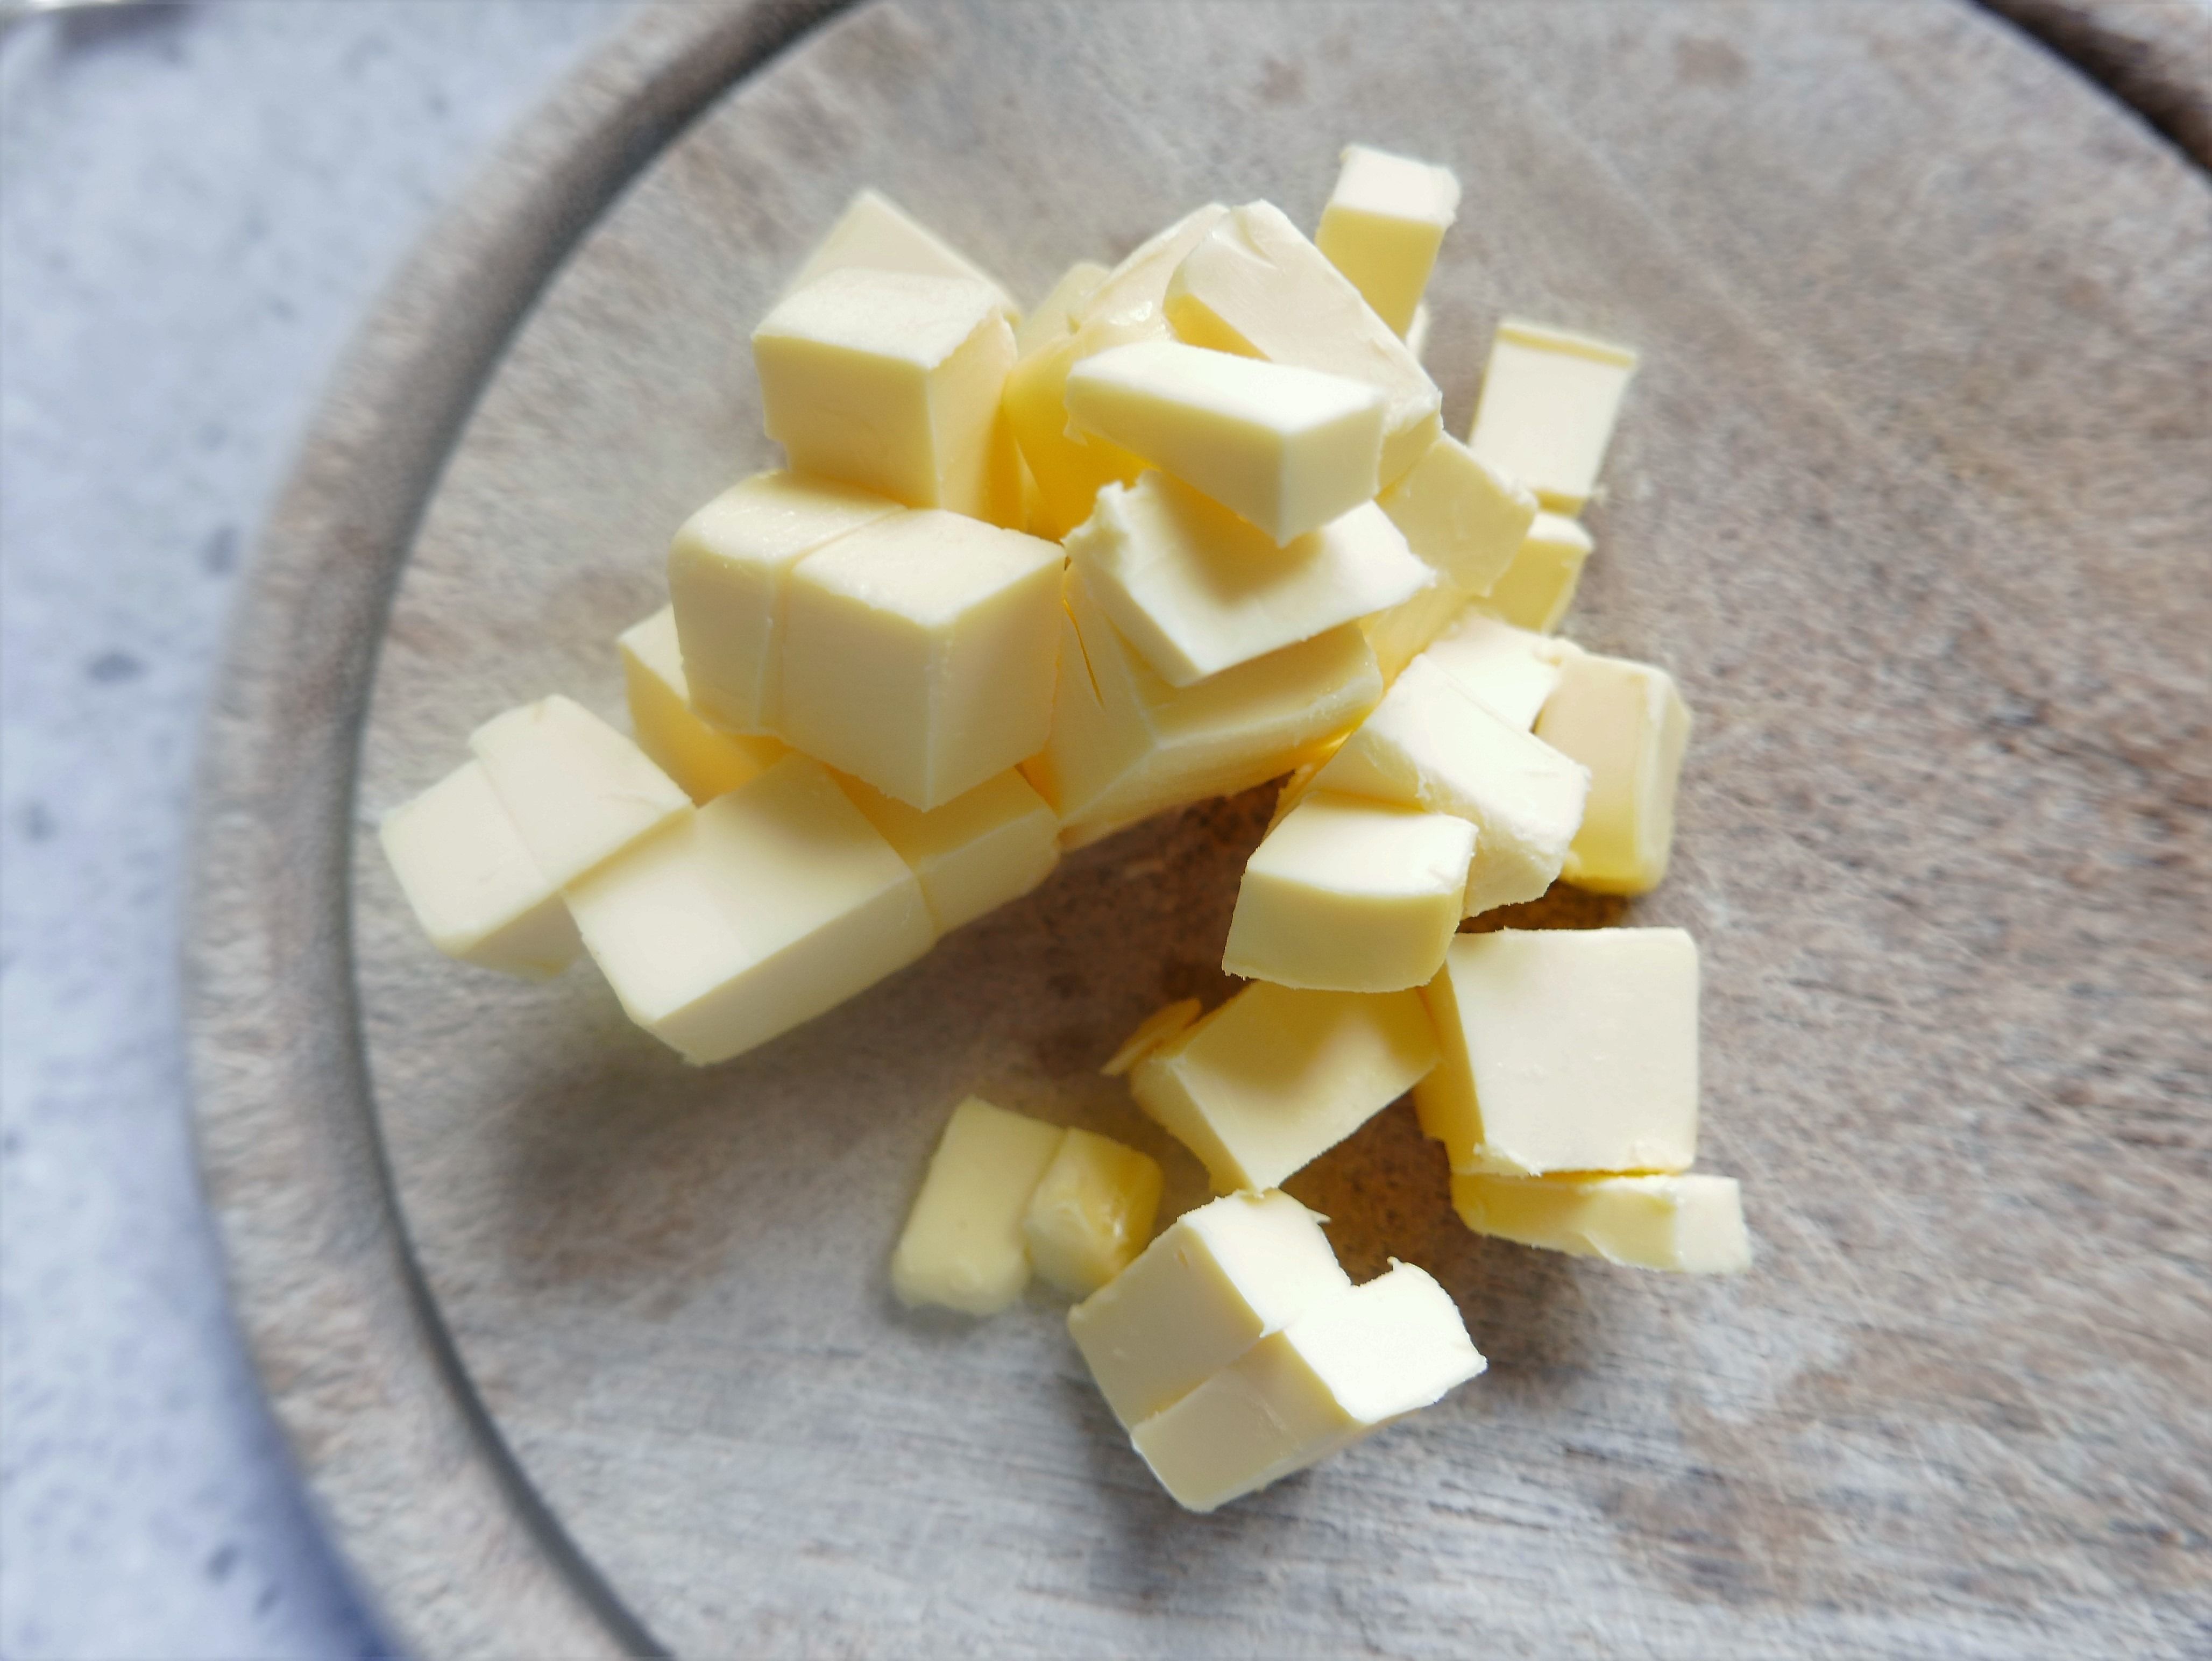
- 120g of unsalted butter – chopped up.
- 3 whole eggs plus the yolk of one egg – lightly beaten
METHOD:
- Put the sugar, lemon juice, zest and butter into the heat-proof bowl.
- Place it on top of the saucepan, which should be about 1/4 full of barely simmering water.
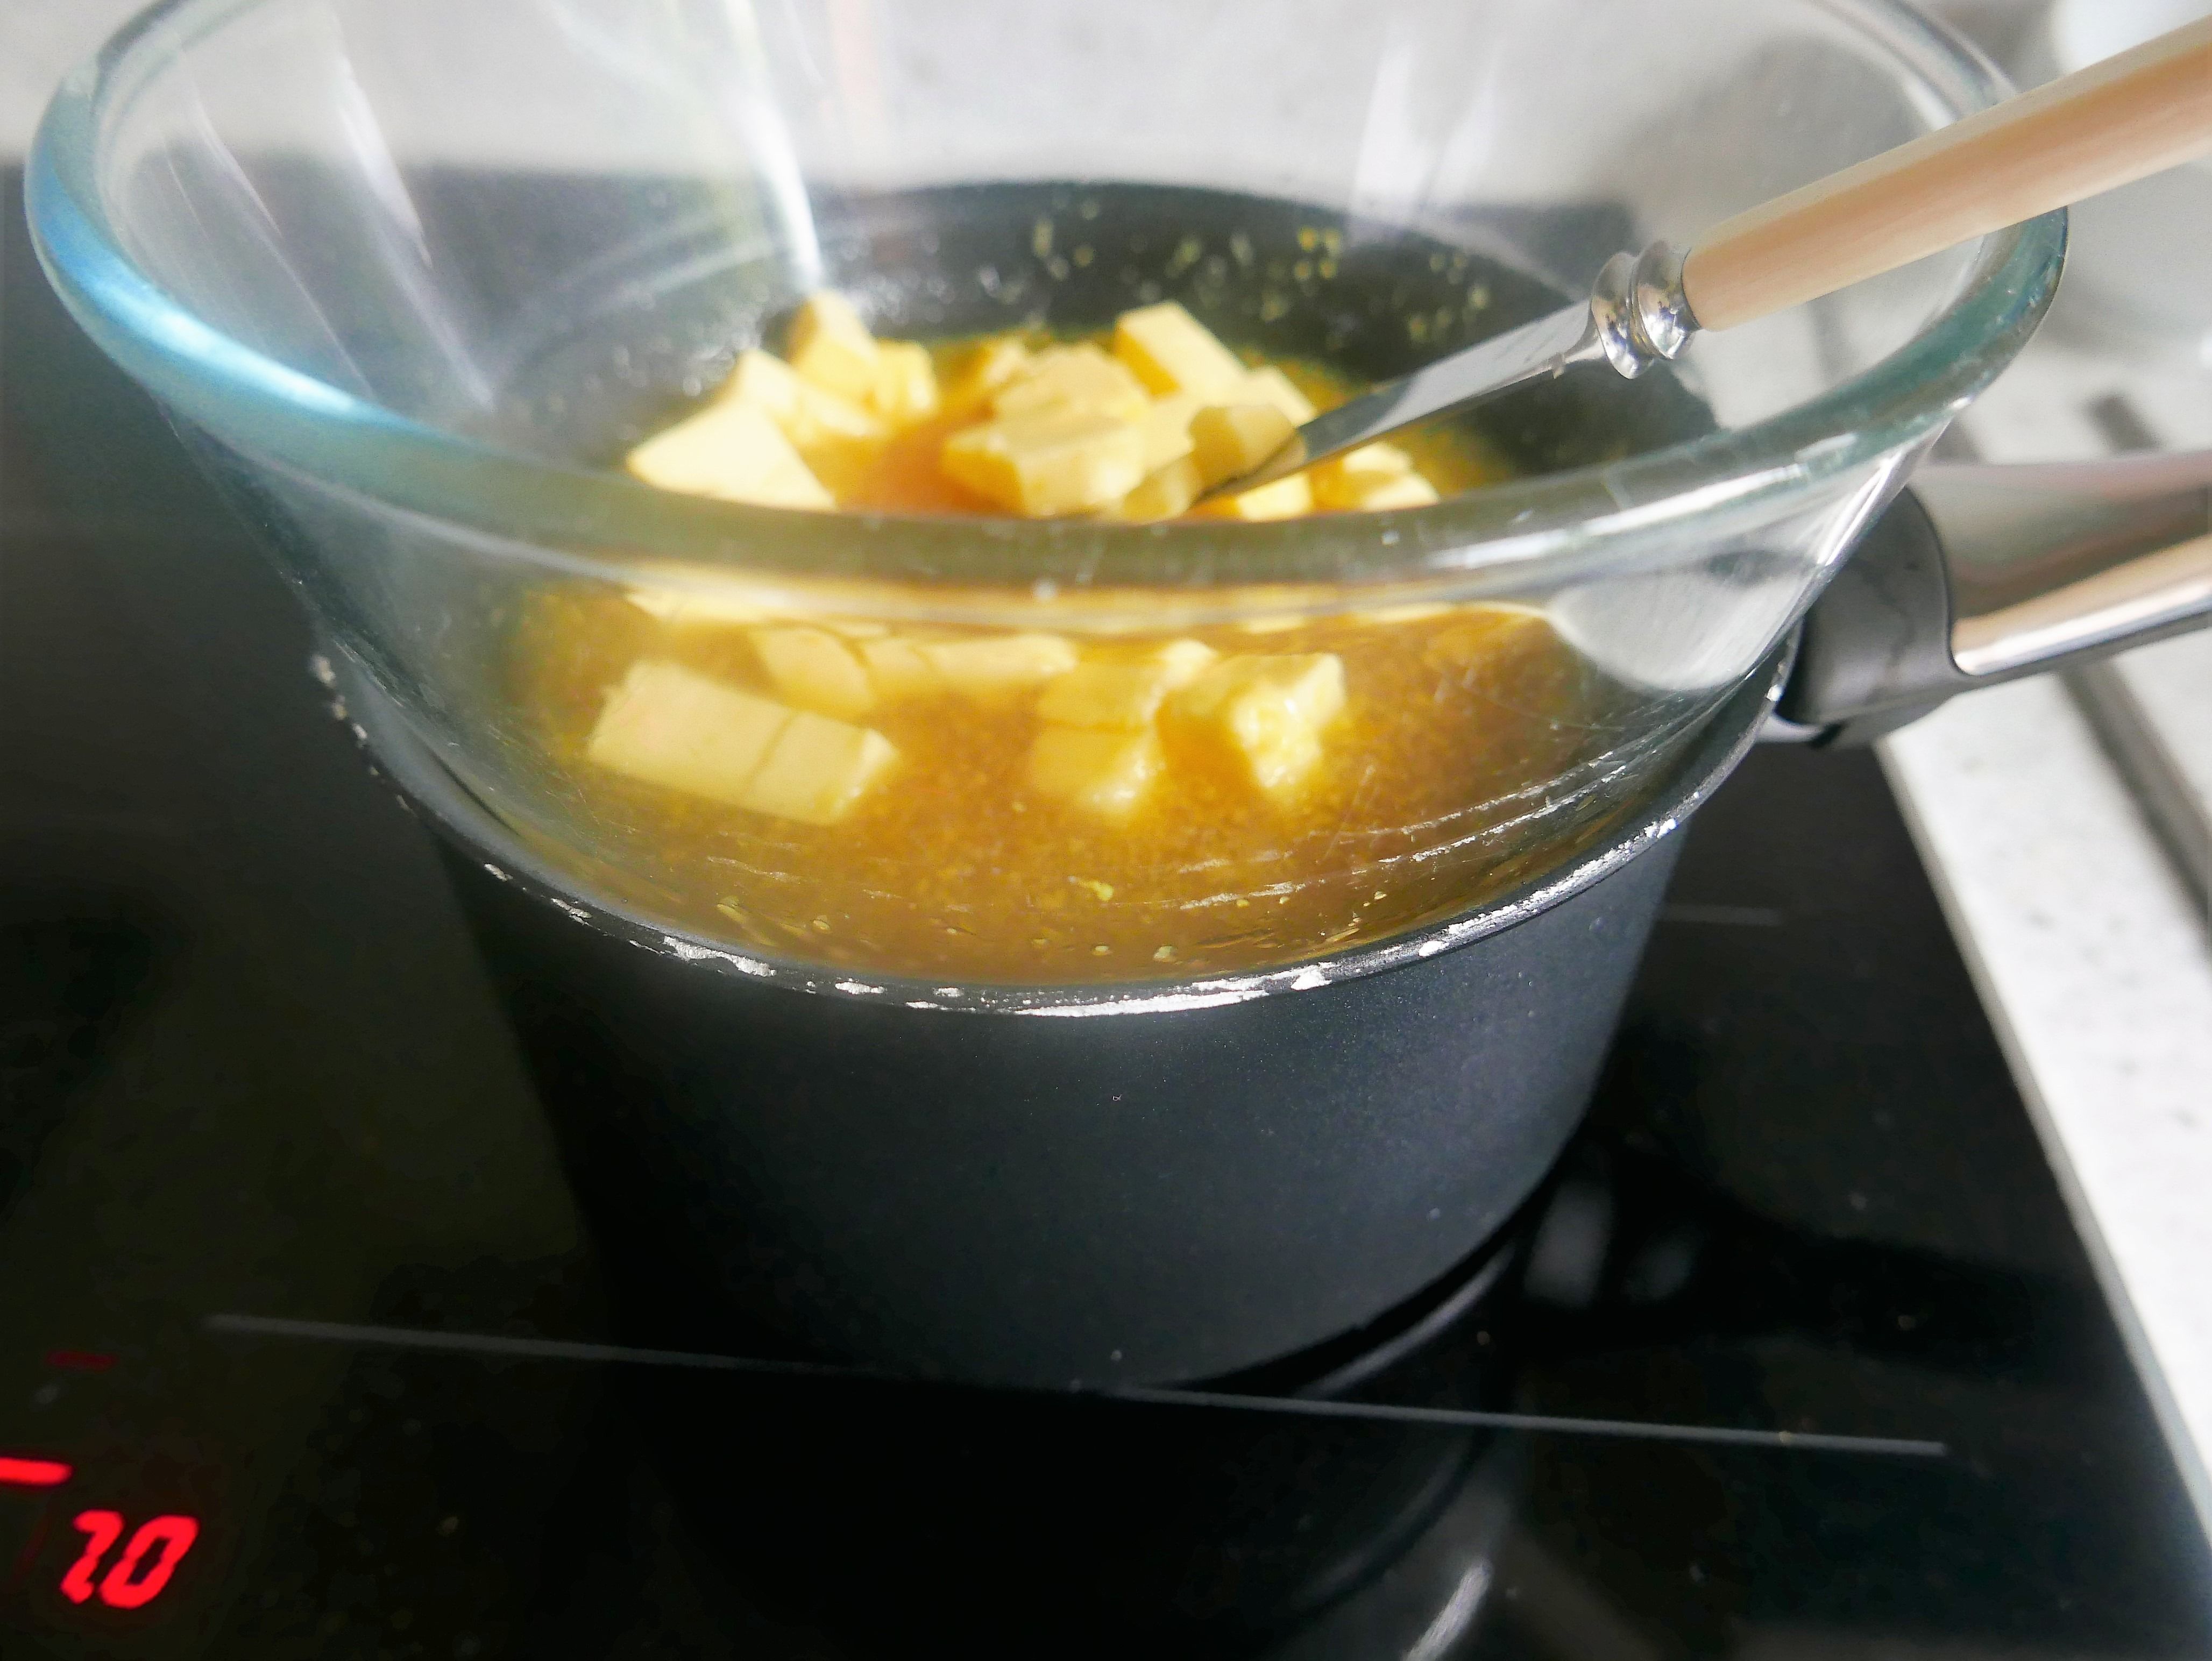
- Give it all a good stir to combine the ingredients, stirring gently every now and then, until the butter melts and the sugar dissolves.
- Gently whisk the eggs together in the jug
- Strain the eggs into the mixture through the sieve.
- Stir in well.

- Rinse and dry the jug, as you’ll be needing it later on.
- Check that the water is not boiling, then stir every 3-4 minutes to make sure that there are no lumps.
- After about 15-20 minutes, the curd will reach the stage where it’s the consistency of pouring custard. That means that it’s done and ready to be put into the warm, prepared jars.
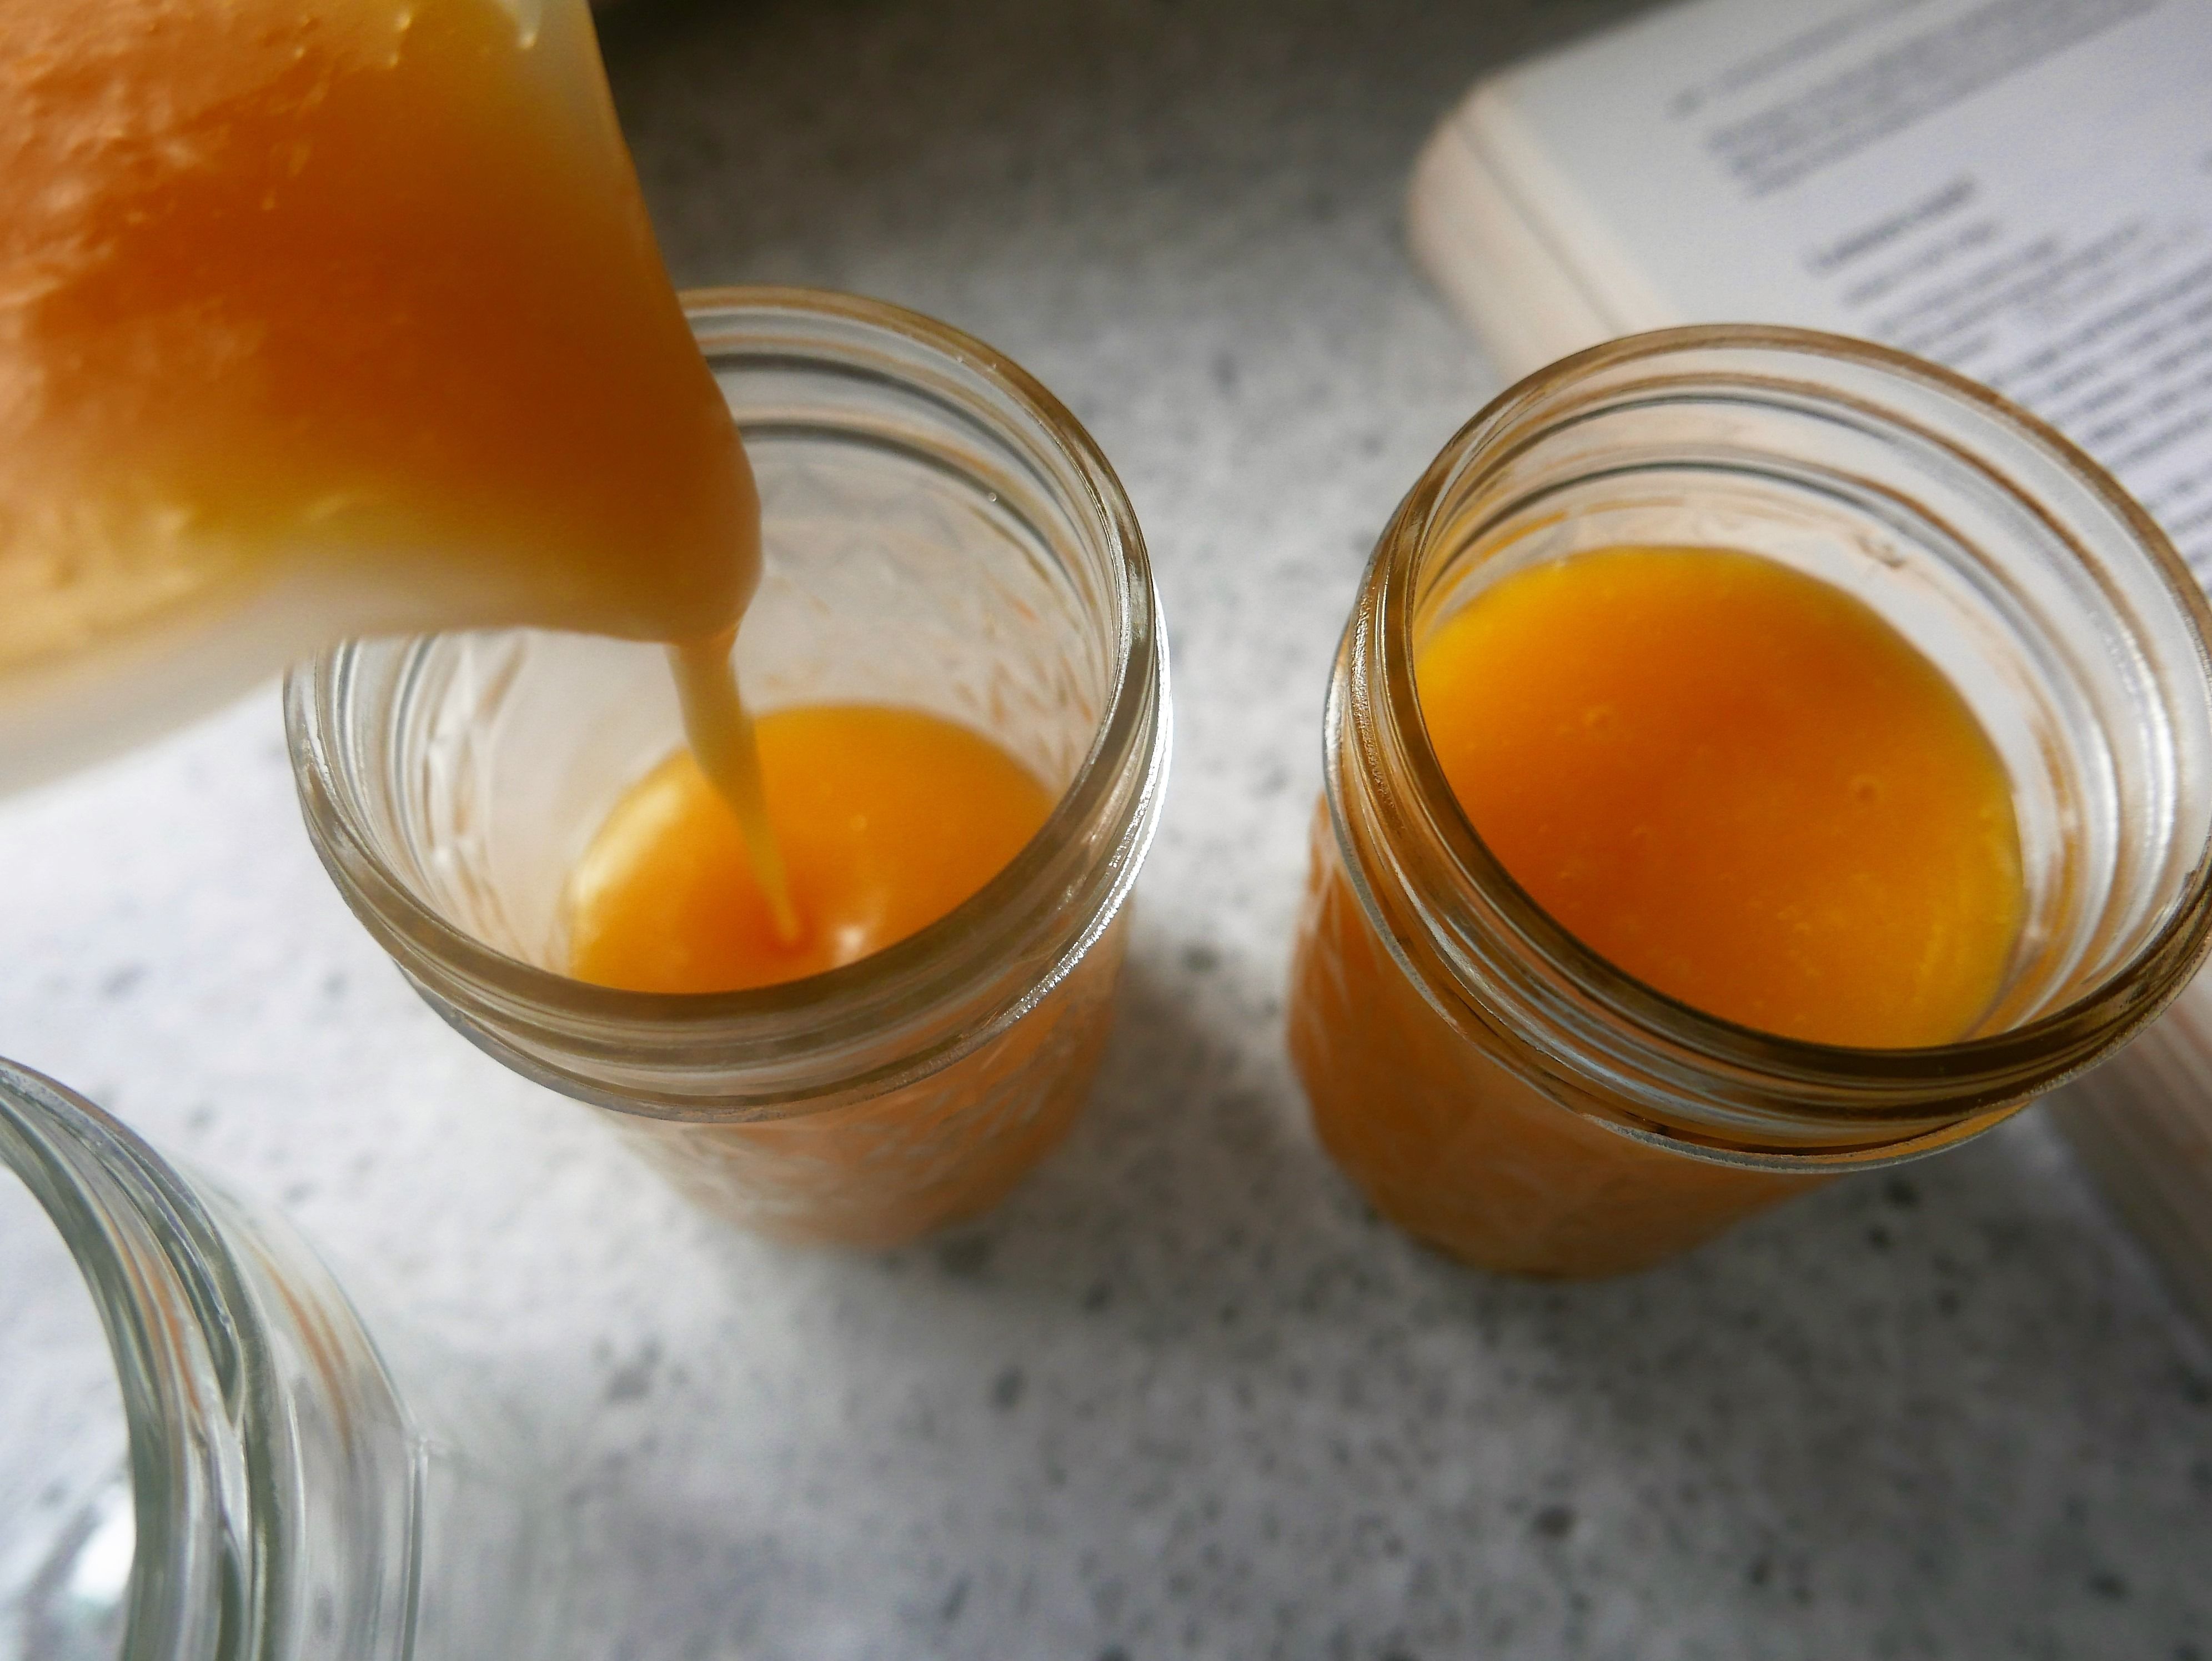
If you’re not sure about whether it’s ready or not – compare it with the consistency in this pic..
- Carefully pour the curd into the jug, then decant into your chosen jars.
- Seal the jars immediately.
- Allow to cool, then keep in the fridge.
NOTES:
- Start thinking up recipes to showcase your talent – may I recommend a Victoria sponge https://eatingforireland.com/recipe/lucys-victoria-sponge/ with a lemon curd and cream filling, topped with lemon icing? Or my everyday scones, made magical? https://eatingforireland.com/recipe/home-made-scones/
- A spoonful folded through some Greek yoghurt, and layered in a glass with fresh raspberries for a really easy dessert..
- Or you know, with crusty bread and good butter, which is how we ate it as kids.. the sky’s the limit!
- Think up variations – I’ve just made a batch of Lime and Lemon (3 limes and 1 lemon) because that’s what I had hanging about – it’s so zesty – give it a go sometime
- And here’s a picture of my Orange Curd (I’d run out of lemons)

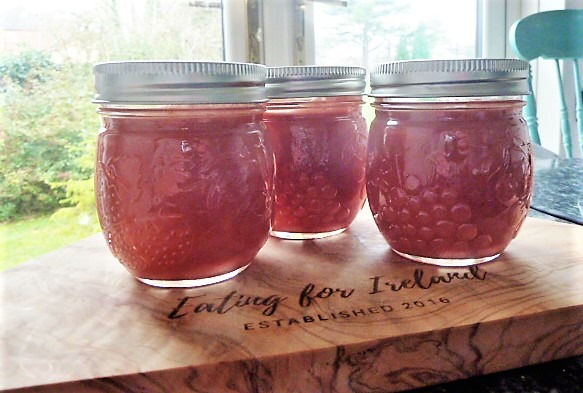
- At Christmas I had some leftover cranberries, so no prizes for guessing what I made? 😉
I started writing down recipes in an old copybook when I was about 16. With 6 children at home, my Mother was always glad of a hand in the kitchen, and really allowed us to experiment - as long as we washed up afterwards, and left the kitchen immaculate! Having a tidy kitchen has followed me through my life, as has the habit of writing down my favourite recipes; except that these days I write them for my website, and add photographs when I can. The website really started when it occurred to me that my daughter might like to have these recipes when I've forgotten them. In my early days of cooking for family and friends, I used to phone my Mum all the time to ask her for the recipe for some of our favourite family dinners. She rarely had a recipe to hand - I think, like me, she made a lot of it up as she went along.. So welcome to Eating for Ireland - these are the recipes that my friends and family having been eating these past 40 years.. yes, I truly am ancient! They are tried and tested, and have worked for me for all that time - I have updated them as new ingredients became available - I really hope you'll find something that you can make into a family favourite of your own. You don't have to tell anyone where you found these great new dishes that you're serving up - it can be our little secret, but I'd really love it if you could give me a sneaky 'follow' on Facebook and Instagram.. So off you go - have a good rummage around, you're bound to find something new! My sincere thanks to all of you who have found a recipe that you liked and dropped me a line to tell me - I really do love to hear from you! Happy Cooking! Becks xx