
Hilary, one of our secretaries at work, gave me this recipe.
She used to bring lots of her delicious baking into work to feed us hungry hordes, and this was a favourite. This recipe has appeared in print before, as I donated it to my daughter’s PTA cookbook many moons ago. Thanks Hilary!
When the kids on our street were smaller, I was convinced that they could smell my Chocolate cake cooking, as it would no sooner be out of the oven than the doorbell would ring, and there they would all be, grinning, waiting for it to cool…
This is the cake I made for birthday parties, with melted white chocolate to pipe a wobbly message for the lucky recipient; I’ve dressed it up with cream, kirsch, cherries and grated chocolate as sort-of Black Forest Gateau for desserts (it works really well for that); to celebrate the kids exam results, and once even as a gesture of sympathy when a beloved cat from down the road ran out of lives… I make one for Christmas too, simply because everyone occasionally wants something ‘not-too-Christmassy’!
EQUIPMENT:
- 2 x 8-inch/20cm sponge tins
- electric beater
- small saucepan
- sieve
- medium sized bowl
- wire cooling rack
INGREDIENTS: For the cake:
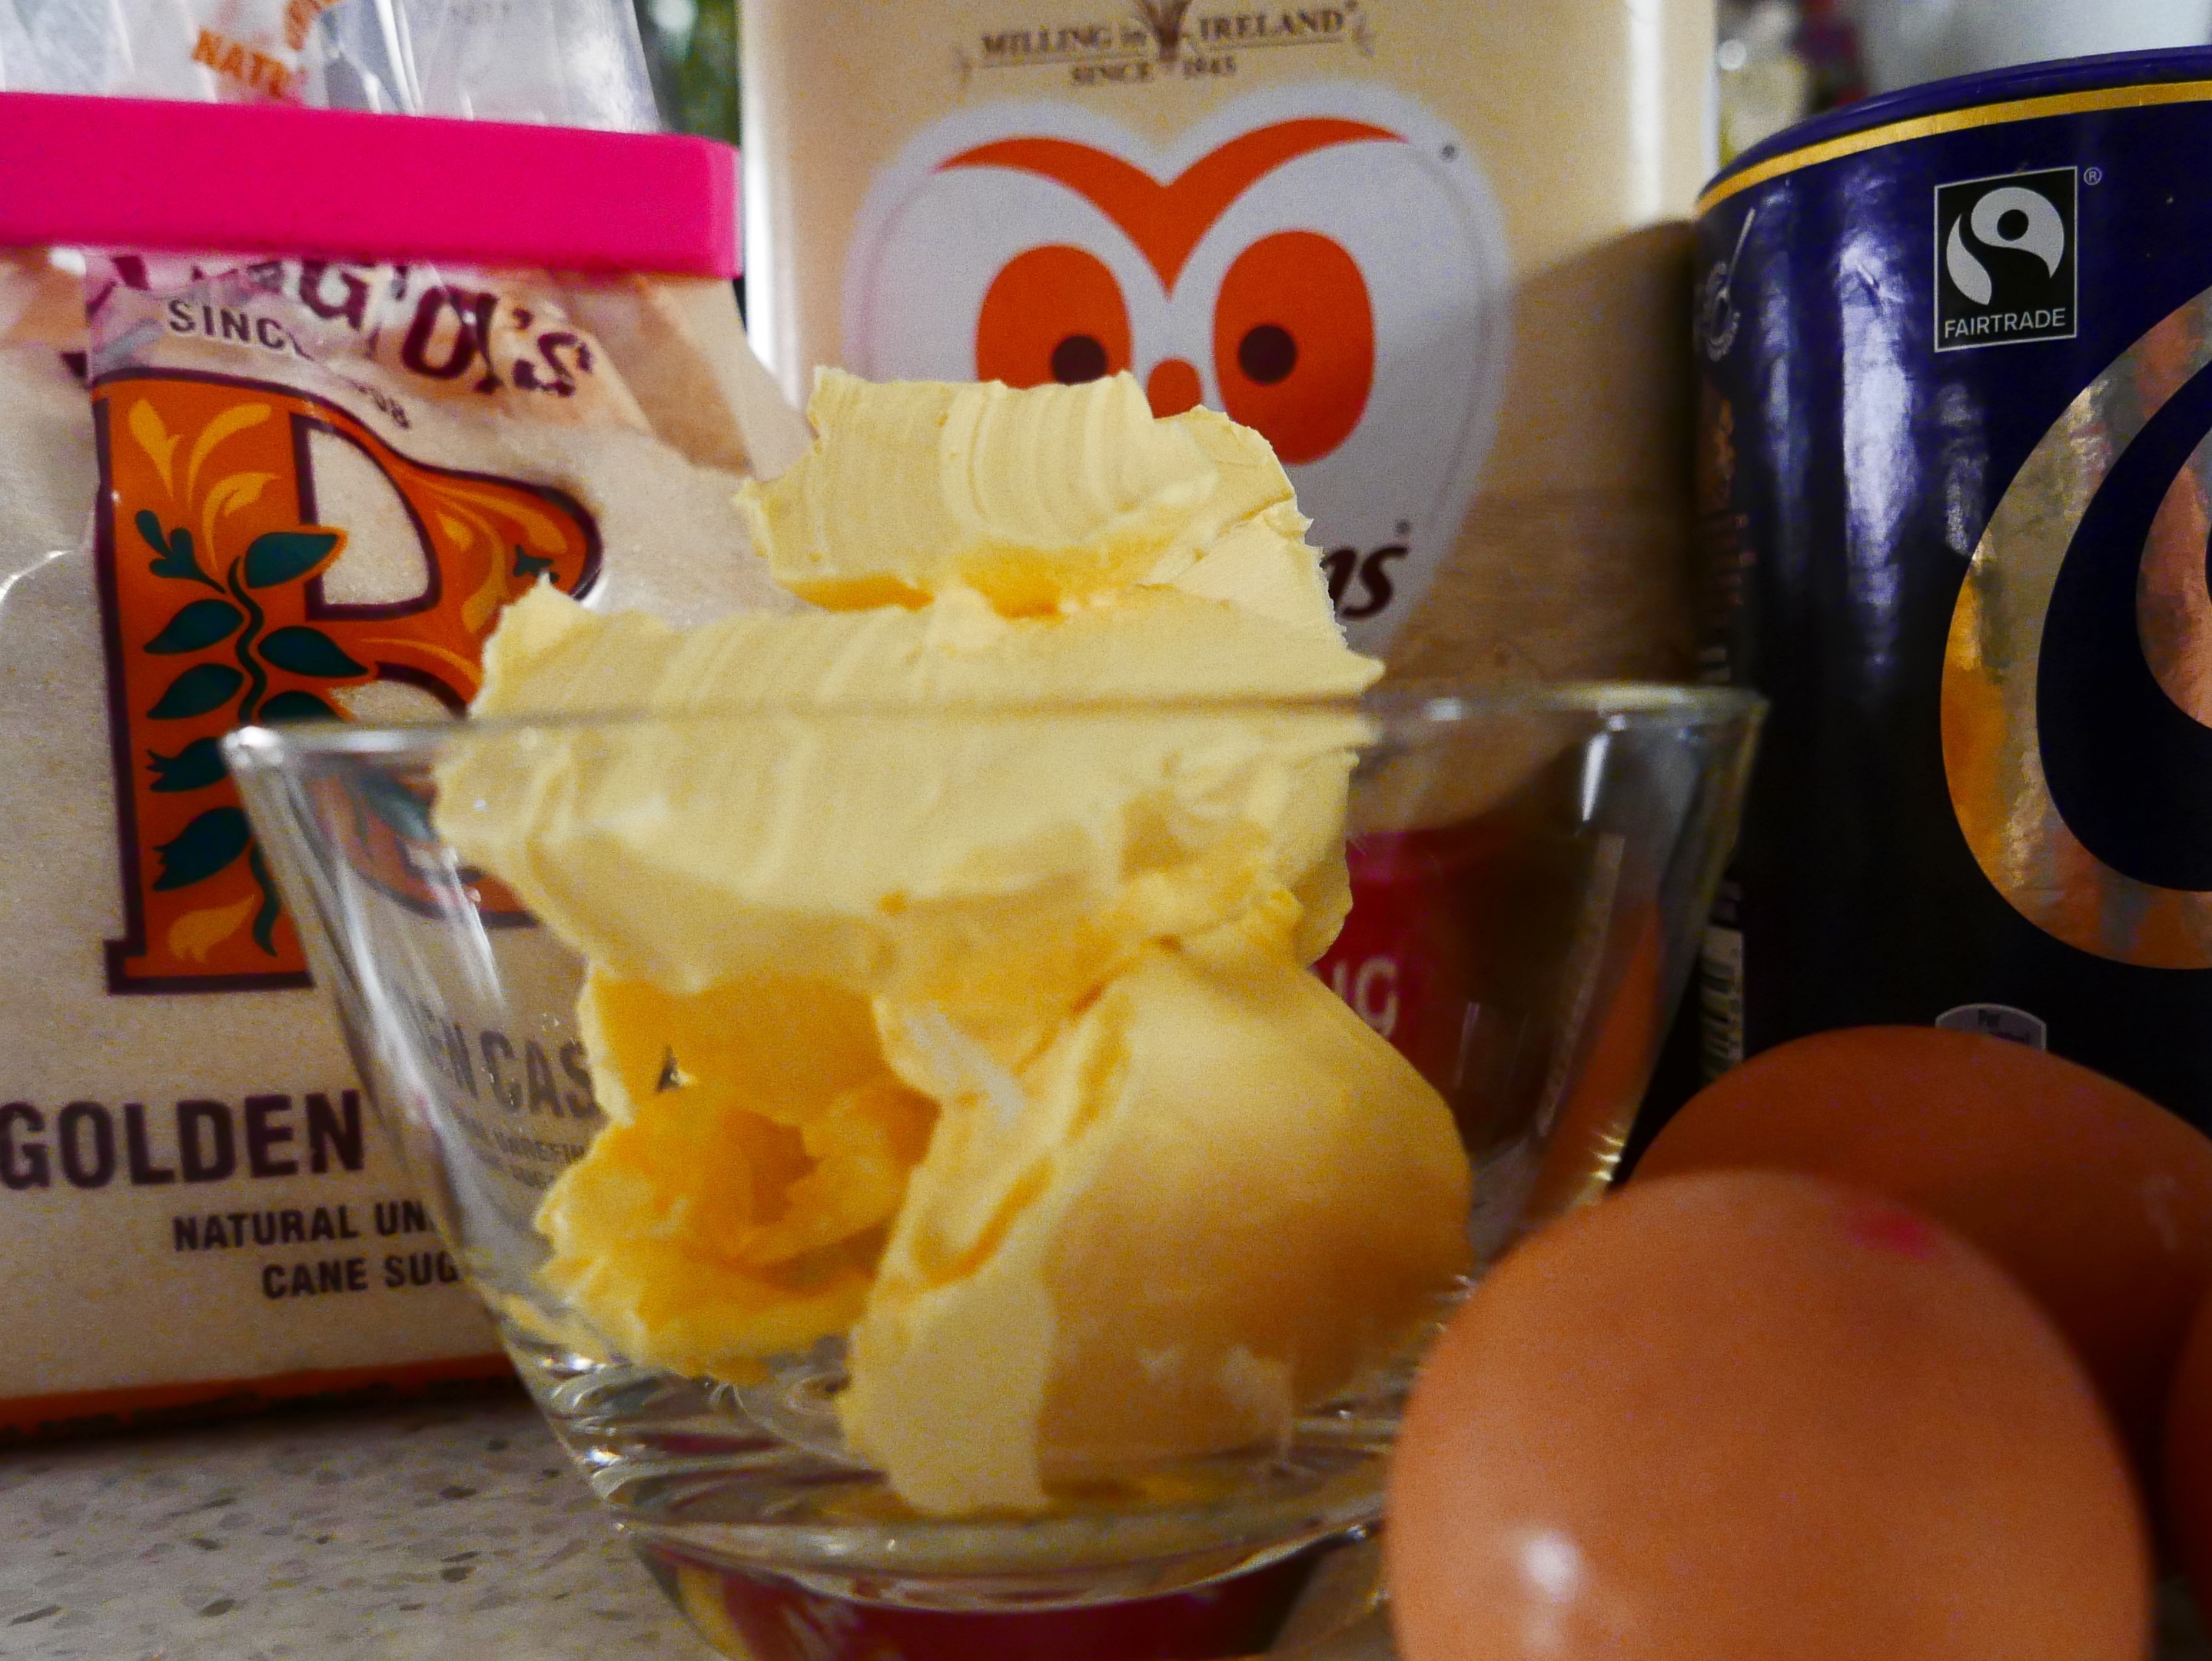
- 3 large eggs
- 175g self-raising flour
- 150g caster sugar
- 150g soft butter of margarine
- 2 tablespoons/30g of Drinking chocolate
- Half a teaspoon/2.5g of bicarbonate of soda
- 30ml boiling water
METHOD: THE CAKE:
- Heat the oven to 160 degrees fan
- Grease and base-line the sponge tins.
- Put all the cake ingredients into the bowl of the electric mixer.
- Switch on, and allow to combine, slowly at first, and then at high speed as everything becomes incorporated.
- Beat for 3-4 minutes until it is a pale brown colour.
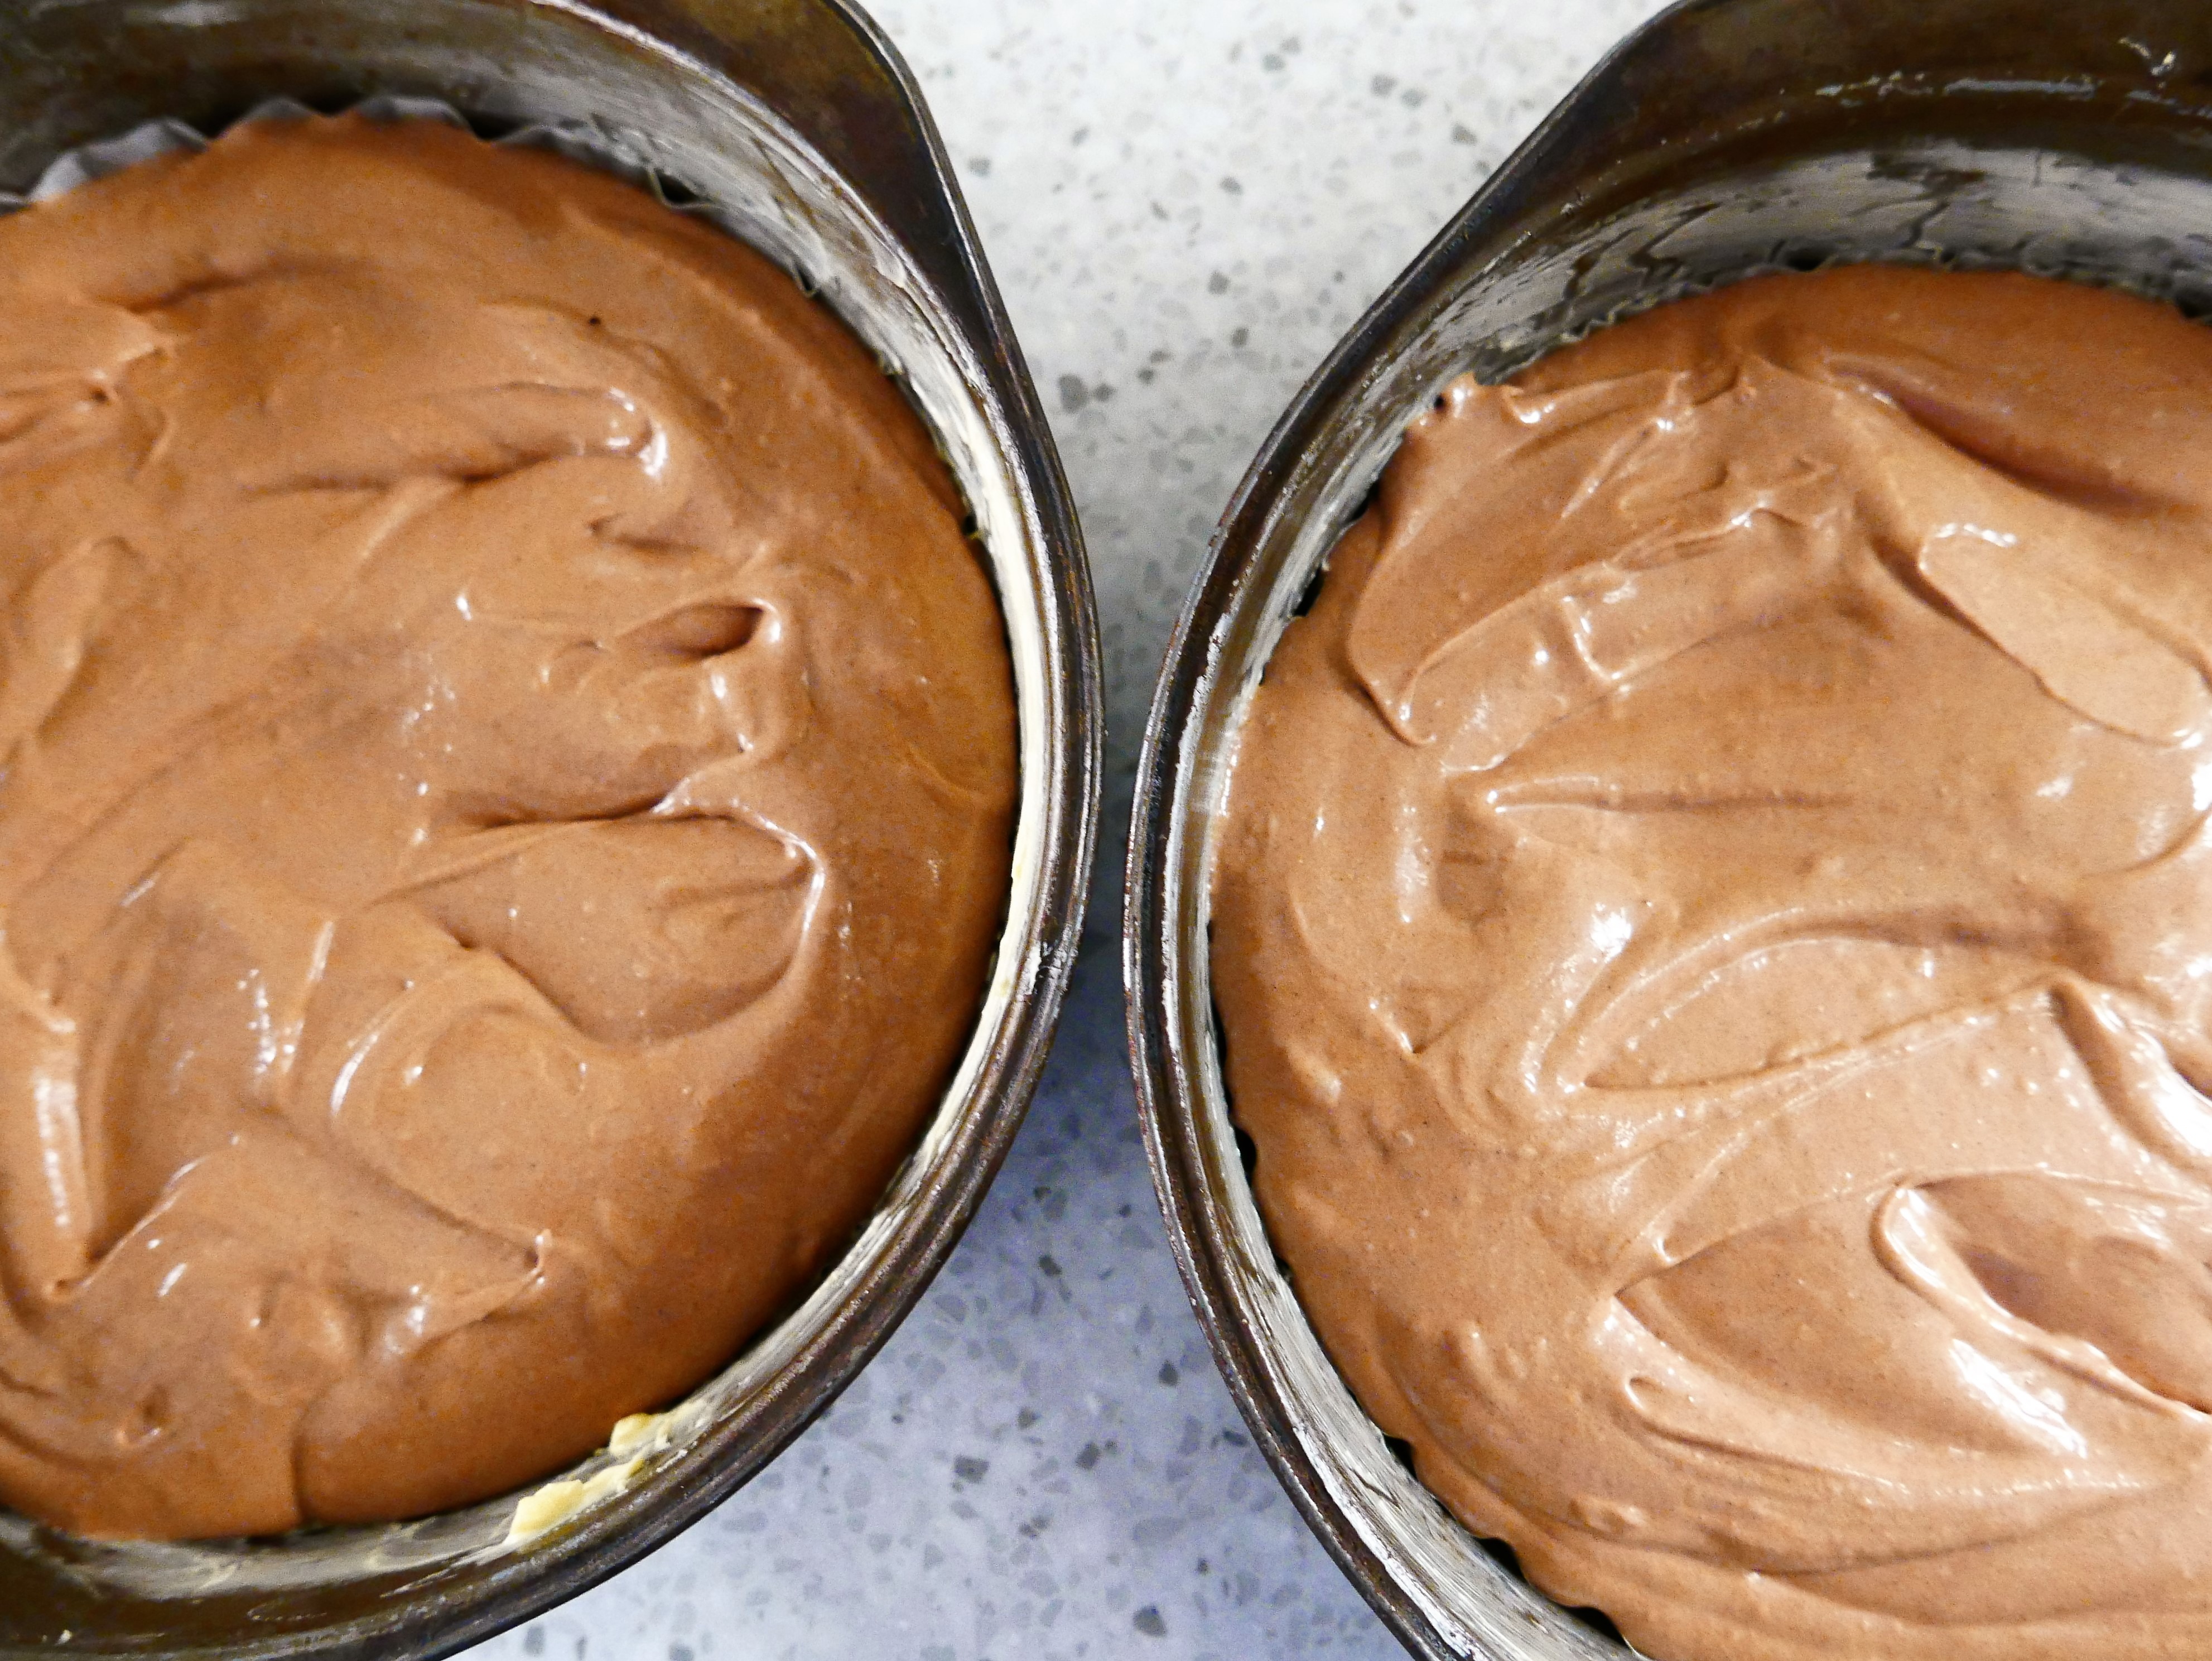
- Divide the mixture between the sponge tins, and smooth out, leaving a bit of a dip in the middle of each tin. I am simply incapable of gauging how equally-filled my tins are, so I usually weigh them!
Ready for the oven!
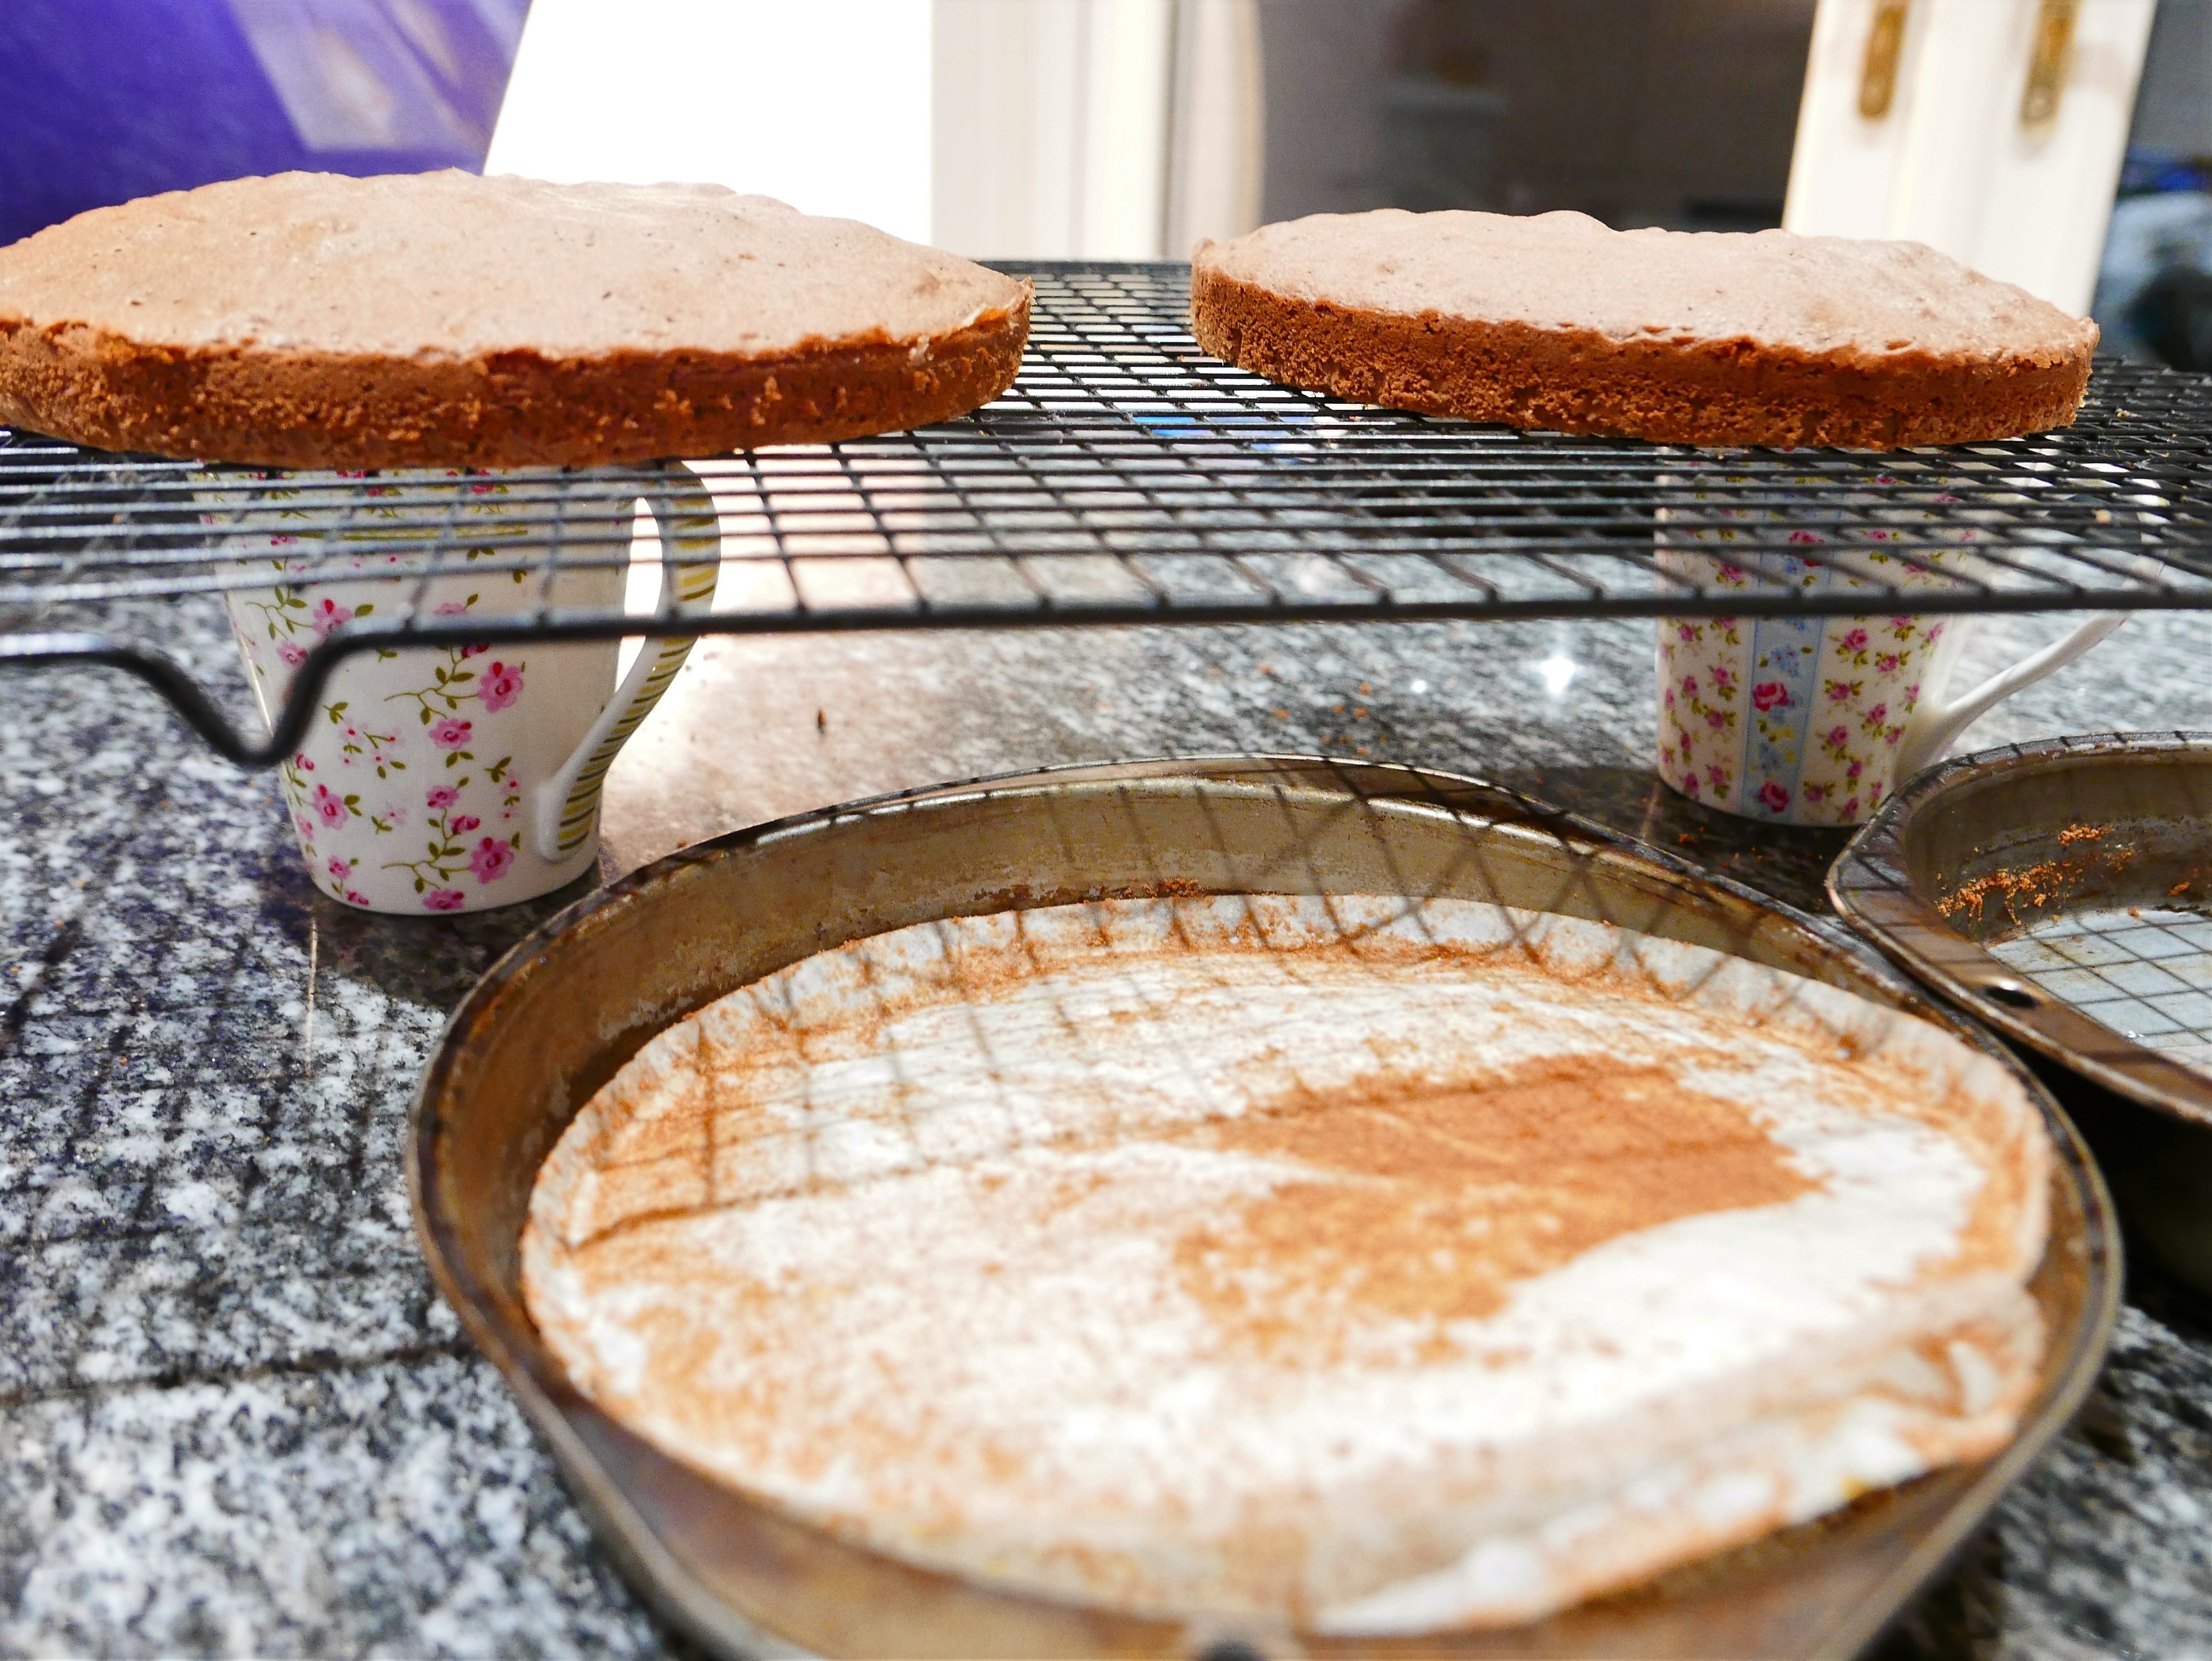
- Put in the oven and bake for 25 mins or until the sponges are well risen, the sides of the cake have shrunk slightly from the edge of the tin, and when you push it down gently with a finger, it bounces back.
- Remove from the oven and allow to sit for about 5-10 mins
- Turn out onto a wire cake rack, and allow to cool completely before icing
THE ICING:
I often measure out the icing ingredients while I have a the weighing scales out..
Sift these two together into a bowl:
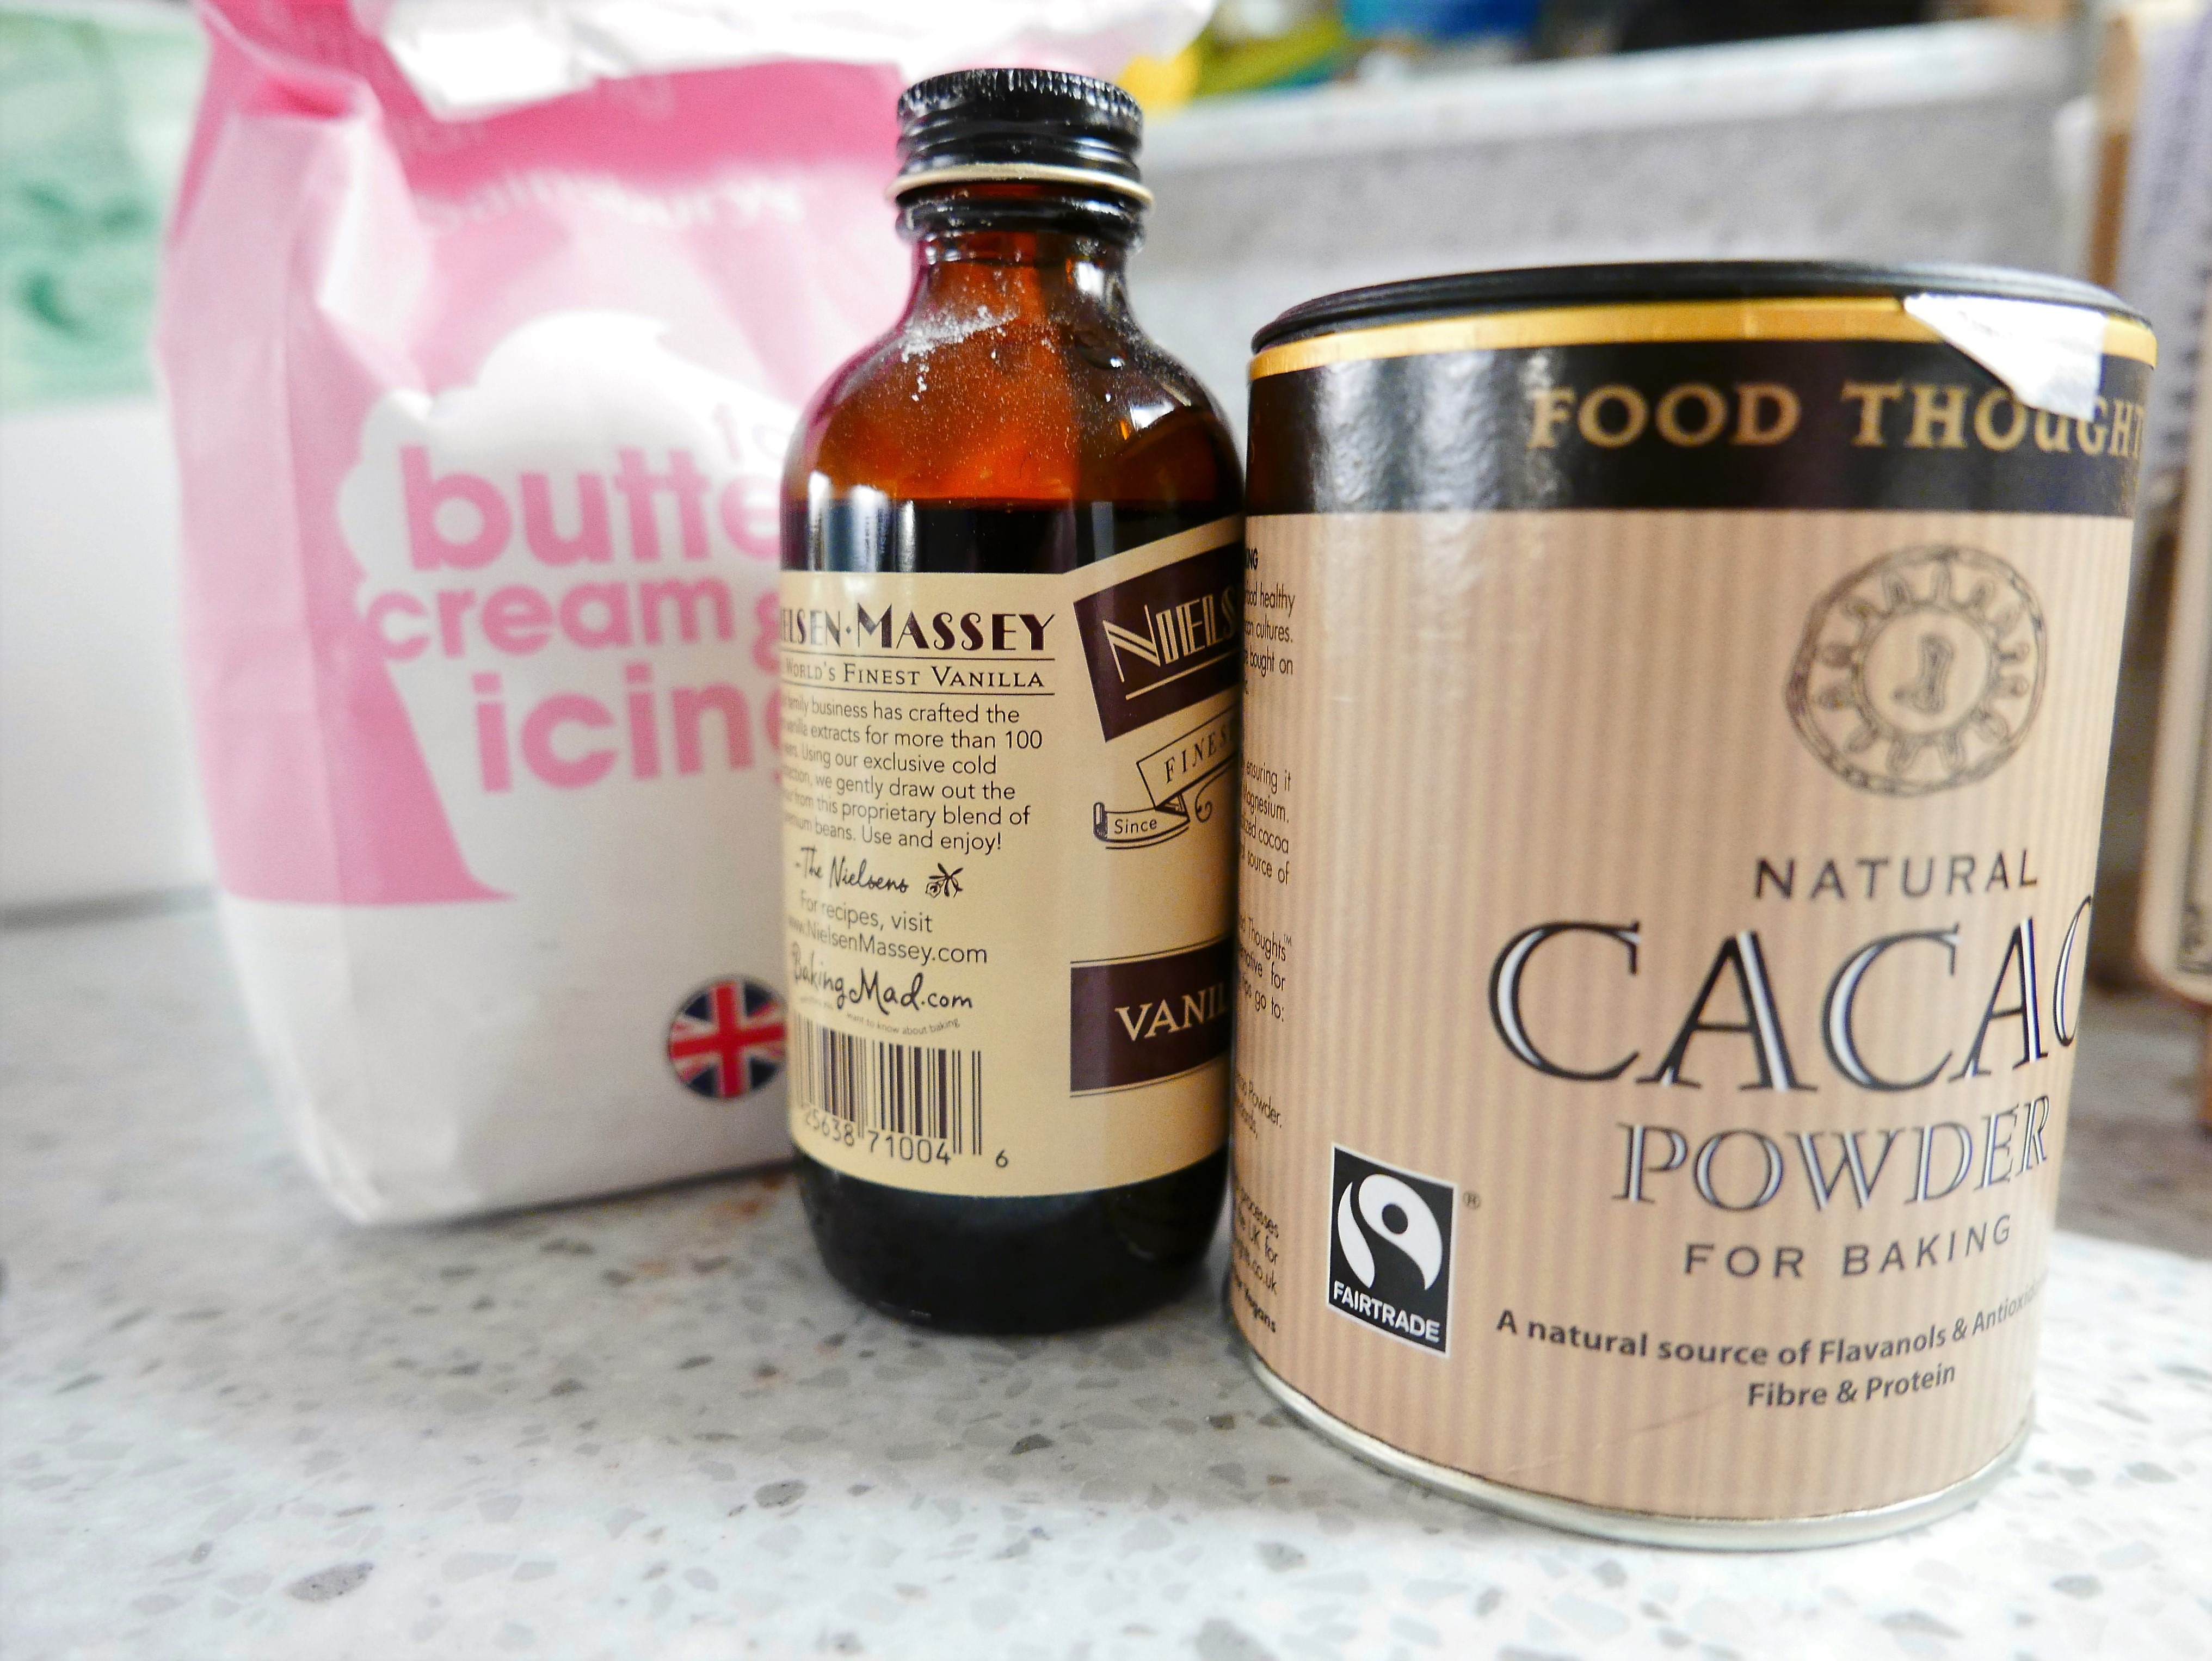
 75g icing sugar
- 25g cocoa powder
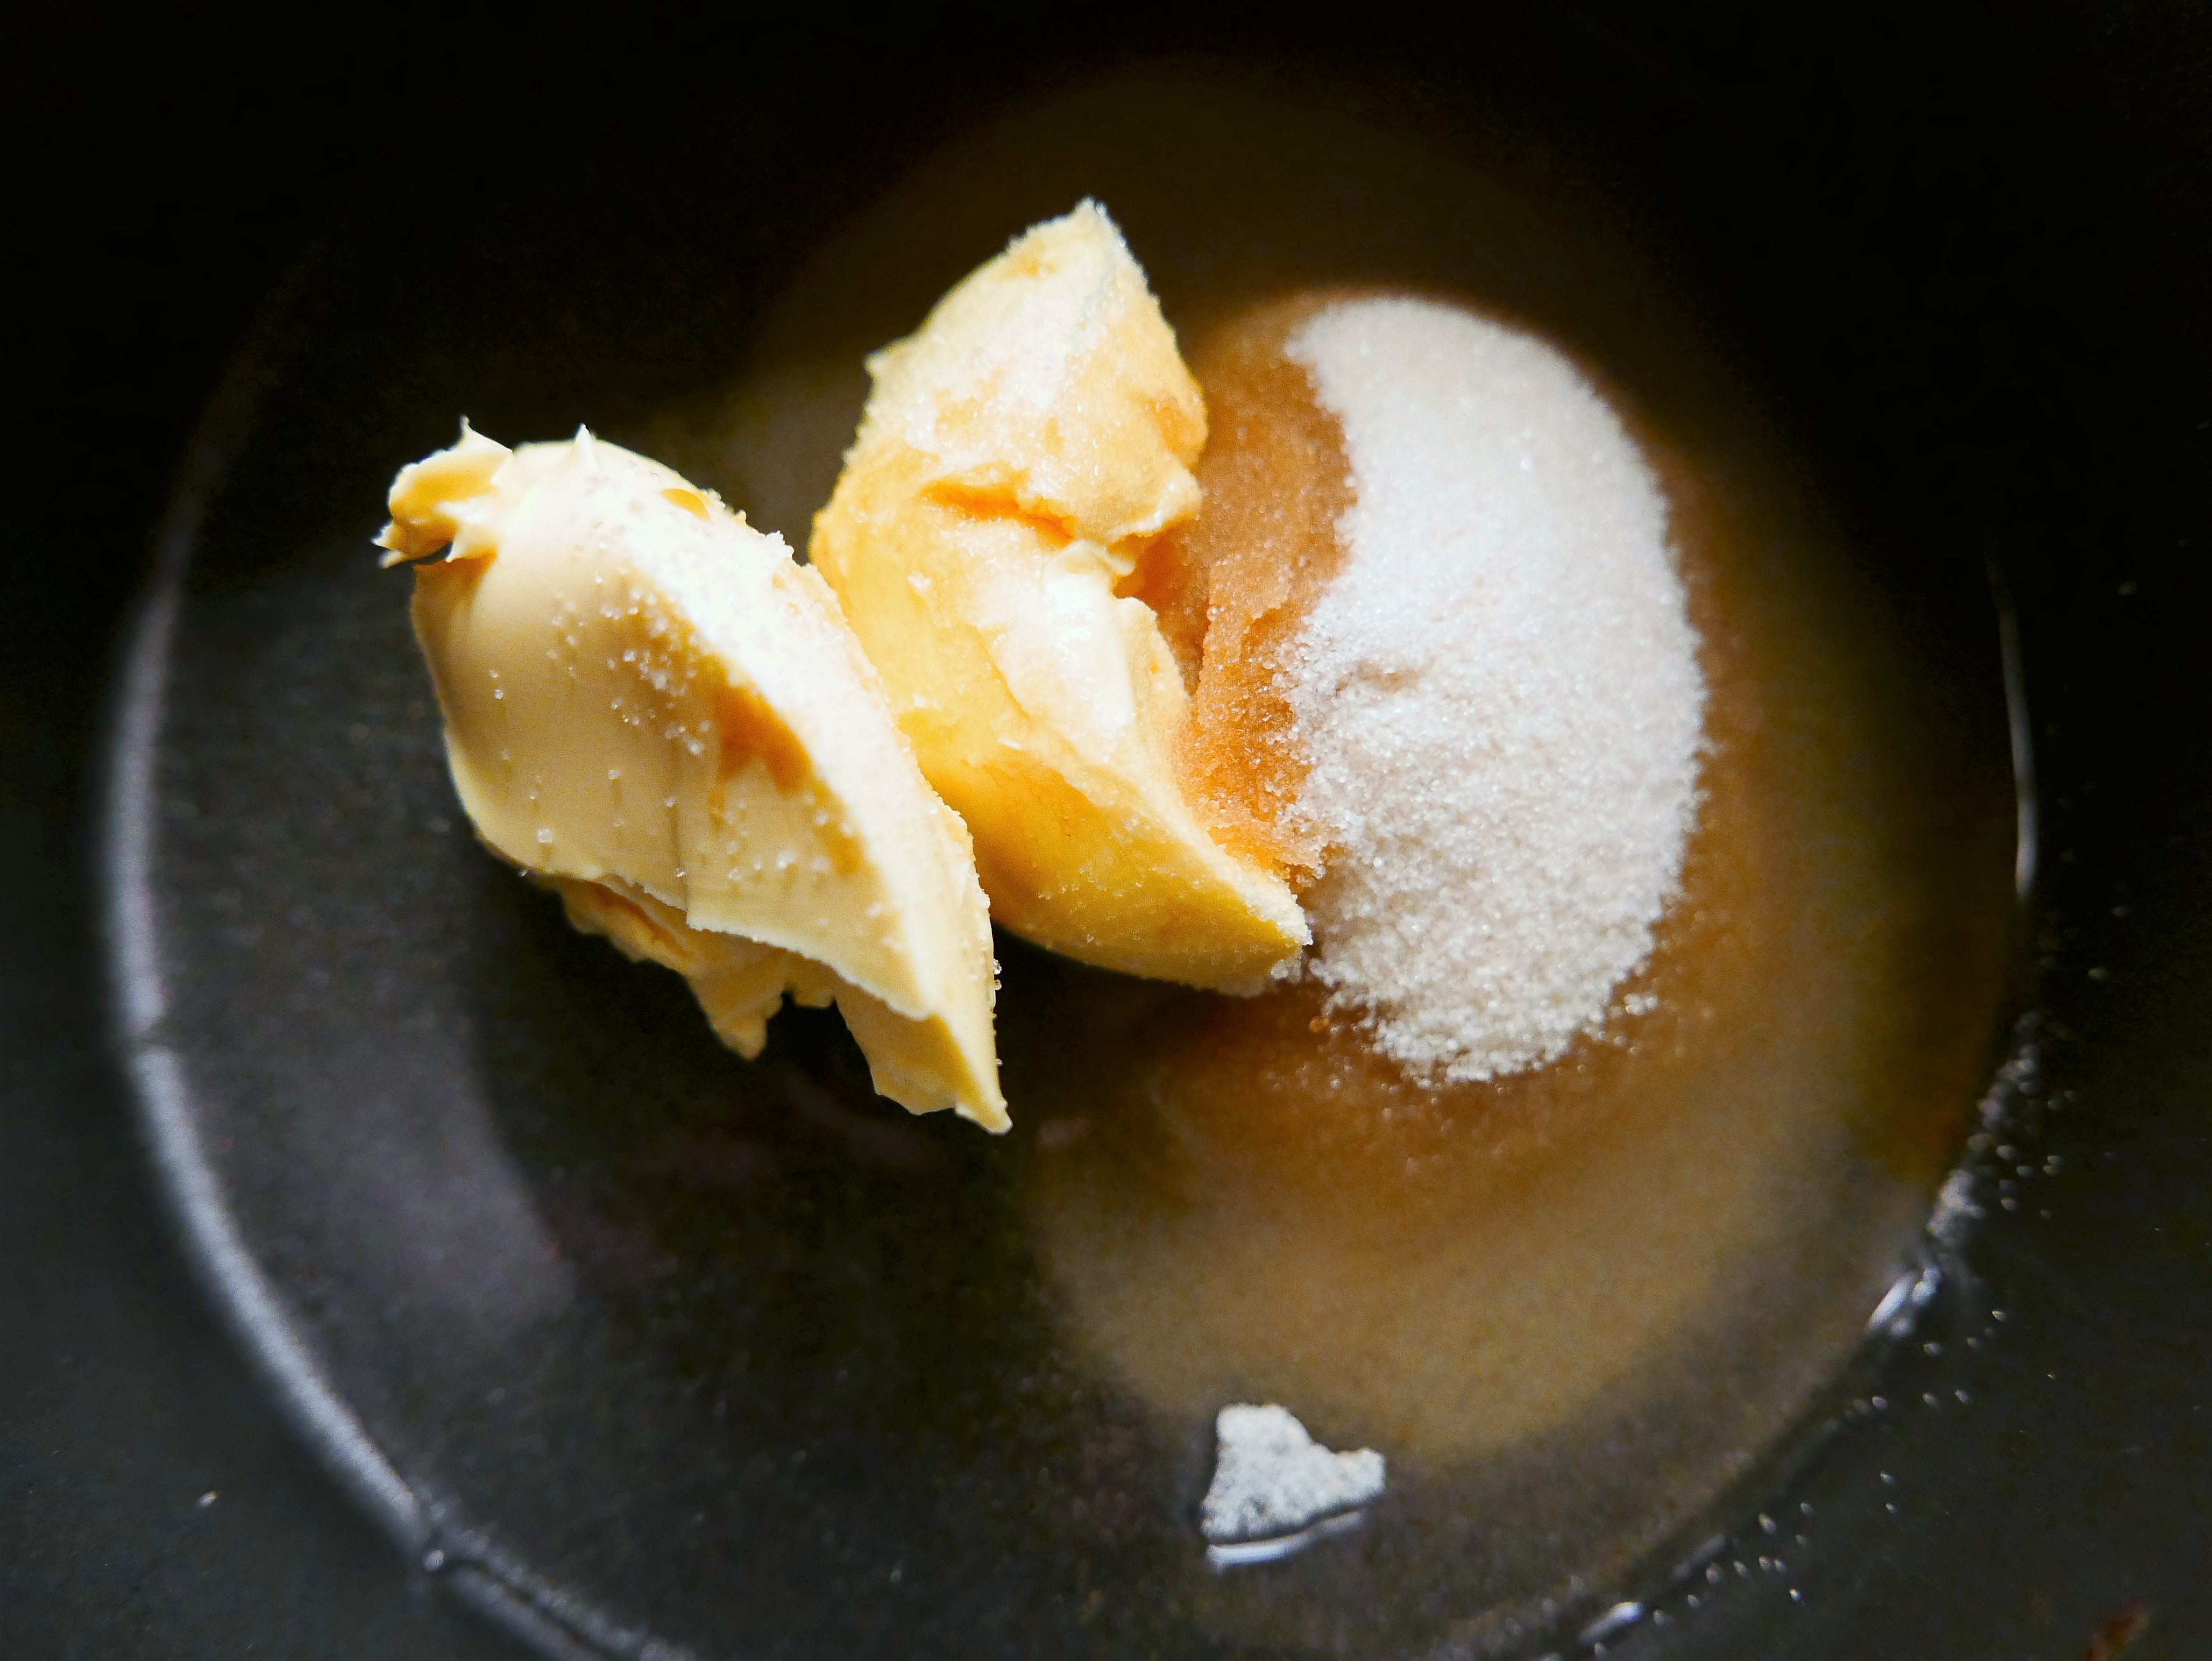
Then put the following into a small saucepan:
- 40g butter
- 30ml water
- 50g caster sugar
- few drops of vanilla essence
When the cake is fully cold – make the Icing:

- Bring the contents of the saucepan to the boil and stir it gently with a wooden spoon to make sure the sugar is dissolved – Be careful! It will foam up, and anything with heated sugar in it should always be treated with respect!

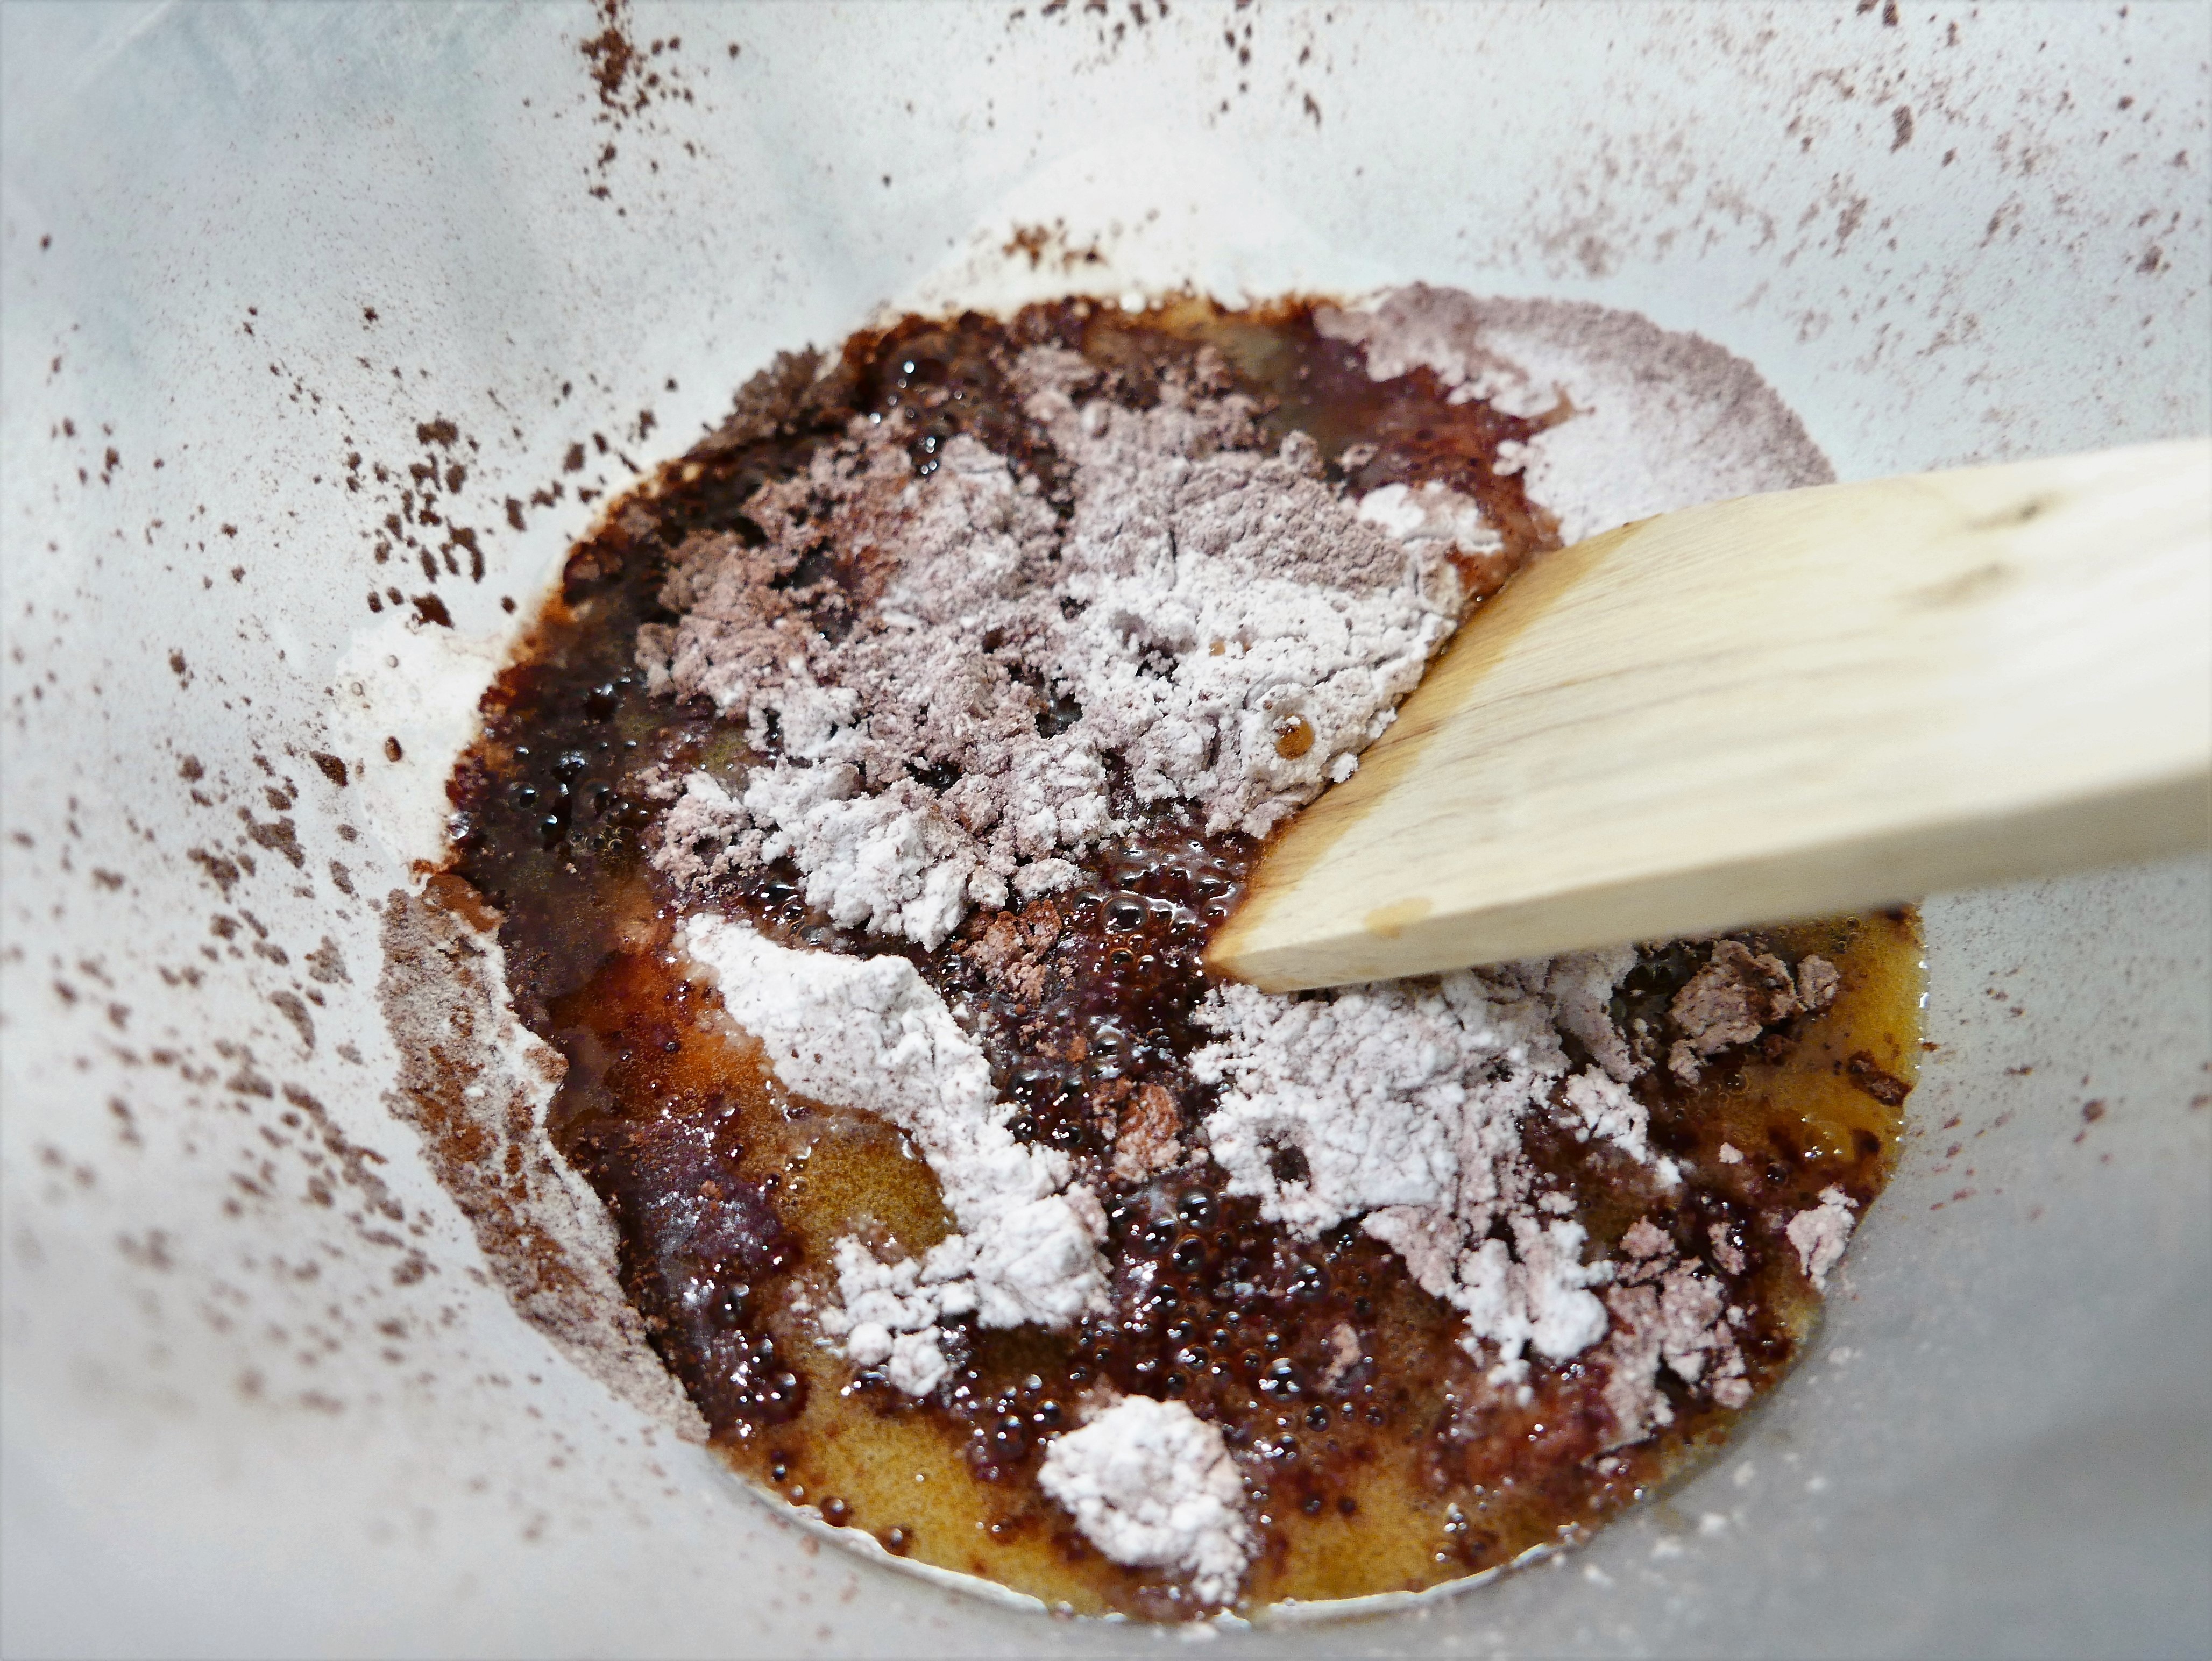
- Carefully add the boiling syrup to the icing sugar/cocoa mixture, and mix well until the icing comes together and there are no lumps. This usually takes me about 5-10 minutes, and once it has thickened up and cooled a little, you can ice the cake. I usually let it cool for about 10 minutes before icing the already-cold cake
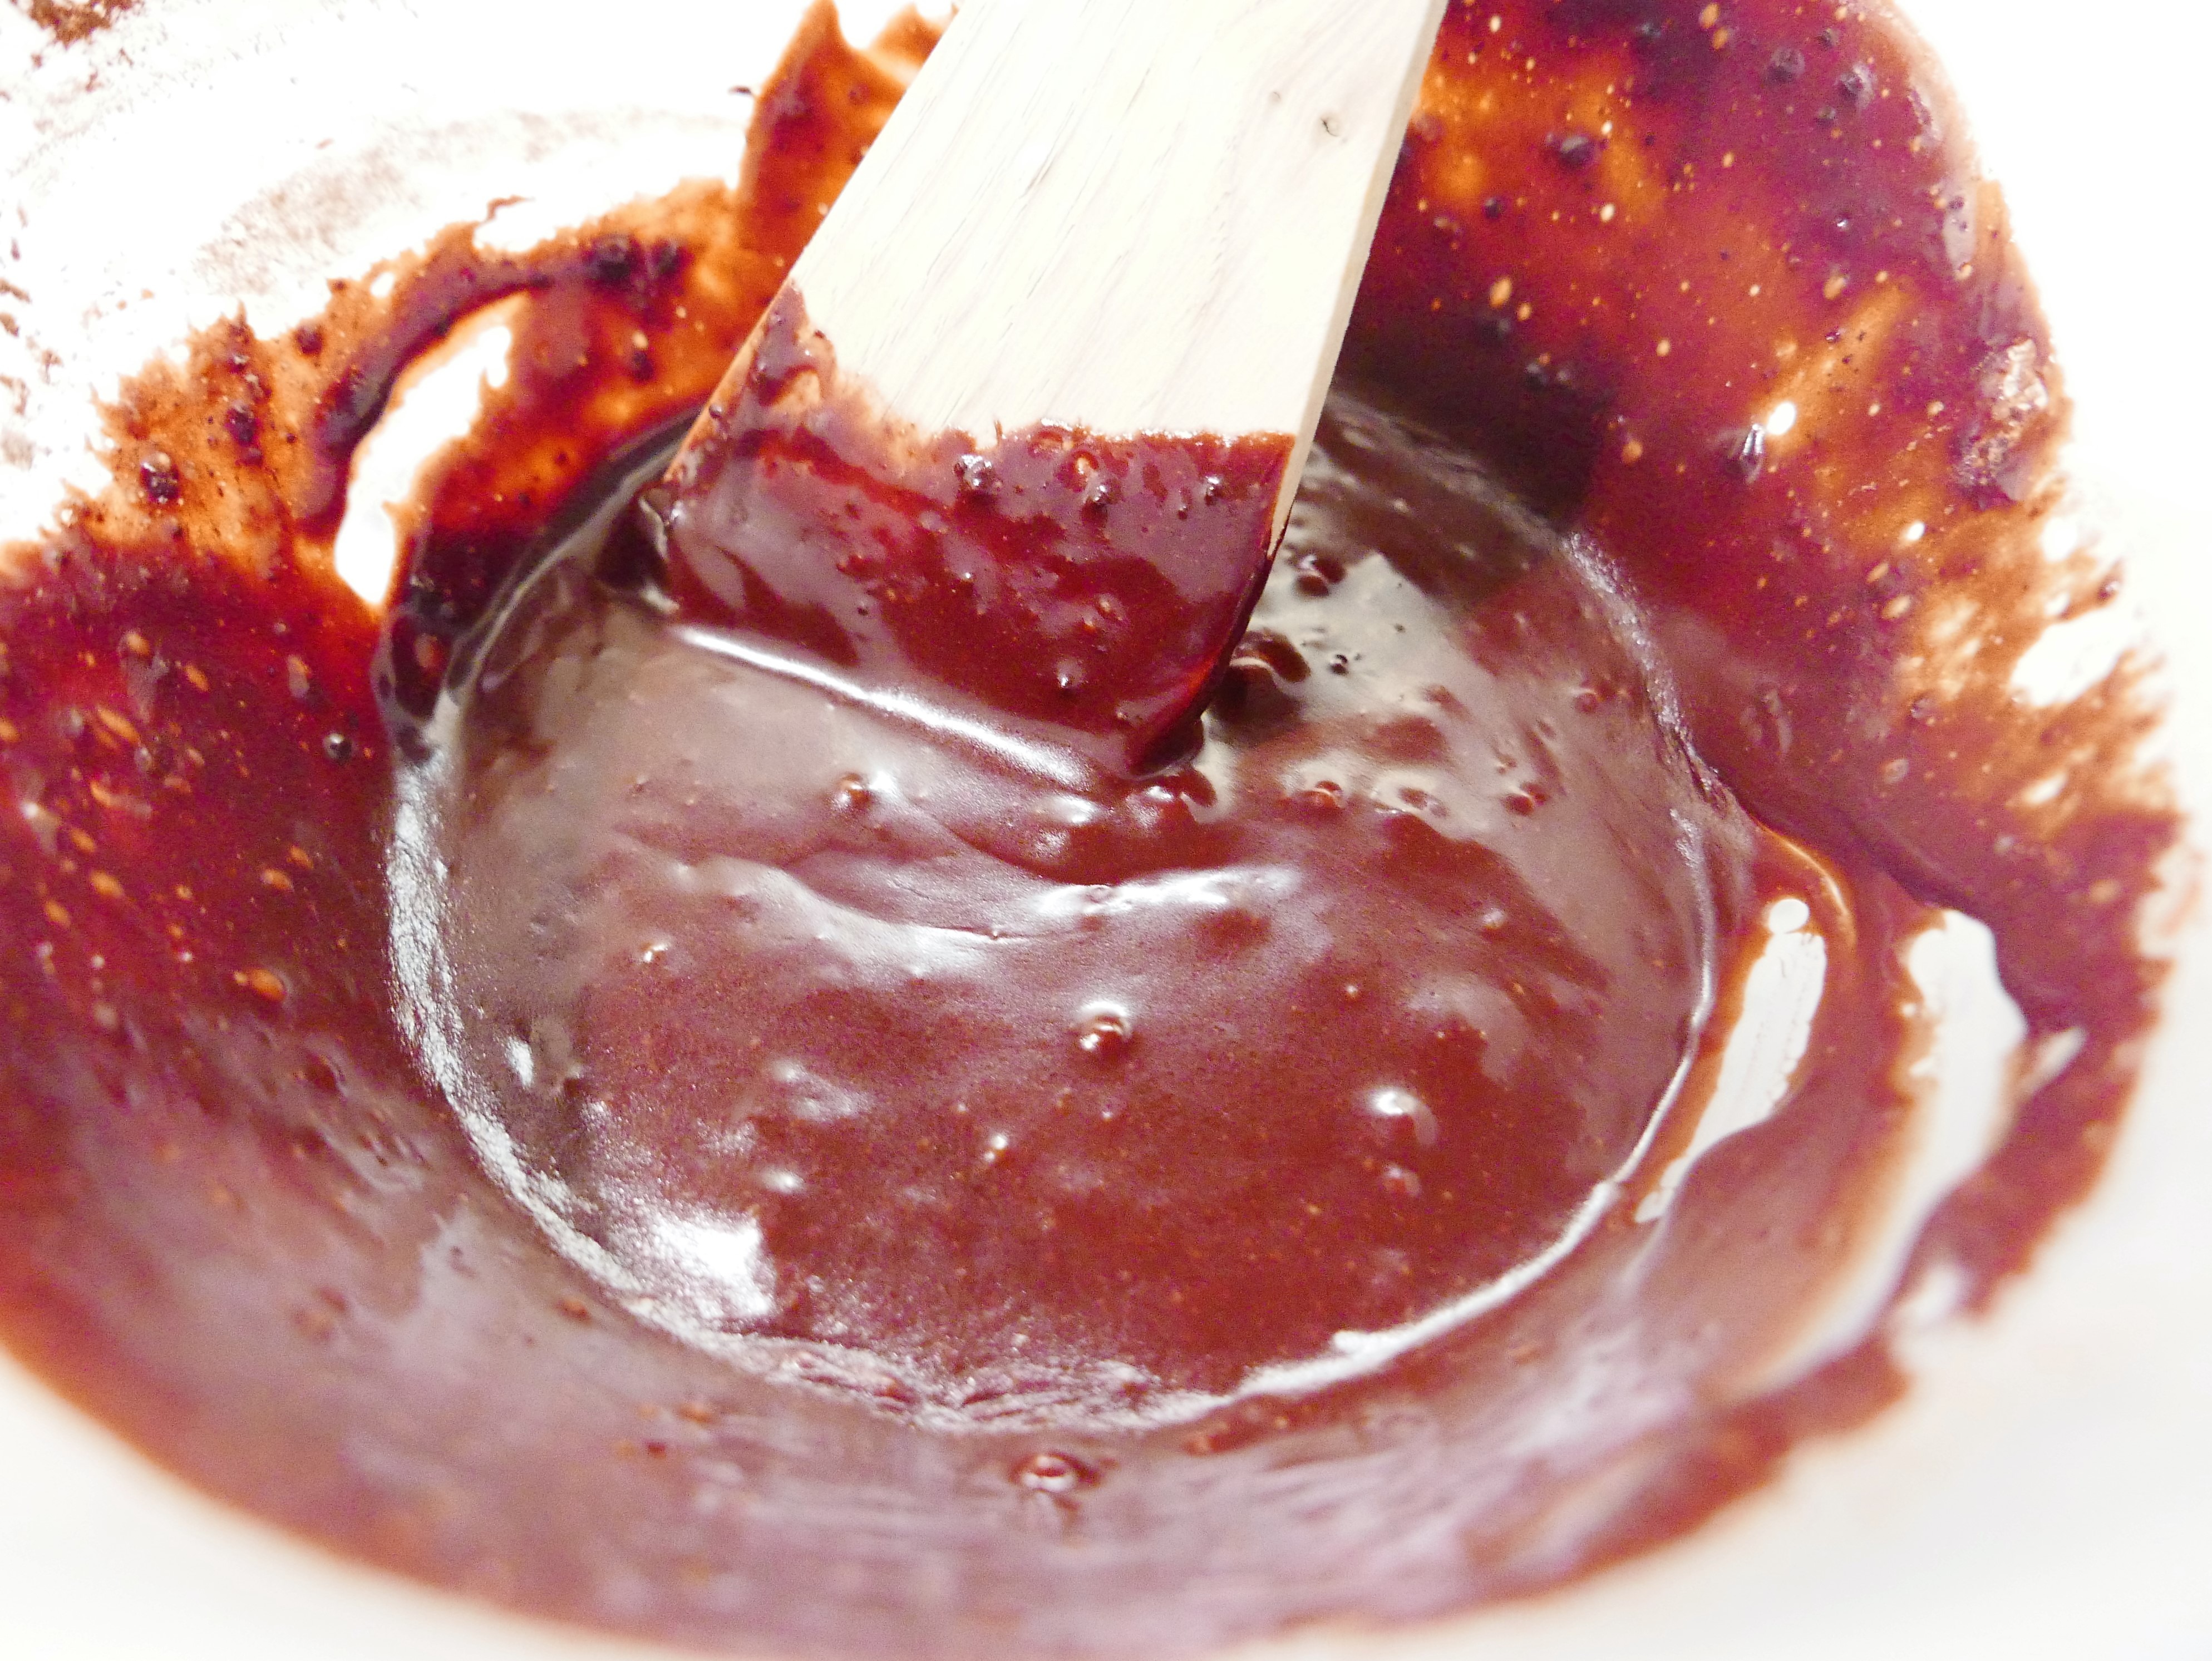
Deliciously chocolaty! You’re allowed to taste it to make sure it’s ok ..
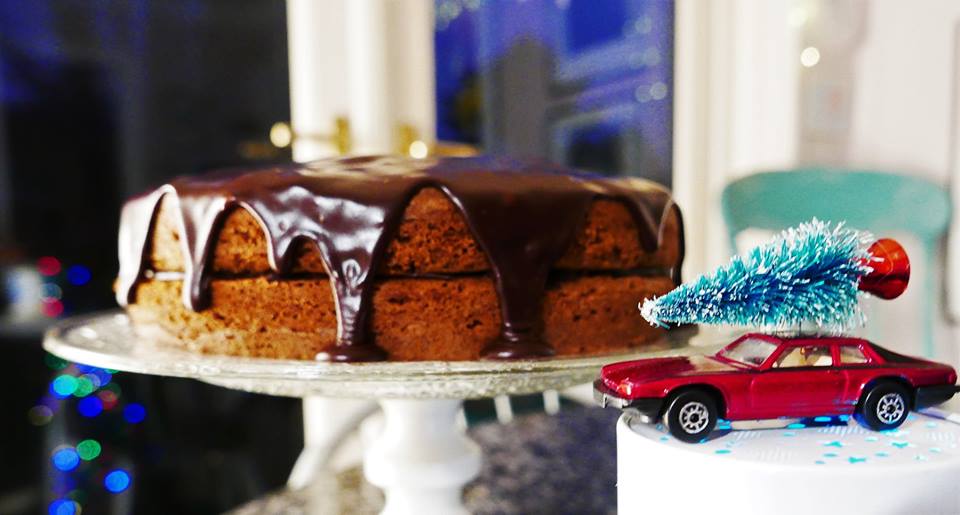
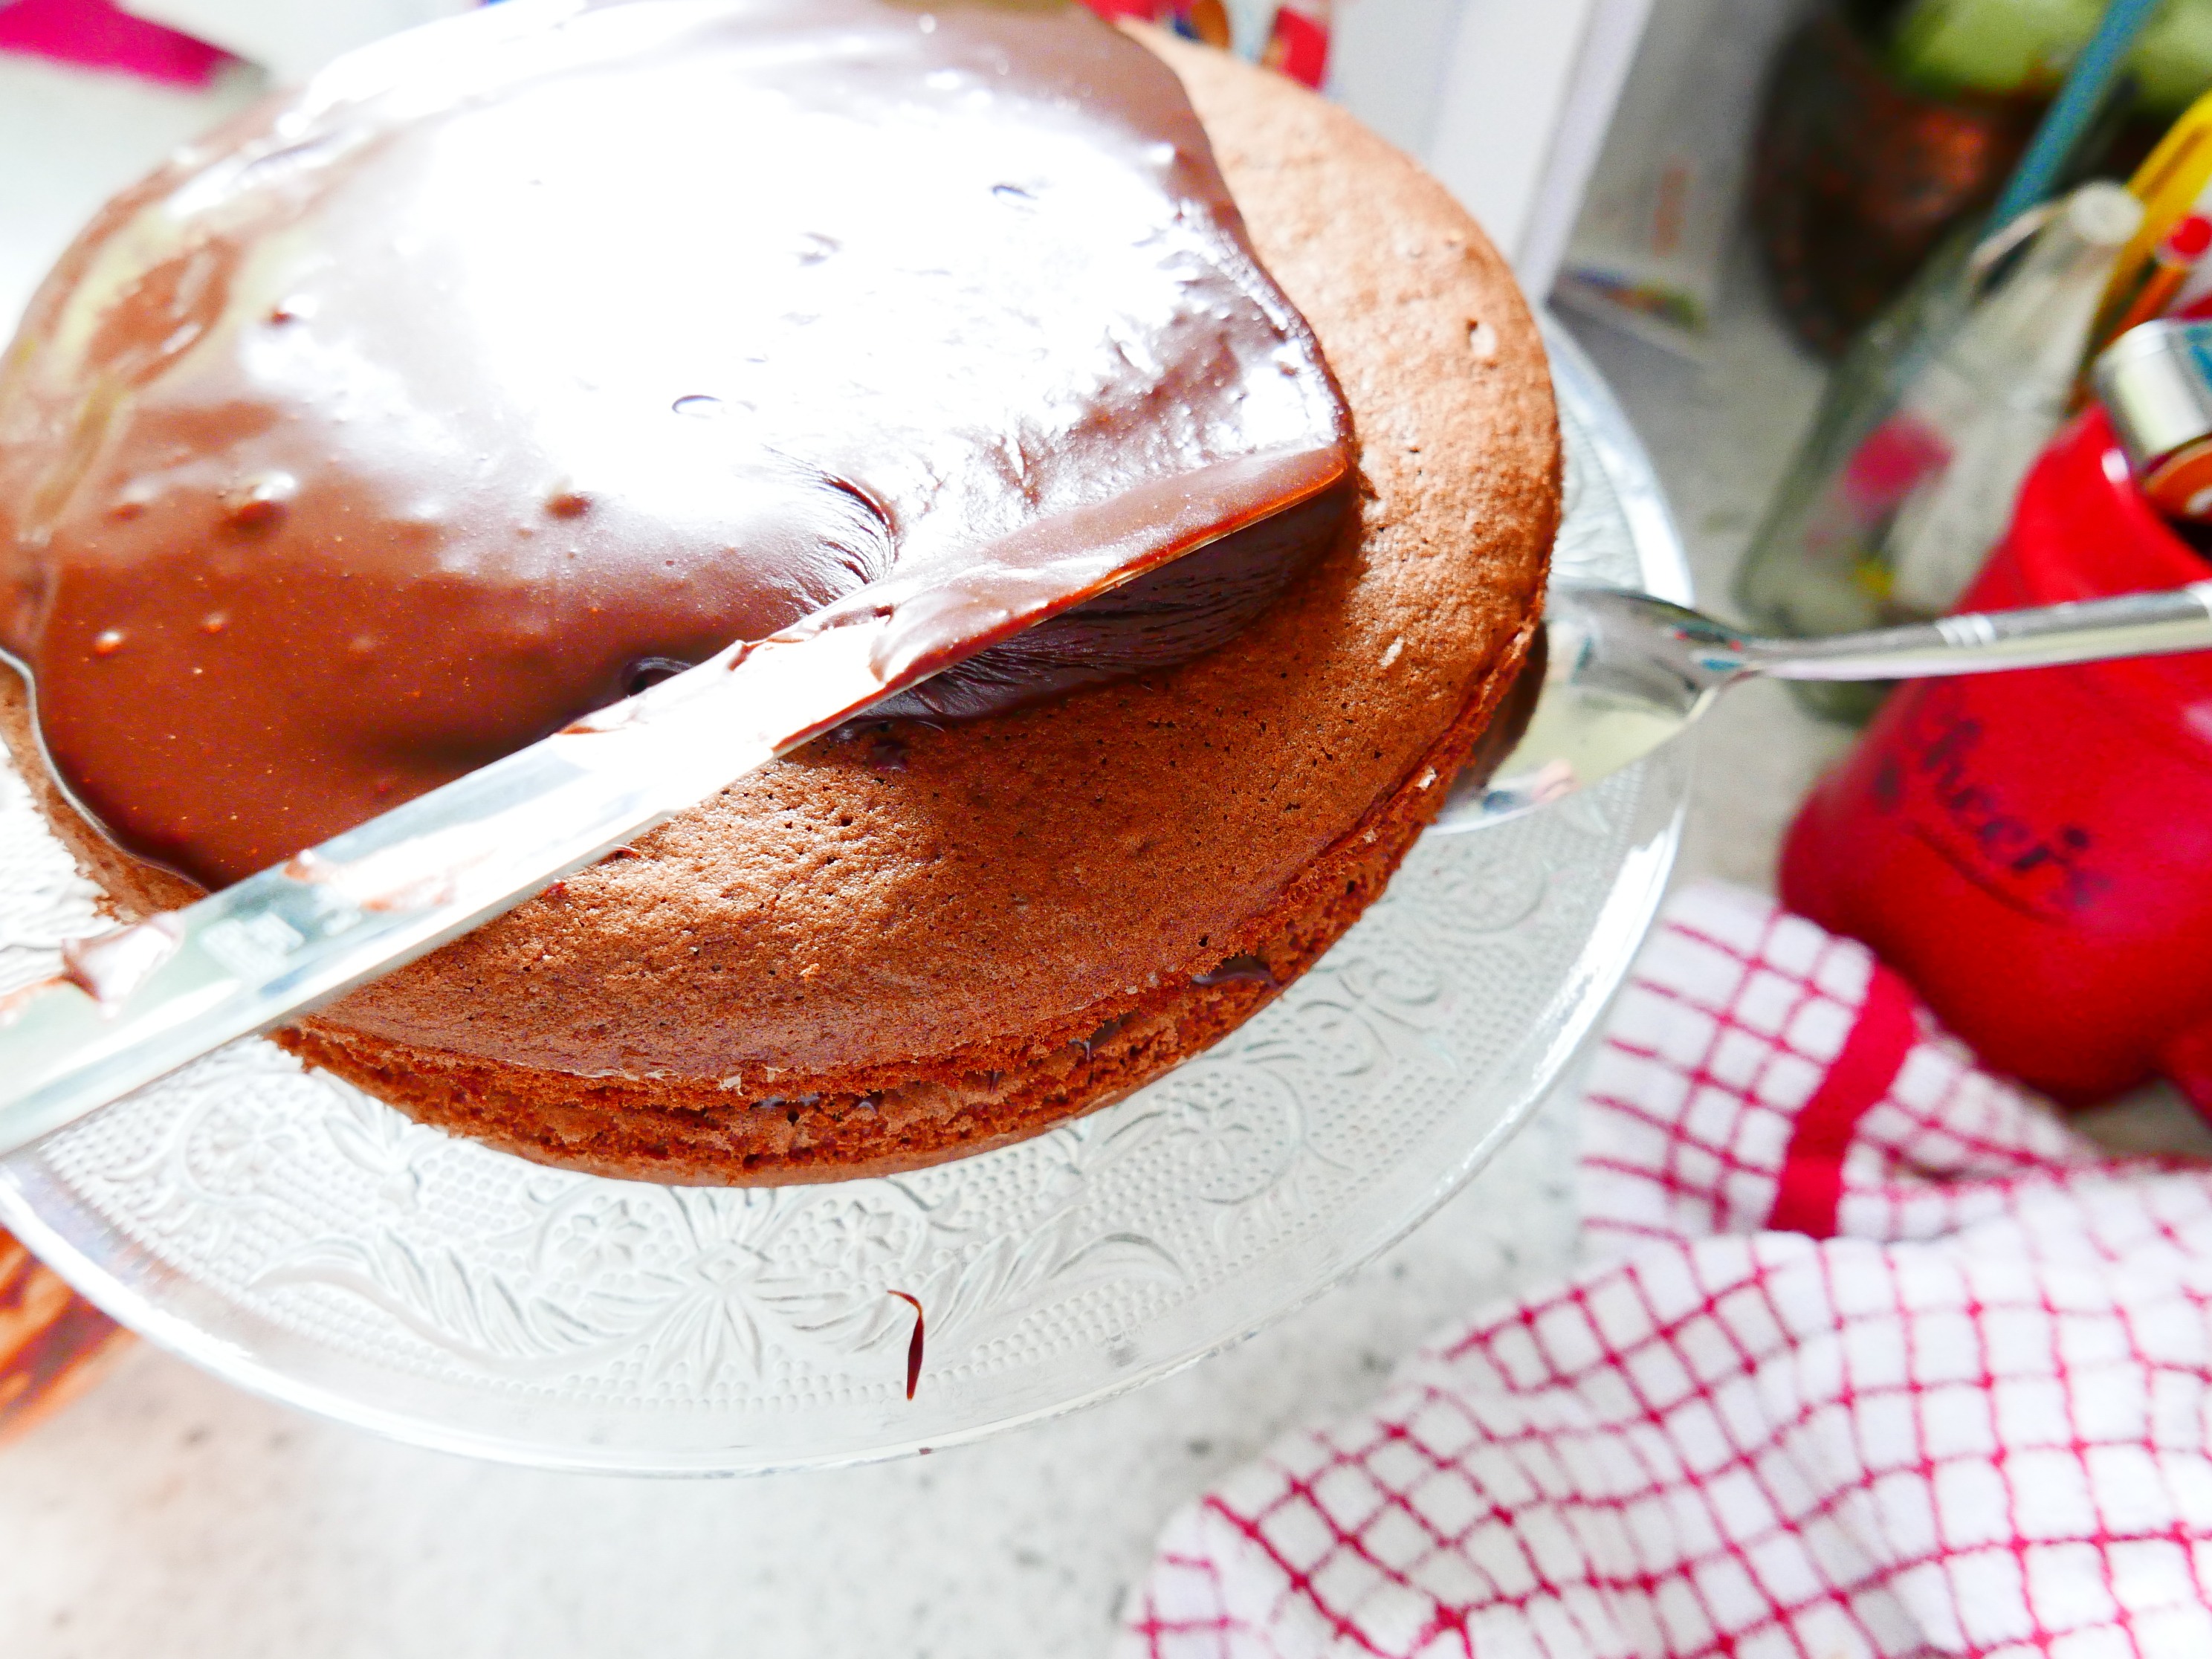
- Use some of the icing (about 1/3rd) to sandwich the sponges together, and spread the rest over the top using a flat bladed knife.
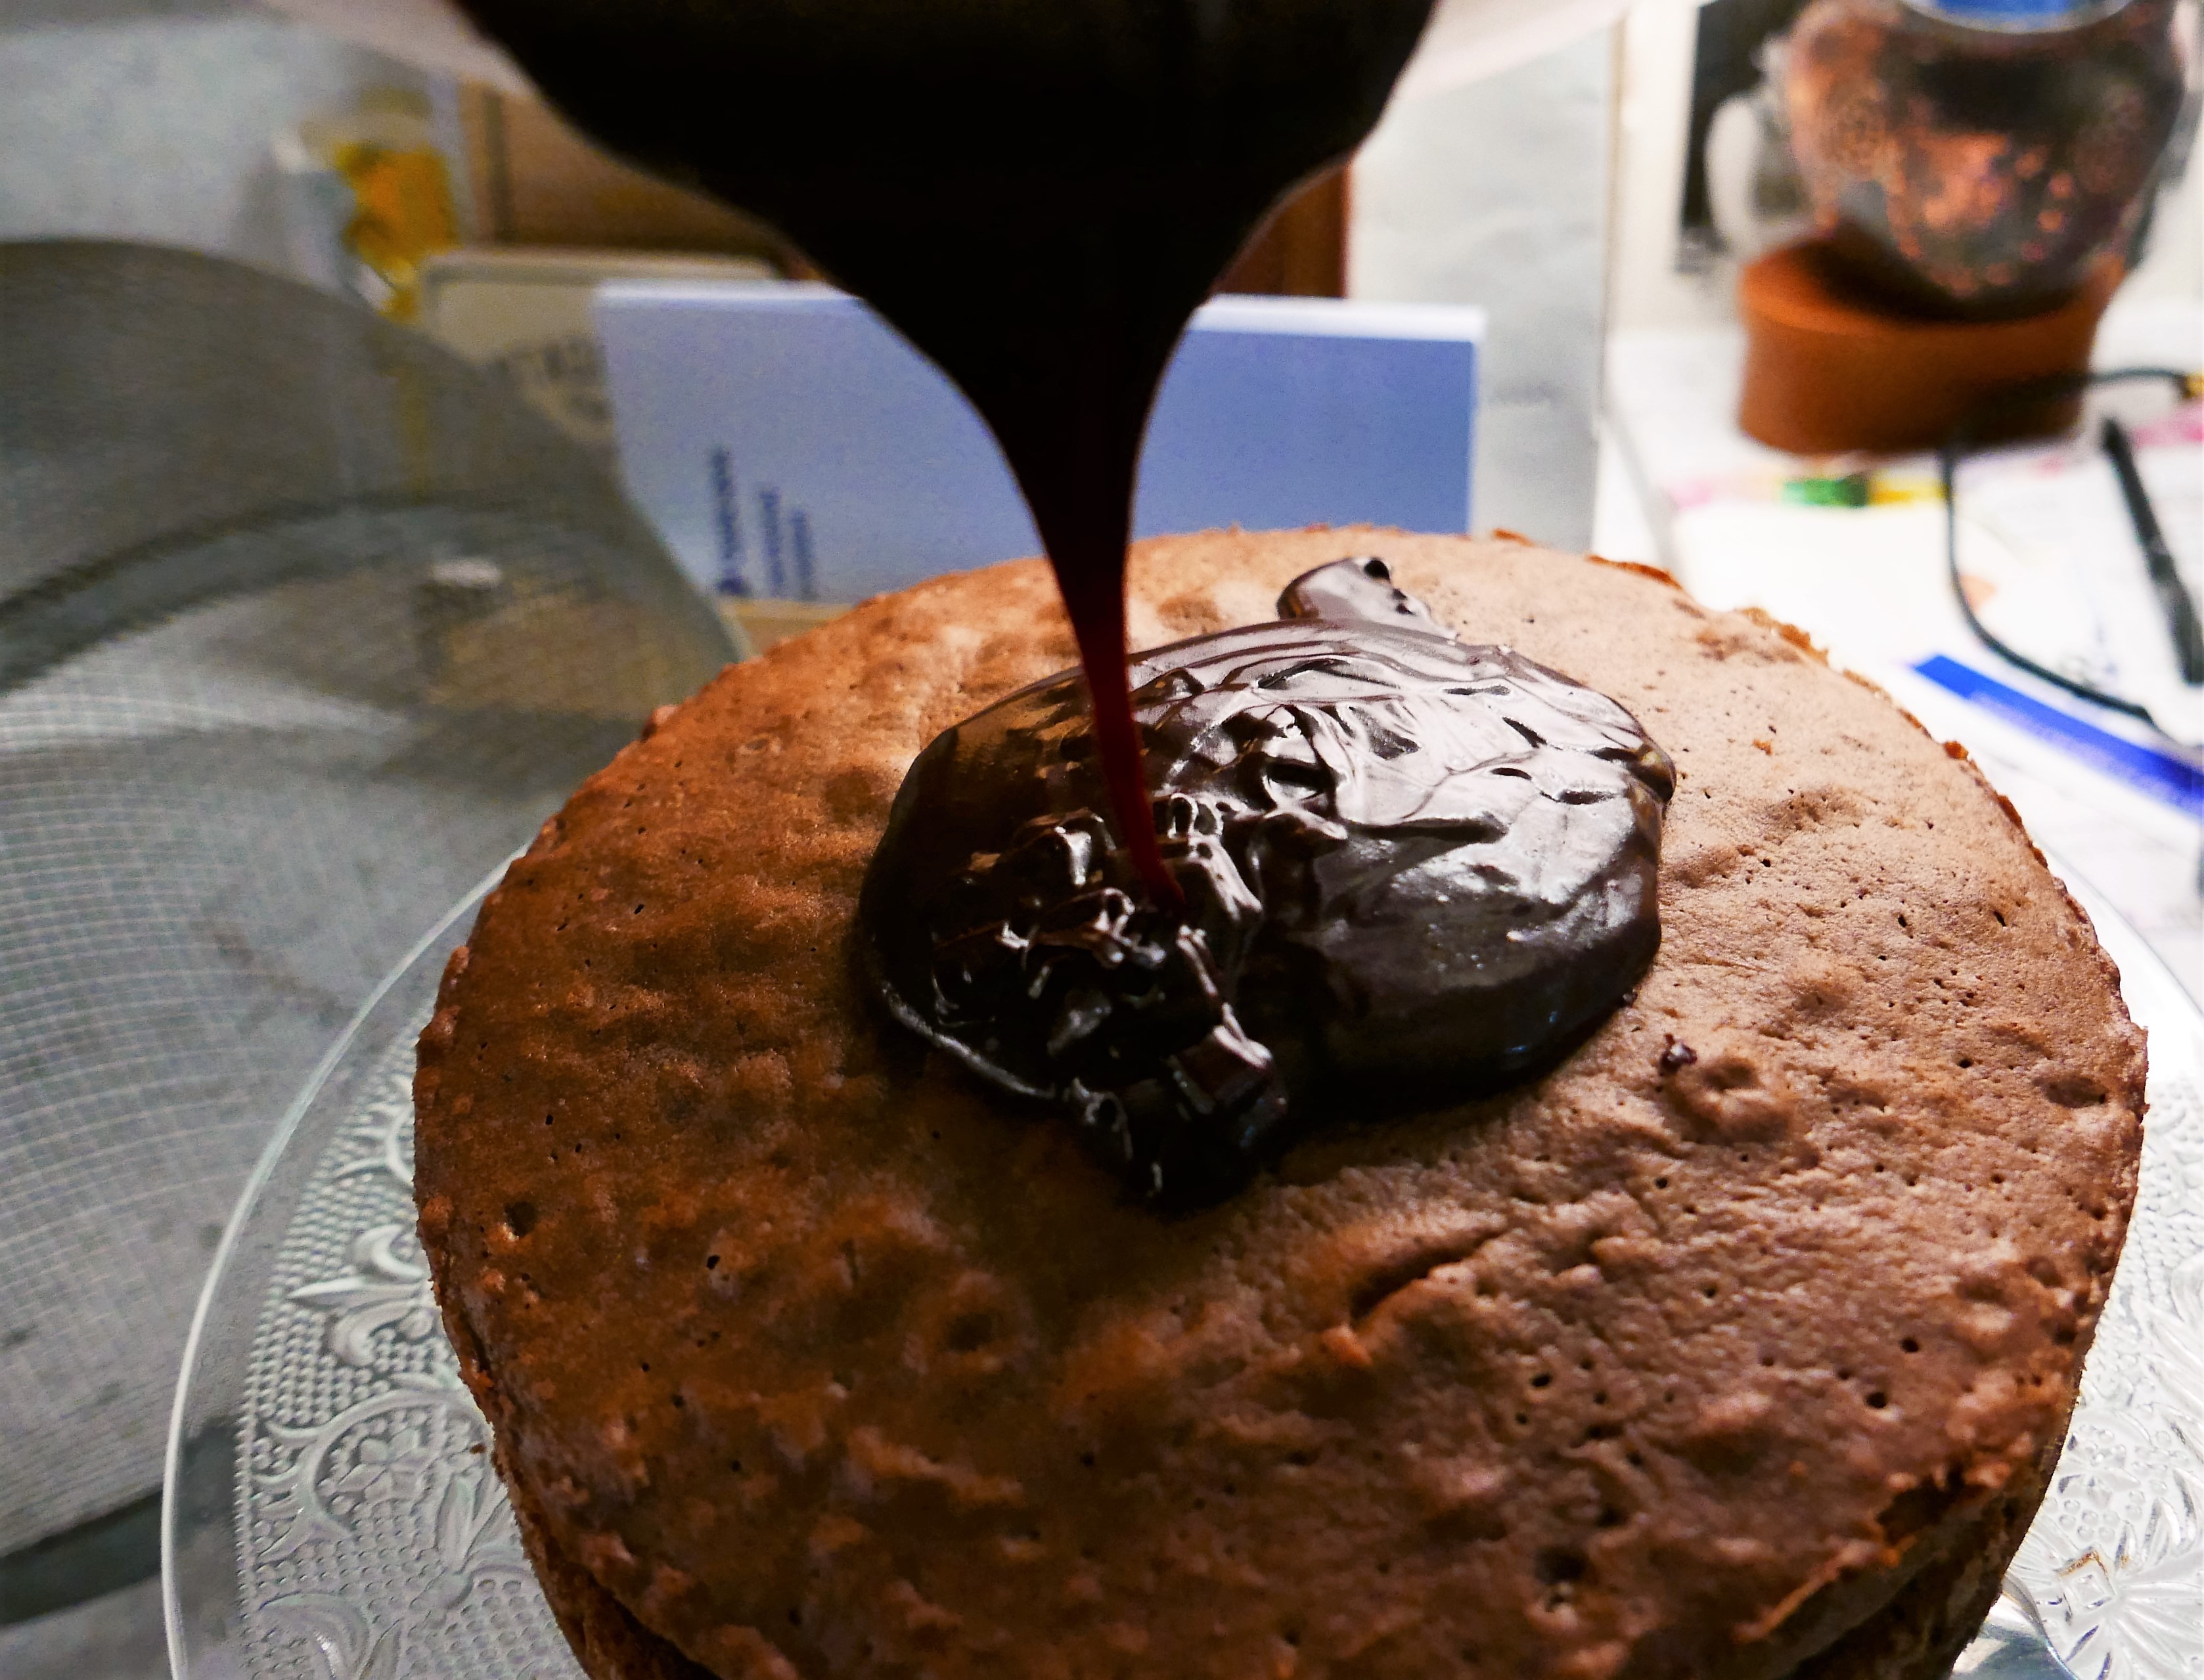
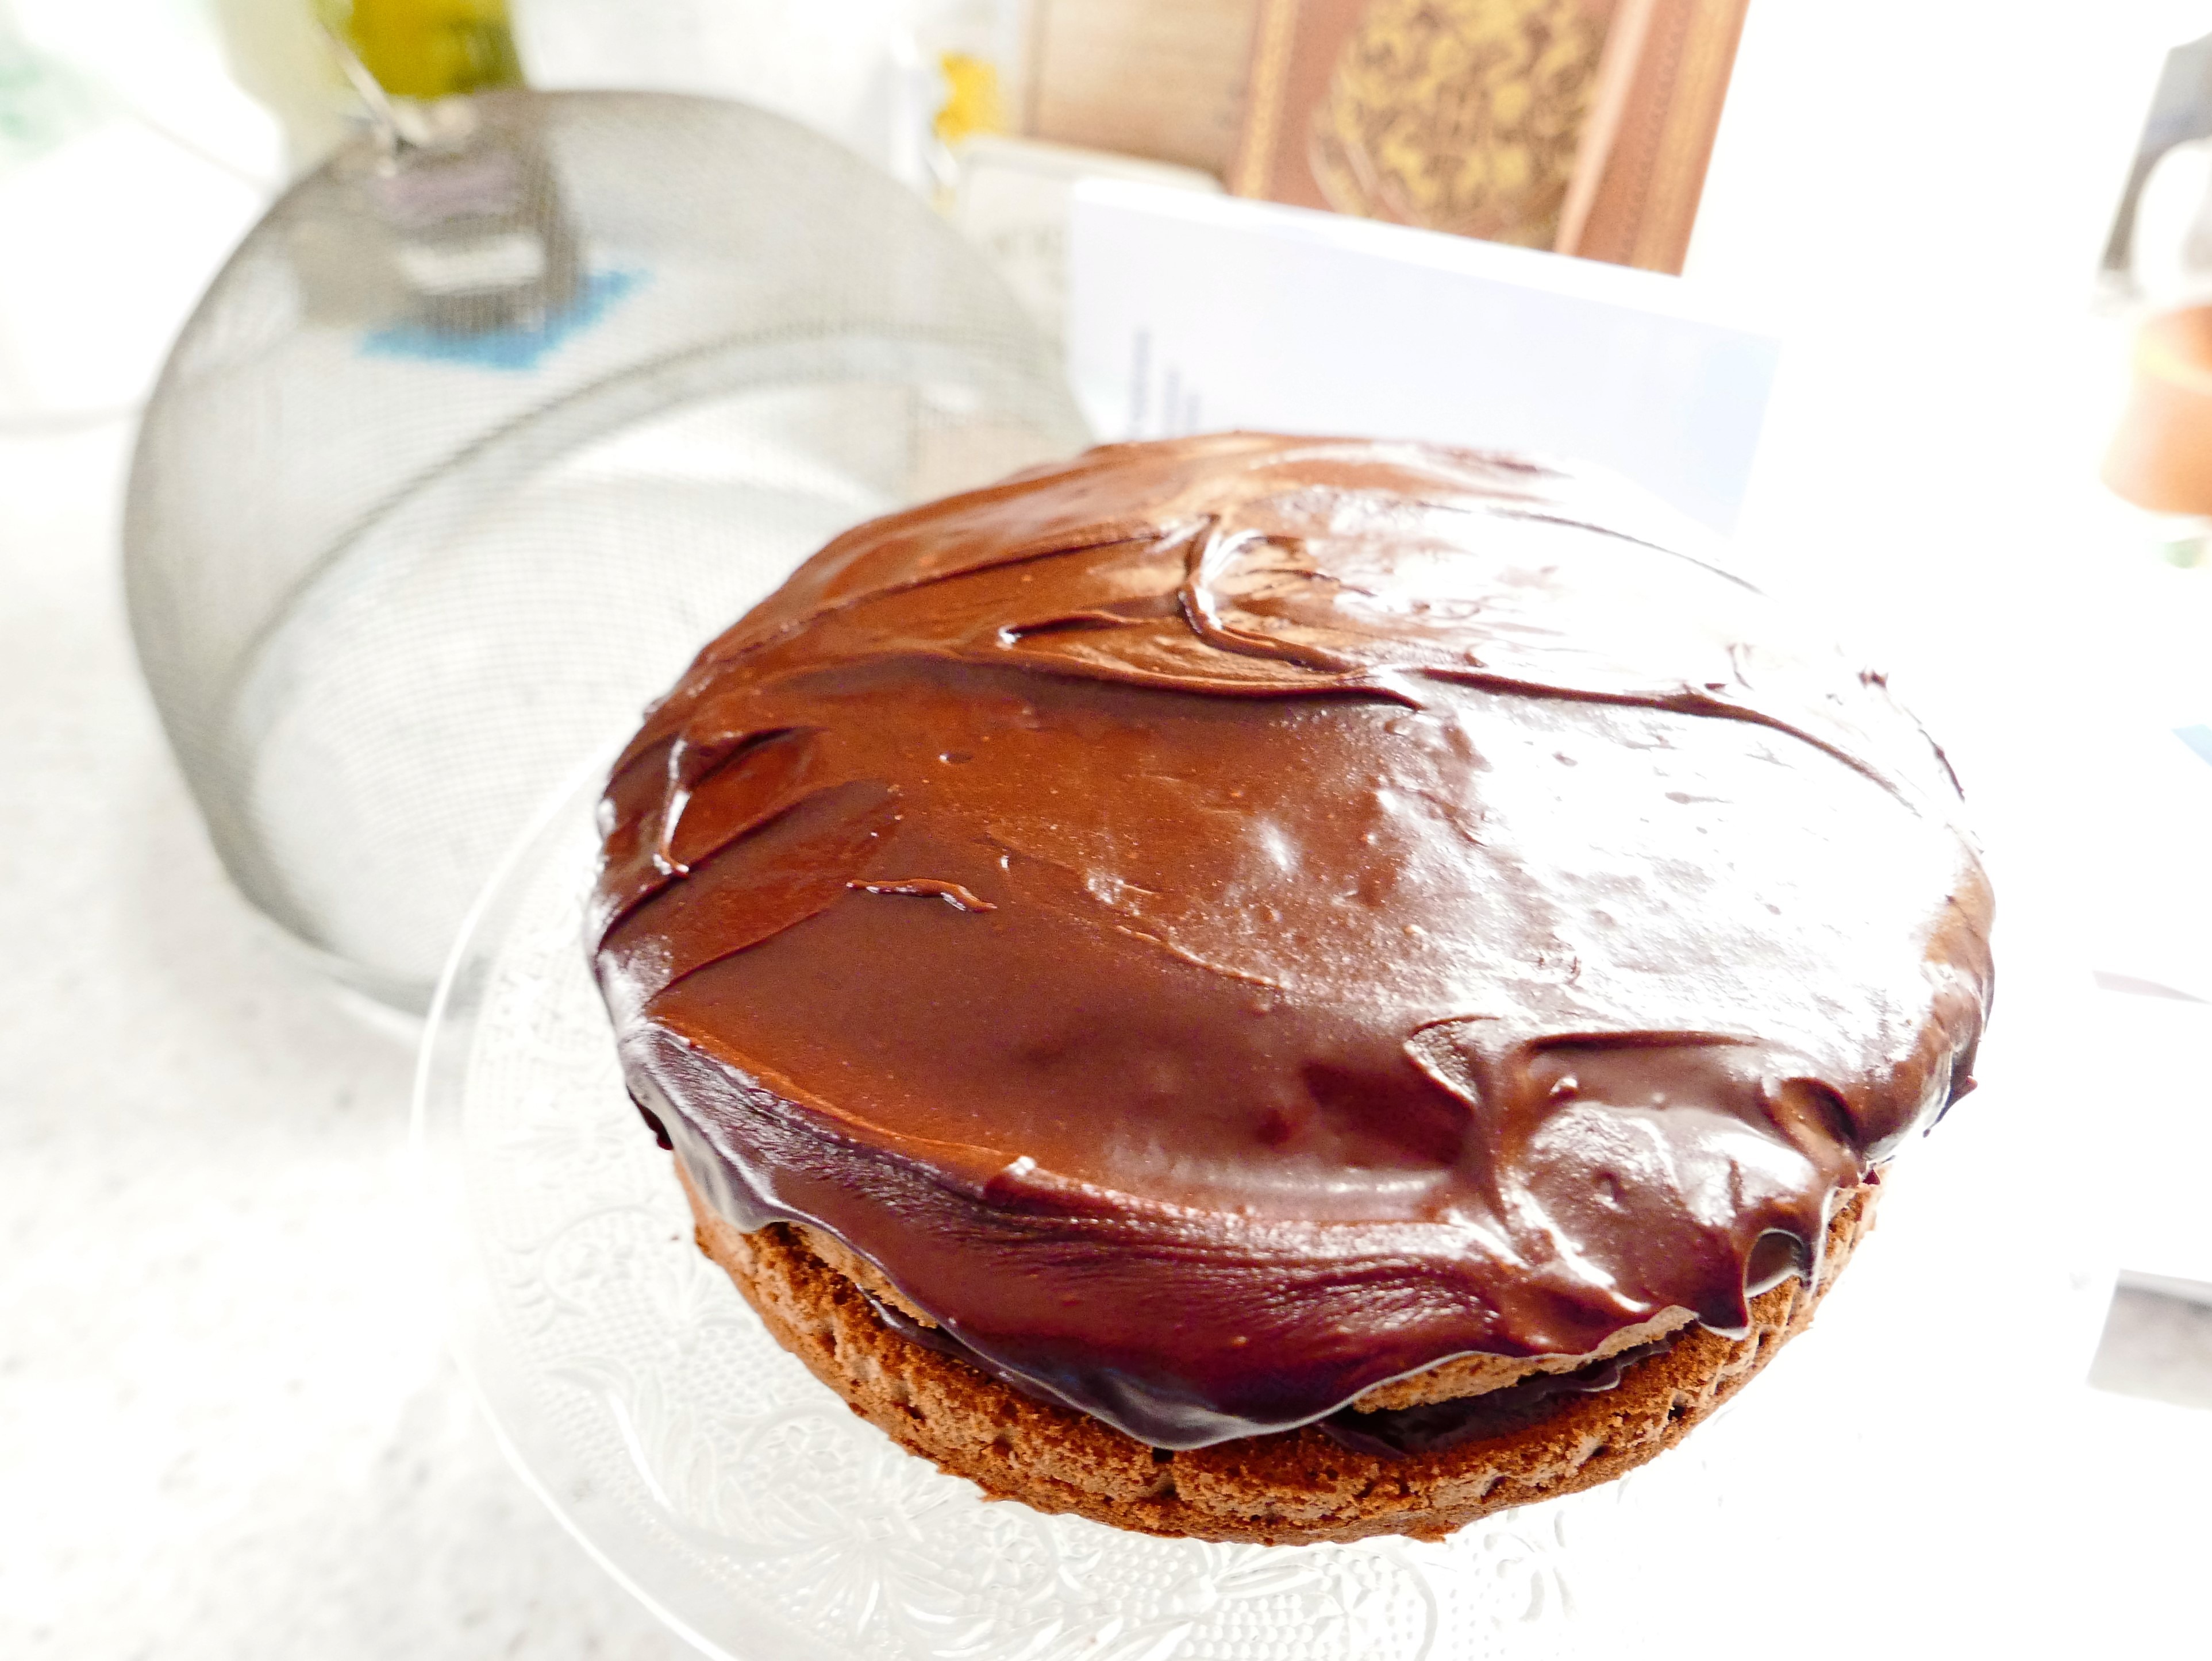
- I like to let the icing run down the sides of the cake, rather than a smooth finish, ‘cos I’m artistic like that 😉
- Allow the icing to set ( about 20 mins)
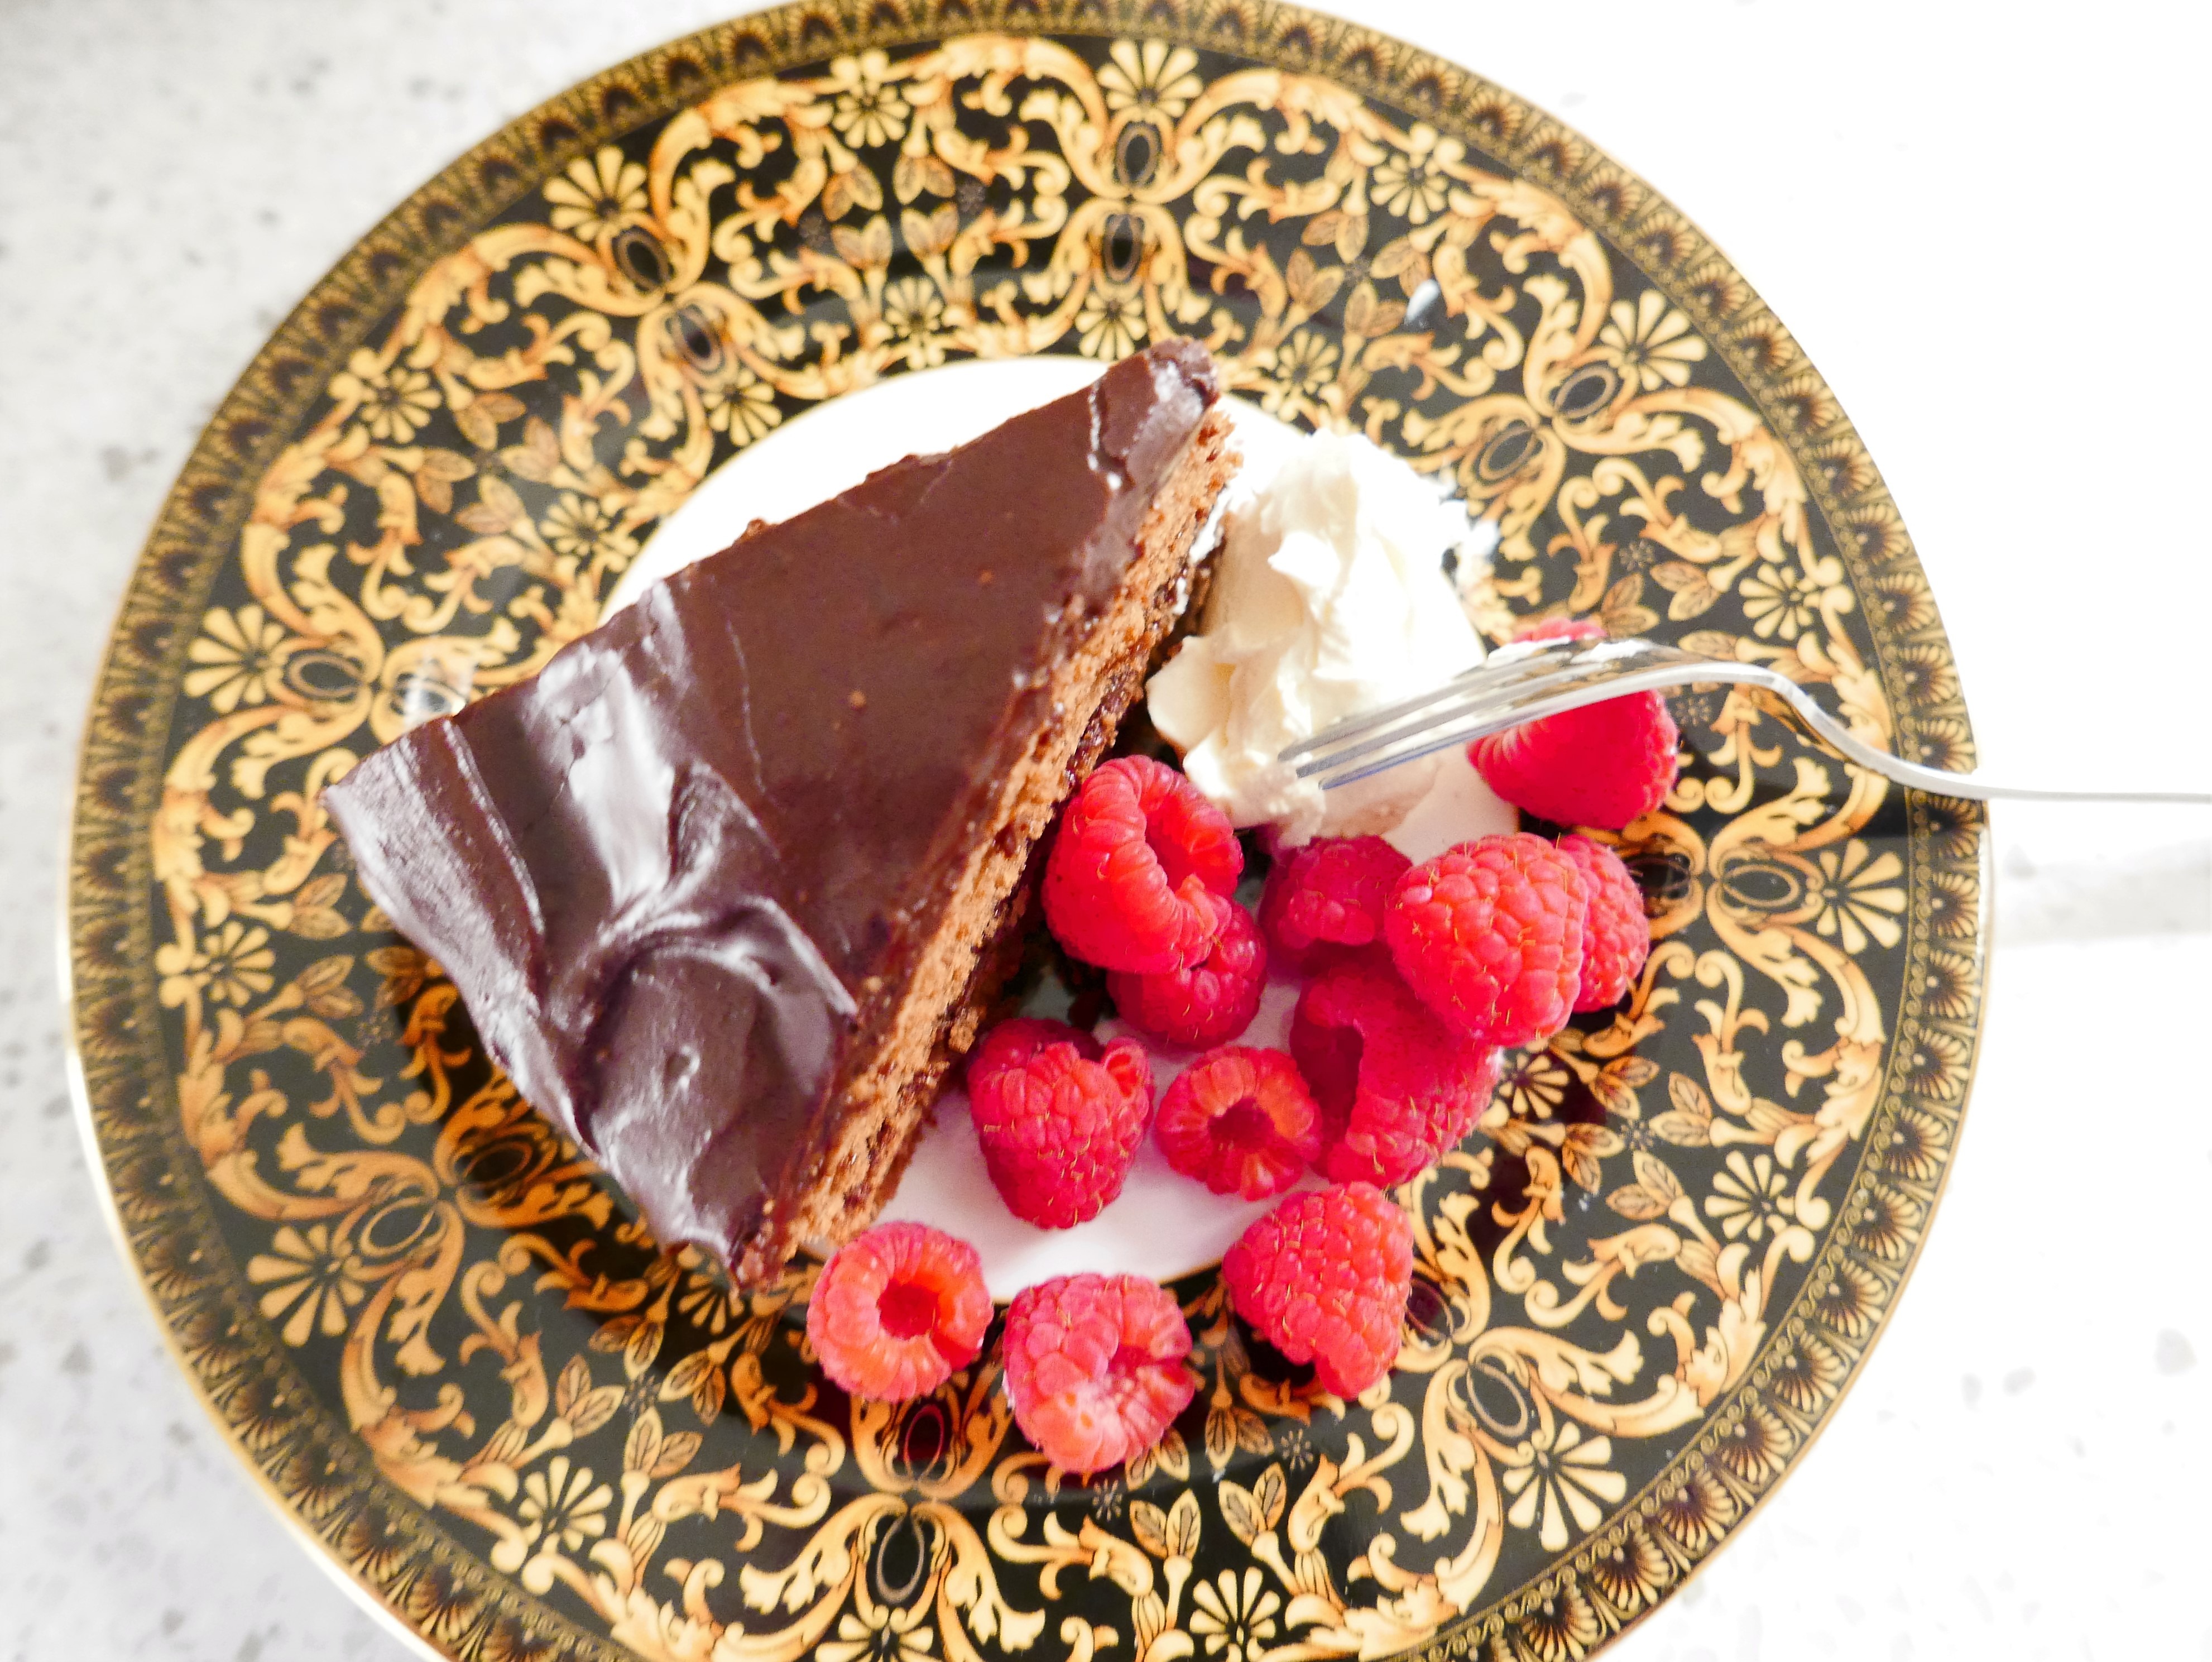
Although it doesn’t really need it, I love this cake with a dollop of cream on the side and a hand-full of raspberries.
The sponge also freezes really well, ready to be iced later on.
I started writing down recipes in an old copybook when I was about 16. With 6 children at home, my Mother was always glad of a hand in the kitchen, and really allowed us to experiment - as long as we washed up afterwards, and left the kitchen immaculate! Having a tidy kitchen has followed me through my life, as has the habit of writing down my favourite recipes; except that these days I write them for my website, and add photographs when I can. The website really started when it occurred to me that my daughter might like to have these recipes when I've forgotten them. In my early days of cooking for family and friends, I used to phone my Mum all the time to ask her for the recipe for some of our favourite family dinners. She rarely had a recipe to hand - I think, like me, she made a lot of it up as she went along.. So welcome to Eating for Ireland - these are the recipes that my friends and family having been eating these past 40 years.. yes, I truly am ancient! They are tried and tested, and have worked for me for all that time - I have updated them as new ingredients became available - I really hope you'll find something that you can make into a family favourite of your own. You don't have to tell anyone where you found these great new dishes that you're serving up - it can be our little secret, but I'd really love it if you could give me a sneaky 'follow' on Facebook and Instagram.. So off you go - have a good rummage around, you're bound to find something new! My sincere thanks to all of you who have found a recipe that you liked and dropped me a line to tell me - I really do love to hear from you! Happy Cooking! Becks xx