

When we were kids, we used to get biscuits and milk after dinner. Our favourite pastime, once Mum’s back was turned, was to dunk our biscuits, particularly Ginger Nuts, into the cold milk, and eat them like that. You were considered a complete failure if a bit of biscuit fell to the bottom of the glass 
Anyway, I’ve always loved ginger biscuits, so I thought I’d pass on this old Delia recipe to you.
EQUIPMENT:
- 1 large, or two medium-sized baking trays
- mixing bowl and/or a food processor
- a couple of sheets of baking parchment.
INGREDIENTS: makes about 12 good-sized biscuits. I always double up this recipe.
*items in bold type indicate that I encourage you to do the same!!*
- 110g Self-raising flour
- 1 teaspoon of ground ginger
- 1 level teaspoon bicarbonate of soda
- 40g soft brown sugar
- 50g COLD unsalted butter or margarine * see NOTES*
- 2 tablespoons of golden syrup – my 2 tablespoons weighed 45g today, if you just fancy adding it directly from the tin..
METHOD:
- Heat the oven to 160 fan
- Put the baking parchment onto the baking trays.
- Sift the flour, ginger and soda bicarb together
- add the sugar (break it up if it’s sticking together)
- rub in the butter with your finger tips until the mixture is crumbly (or put all of the above into a food processor and blitz until you get the crumbly result (don’t over process)

- Add the golden syrup and mix until you get a stiff dough. This can actually take some time, and it’s the heat of your hands that helps it come together. Don’t be tempted to add more golden syrup! I’ve found that washing your hands under the warm tap can help, but be sure to dry them too!

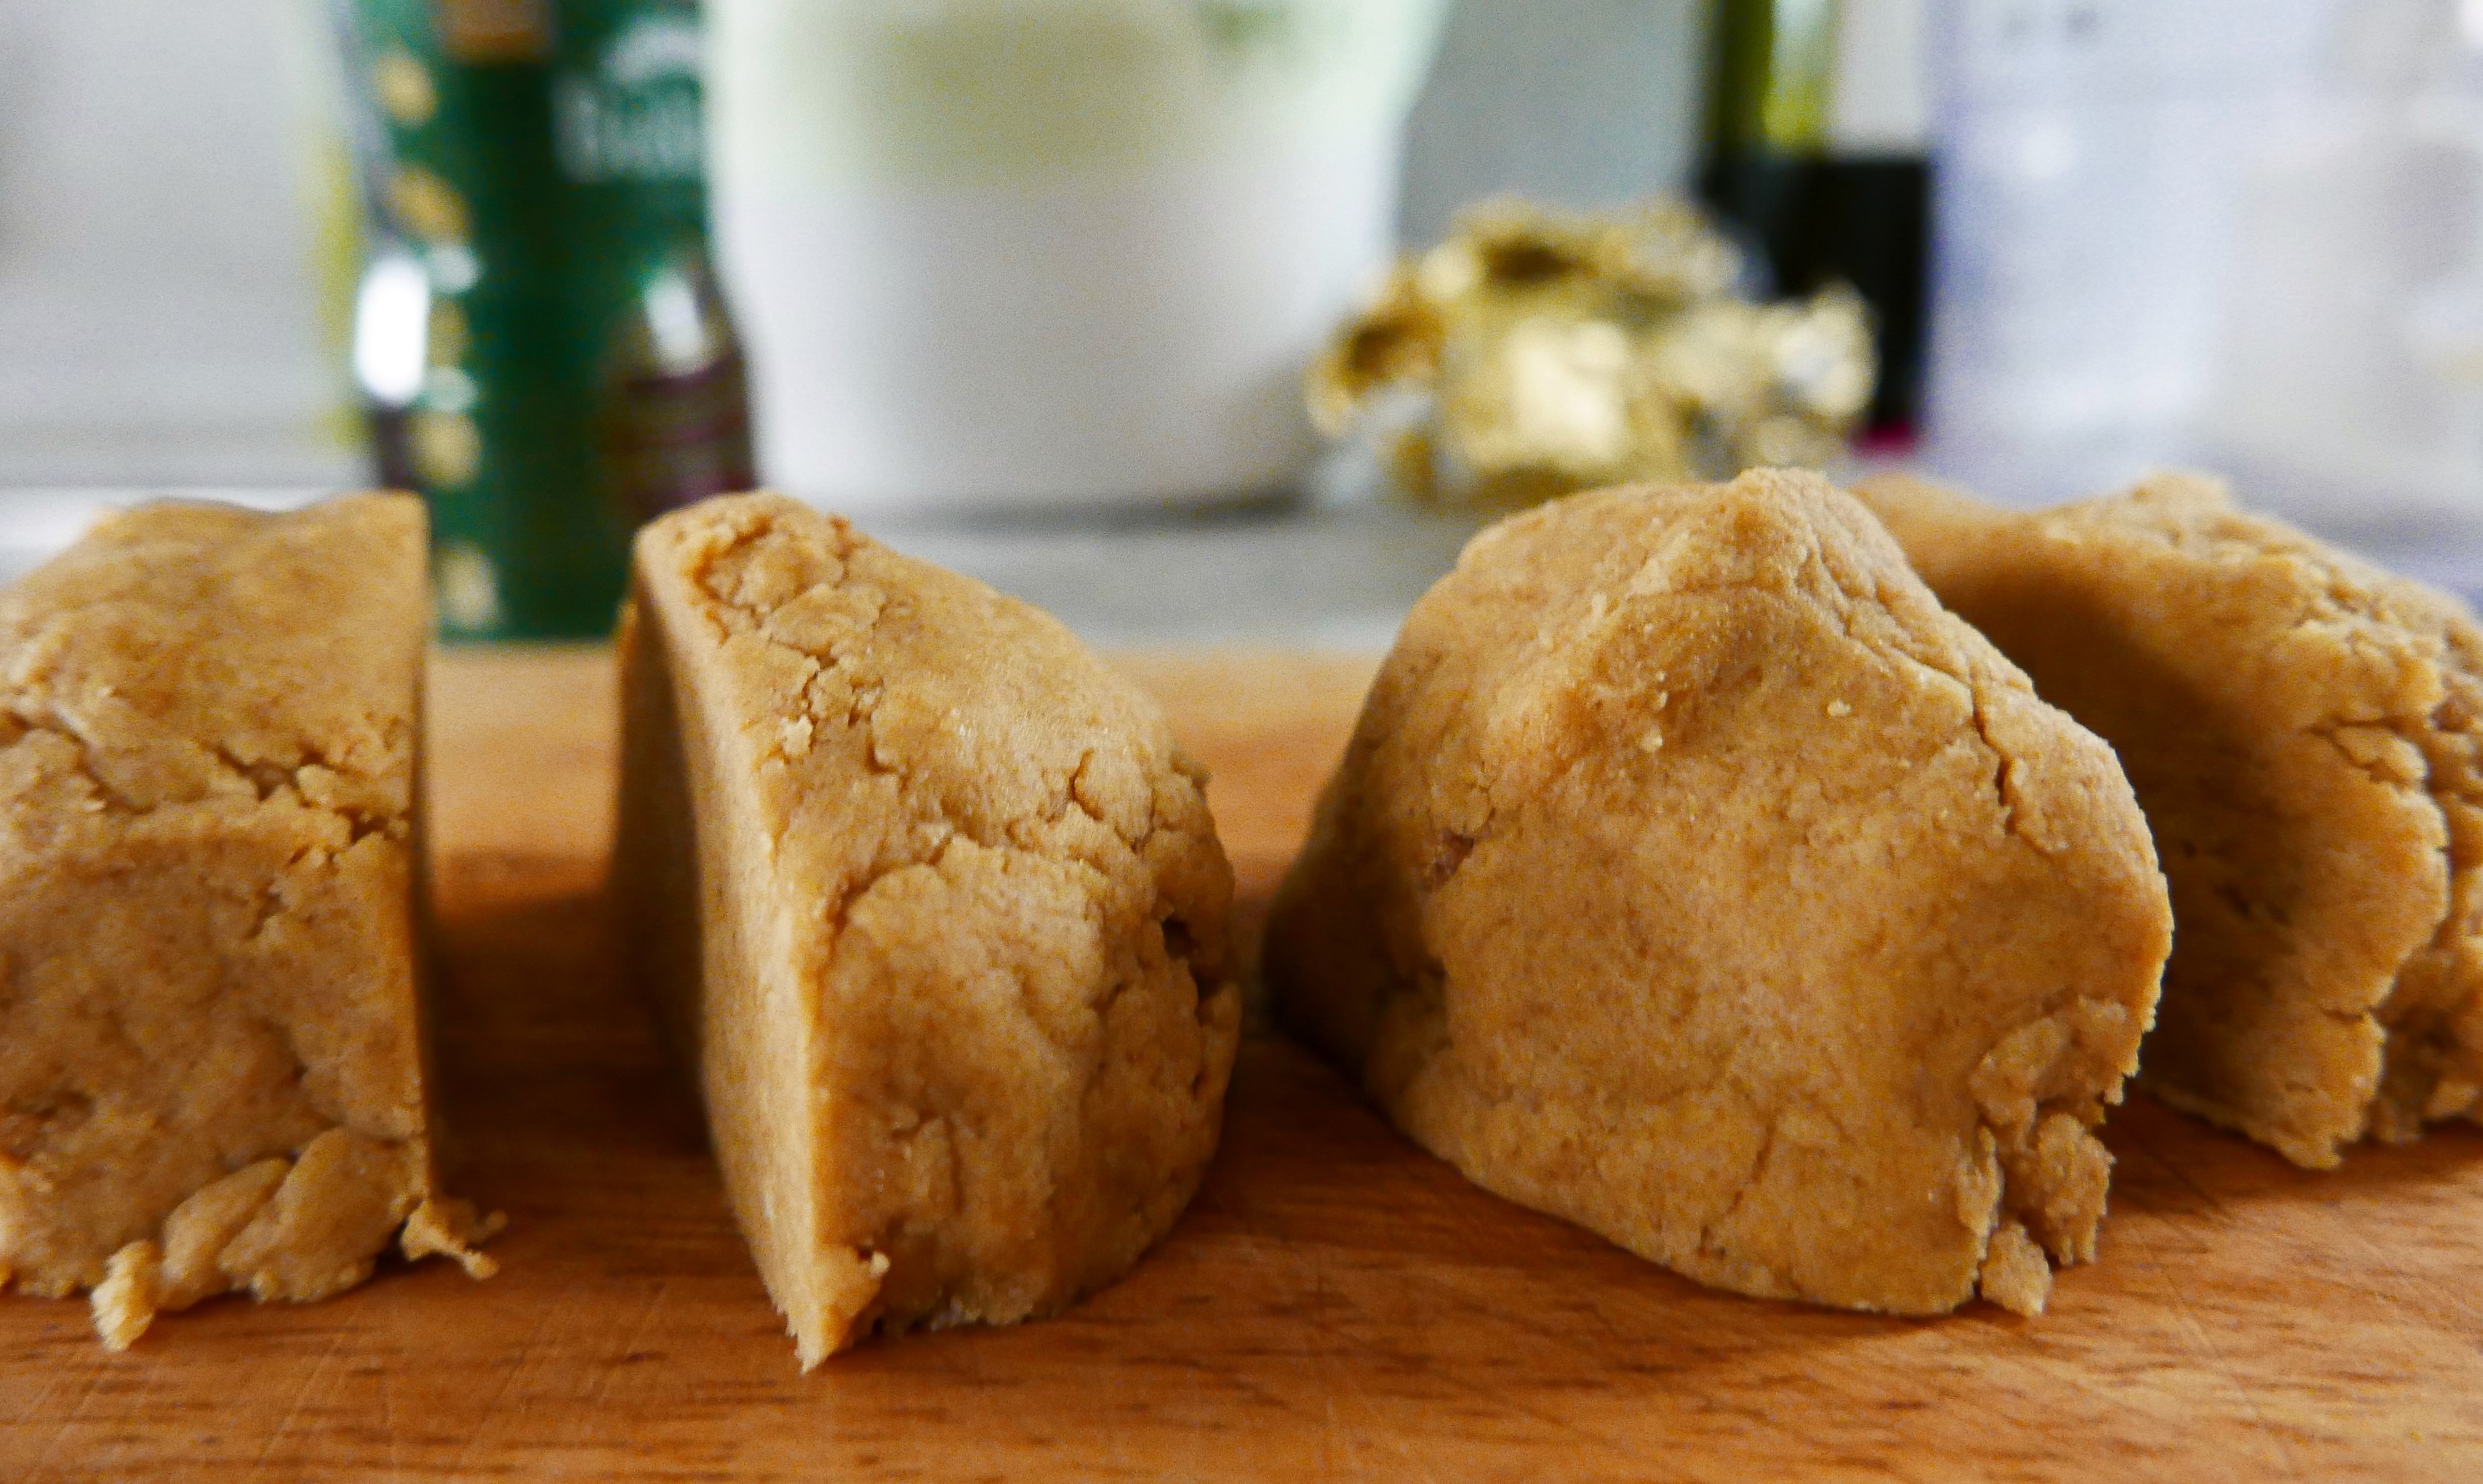
- Divide the mixture into 16 equal pieces, and roll each piece into a ball.

- Place the balls, well separated, onto the tray, then push them down slightly with the back of a spoon.
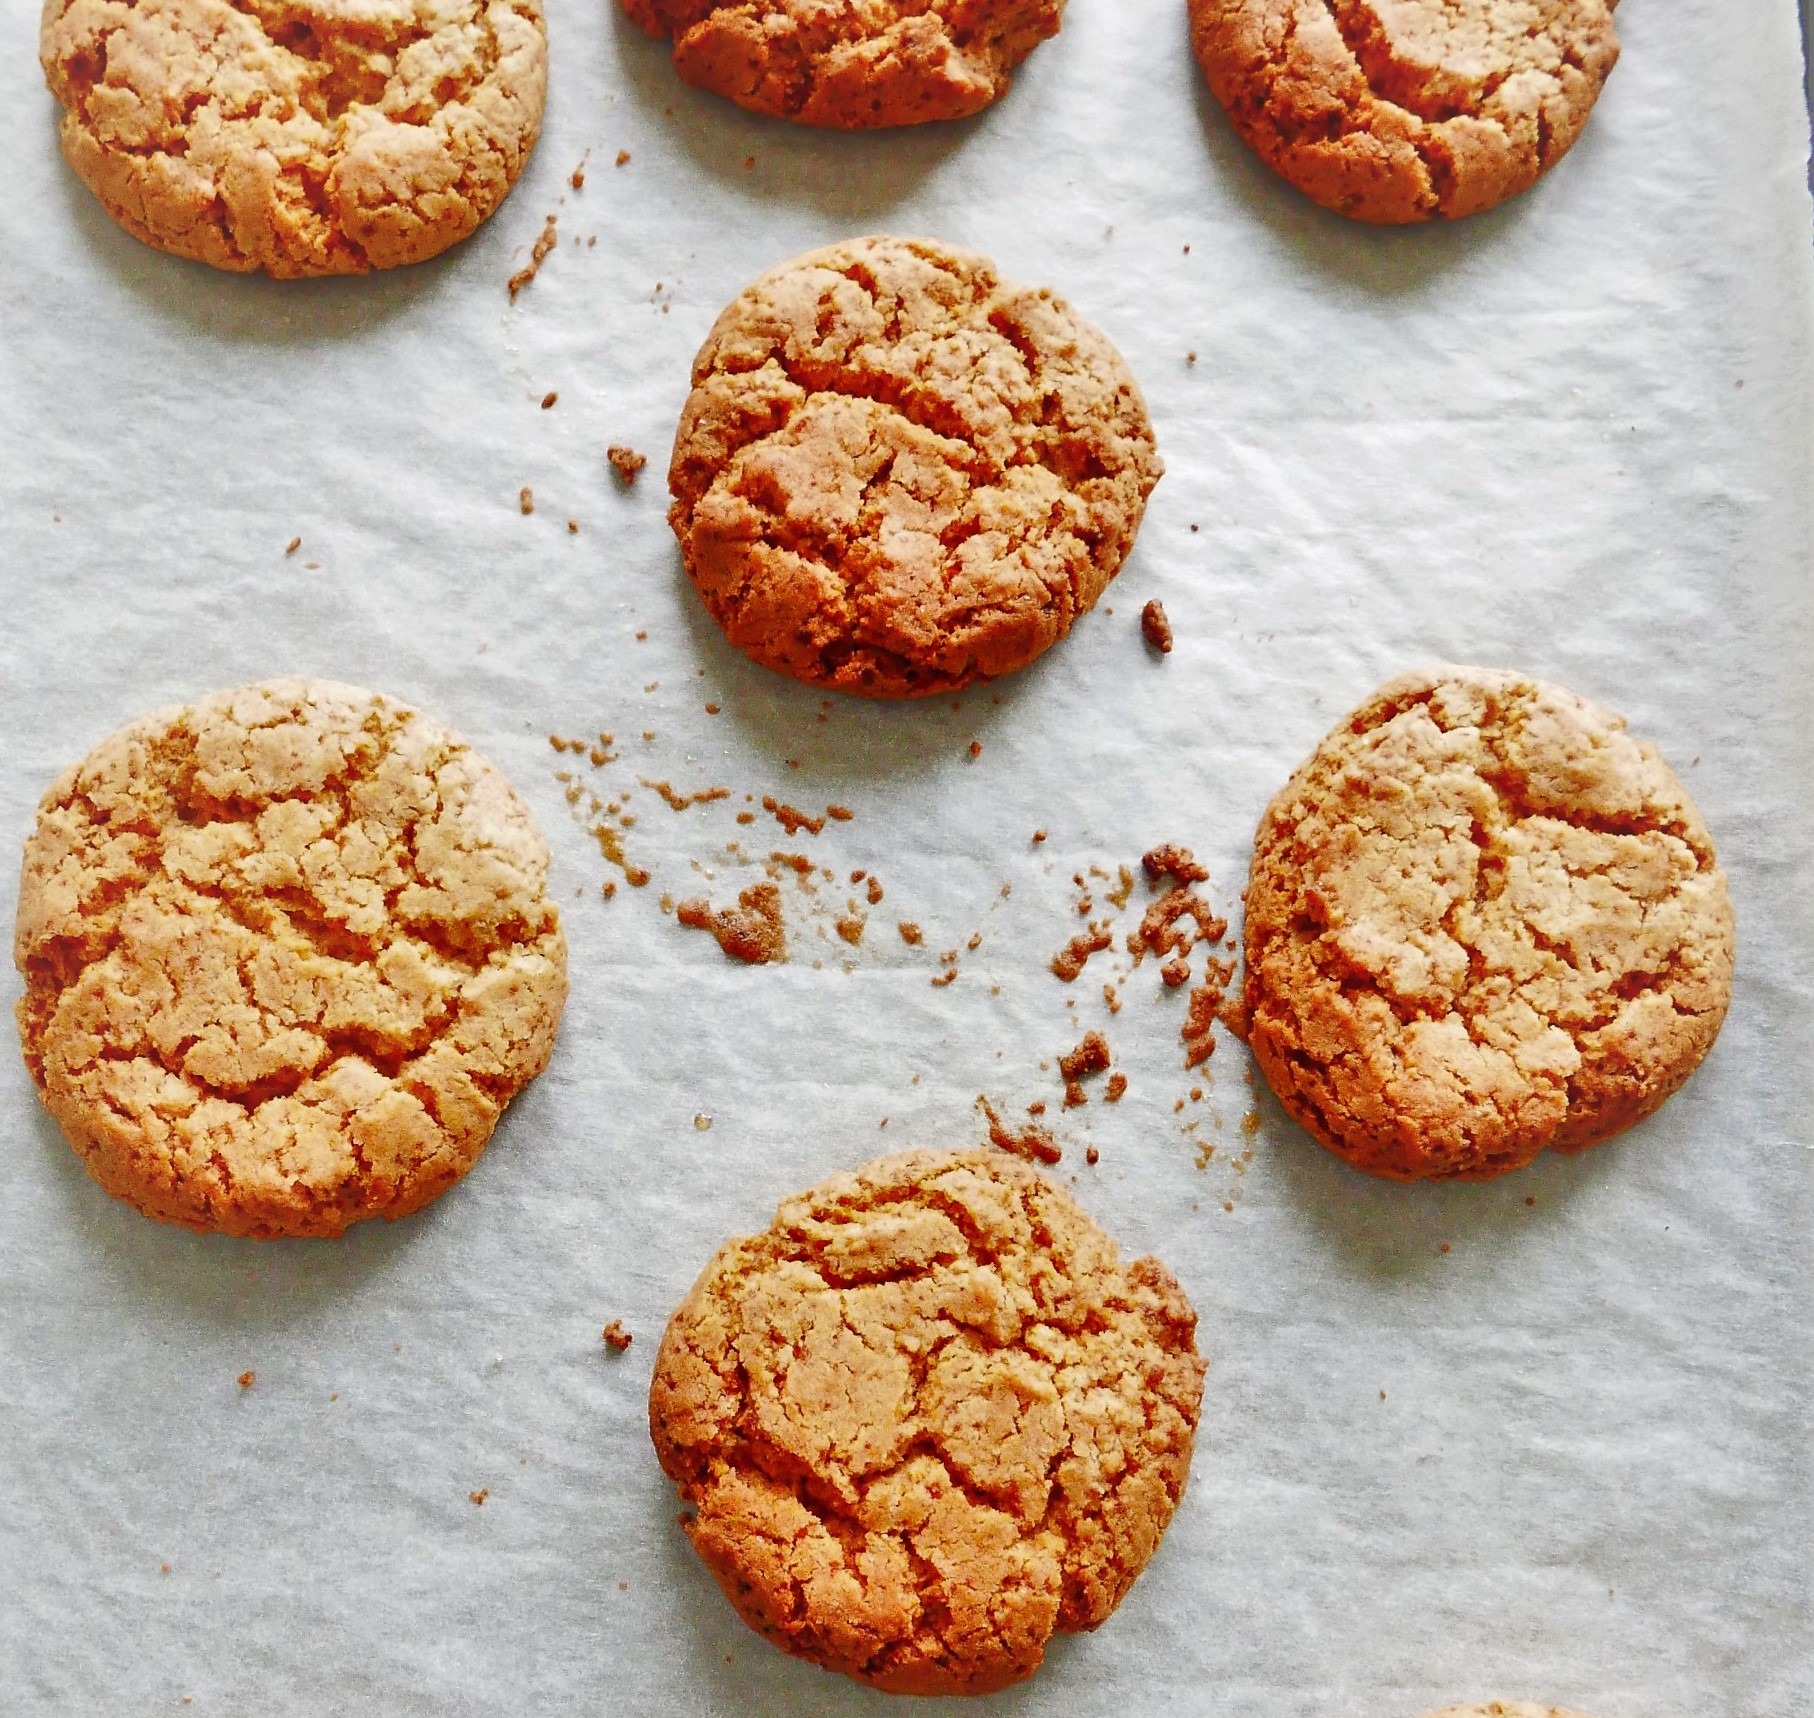
- Give them about 10-15 minutes in the oven, until they’re spread out and nicely cracked.
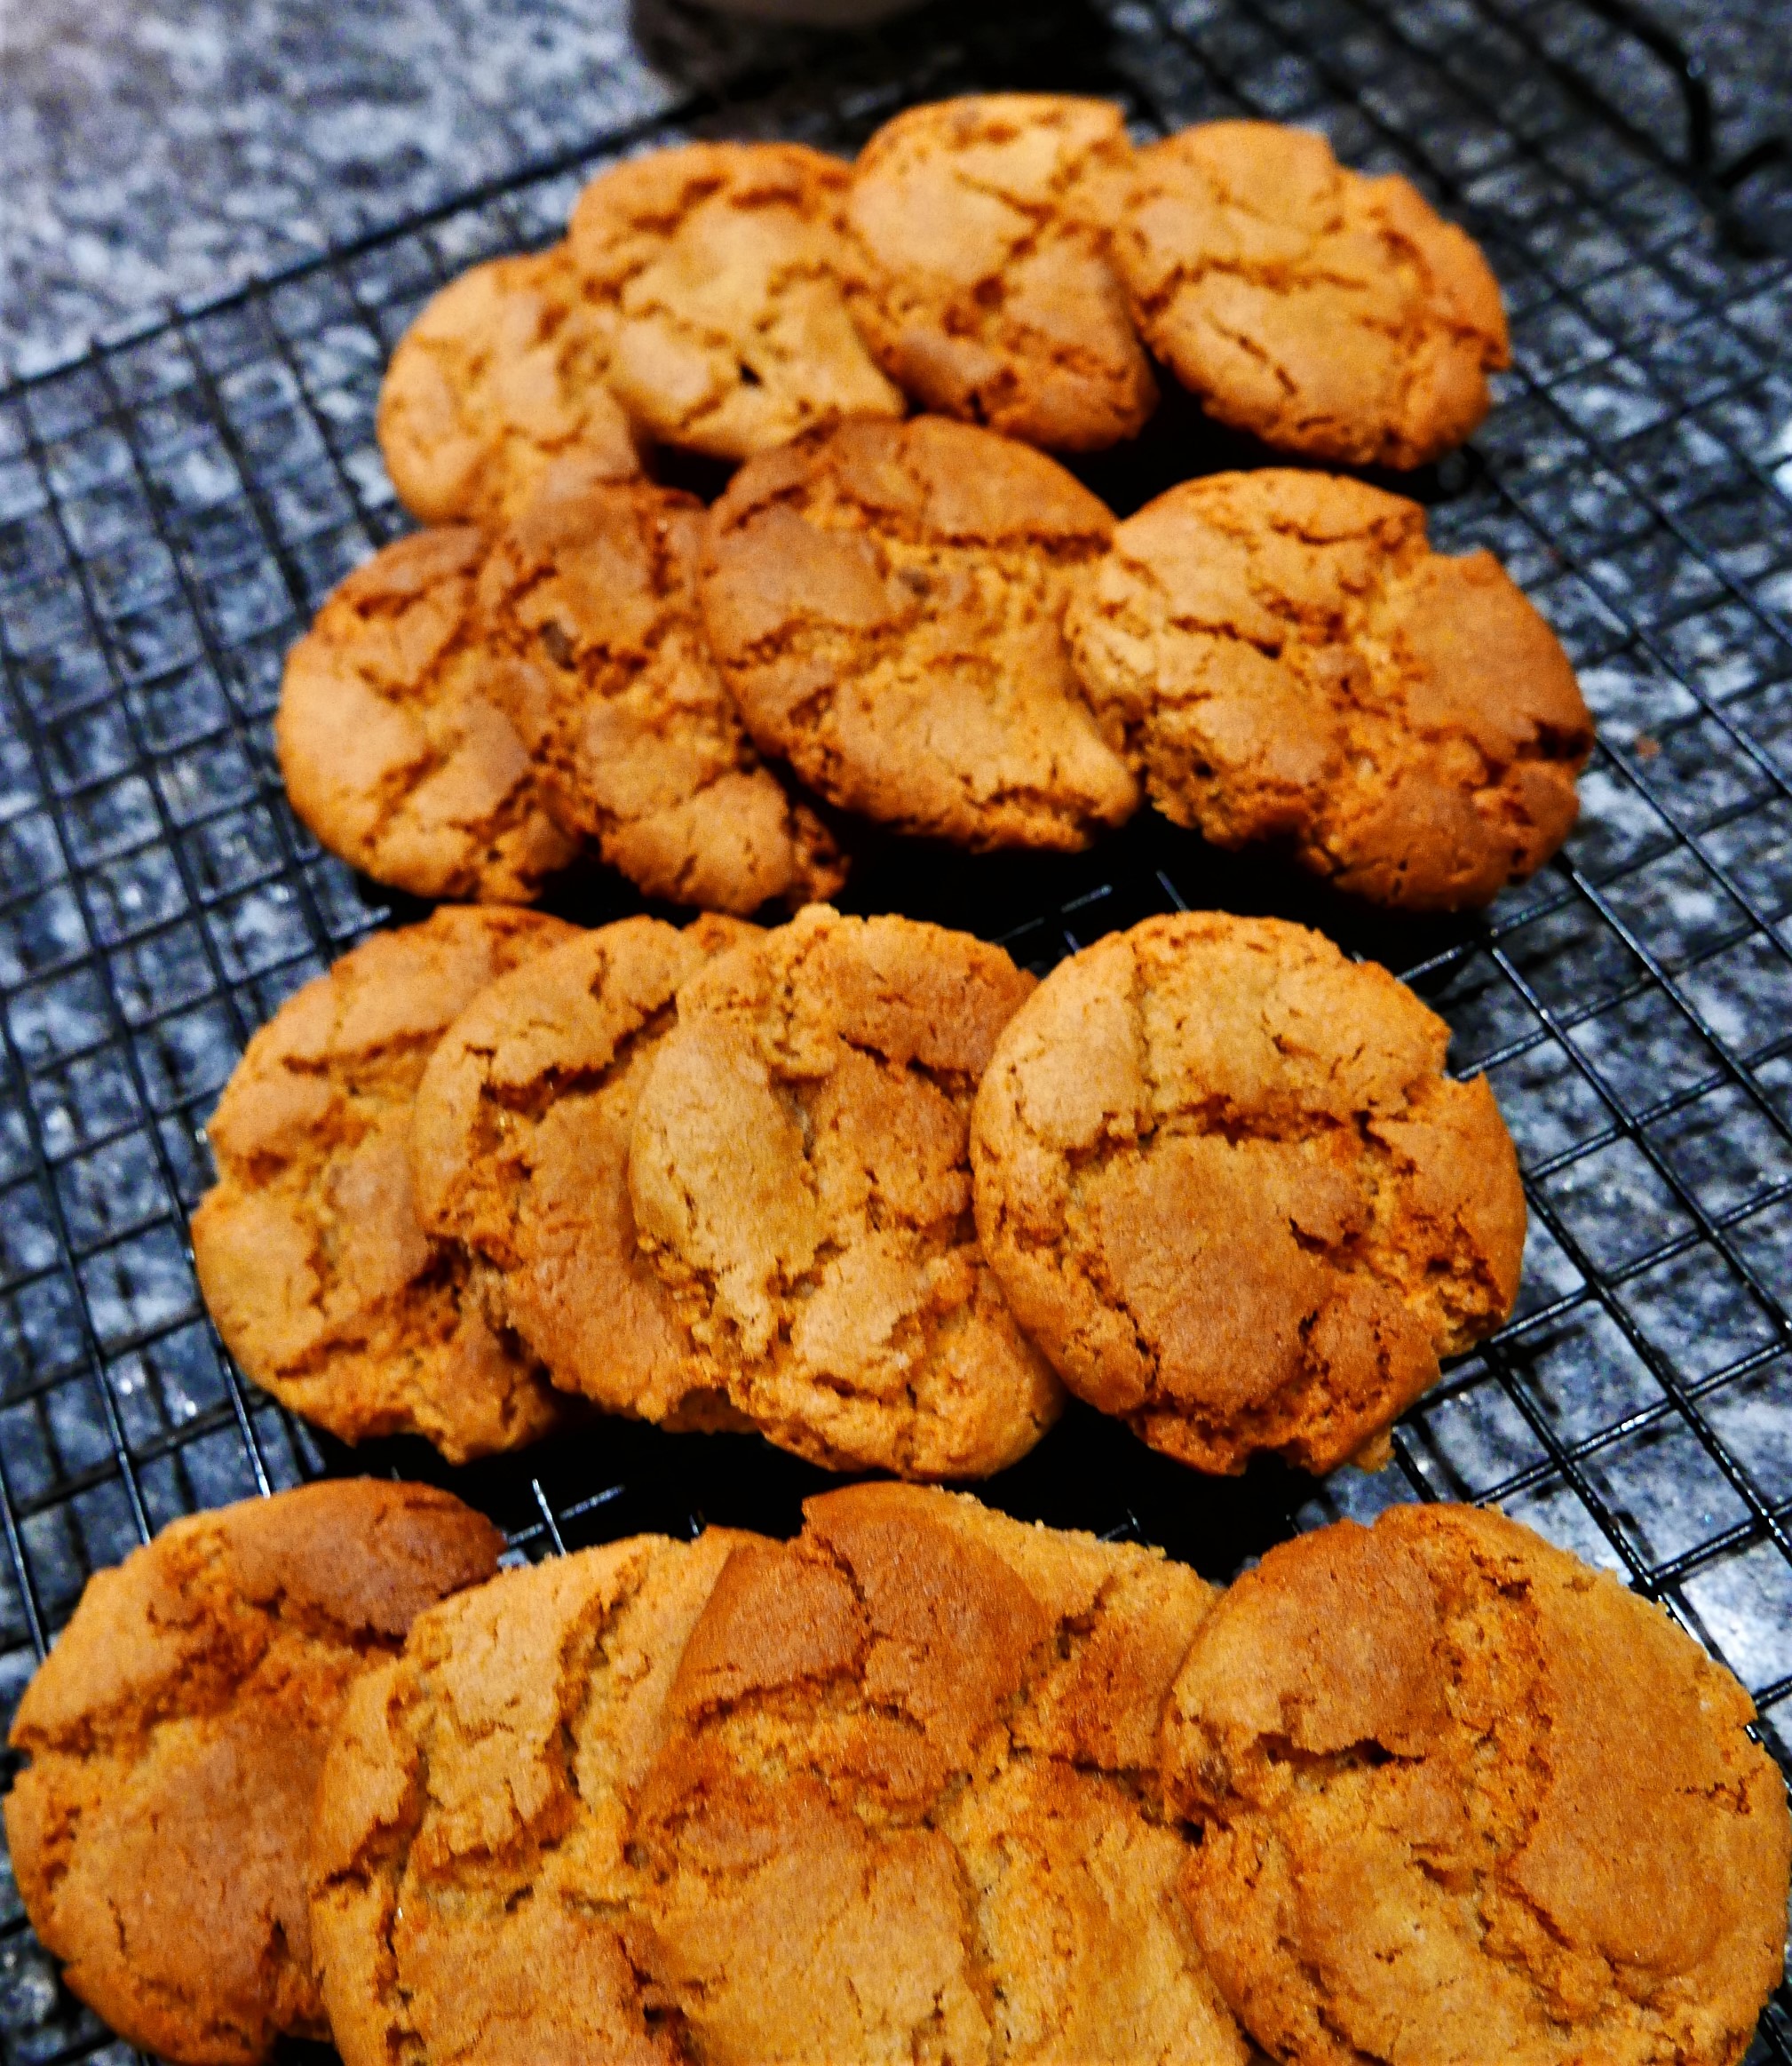
- Let them cool on the tray for 10 minutes then transfer them to a cooking rack to cool completely.
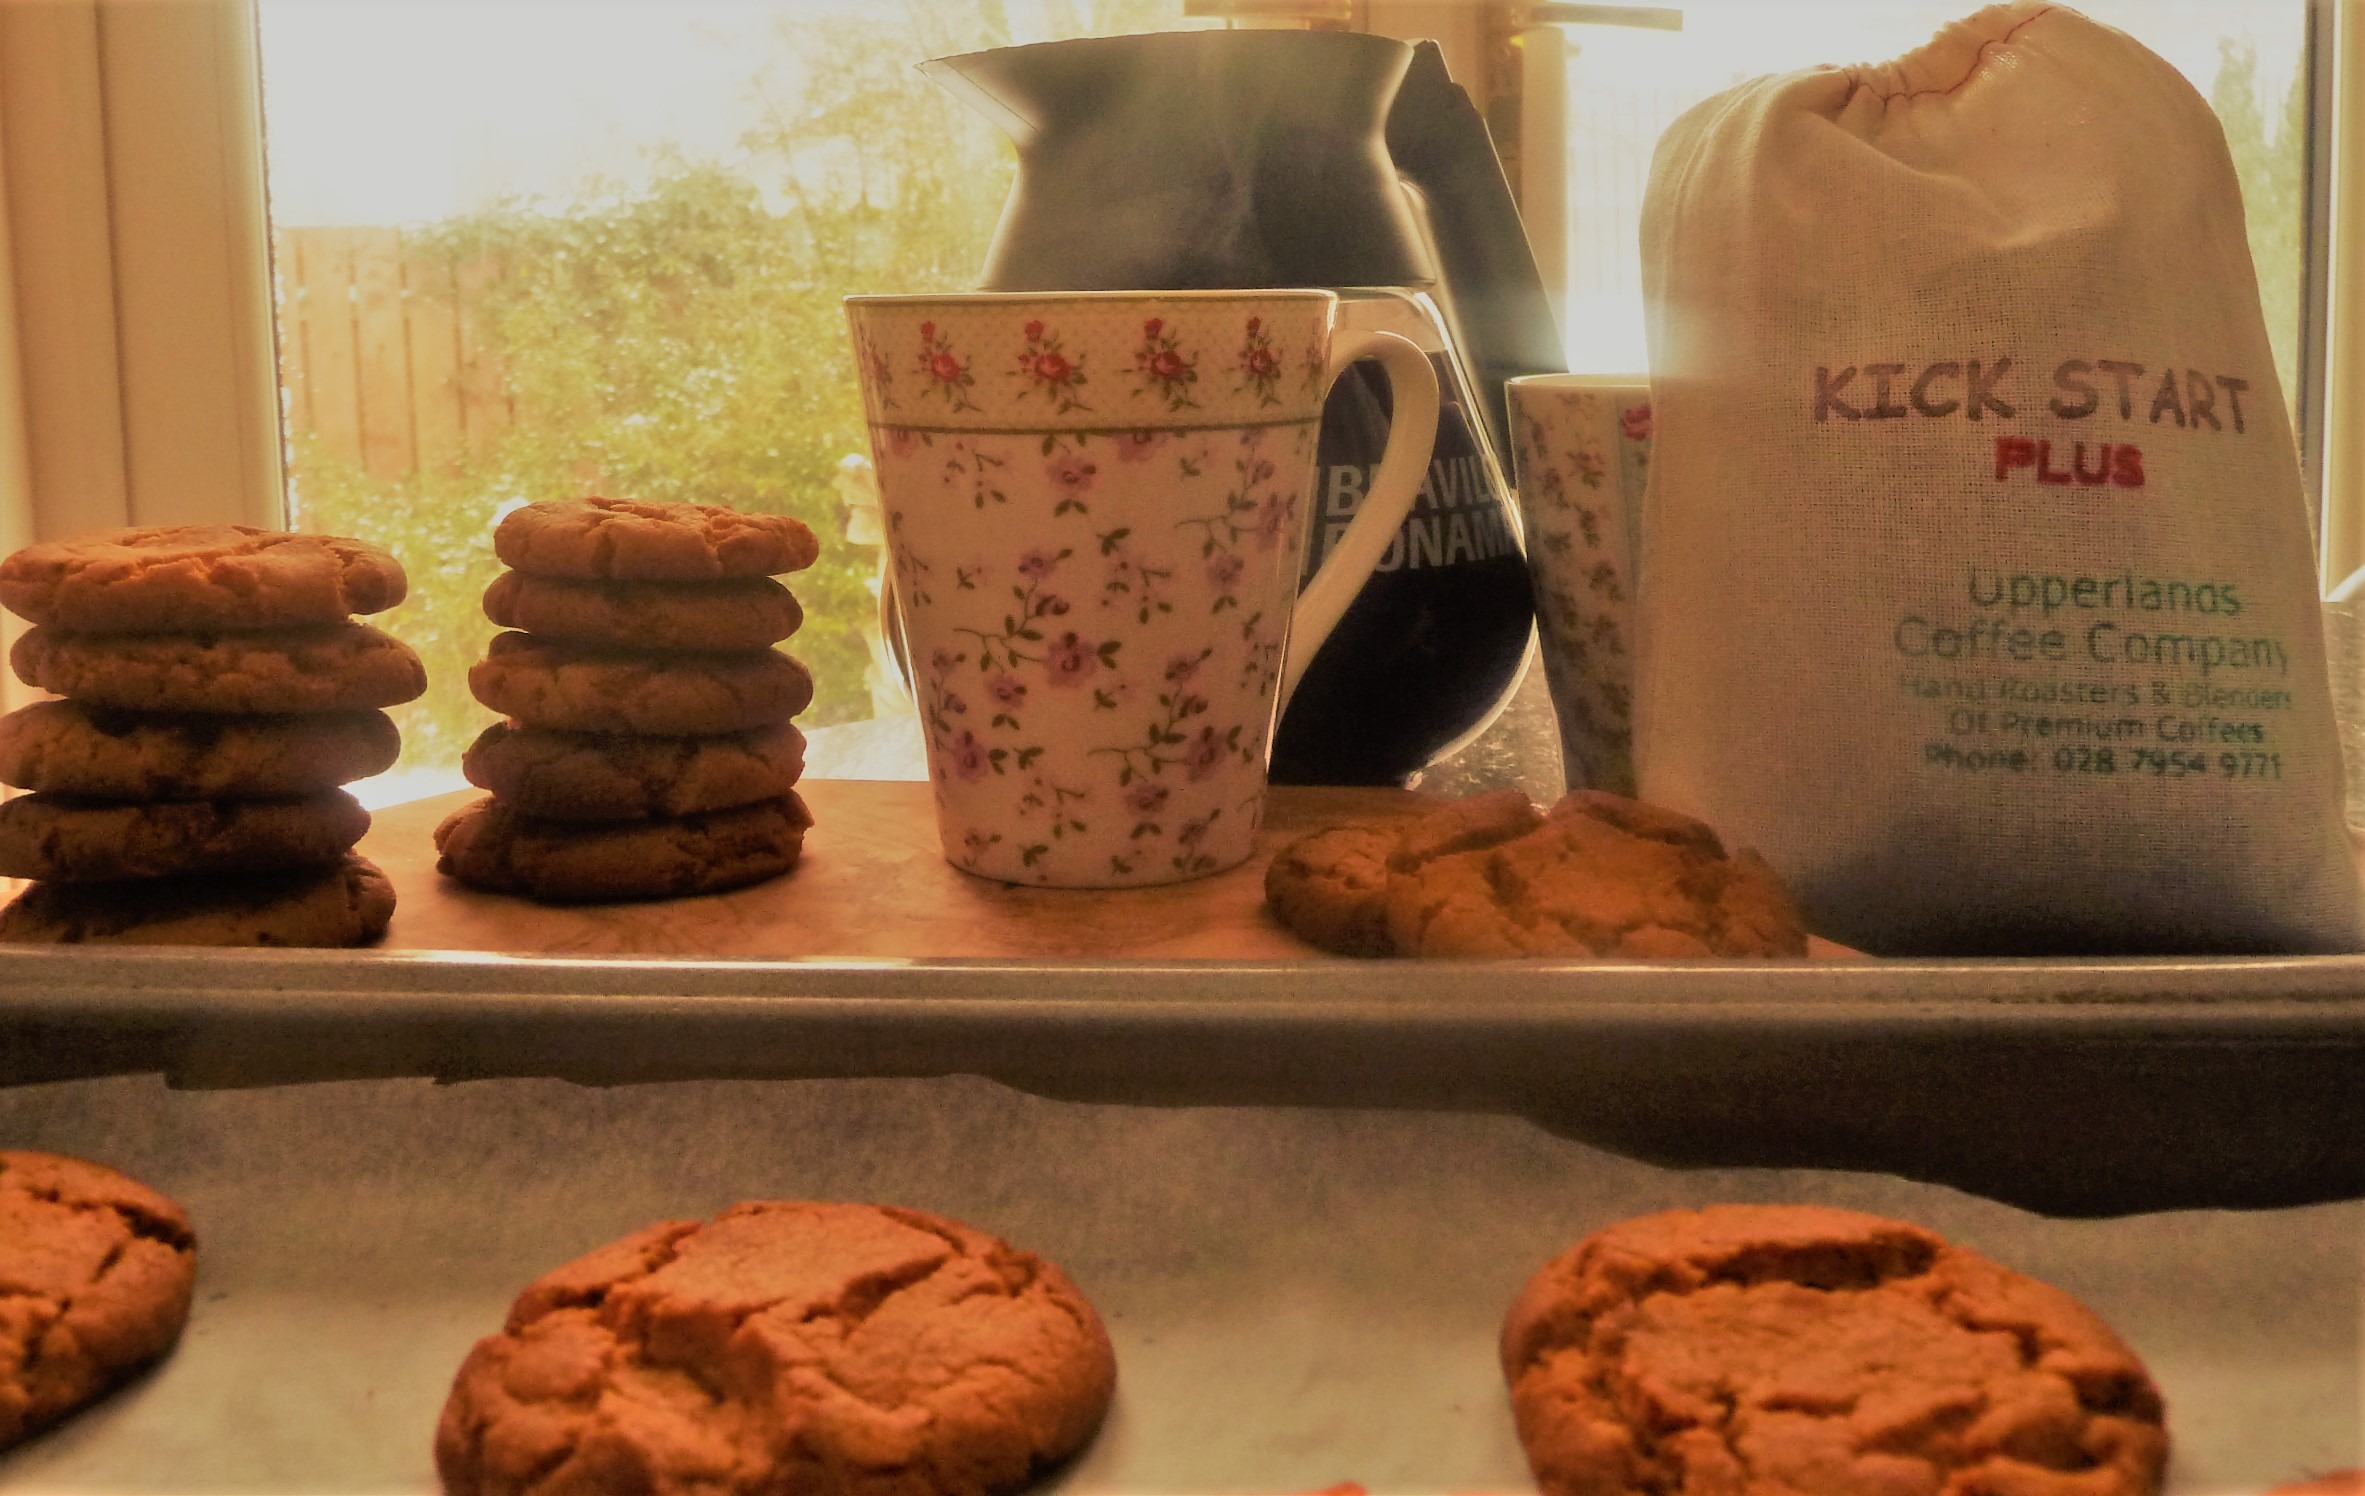
- Then make yourself a well-deserved cup of coffee and have a sneaky dunking session!
NOTES:
- Golden syrup: grease the spoon before using it to measure the syrup, or dip it into a mug of very hot water between measuring. My two tablespoonfuls weighted 45g this afternoon, in case you just want to put it straight in from a squeezy bottle.
- It takes some work to get the dough into one piece, but as it heats up with the action of kneading it together, it becomes easier. Just give it some time.. And don’t be tempted to soften the butter first.
- A friend of mine made some of these during what I’m now fancifully calling ‘The Heatwave of 2018’ – we didn’t know it was going to turn out to be the best summer in 20 years! – and couldn’t understand why her biscuits didn’t rise. After a few texts back-and-forth, we decided that it was mostly due to the weather (not usually a problem in Ireland 😉 ) but also because she’d let the butter come to room temperature. In hot weather, I’d recommend using butter straight out of the fridge, and chilling the dough for 30-40 minutes before using it.
- If you like your biscuits slightly chewy in the middle, try giving them 12 minutes baking instead of 15. Mine were nicely crunchy today.
- Treacle – another favourite flavour of mine. I’m very keen to try this recipe with treacle instead of golden syrup, or maybe even half-and-half. I love that slight bitterness that treacle imparts. I’ll let you know how that turns out
- Once, as a special treat, I dipped some of these biscuits in melted chocolate – because everyone knows that Ginger and Chocolate are simply magical together!

I started writing down recipes in an old copybook when I was about 16. With 6 children at home, my Mother was always glad of a hand in the kitchen, and really allowed us to experiment - as long as we washed up afterwards, and left the kitchen immaculate! Having a tidy kitchen has followed me through my life, as has the habit of writing down my favourite recipes; except that these days I write them for my website, and add photographs when I can. The website really started when it occurred to me that my daughter might like to have these recipes when I've forgotten them. In my early days of cooking for family and friends, I used to phone my Mum all the time to ask her for the recipe for some of our favourite family dinners. She rarely had a recipe to hand - I think, like me, she made a lot of it up as she went along.. So welcome to Eating for Ireland - these are the recipes that my friends and family having been eating these past 40 years.. yes, I truly am ancient! They are tried and tested, and have worked for me for all that time - I have updated them as new ingredients became available - I really hope you'll find something that you can make into a family favourite of your own. You don't have to tell anyone where you found these great new dishes that you're serving up - it can be our little secret, but I'd really love it if you could give me a sneaky 'follow' on Facebook and Instagram.. So off you go - have a good rummage around, you're bound to find something new! My sincere thanks to all of you who have found a recipe that you liked and dropped me a line to tell me - I really do love to hear from you! Happy Cooking! Becks xx