

So here’s a question for you – Why is jam made from oranges called Marmalade?
No idea? Me neither – I’ll just add it to the list of things I don’t know 😉
However, if you follow this recipe, you will be able to turn out your own delicious Marmalade/Orange Jam, and you won’t care about the answer!
Many thanks to all on the Eating for Ireland Facebook community who answered my plaintive cry for help. Mary, Rosie and Hilary – thanks for your input! 
Although this recipe is for Seville orange Marmalade, it works for every marmalade – so use your choice of citrus fruits, just keep to the same quantities, and everything will be yummy!
EQUIPMENT:
- Your largest, heavy bottomed Saucepan
- A smaller saucepan (medium-sized)
- A sieve
- A long-handled wooden spoon, and a pair of oven gloves to protect your hands.
- A slotted spoon, if you have one.
- A jam thermometer – Buy a good one now and you’ll have it for life!
- Some sturdy ceramic saucers (these will go into the fridge to chill, and then get a dollop of hot marmalade mixture put on them, so don’t use your favourite/best)
- A sharp knife
- Jam jars, sterilised (There’s a quick ‘how-to’ in Note 2 below)
- A jam funnel, if you have one – same as for the thermometer – buy once, and thank me forever!!
- A large, sturdy jug (see Note 5)
INGREDIENTS: This will make about 3-4 Kgs (that’s quite a lot of marmalade – see Notes 4), so enough jars to hold that much. An ordinary jam jar holds about 450g, so sterilise a minimum of 10 jars. For everyday family use, I usually fill a large Kilner jar which I can then decant into suitable dishes for the table.
- 1.25Kg of Seville Oranges – or a 1.25Kg mix of citrus fruits – as per the NOTES below, my favourite flavour is now Orange, Pink Grapefruit and Lemon.
- 2.25 Litres cold water
- Later on: 500mls cold water
- 2.75kg Preserving Sugar or granulated sugar
- Juice of 2 large lemons
METHOD:
- First wash and scrub your oranges. Remove the little disc at the top of each one.
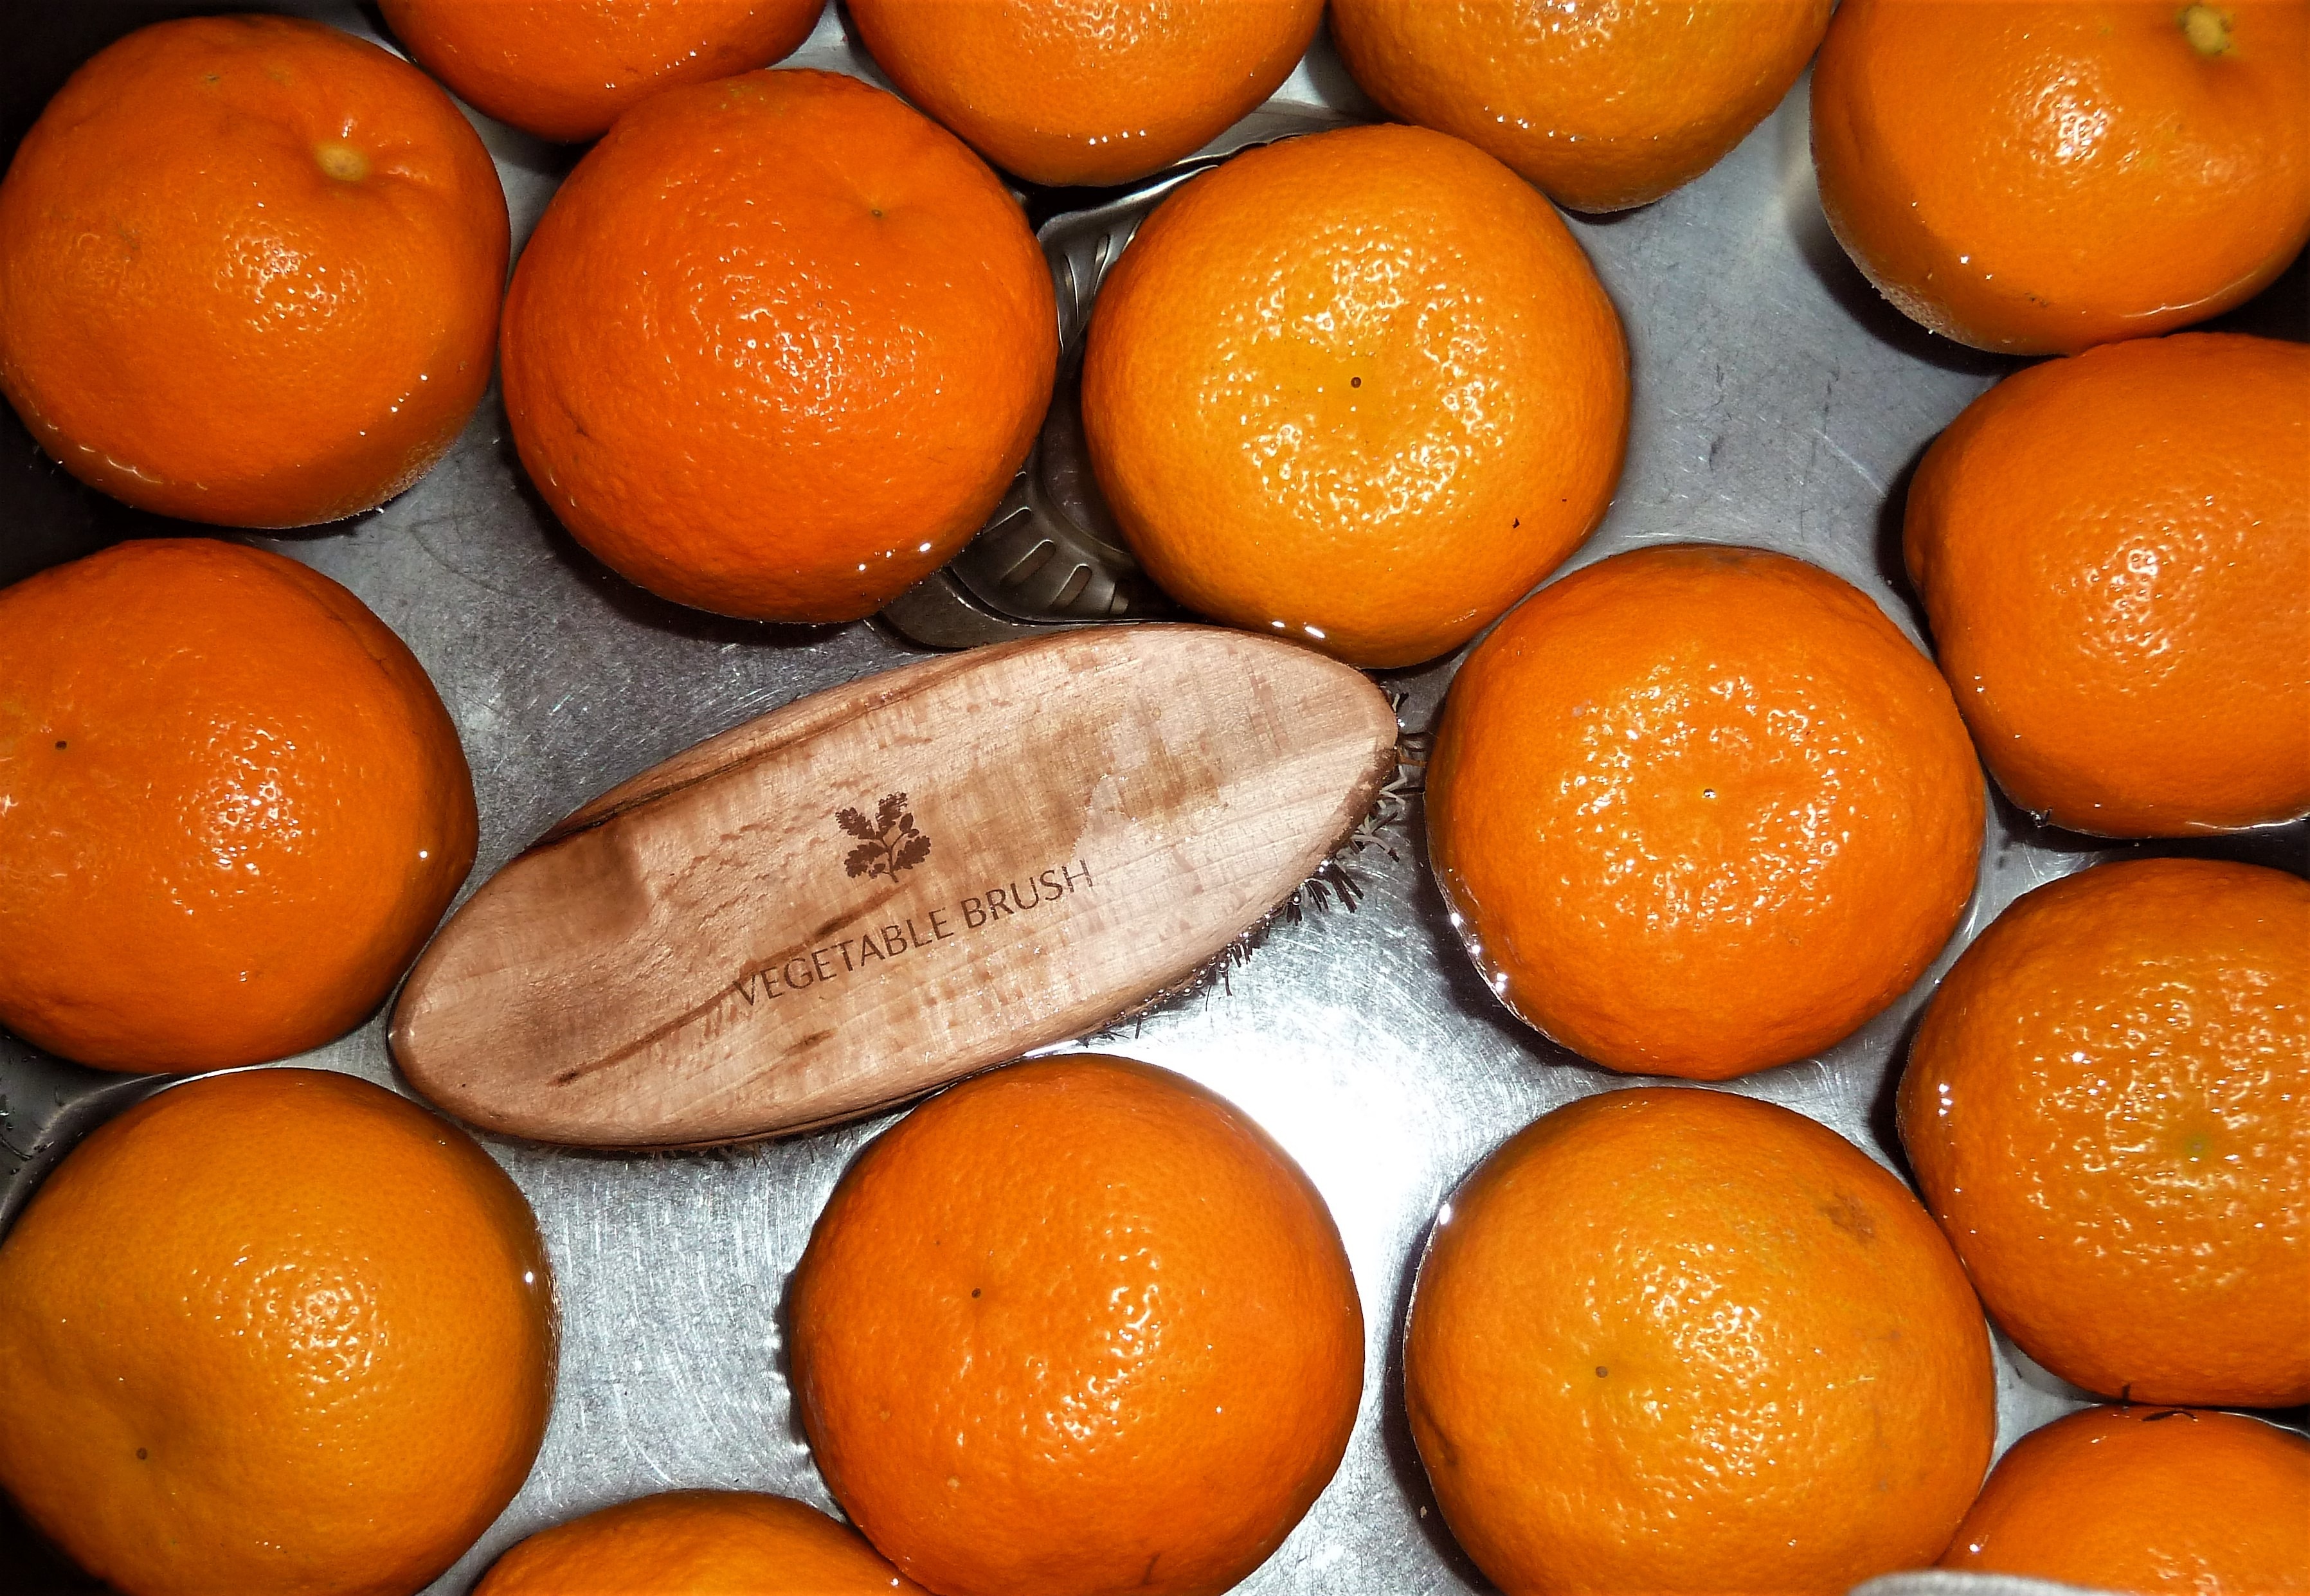
- Put them into the saucepan
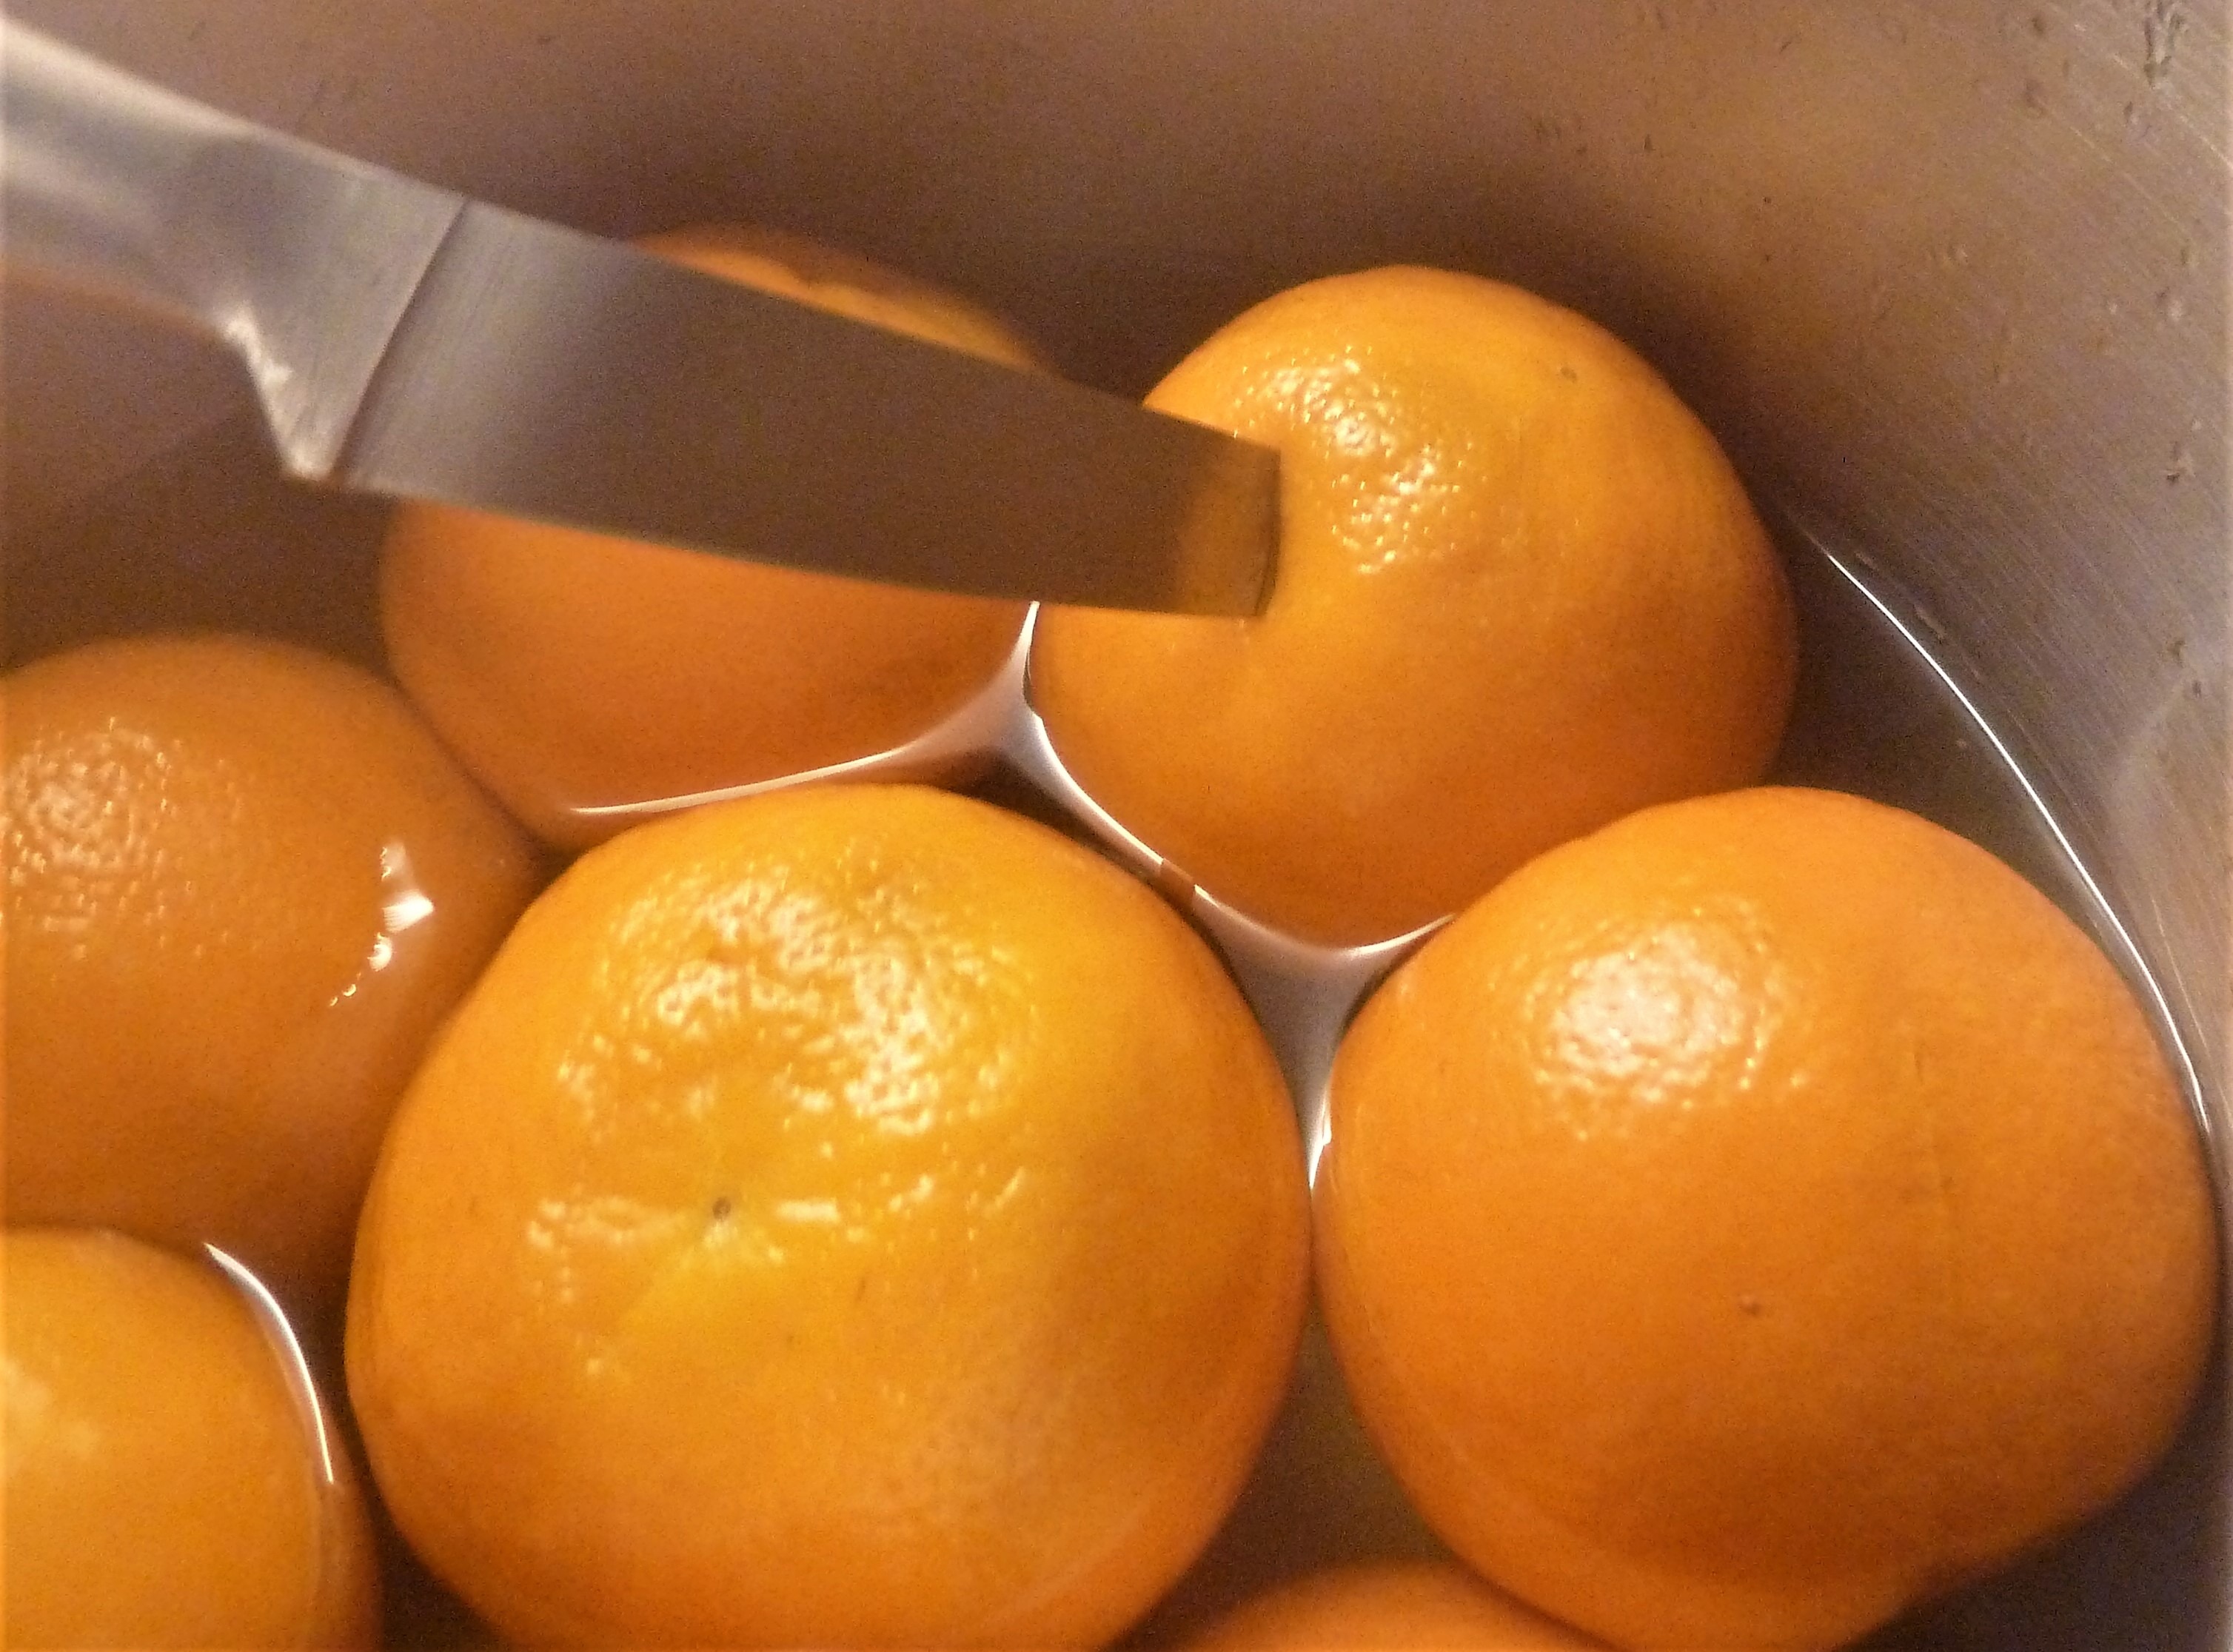
- Add 2.25litres / 4 pints of water then bring to the boil, reduce the heat to a simmer and cook gently for about 90mins, or until the oranges are quite soft (test with the knife) see Notes 1
- When they’re done, take the pot off the heat and remove each orange with a slotted spoon. Put them into a bowl to cool a little.
- *Keep the water!*
- Put 2-3 saucers into the fridge to chill.
- Put the washed jam pots into the oven and put on a low heat.
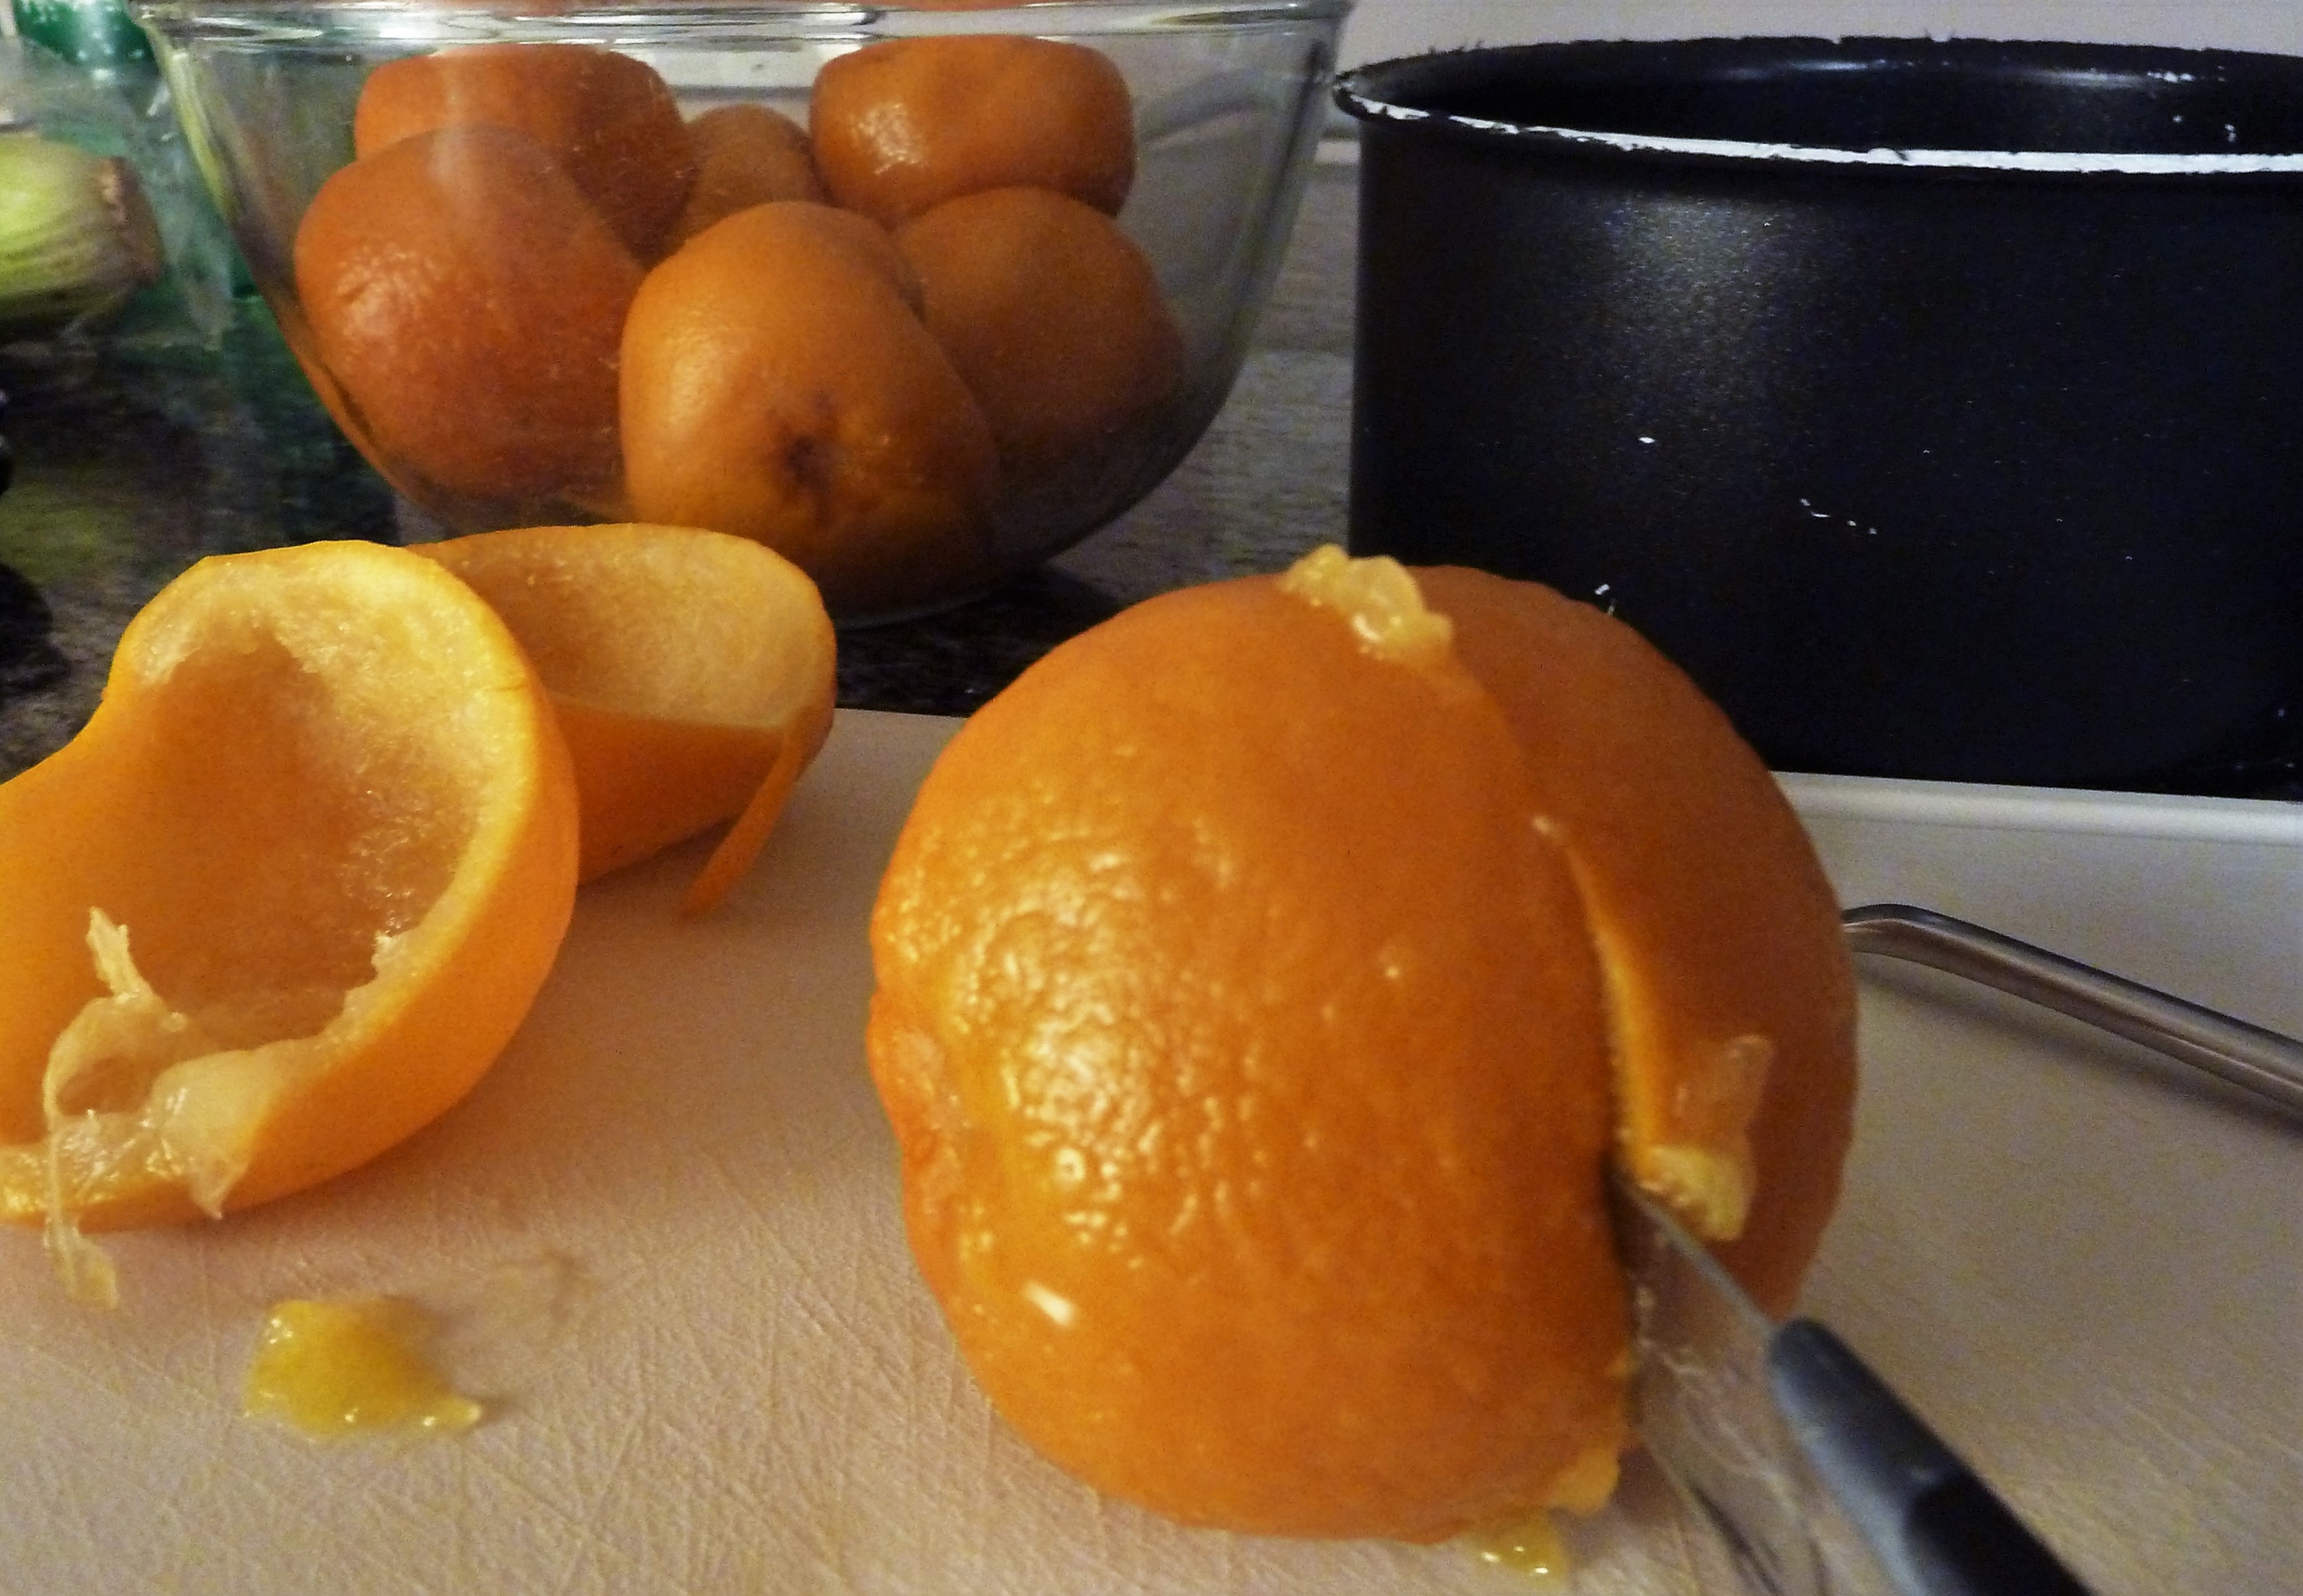
- When the oranges are cool enough to handle, cut them in half, and using a teaspoon, remove all the pith, fruit and seeds, and put it into the medium saucepan.

Scrap the pith and seeds into the medium saucepan
- Add 500mls of water to the pith and seeds, bring to the boil and then simmer for 10 minutes or so – this extracts the last of the pectin to help set the marmalade.
- Strain it into a jug or bowl – give it a good push with the back of the wooden spoon to get all the pectin out. Then add the result to the water in the large saucepan. Discard the leftovers in the sieve.
- Now you have to cut the peel into whatever thickness you like – some love chunky pieces; I prefer it slightly finer, but you decide what you like.. People generally consider this to be the most tedious part of making Marmalade, and I know of a lady who just shoves hers into the food processor (not the worst idea I’ve ever heard), but I just sit at the kitchen table with the radio on, and it’s all done in no time!
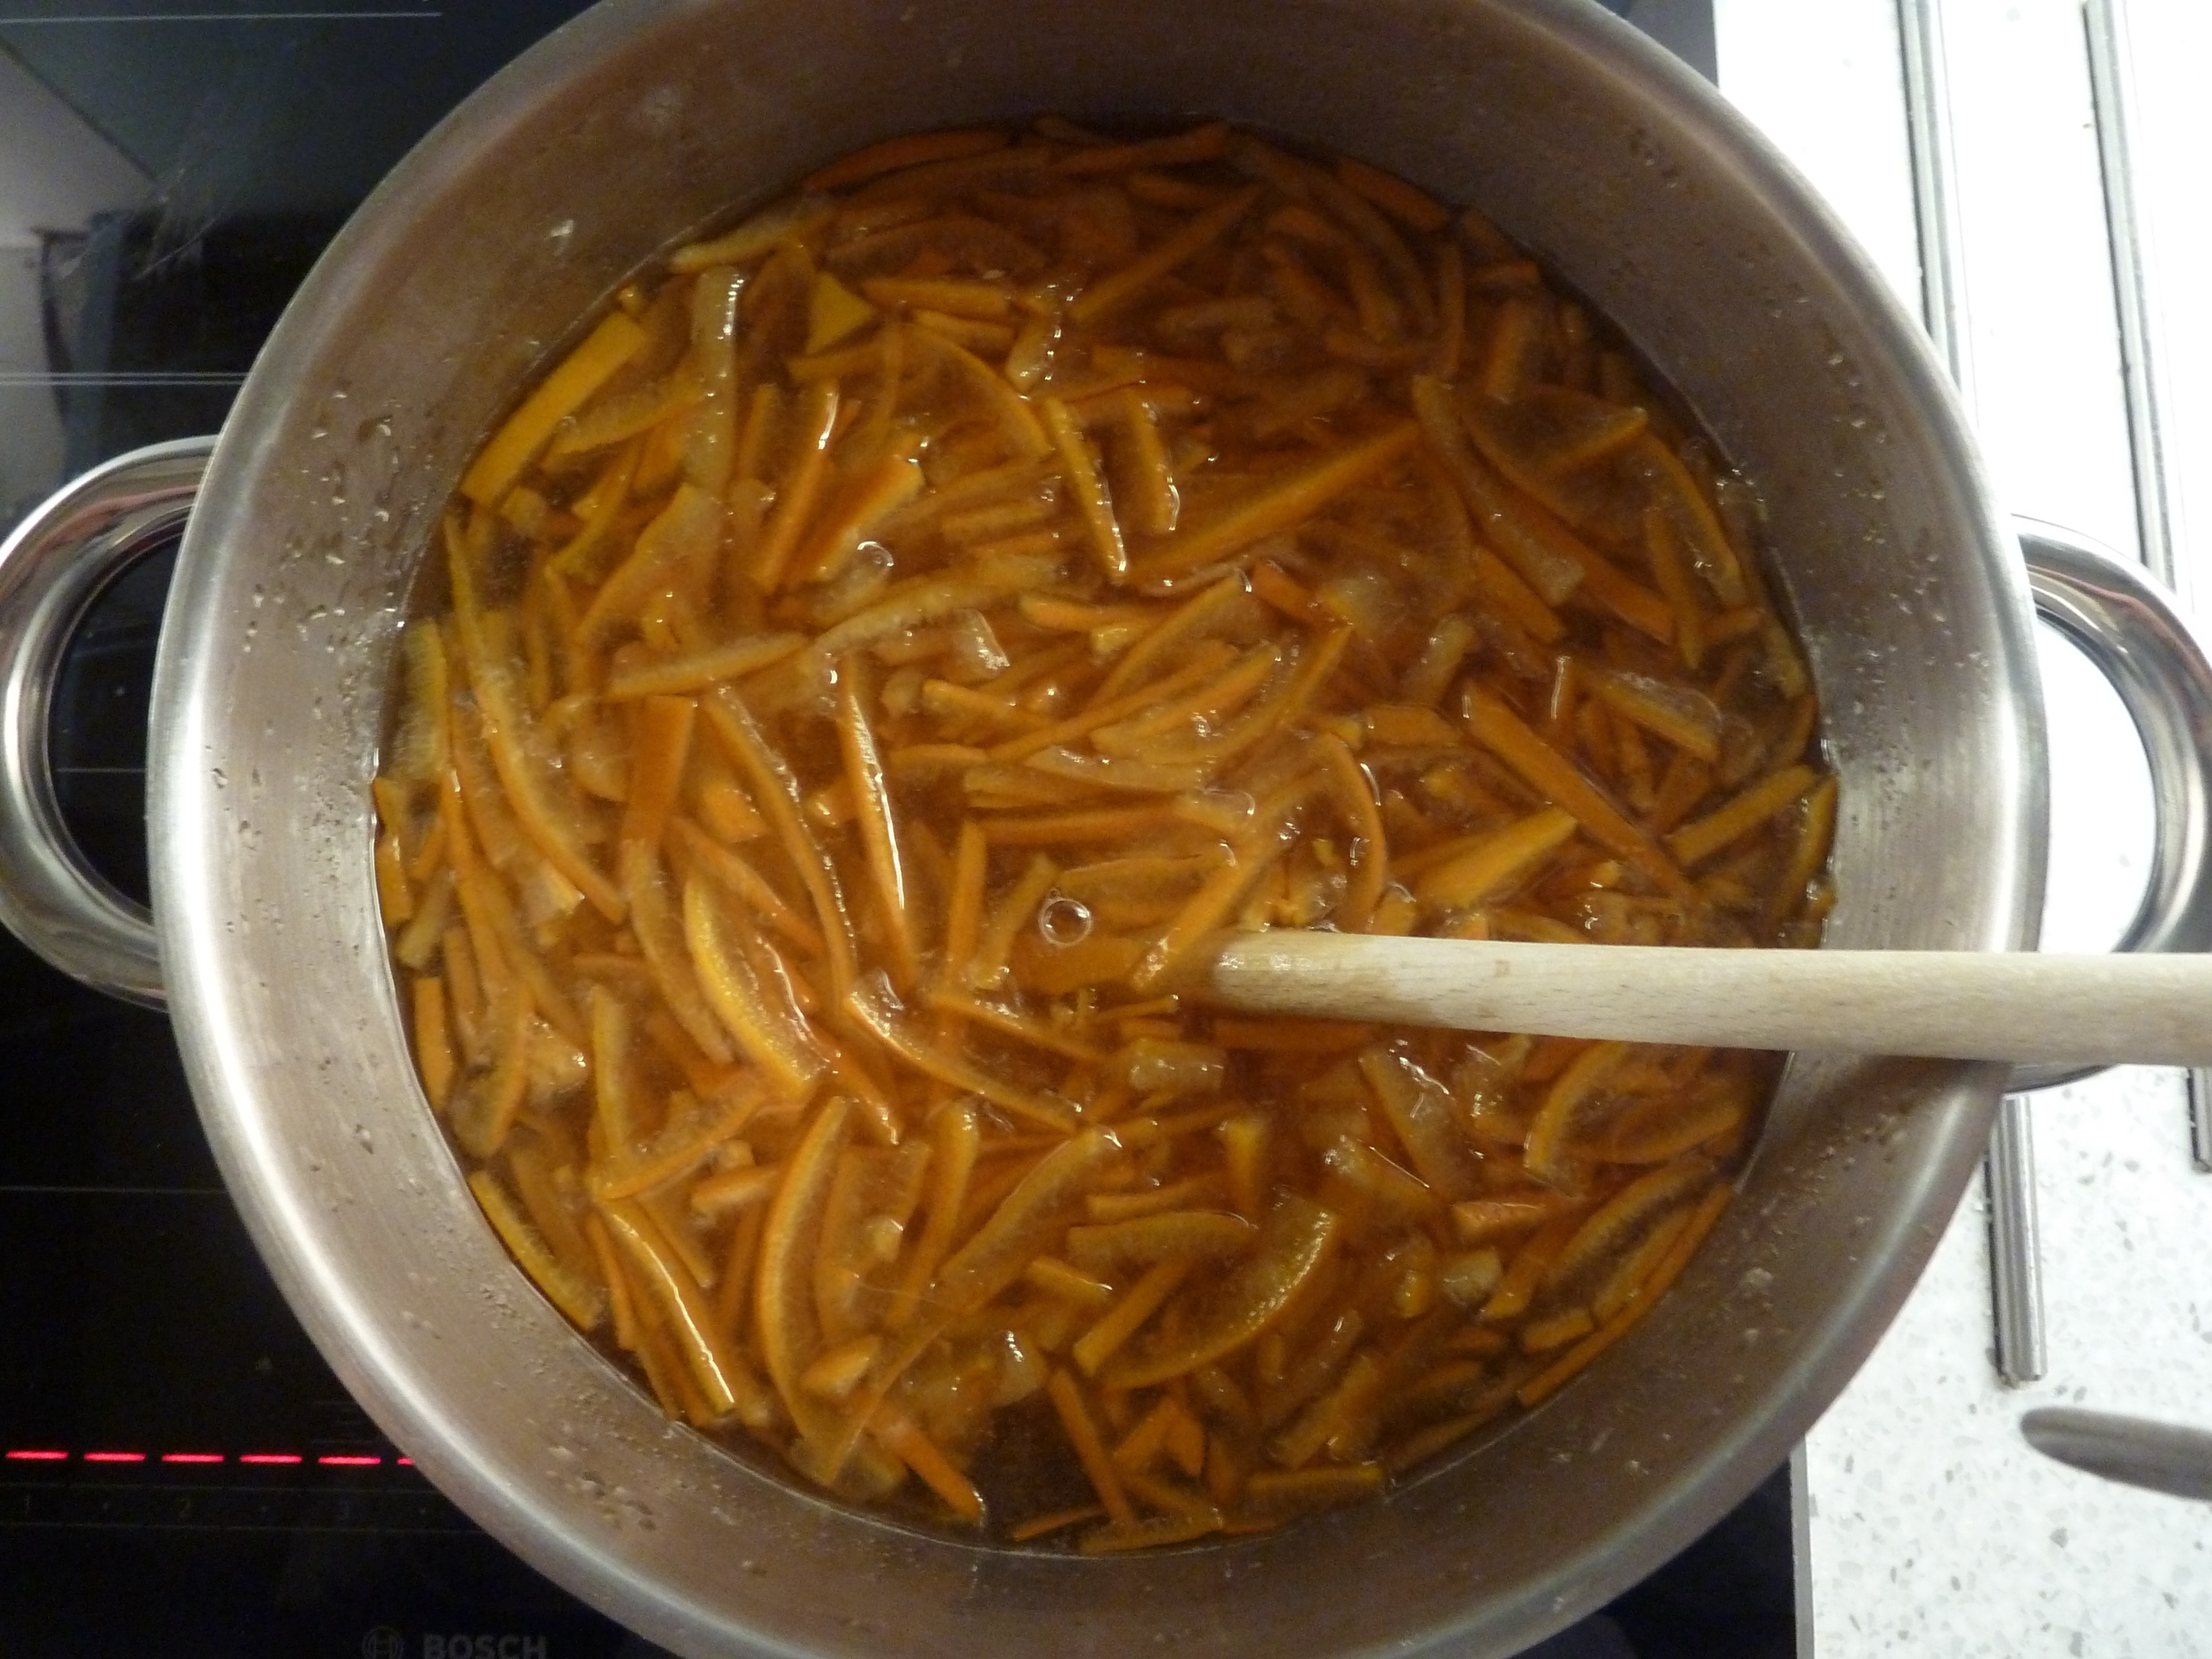
- Put all your cut-up peel into the large saucepan with the original water in it.
- Add the juice of the two lemons
- Add the sugar

- Heat the contents of the pot fairly gently, stirring regularly, until all the sugar is dissolved (check the back of the wooden spoon for any grains)
- Now increase the heat until it comes up to the boil, then turn it down enough for it to boil fast, but not boil over. Today, I went from a setting of 9 down to 7 on my induction hob, which gave a lovely rolling boil.
- Stir occasionally, protecting your hands from any splatters. This is boiling sugar, remember, so it’s dangerous!

- Put 20 minutes on a timer and start to check it for a set when the time’s up. It took me 35 minutes to get a set today. And even then, my Marmalade is still quite runny. Next time I’ll definitely boil it for longer, but as perhaps you know, patience is not one of my virtues..
- Jam Thermometer: If you’re using the jam thermometer, boil the marmalade for the 20 minutes, and then take its temperature. When it reaches 220degrees F, this is generally agreed to be the correct temperature at which the marmalade gels. If you use the thermometer, you don’t have to do the ‘checking for a set’ below – although I have to admit that I do the checking anyway – you can just go straight to ‘Potting up’..
Checking for a set:
- Remove the pot from the heat. (don’t worry, you can just put it back onto the heat if it’s not set – it won’t do it any harm)
- drop a small spoonful onto one of your chilled saucers
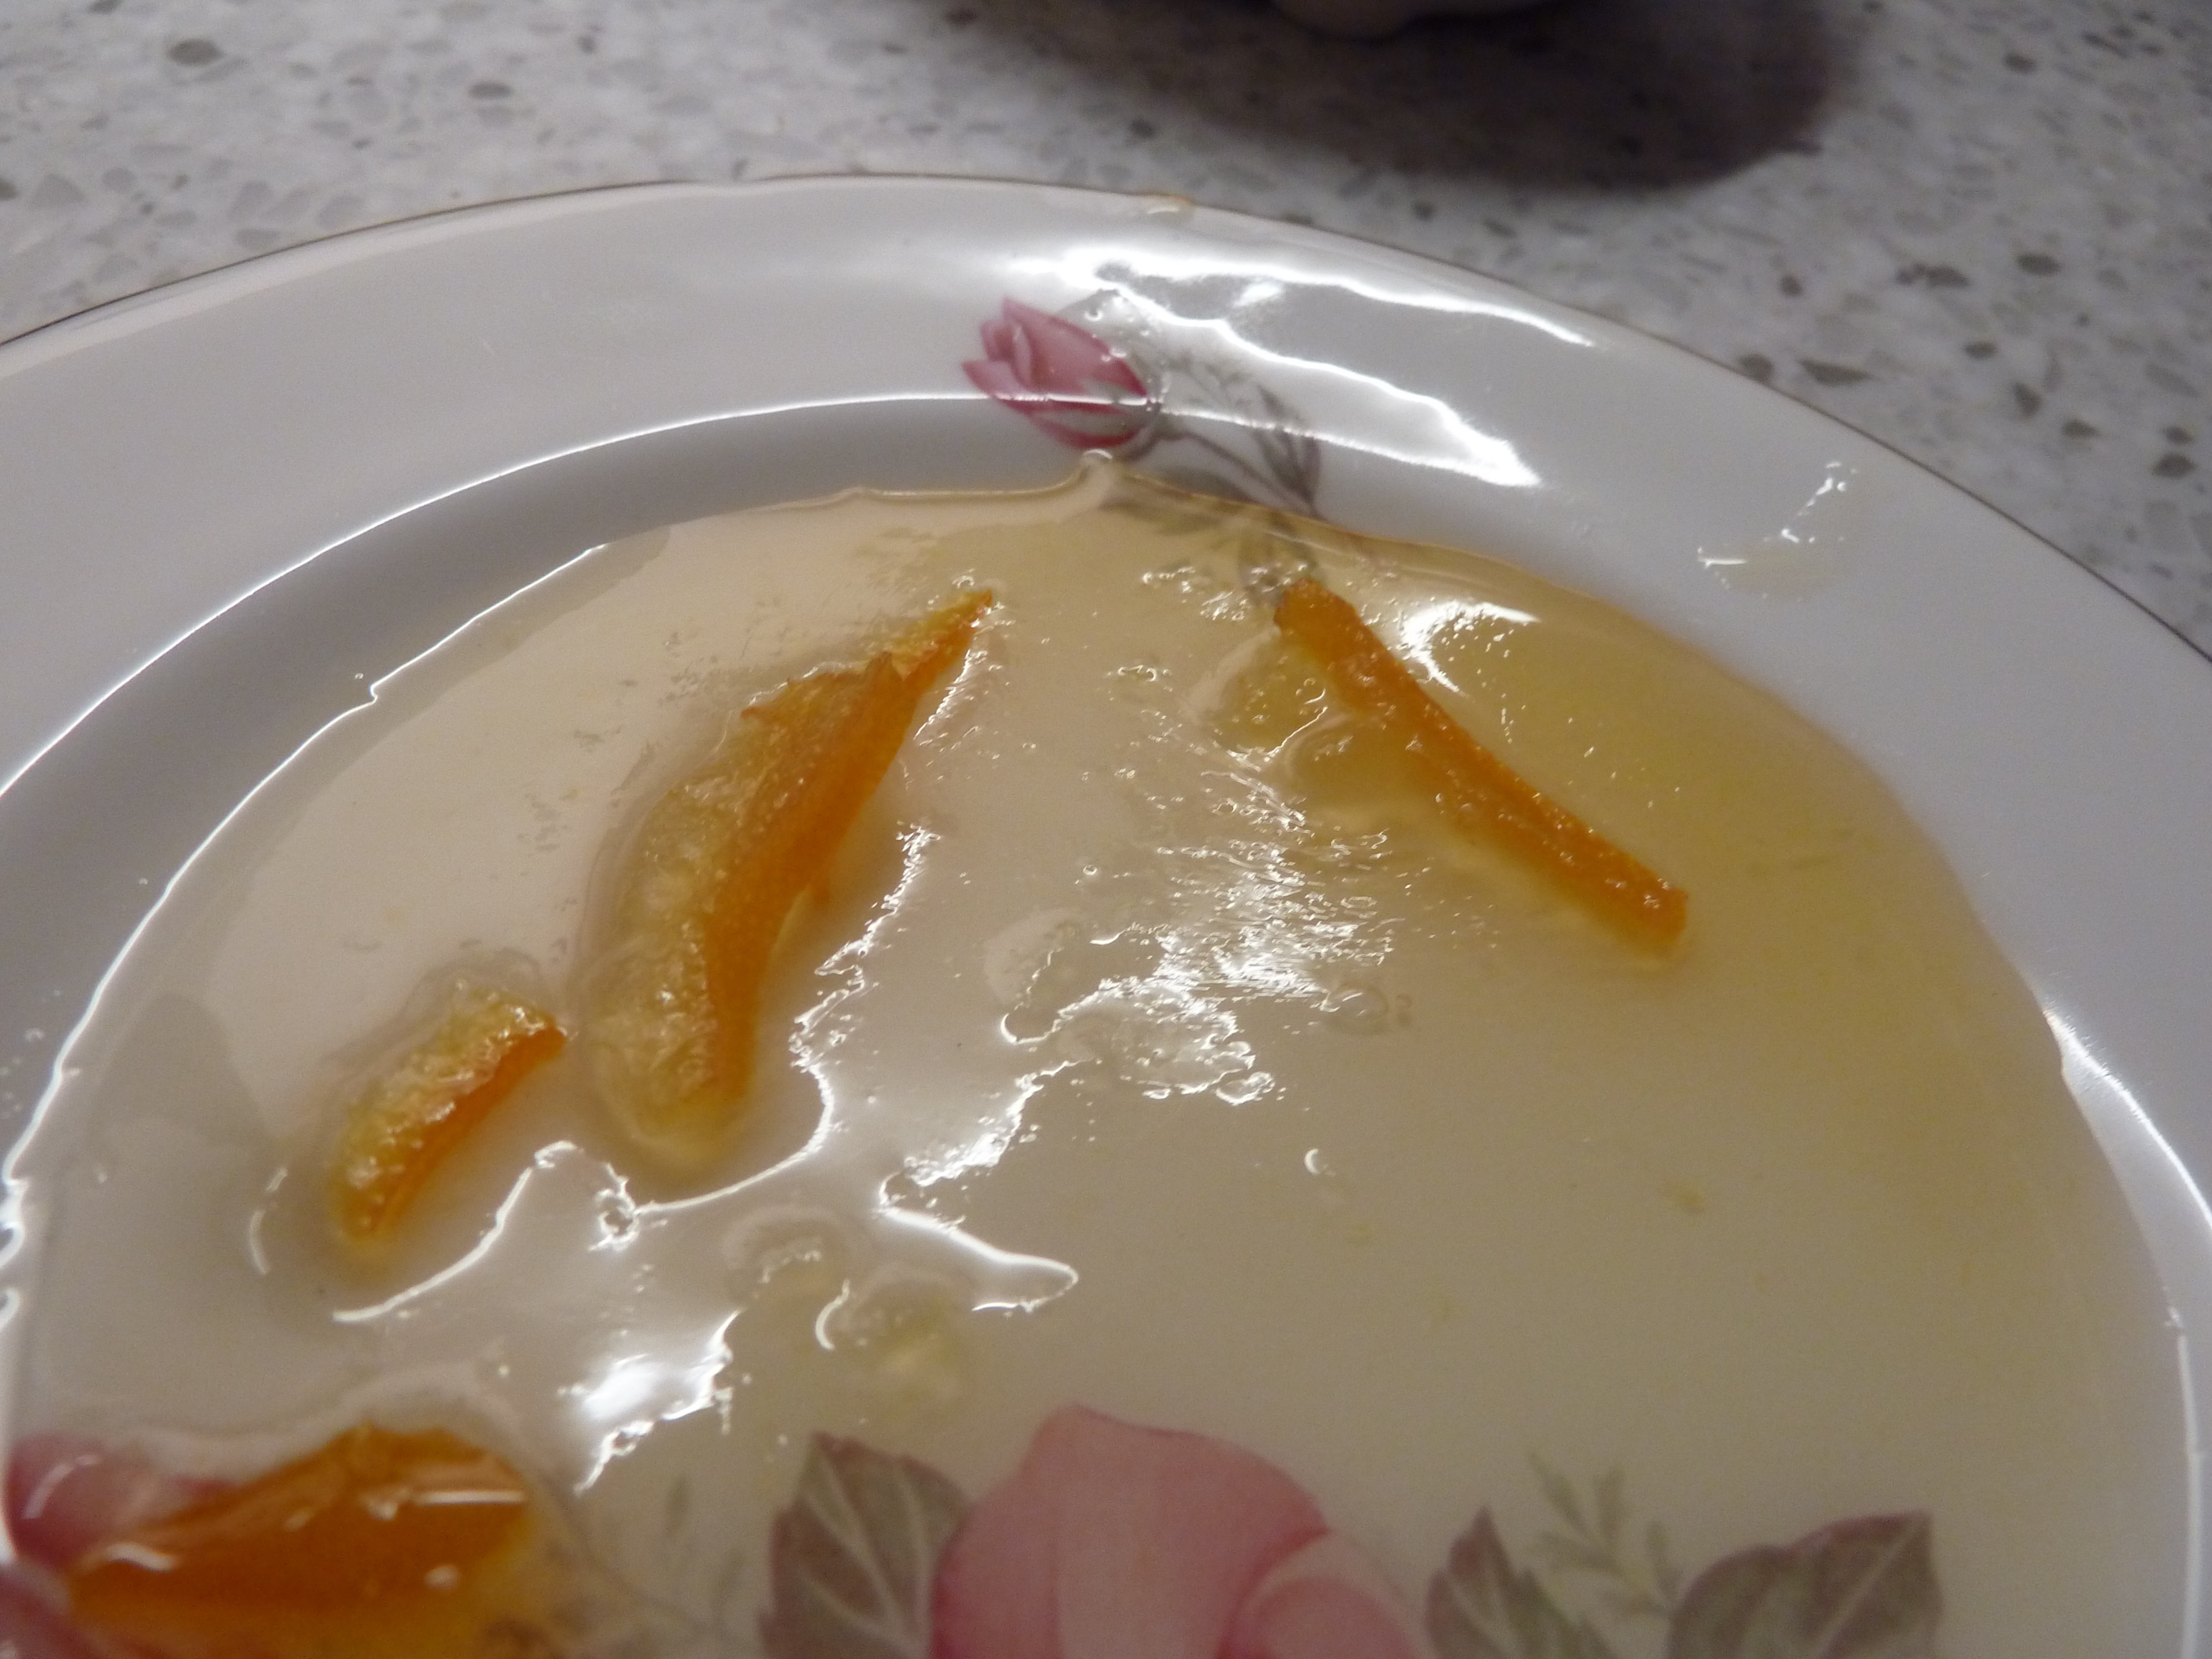
It needs to be much firmer than this pic..
- Let it sit for 2-3 mins – if a skin forms, and wrinkles when you push it with the tip of your finger, it’s ready; if not, put the pot back on the hob and give it 5 minutes more before testing again.
- Keep testing until you get the wrinkly skin forming.
Potting up –
- Remove the saucepan from the heat.
- Give it a good stir, then leave it for at least 20 minutes – this will ensure that the rind is well distributed through the marmalade.
- Remove your jam jars from the oven (see NOTES below), put them onto a tray
- Using a ladle, and a jam funnel fill each jar (see notes 5) May I advise buying a jam funnel now, and use it forever? They really are the business..
- Put a waxed paper disc on top, but allow it to cool completely before sealing.
NOTES:
- It’s really easy to decide when the oranges were done – the knife just slides in when they’re ready.
- How to sterilise jam jars: wash them well in warm soapy water (or put them through the dishwasher).Rinse, then put them, and their lids into an oven at 100 degrees for 15 minutes or so.
- It took me a good 35 minutes to get a set, but I think that’s because I was using a high-sided pot – the old fashioned ‘preserving pan’ has a much bigger surface area, so will jell much more quickly
- This recipe makes 3-4 Kgs – I didn’t quite realise how much that was. I suppose that in the old days, this was a Marmalade recipe to do a household for a year. I’ve already given away two pots!
- If you have a large, sturdy, heat-proof jug with a good pouring spout, then transferring the Marmalade into that, and then filling the jars via the jam funnel is the best and tidiest way of doing a very messy job!
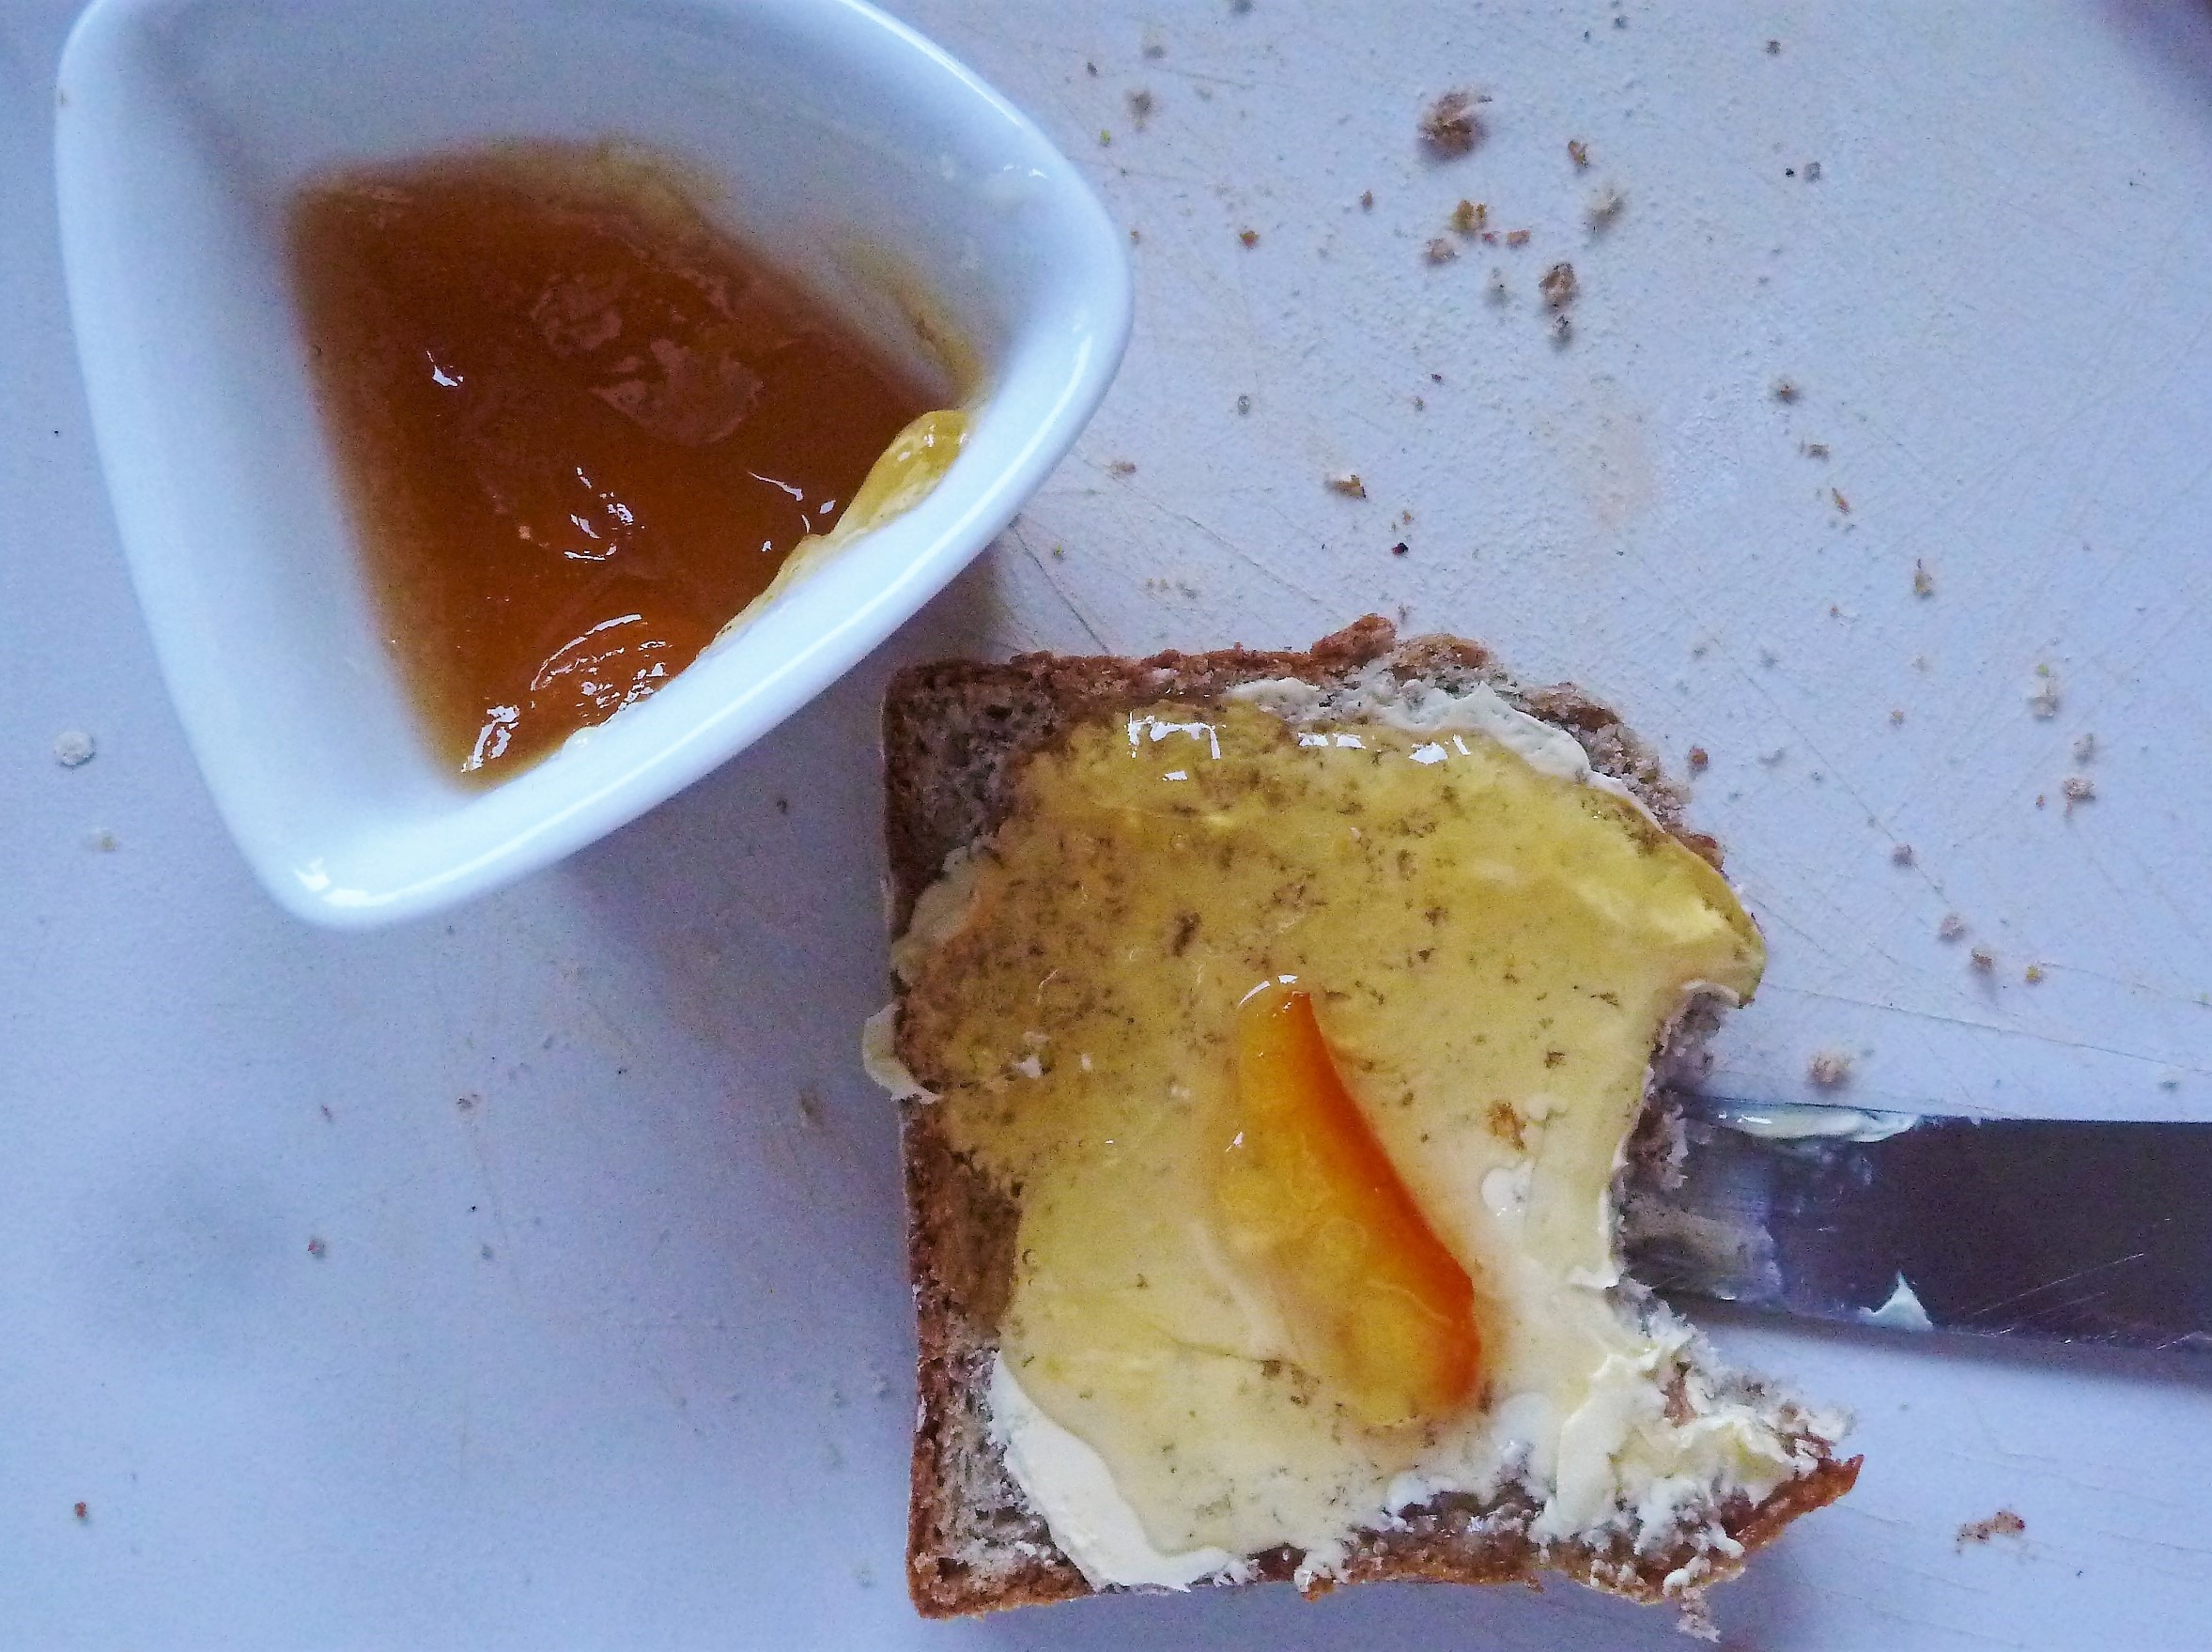
- I’ve just had a slice of Wheaten bread with butter and Marmalade – one of my childhood favourites – and although it is a little runny, it tastes delicious!
7. A year after writing this recipe, I found a load of citrus fruit in my fruit bowl, and made Blood Orange, Pink Grapefruit and Sorrento lemon Marmalade – which is now my new favourite marmalade!
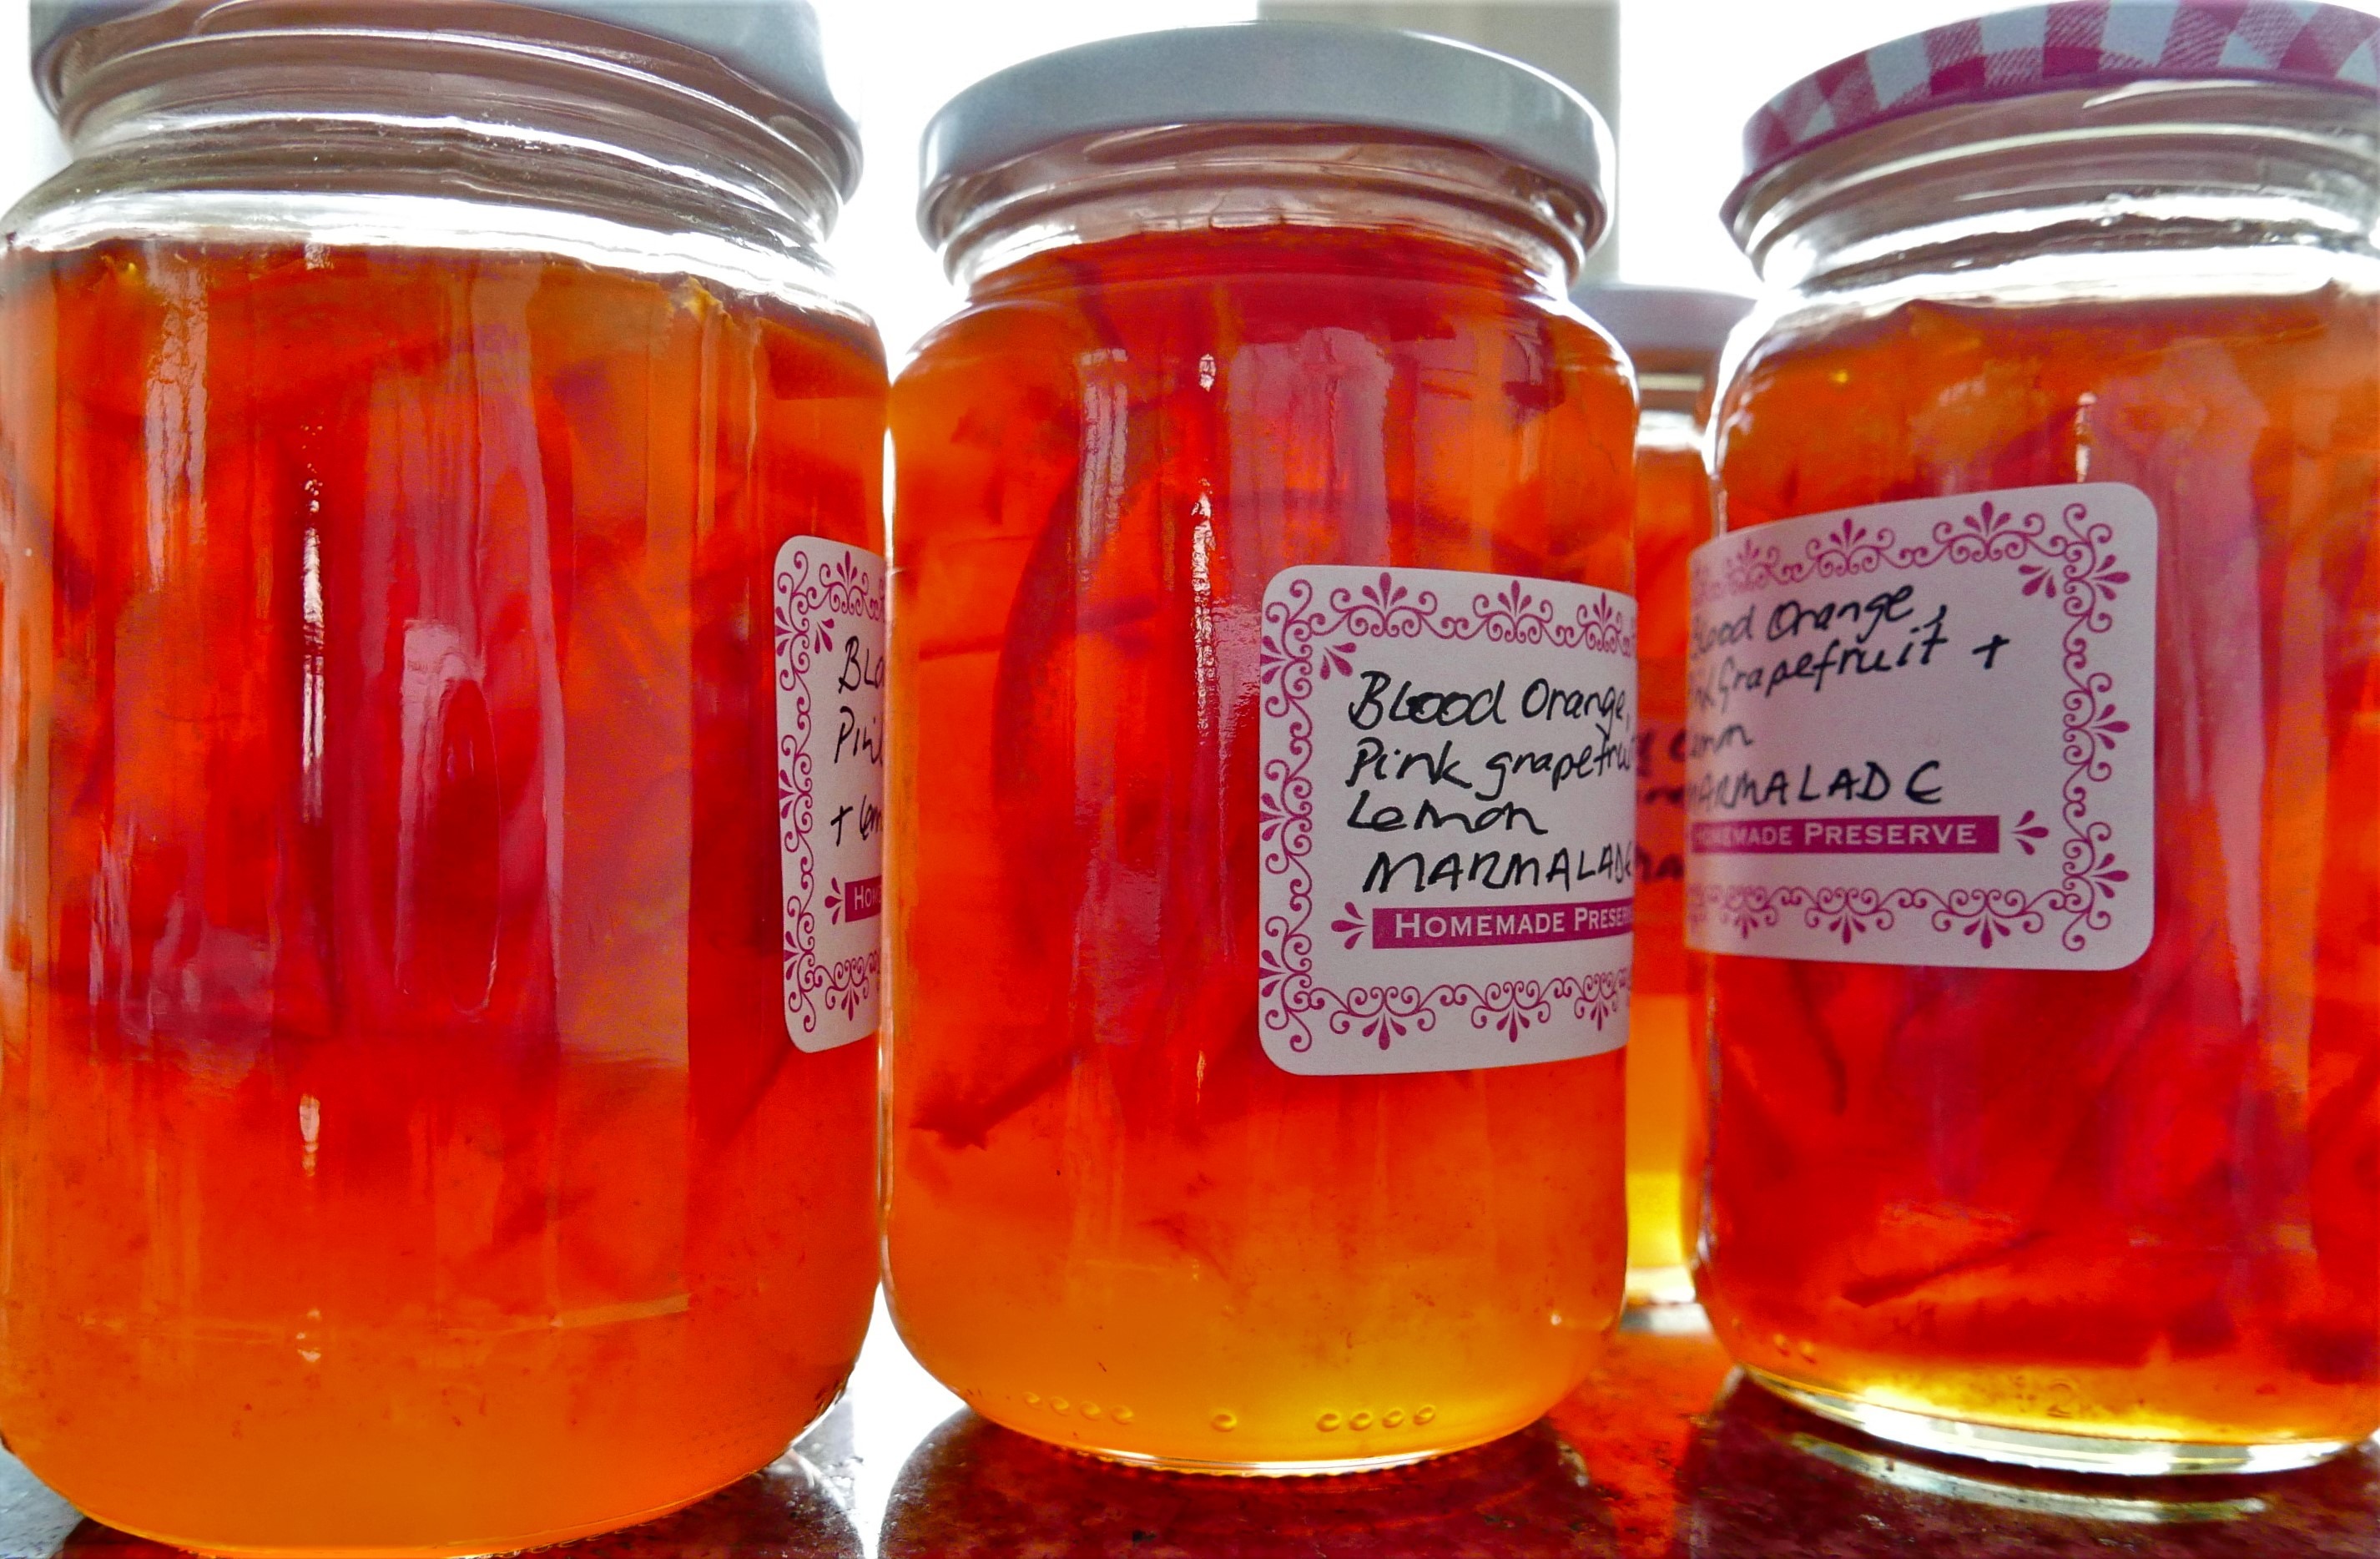
- Last year I ran out of Marmalade in mid-summer – not the best time to be looking for Seville oranges! – so I used ordinary Oranges, a Pink grapefruit and Lemons, and it was delicious!
I started writing down recipes in an old copybook when I was about 16. With 6 children at home, my Mother was always glad of a hand in the kitchen, and really allowed us to experiment - as long as we washed up afterwards, and left the kitchen immaculate! Having a tidy kitchen has followed me through my life, as has the habit of writing down my favourite recipes; except that these days I write them for my website, and add photographs when I can. The website really started when it occurred to me that my daughter might like to have these recipes when I've forgotten them. In my early days of cooking for family and friends, I used to phone my Mum all the time to ask her for the recipe for some of our favourite family dinners. She rarely had a recipe to hand - I think, like me, she made a lot of it up as she went along.. So welcome to Eating for Ireland - these are the recipes that my friends and family having been eating these past 40 years.. yes, I truly am ancient! They are tried and tested, and have worked for me for all that time - I have updated them as new ingredients became available - I really hope you'll find something that you can make into a family favourite of your own. You don't have to tell anyone where you found these great new dishes that you're serving up - it can be our little secret, but I'd really love it if you could give me a sneaky 'follow' on Facebook and Instagram.. So off you go - have a good rummage around, you're bound to find something new! My sincere thanks to all of you who have found a recipe that you liked and dropped me a line to tell me - I really do love to hear from you! Happy Cooking! Becks xx