
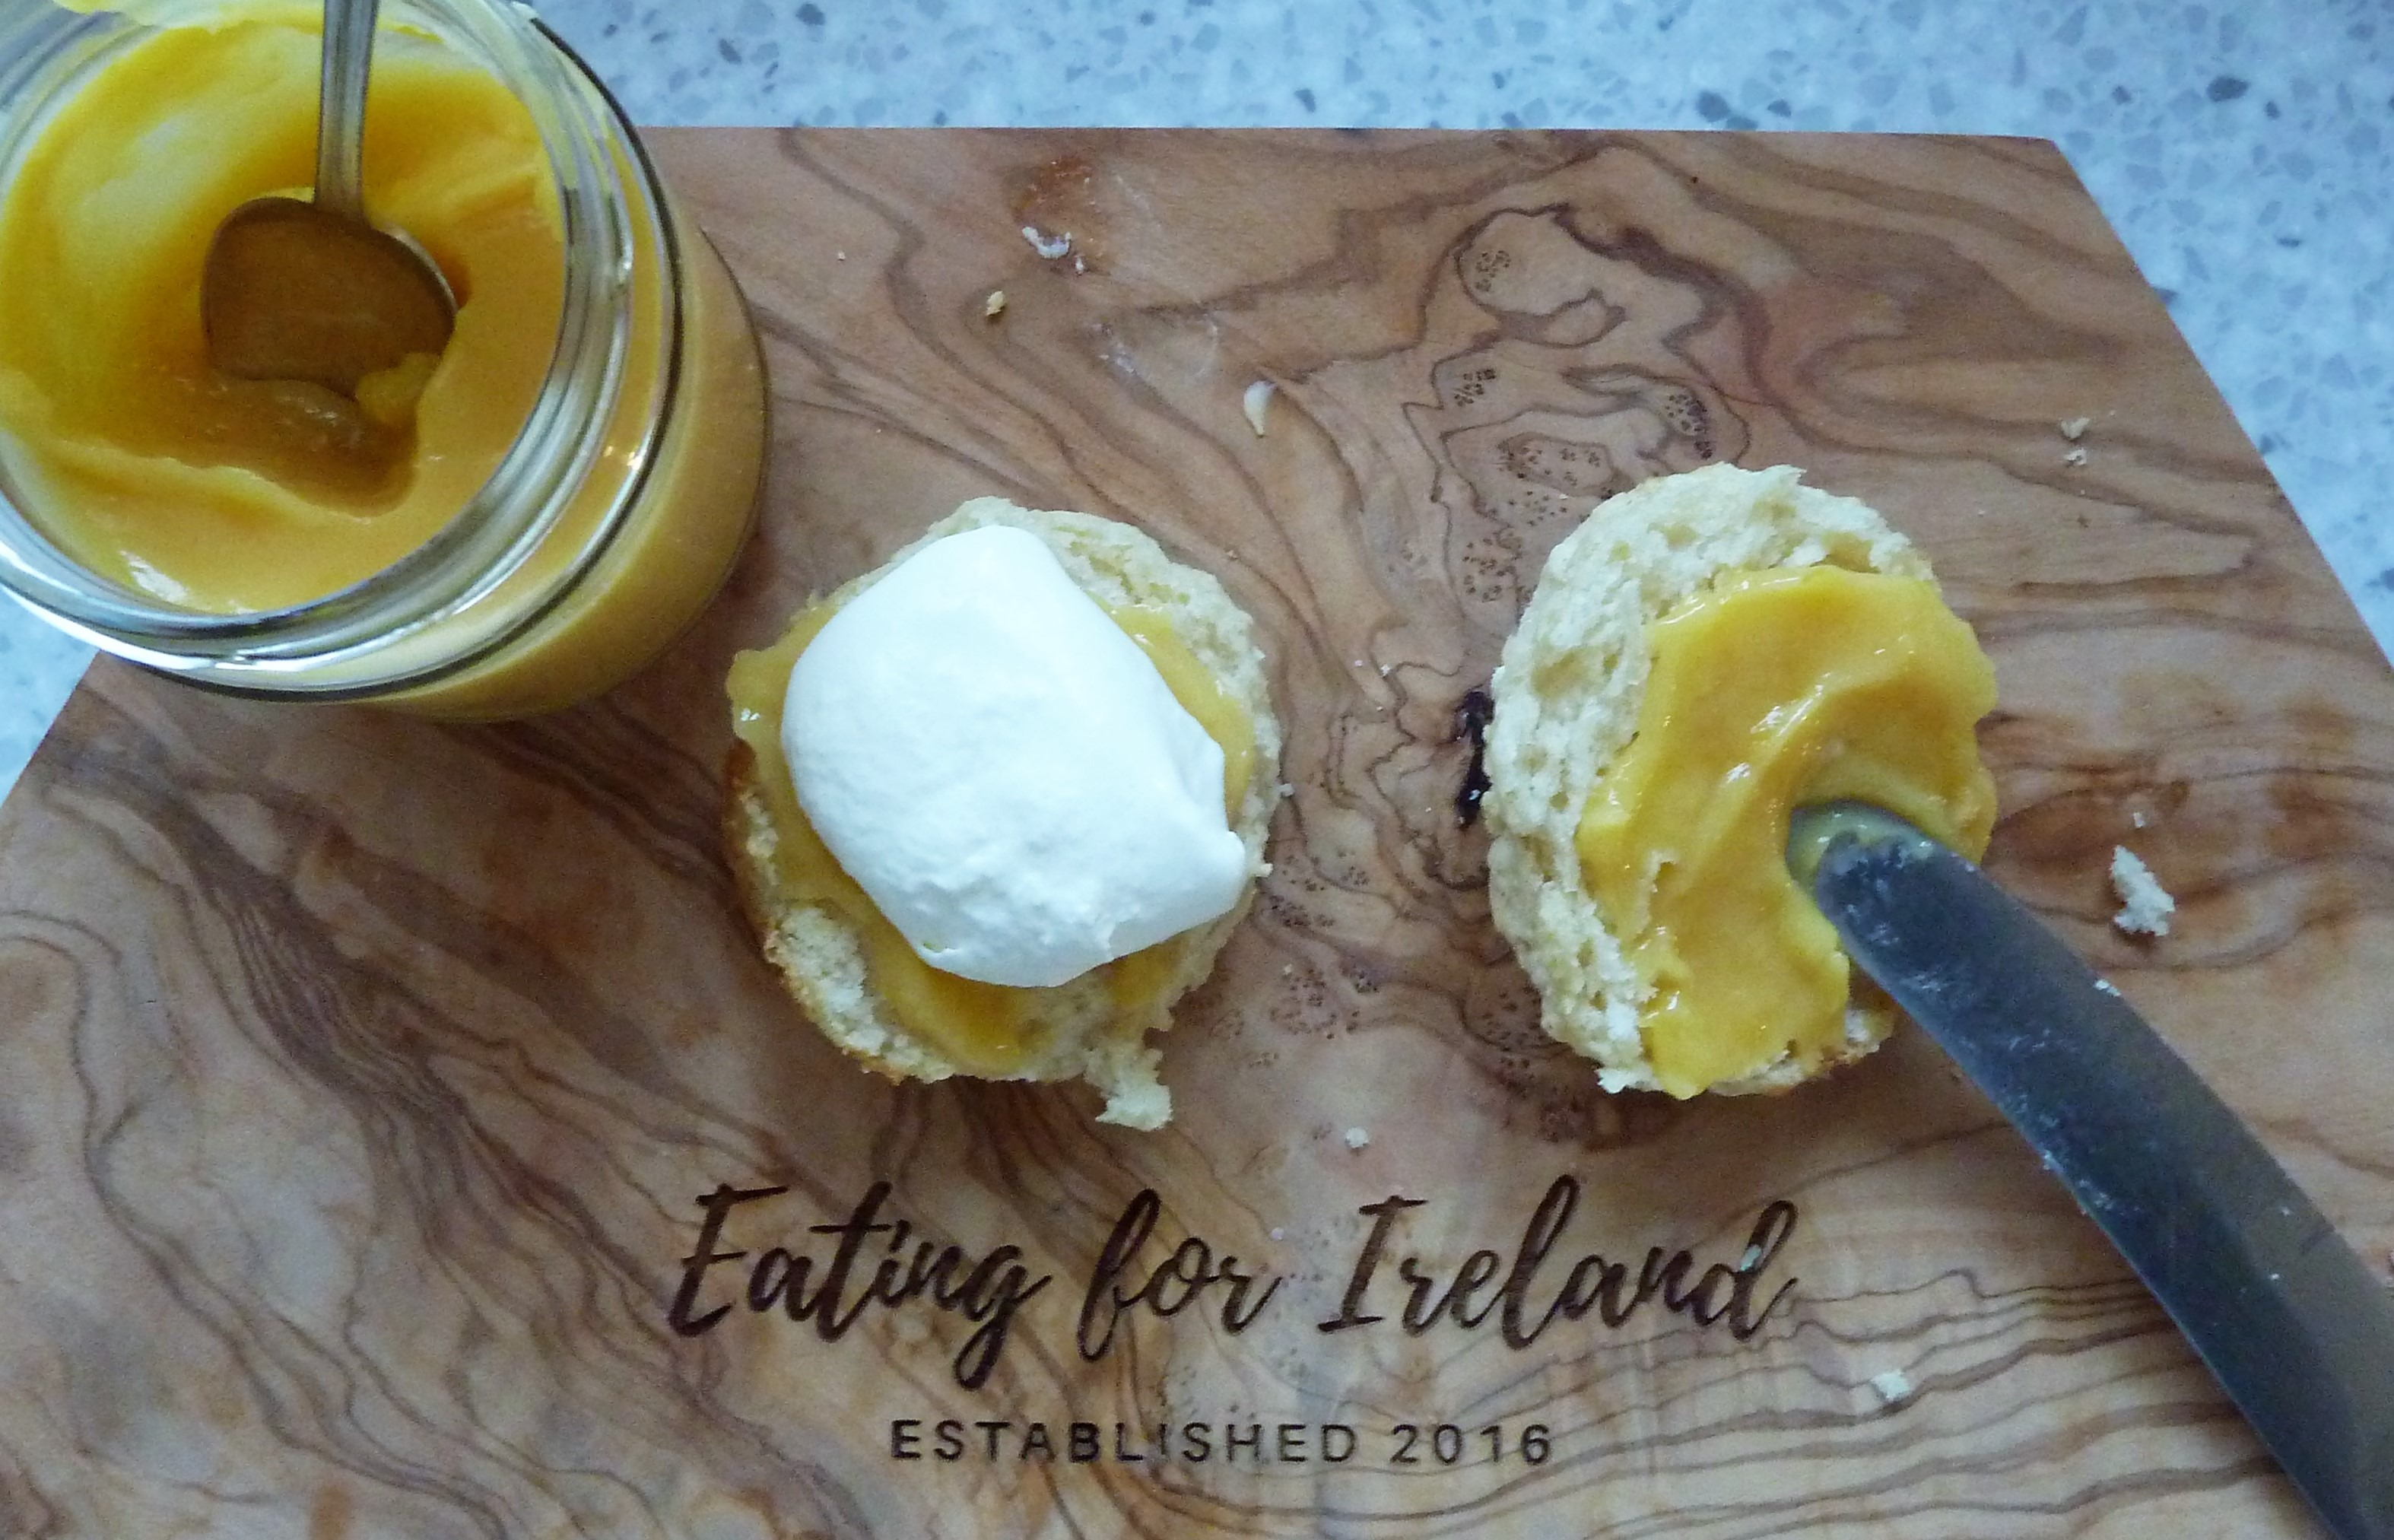
Scones with Lemon Curd and Jam :)
My friends and family love these scones, and appear to be so impressed by them (or else they are all seriously great actors) – These easy scones create a little happiness on the most miserable of days. In my own defence I always admit that preparing them has taken a grand total of 15 minutes out of my life; turns out it may be the most rewarding 15 minutes work you’ll do all day…
One of my tricks, while I have the food processor out, is to make a few batches of the (dry) mixture, and keep them in sealed plastic bags in the fridge for up to a week; ready to be pulled out at seriously short notice for a mid-afternoon treat.
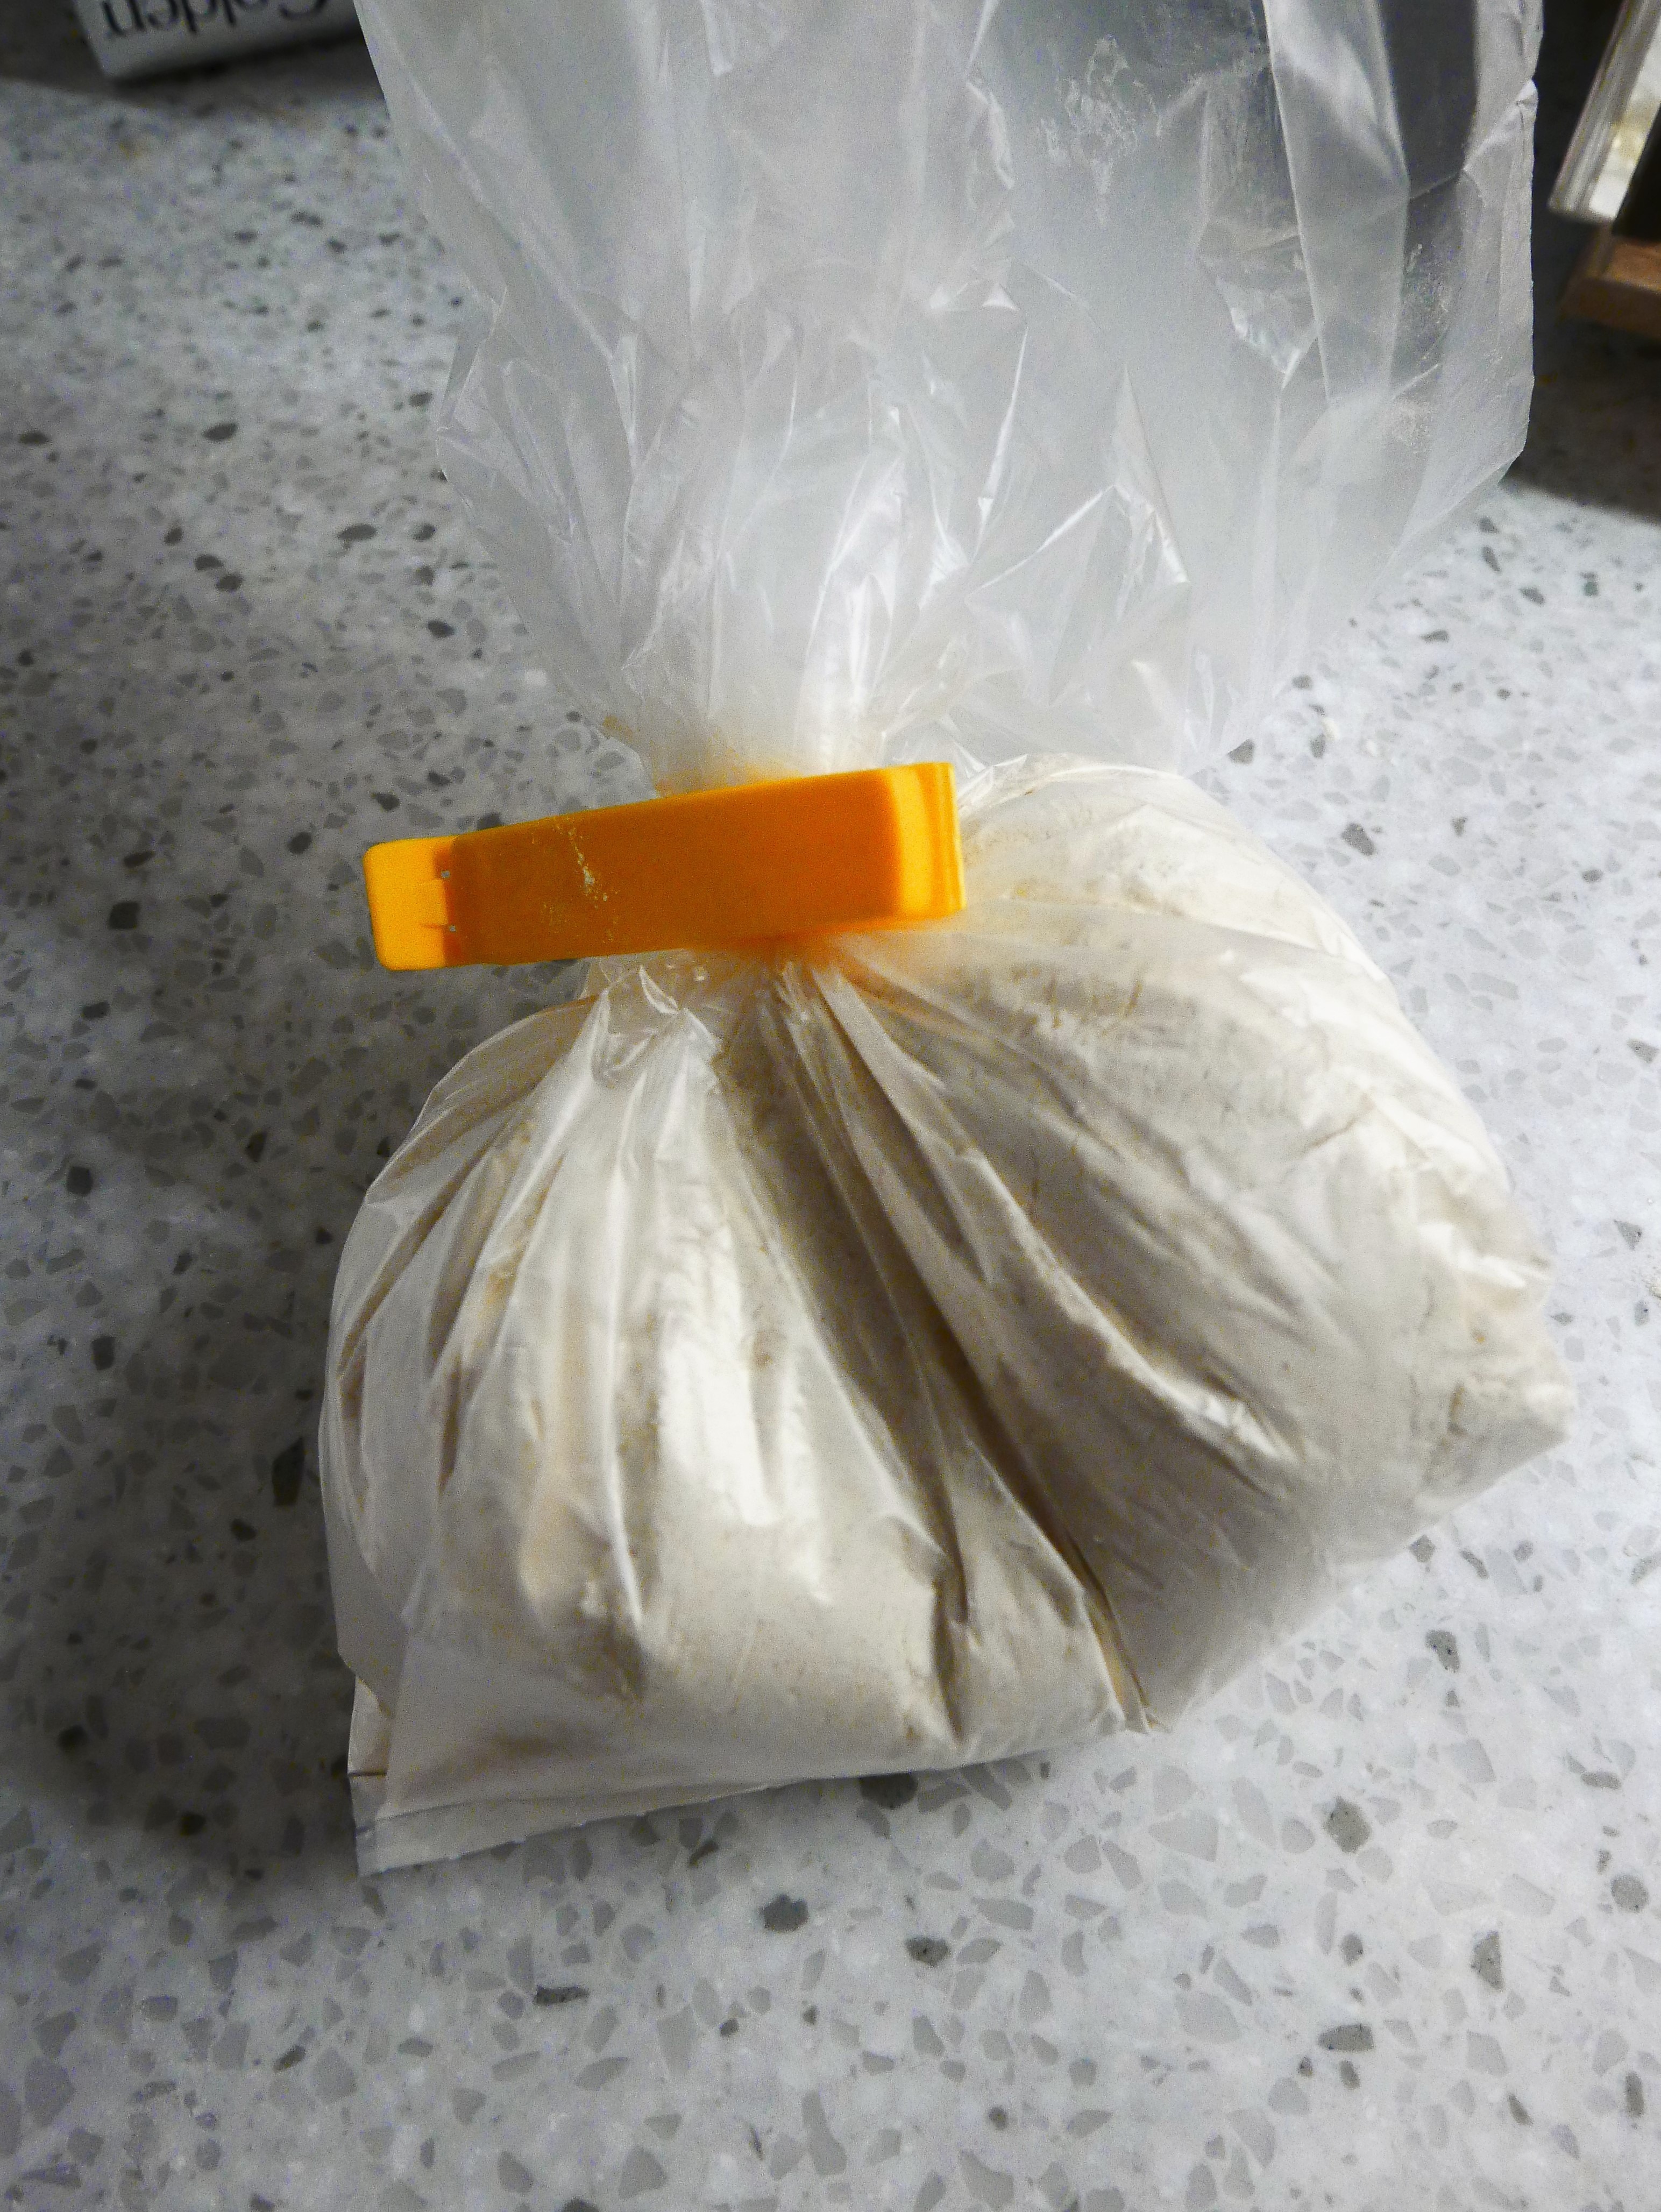
Once you’ve pulled this magic little bag out of the fridge and produced fresh, hot scones 15 minutes later, you’ll never make just one batch of scone mixture again!
A couple of hints:
- Handle the dough as little as possible
- The dry mixture keeps well for couple of days in the fridge in a sealed plastic bag. If you add the buttermilk, you must cook them immediately
- This recipe is perfect for adding ingredients – apple and cinnamon, raspberry and white chocolate; just reduce the oven temperature a little, and extend the cooking time.
- They’re best eaten today, or tomorrow morning latest. If you freeze them, defrost them gently, and then give them 5 minutes at about 160°.
Here’s my recipe for perfect, home-made scones…
EQUIPMENT:
- Weighing scales
- Food processor
- Decent sized bowl to mix
- Baking tray with a sheet of baking parchment or lightly floured
- Rolling pin
- Small cookie cutters (about 3 inches diameter)
INGREDIENTS: 

- 8oz/225g self-raising flour
- 1 oz./25g caster sugar
- 1 ½ oz./ 40g unsalted butter
- Pinch of salt
- Buttermilk, to mix – if you don’t have buttermilk, just use some plain milk with a couple of tablespoons of natural yoghurt mixed through it. You can use any specialised milk that you like.
METHOD:
- Pre-heat the oven to about 180°fan. My oven book tells me to cook my scones on the lowest or 3rd, shelf – if you can find your book, have a look and see what yours says..
- Put the flour, sugar, butter and salt into the food processor and whiz until the butter has been broken up and the mixture looks like breadcrumbs – I usually do this in two or three 10 second bursts. If you don’t have a food-processor, just rub the butter in by hand then mix through the sugar and salt.
- Tip it into the bowl
- Sprinkle a little flour onto the baking tray and onto your work surface
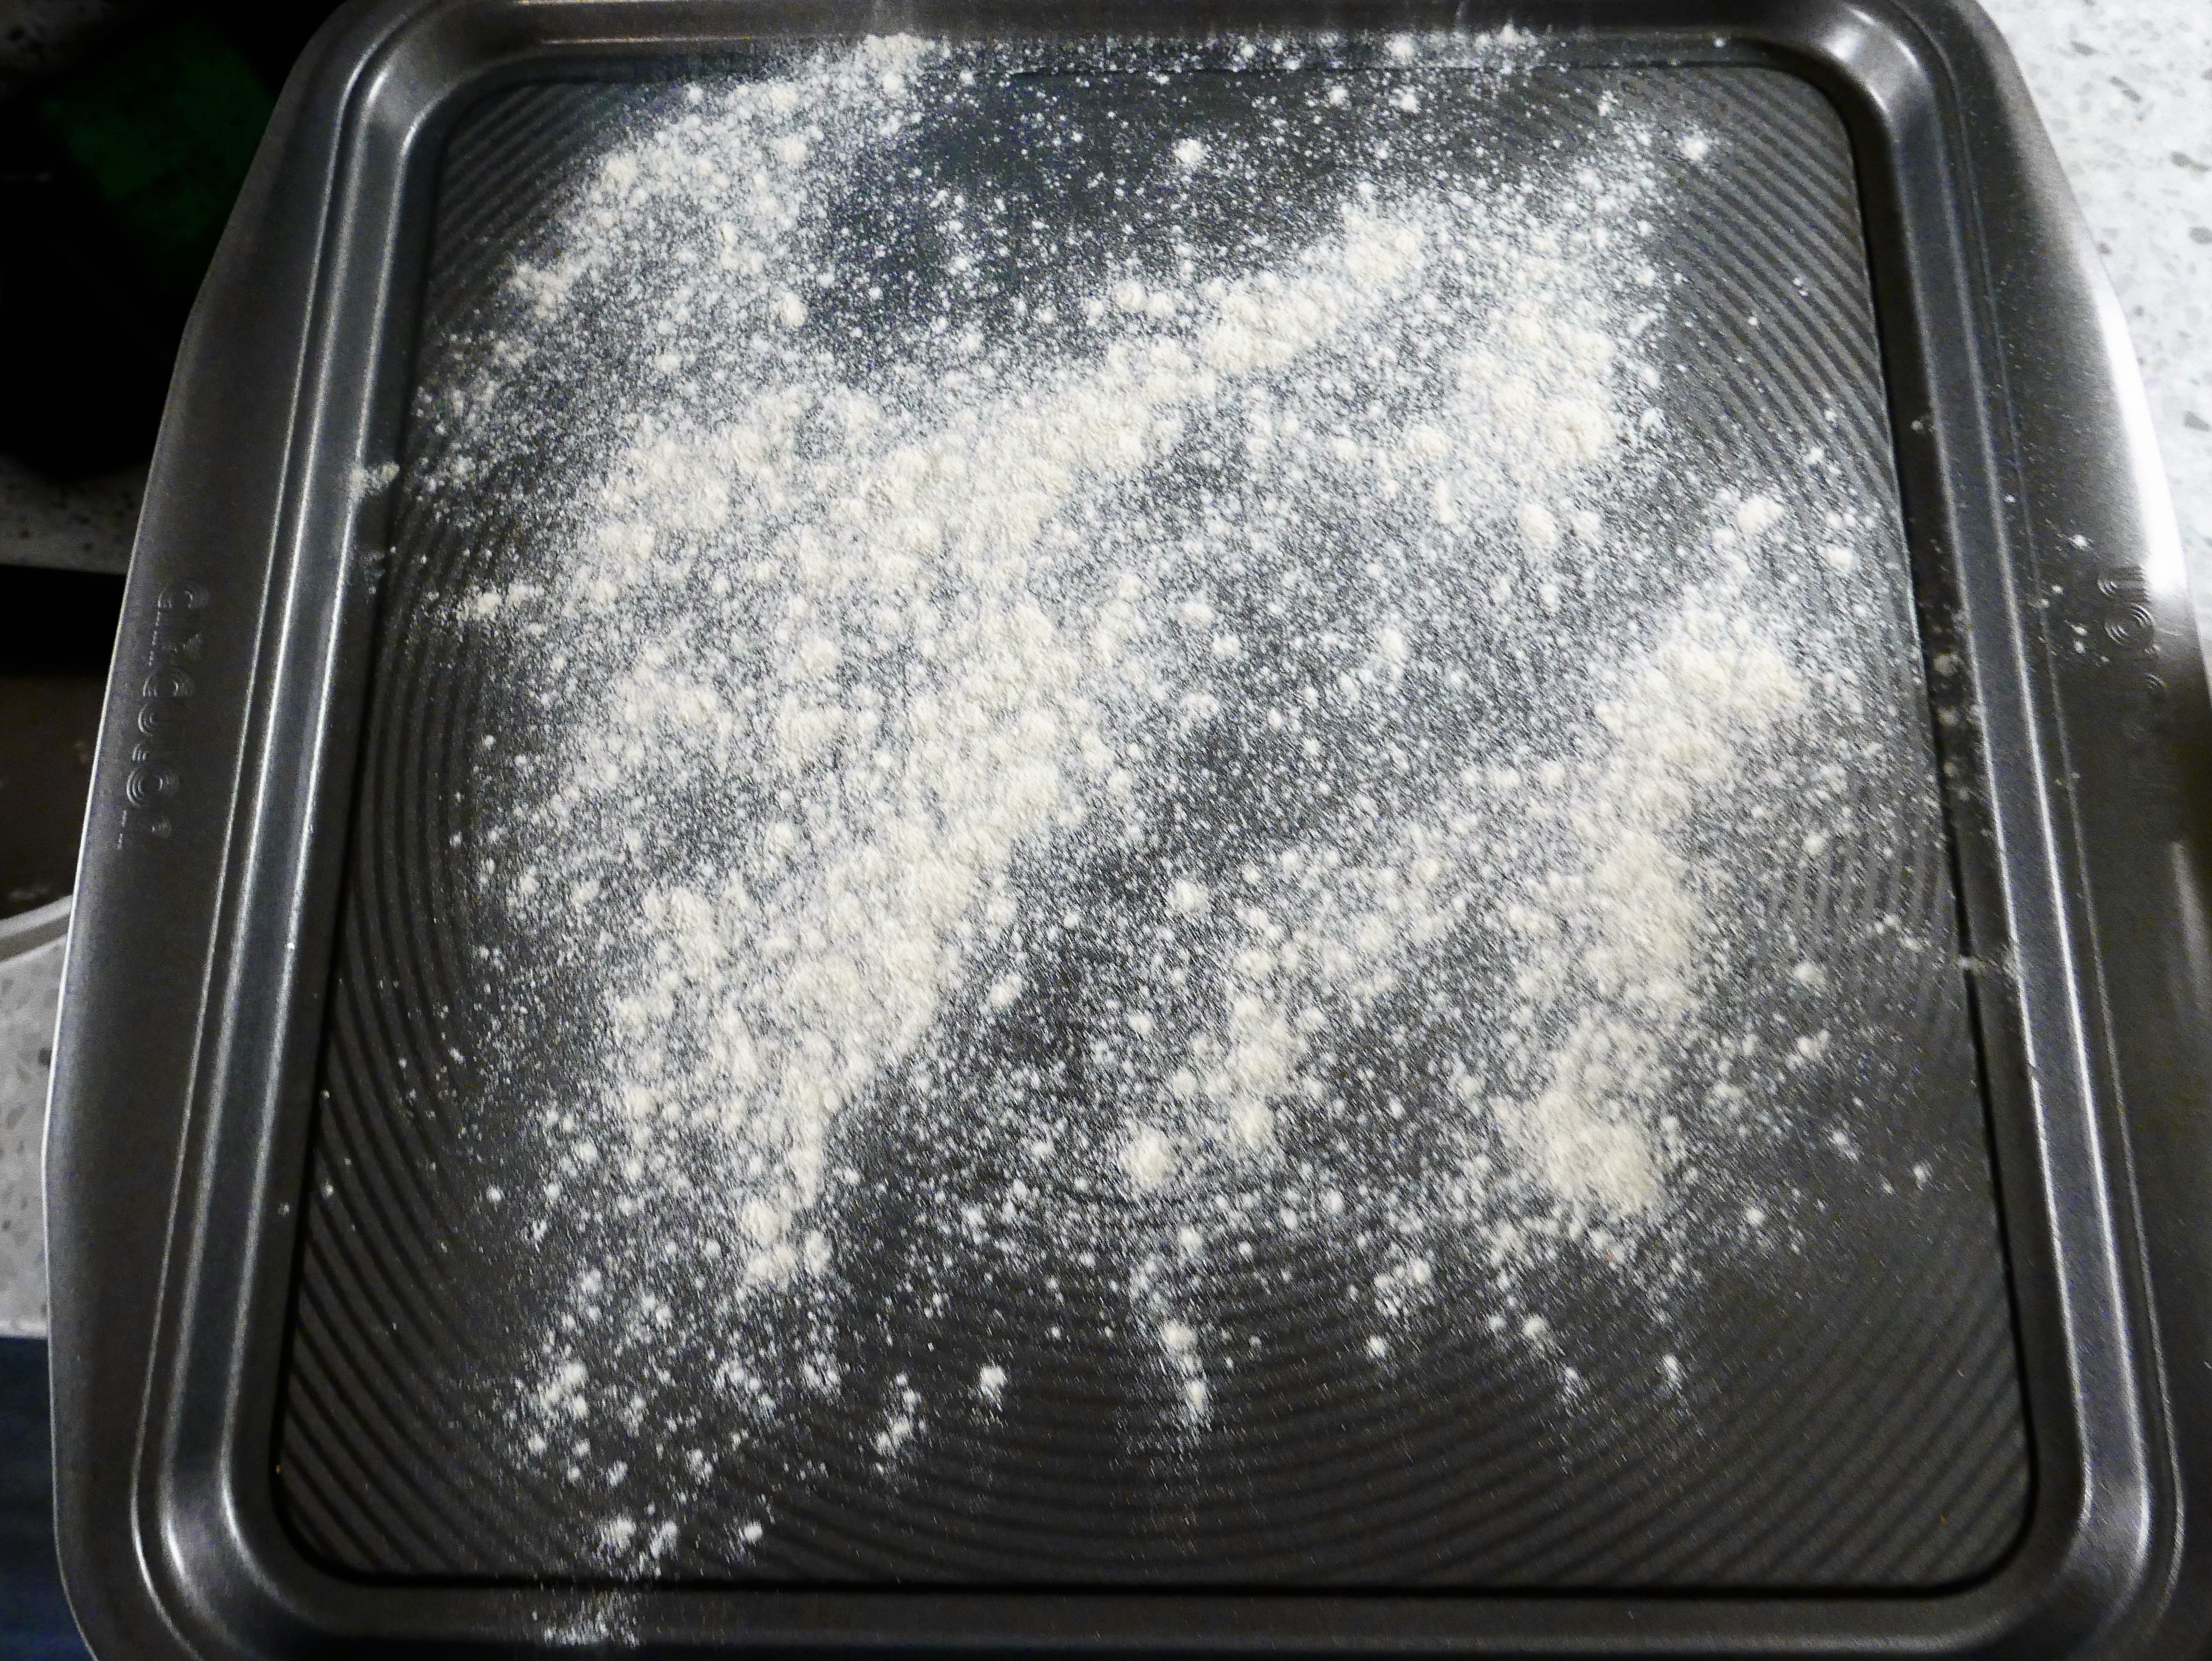
Flour the baking tray…or use a sheet of baking parchment
- Using a flat-bladed knife, mix in the buttermilk, a little at a time, until the mixture comes together.
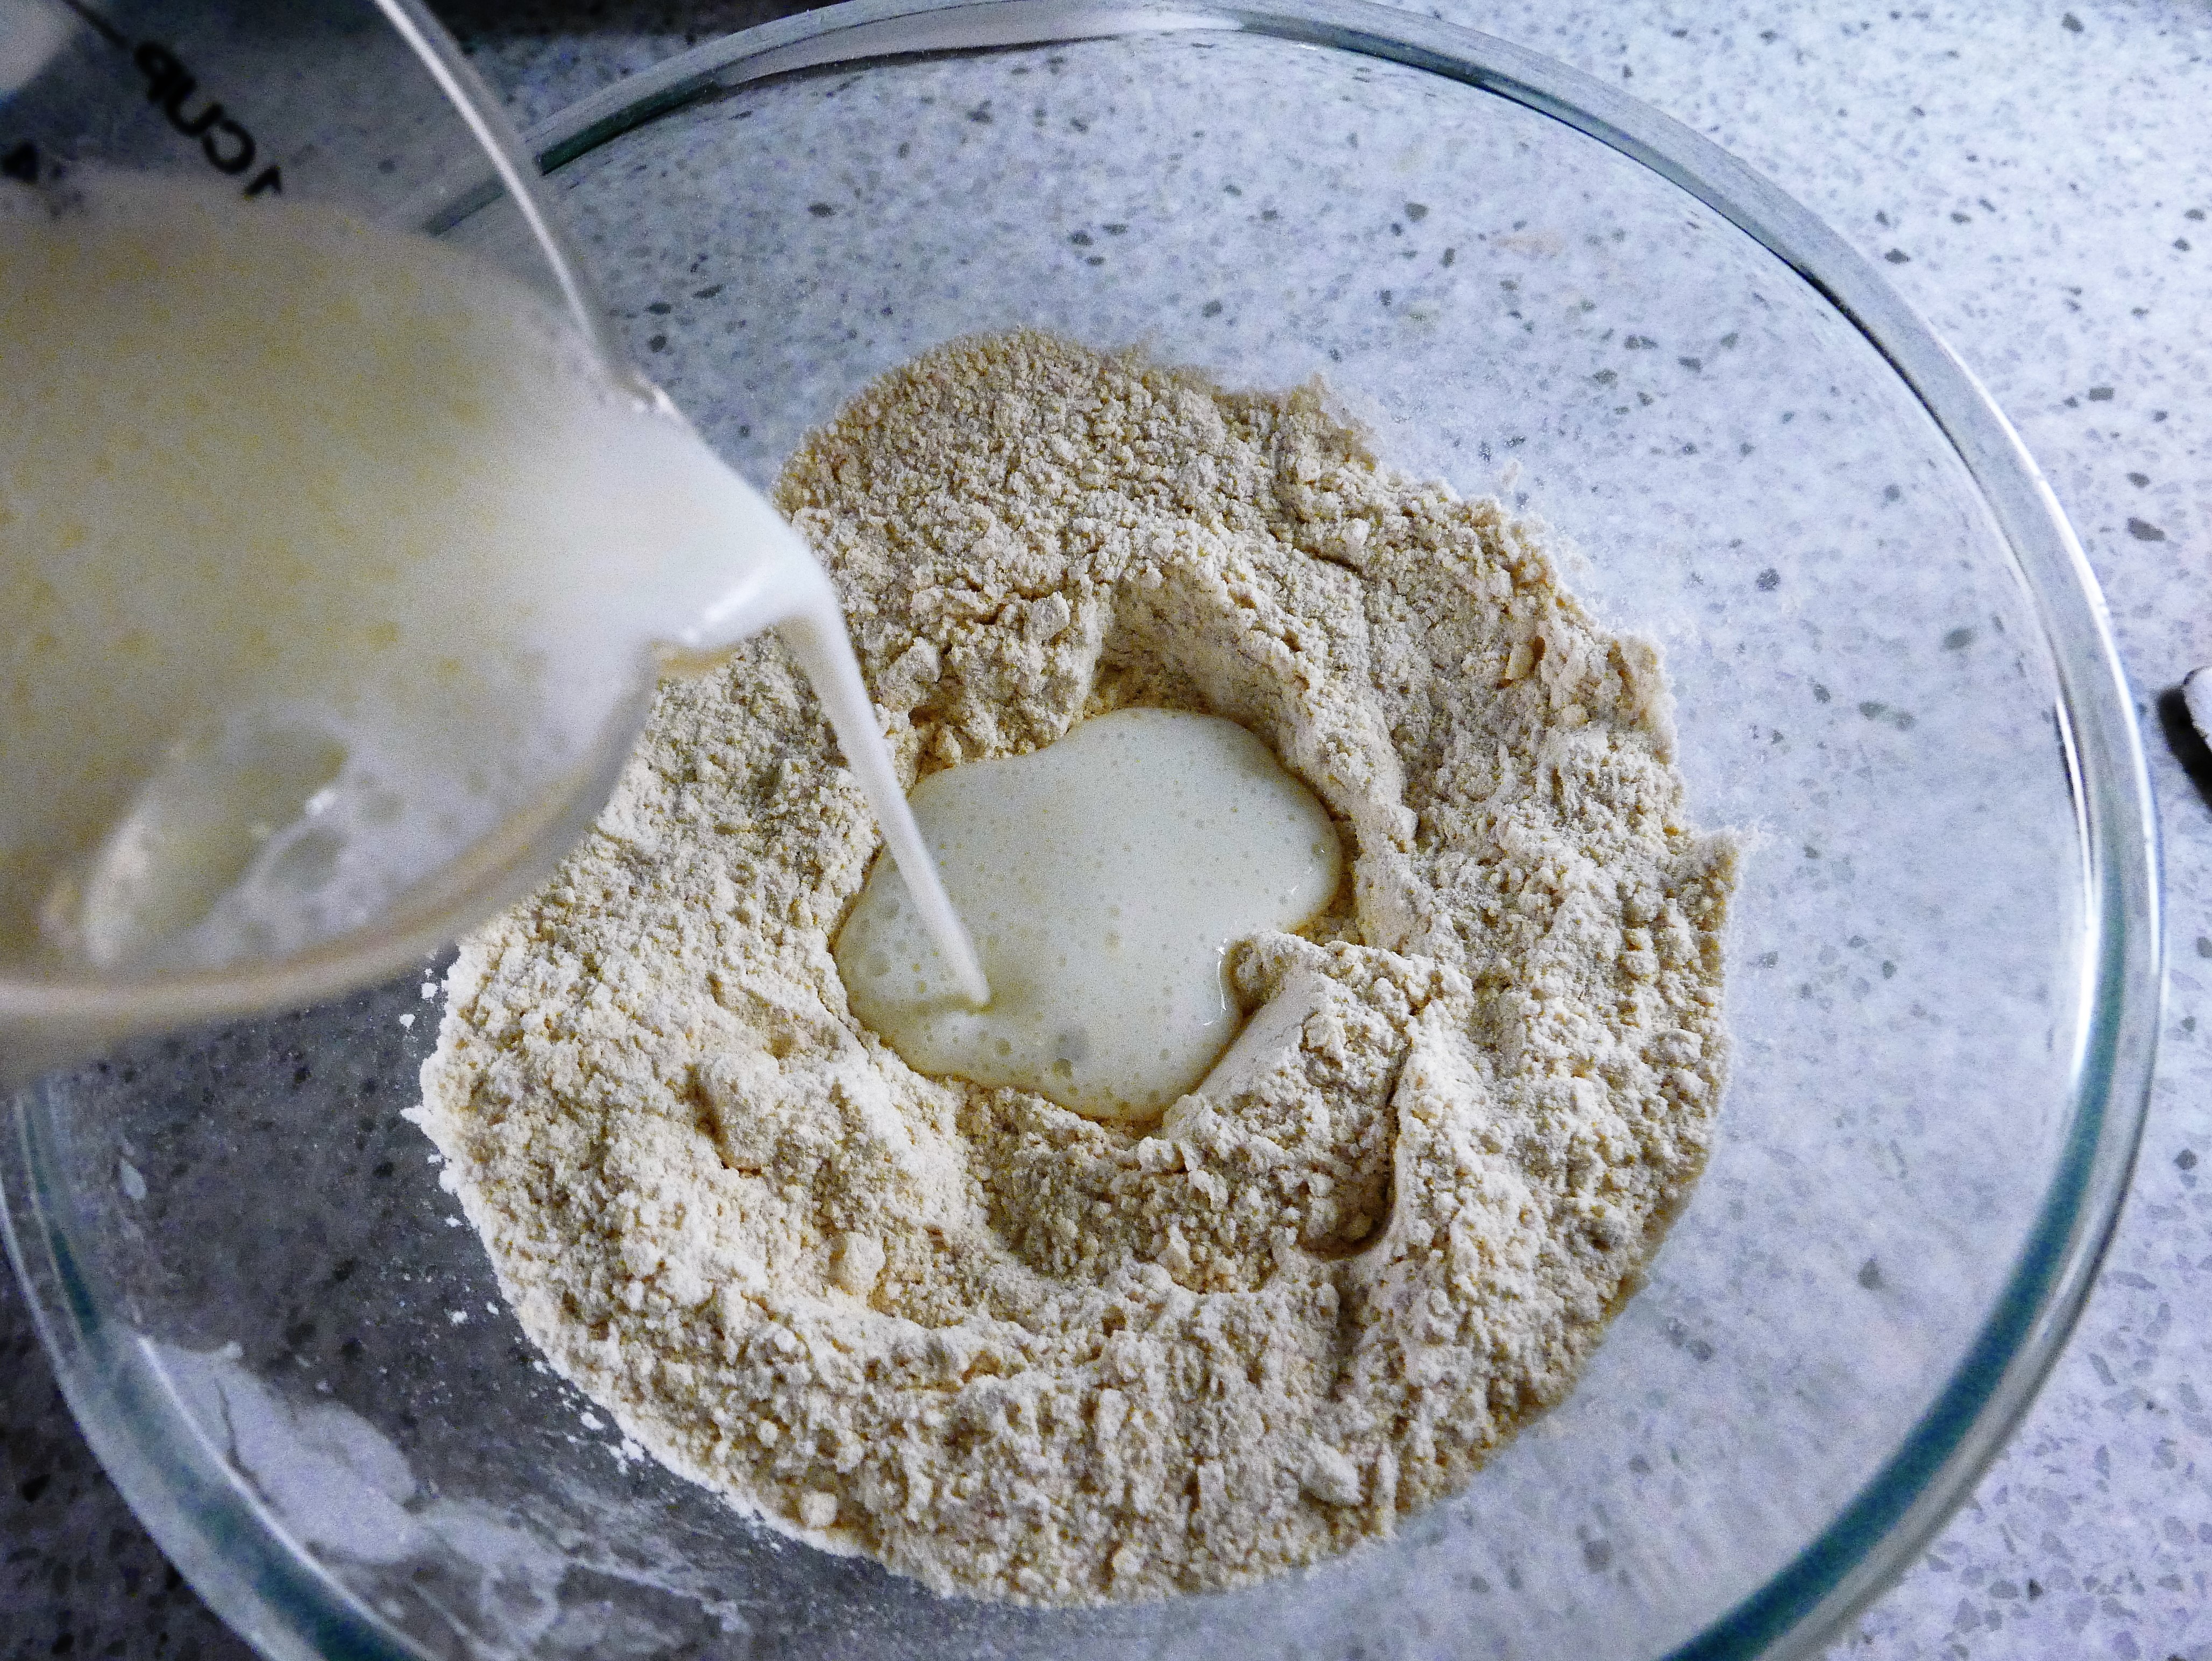
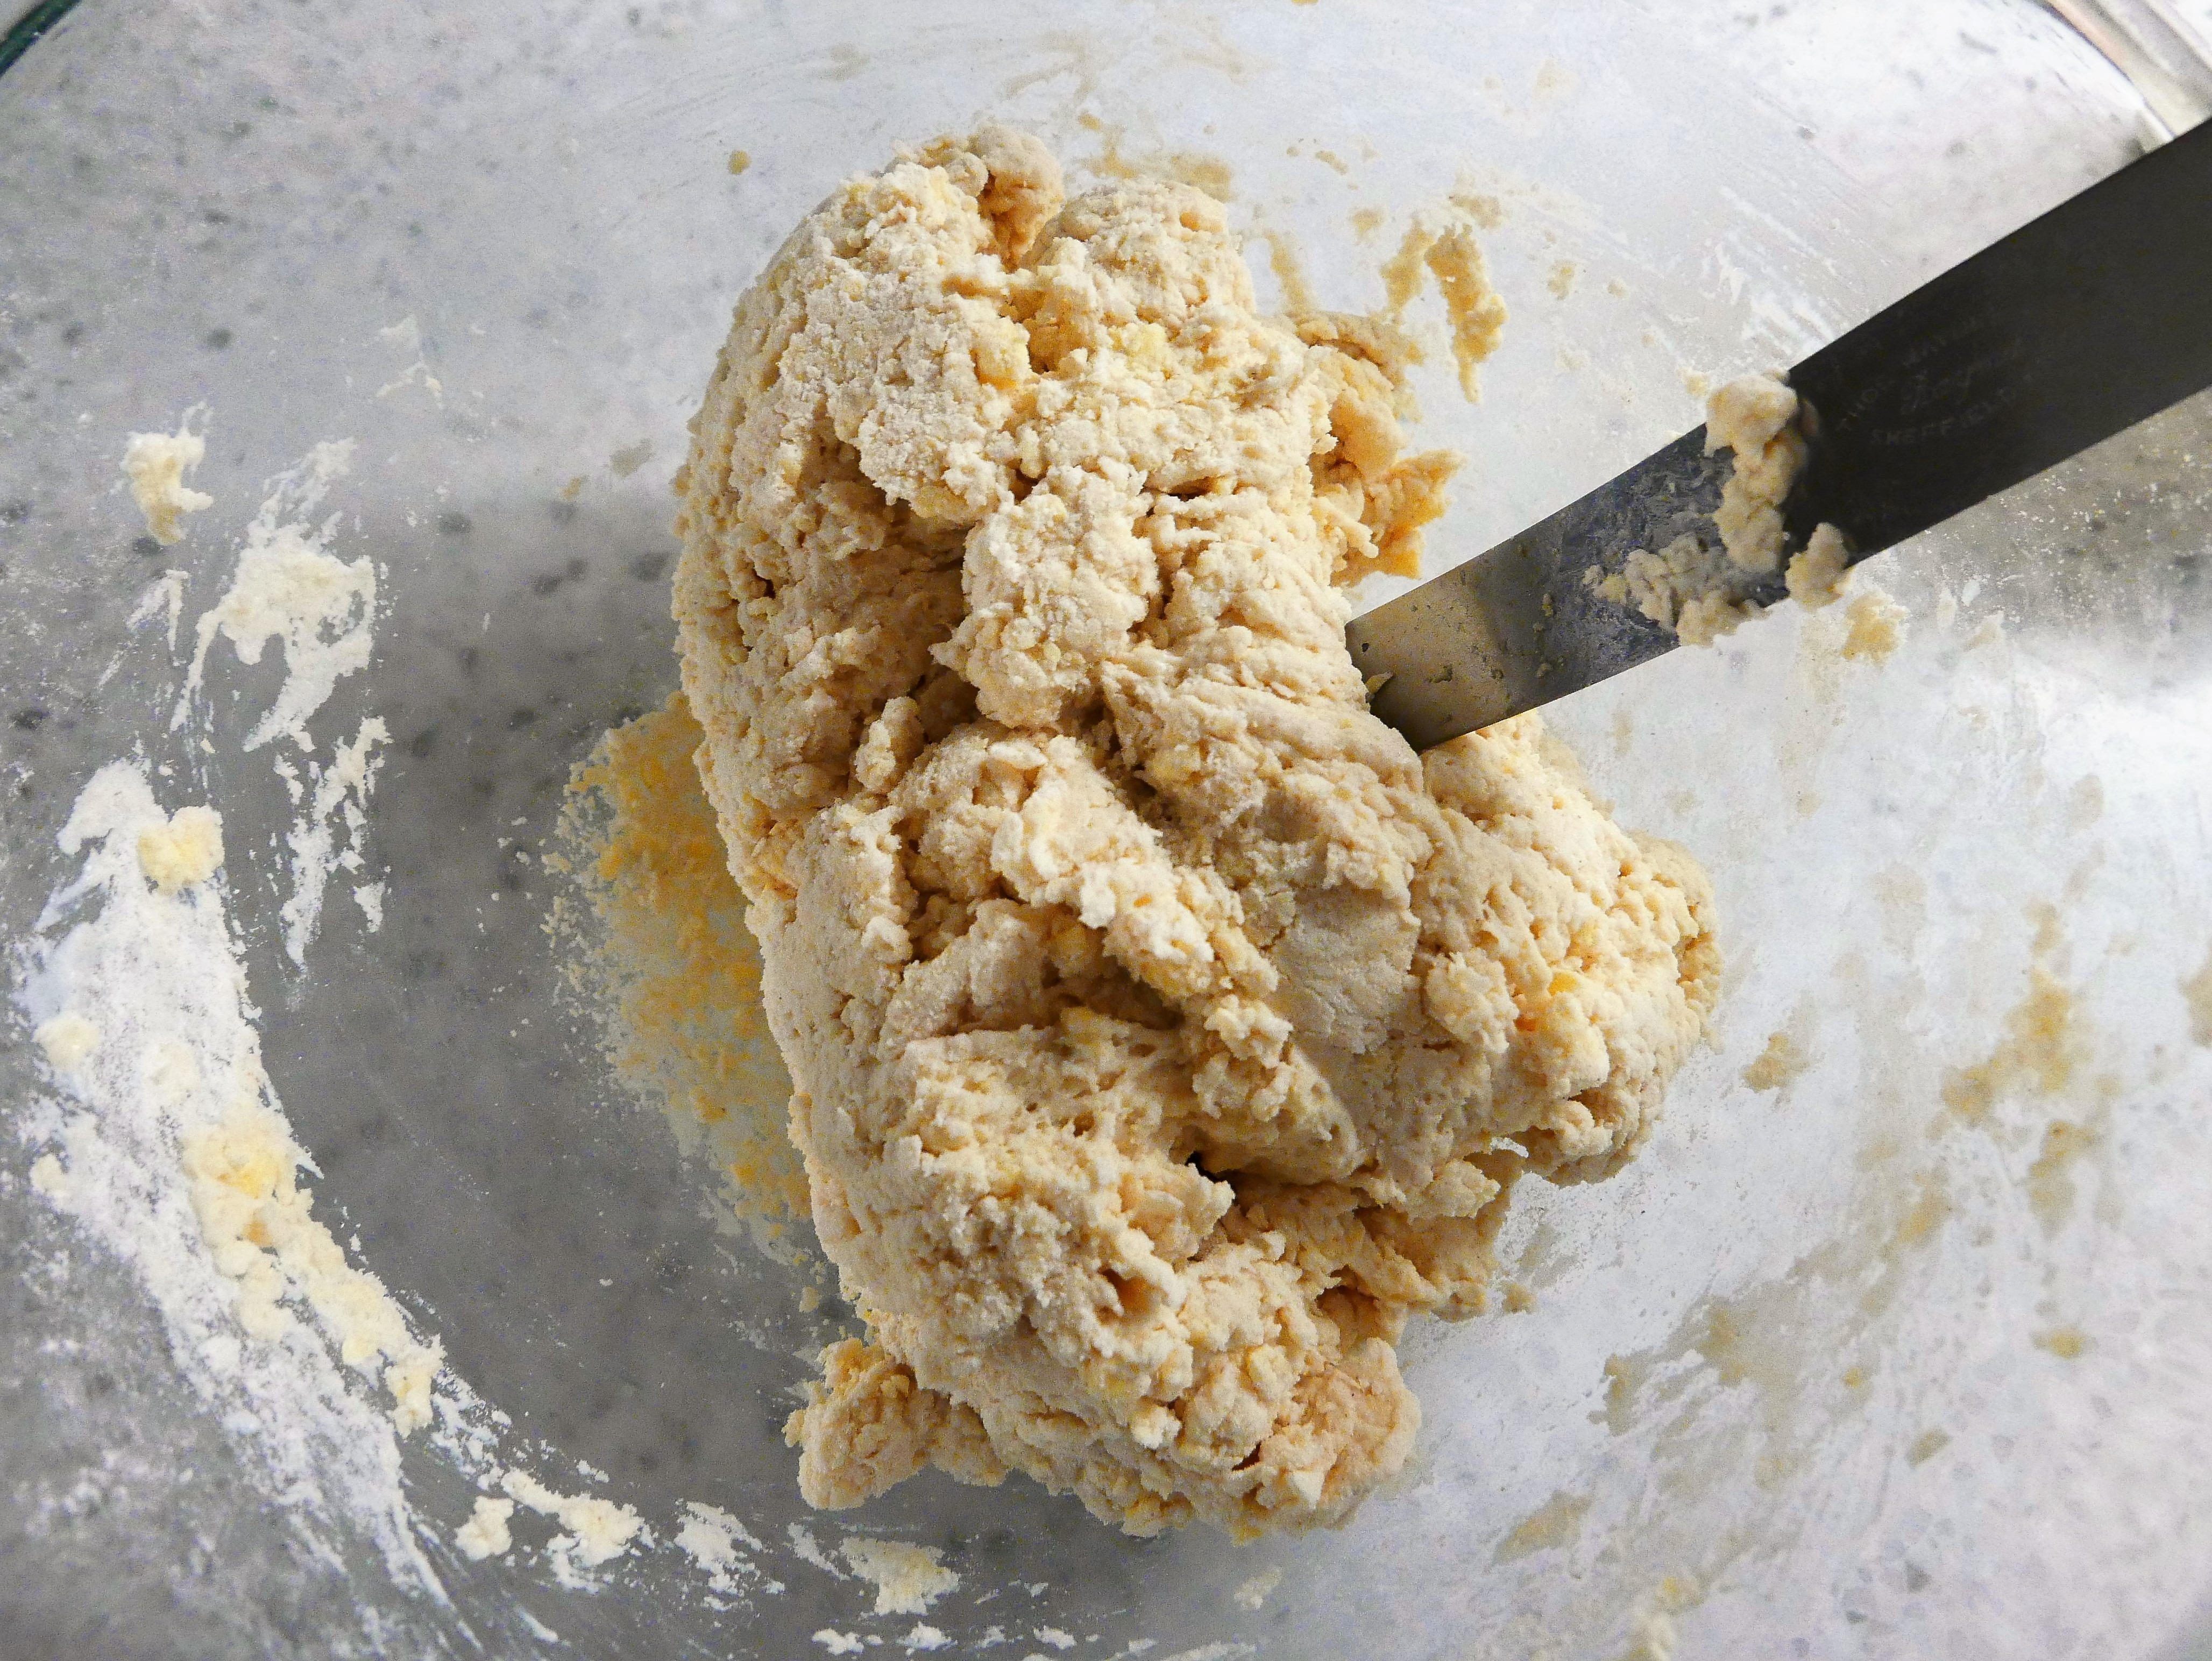
This has enough Buttermilk added, and is ready to roll out.
- The scone mixture in this recipe used 175ml of buttermilk today – but don’t be tempted to just dump it all in at once – flour uses less or more liquid depending on all sorts of things, including the weather! You can always add more liquid if your mix is too dry, but you can’t take it out…
- Gather it up with hands lightly dusted with flour and knead briefly until it comes together. Don’t over-process or the scones will be tough. Minimal handling is the key.

- Roll it gently until it’s about one and a half inches/3-4 cms thick. Don’t roll it too thin.
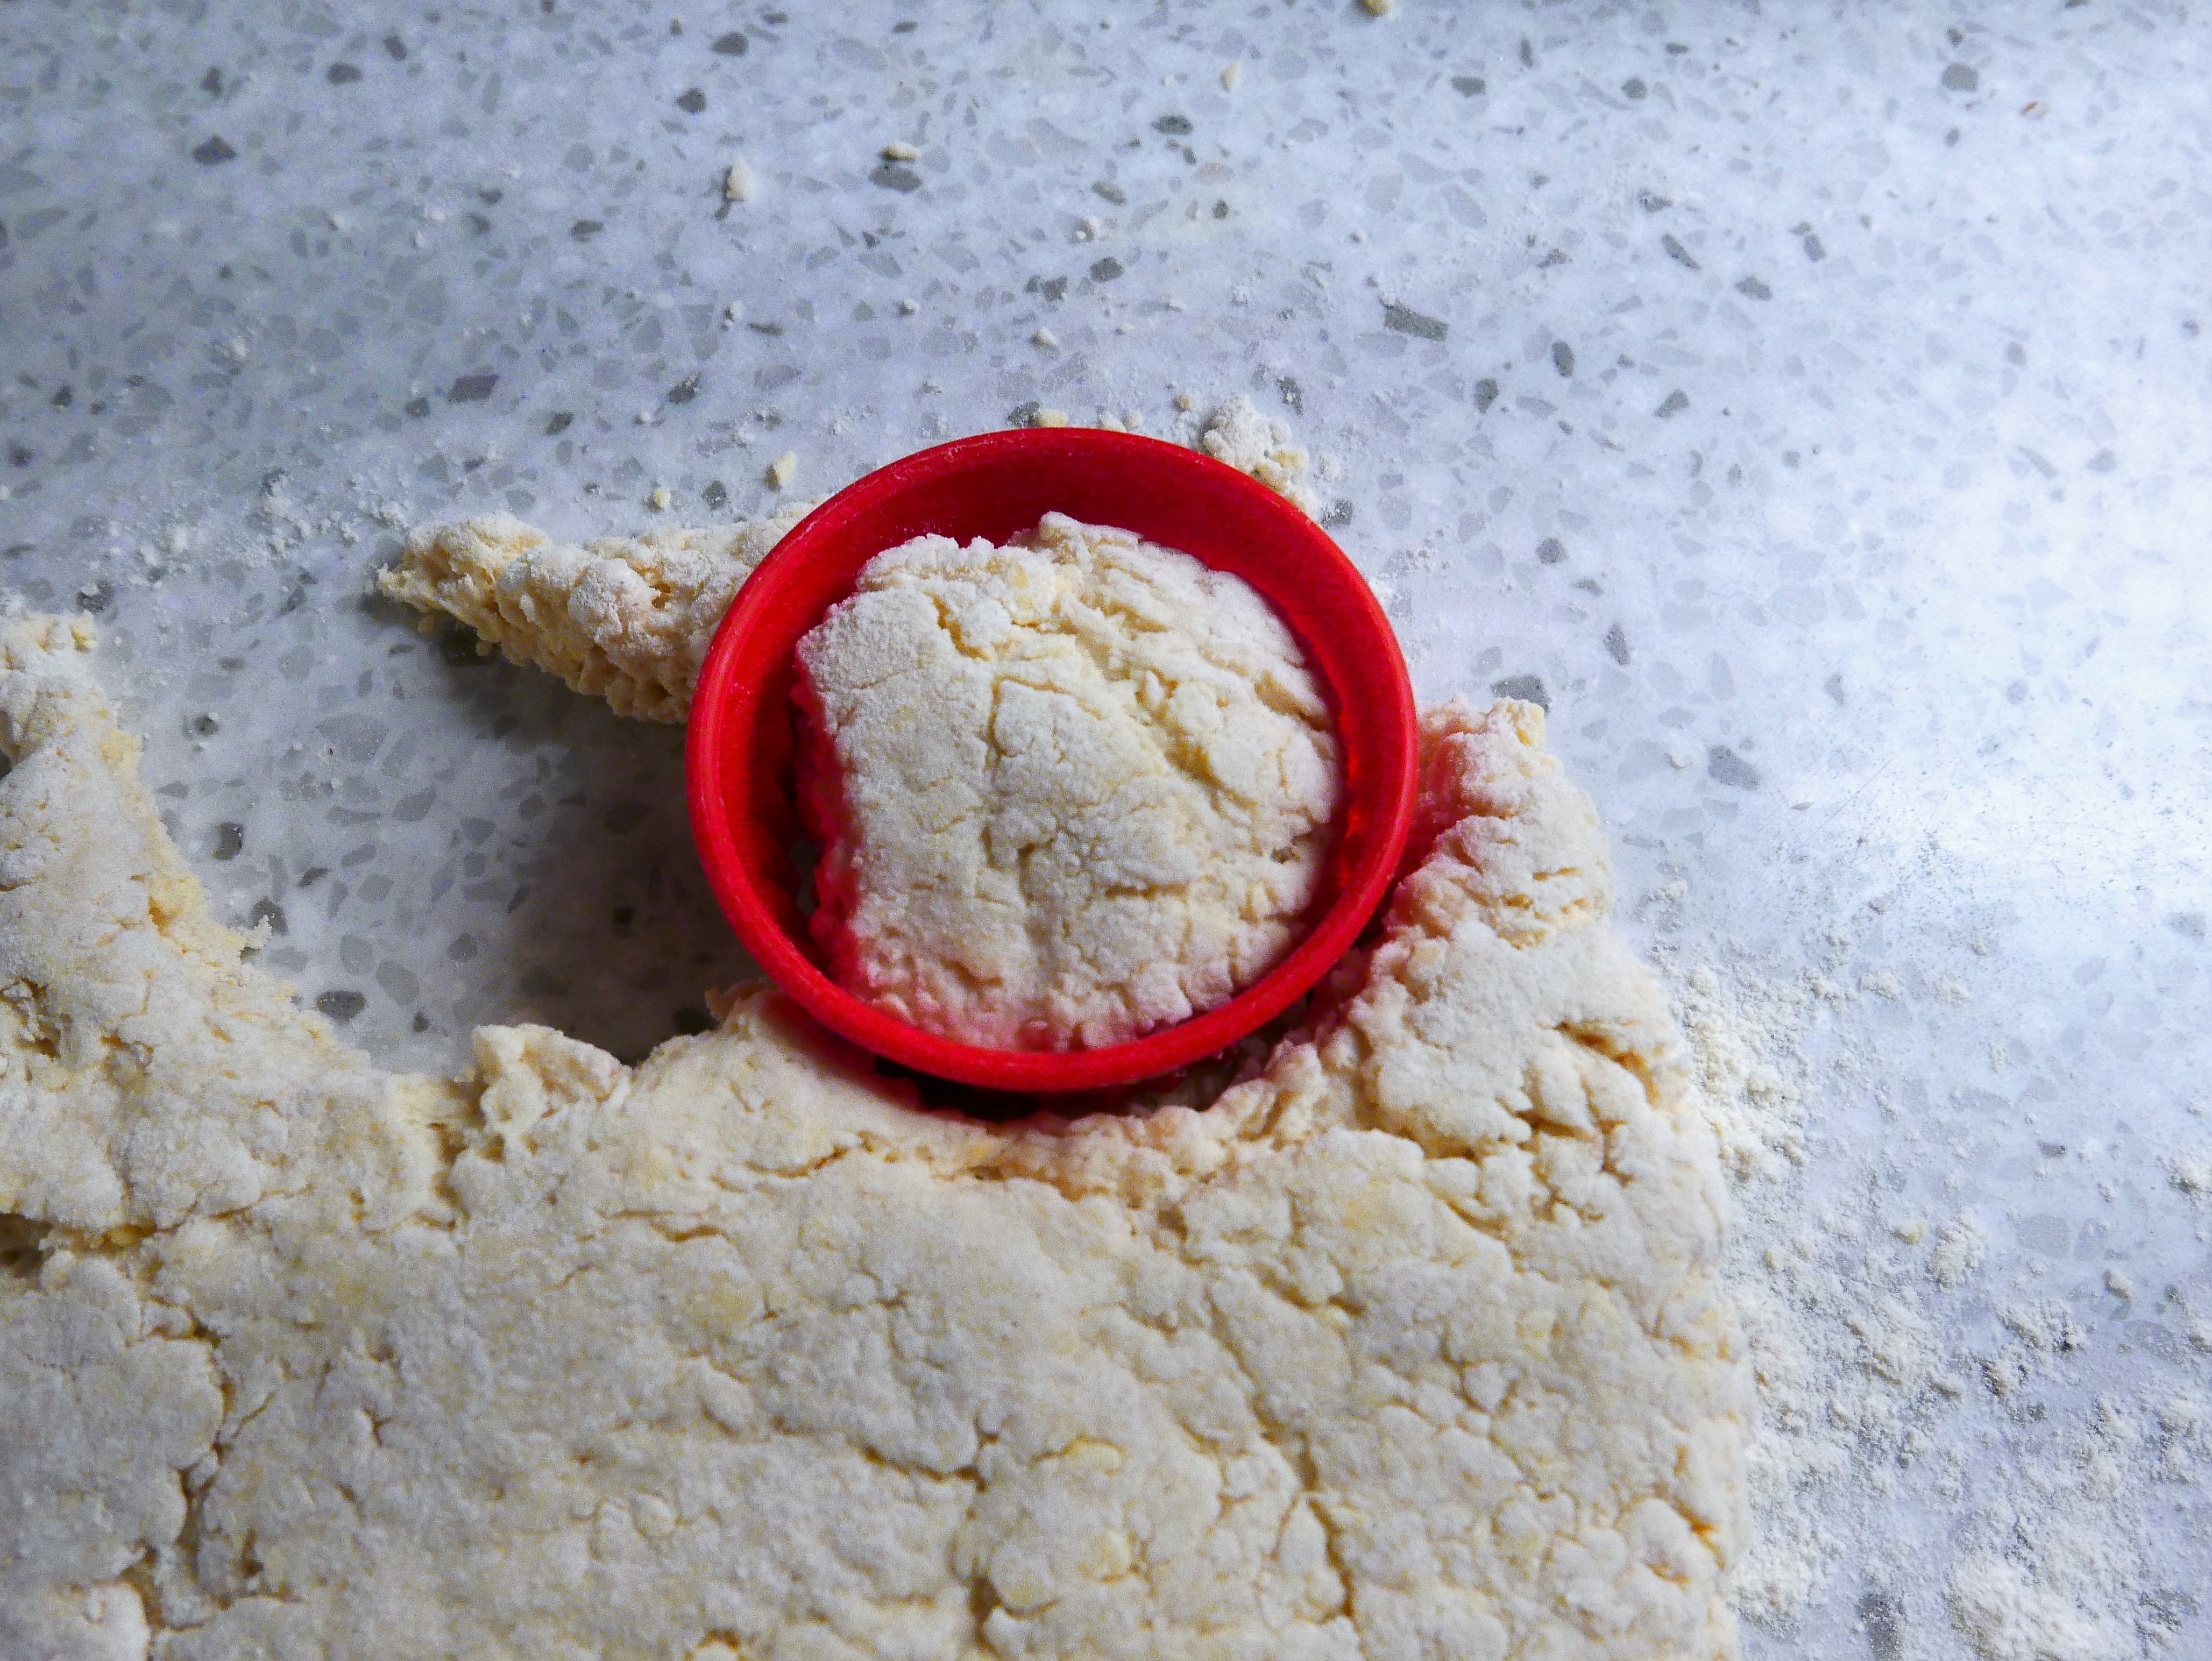
This is my favourite cutter – it came from a box of my daughter’s Play Doh years ago! I do have proper ones. but I like this one best :)
- Using the cookie cutter, cut out as many scones as you can, without using a twisting movement – I find it’s best to press down sharply on the cutter with the heel of my hand.
- Put the scones onto the baking tray as you cut them
- Gather up the cuttings, and bring together as before, you should get another two scones out of that bit (I tend to get about 8-10 scones from this recipe)

Ready for the oven!
- I sometimes paint the top of them with some extra buttermilk or some egg wash , but it’s not essential.
- Put them into the oven immediately and give them about 15 minutes before you even look at them. They should be rising nicely and browning at the edges. Resist the temptation to open the oven – if you take them out too soon, they’ll fall!

- When they start to look fully browned, they are ready to come out of the oven. In my oven that’s usually about 18 minutes.
- Remove them to a cooling tray – or, you know, just eat them with some butter which melts into the hot scone, and some of that raspberry jam that you bought at the local church fair.

- If you have way more will power than me, you can let them go cold, and serve them with jam – try my Lemon Curd https://eatingforireland.com/recipe/home-made-lemon-curd/ and some whipped cream.


Tea with jam and scones!