

I’m not sure if I’ve mentioned it before, but at work we have a serious habit of throwing a Bun Party at the drop of a hat. All birthdays are celebrated, with cakes, nibbles and jolly singing. Sometimes however, on the occasion of someone going off to get married, have a baby, have an extra-large birthday (mine, for example ;)); or – God forbid – actually leaving, we tend to push the boat out with a rather grander event. Everyone has their speciality – I’m usually asked to bring one of my Plum cakes https://eatingforireland.com/recipe/up-side-down-plum-cake/ but that’s small beer compared to some of the creations that have been presented over the years..
It was at one such event, that I came across Lorna’s Shortbread; or rather, her sister’s shortbread. As soon as I’d had my 3rd piece (nothing like a good bit of research, I always say 😉 ) I asked her for the recipe.
The recipe has proper butter, but also that old baking ingredient – Stork margarine. I’ve tried this recipe both with and without the Stork, and it’s better with it. It’s not an ingredient that you’ll often see on this site, but these dreamy little biscuits are worth it. The pictures here show some rather Christmassy decorations, but of course you can do some that are more season-appropriate.
Have a go – they’re easy and delicious. This is a rather large recipe, but it can easily be halved. Having said that, they’re very more-ish – you have been warned!
EQUIPMENT:
- Mixer with a dough attachment – (you could of course do this by hand, but it might be rather hard work)
- large baking tray
- baking parchment
- Selection of decorative stampers – totally optional.
INGREDIENTS:
- 12oz Plain flour, sifted.
- 6oz unsalted butter, cubed
- 4oz Stork Margarine, cubed
- 3oz caster sugar.
METHOD:
- Heat the oven to 180 fan
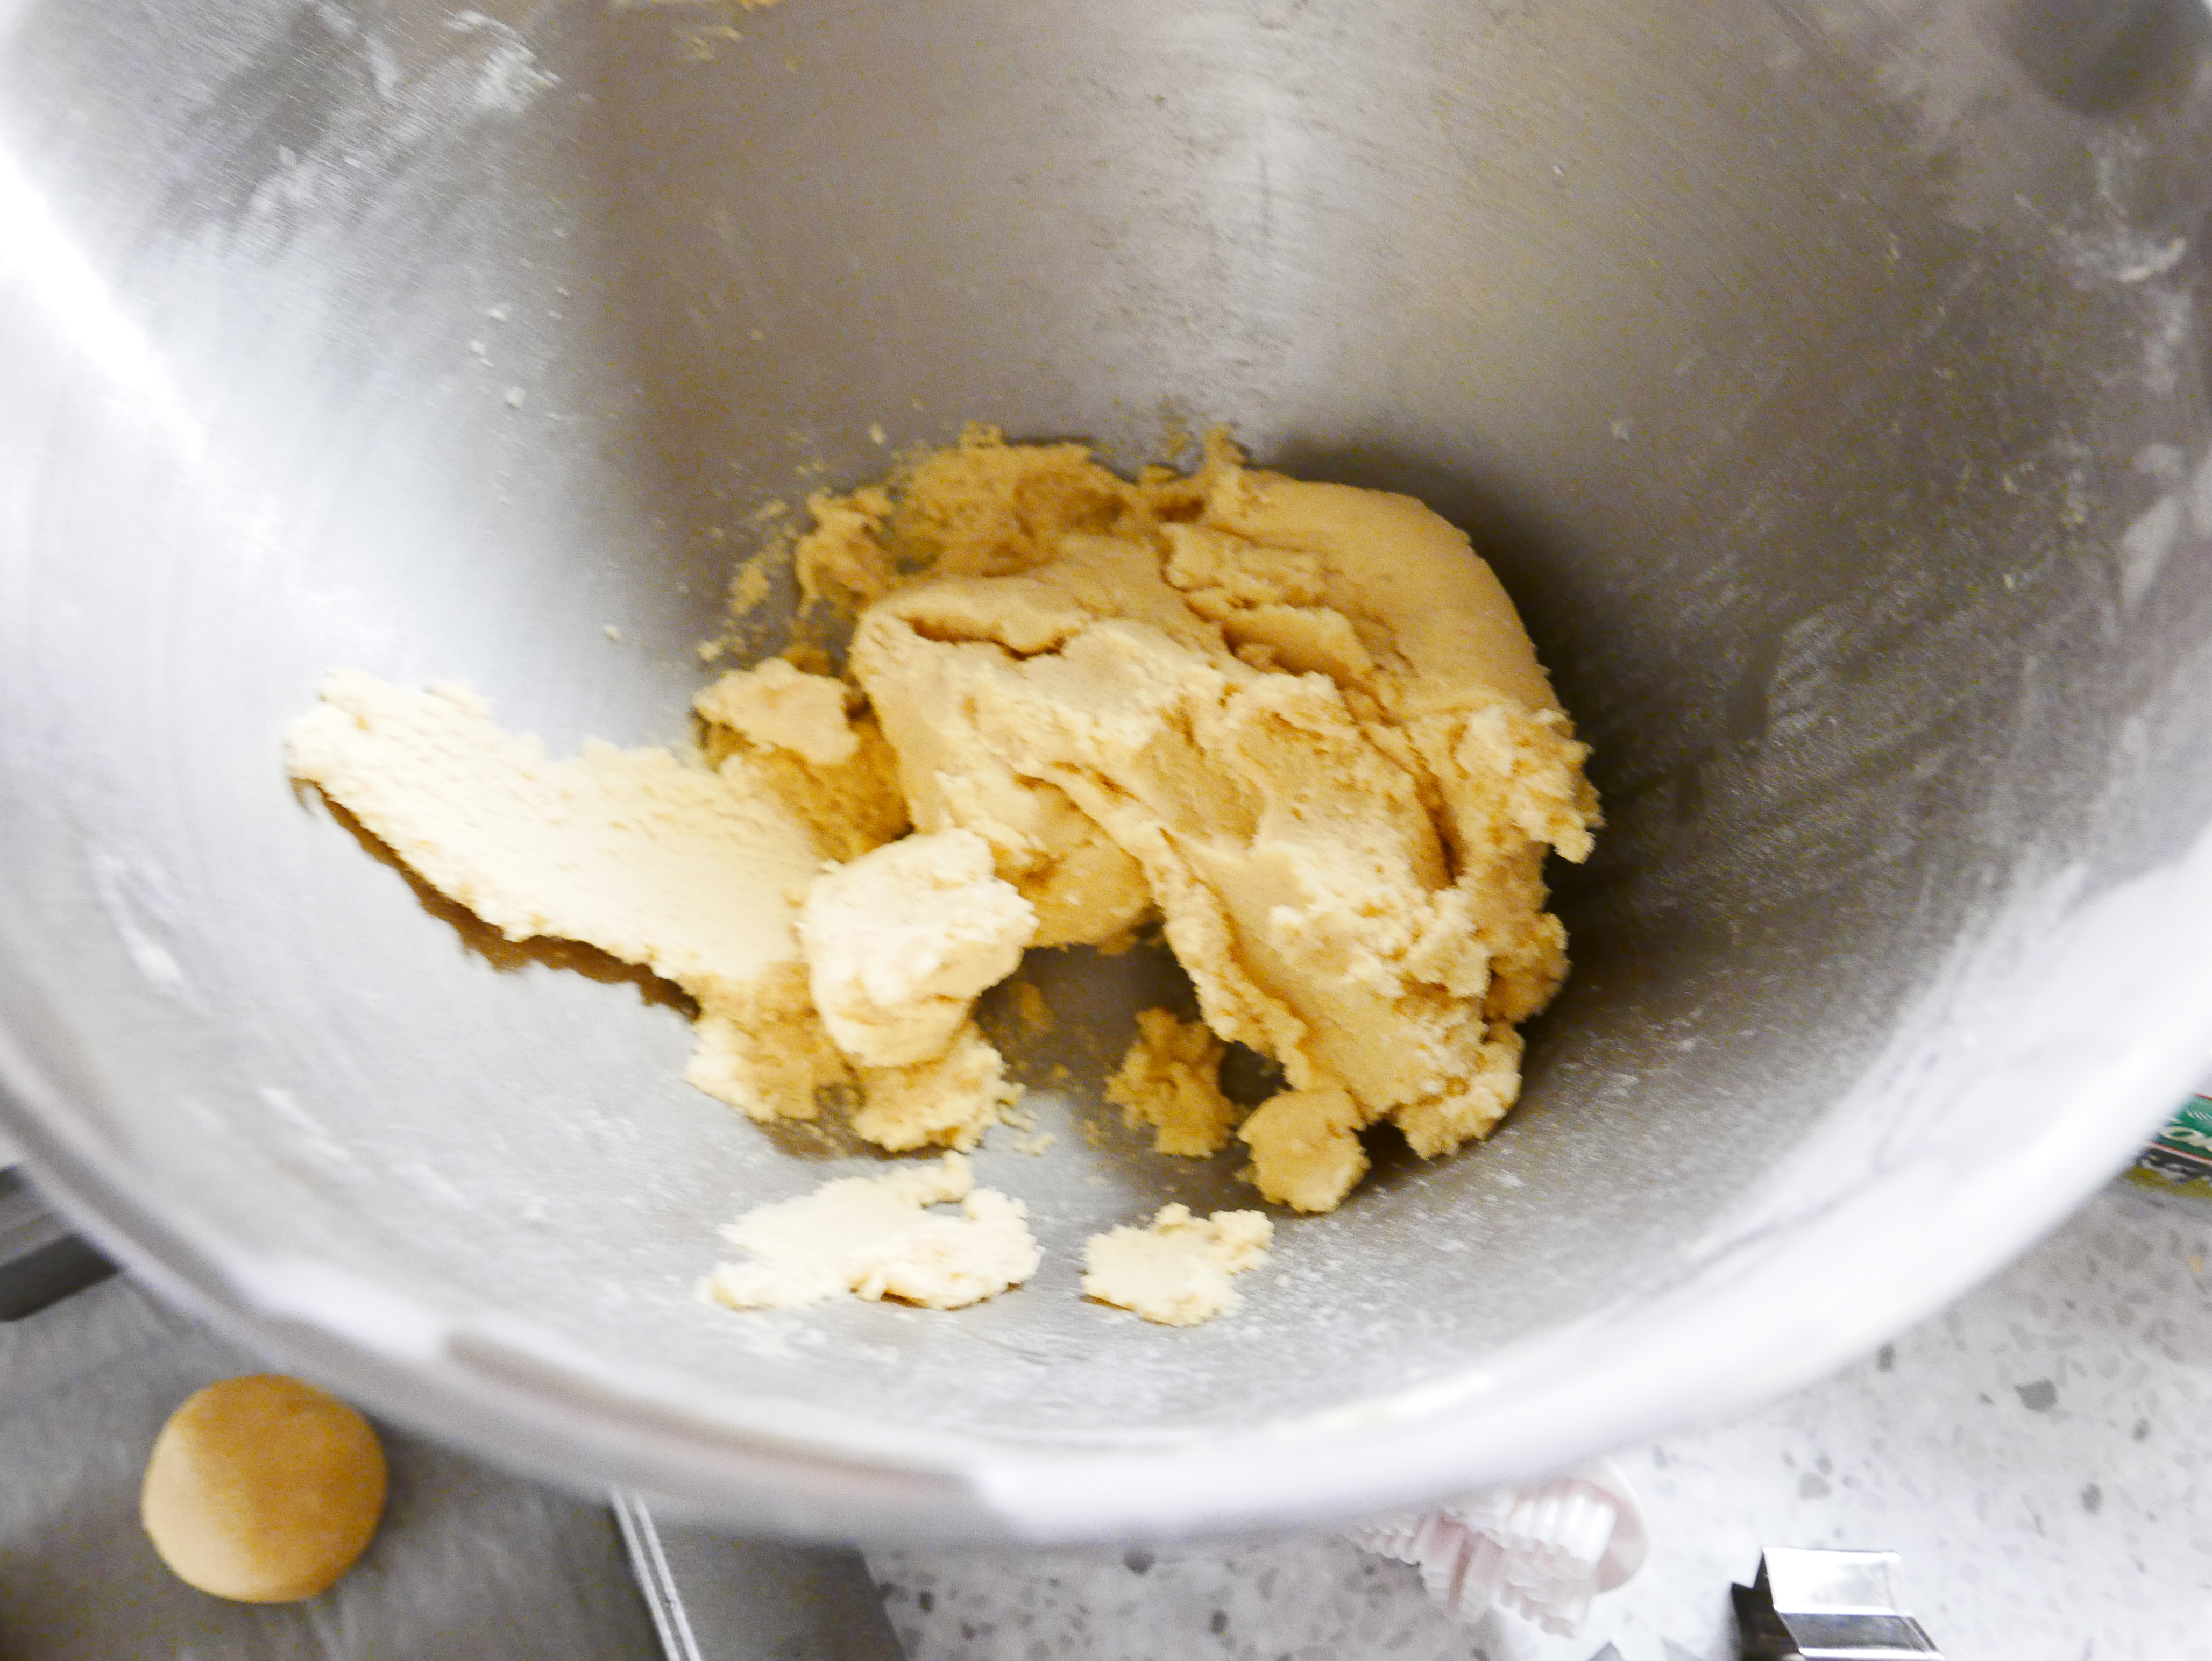
- Put all the ingredients into the mixer and mix until it forms a stiff dough
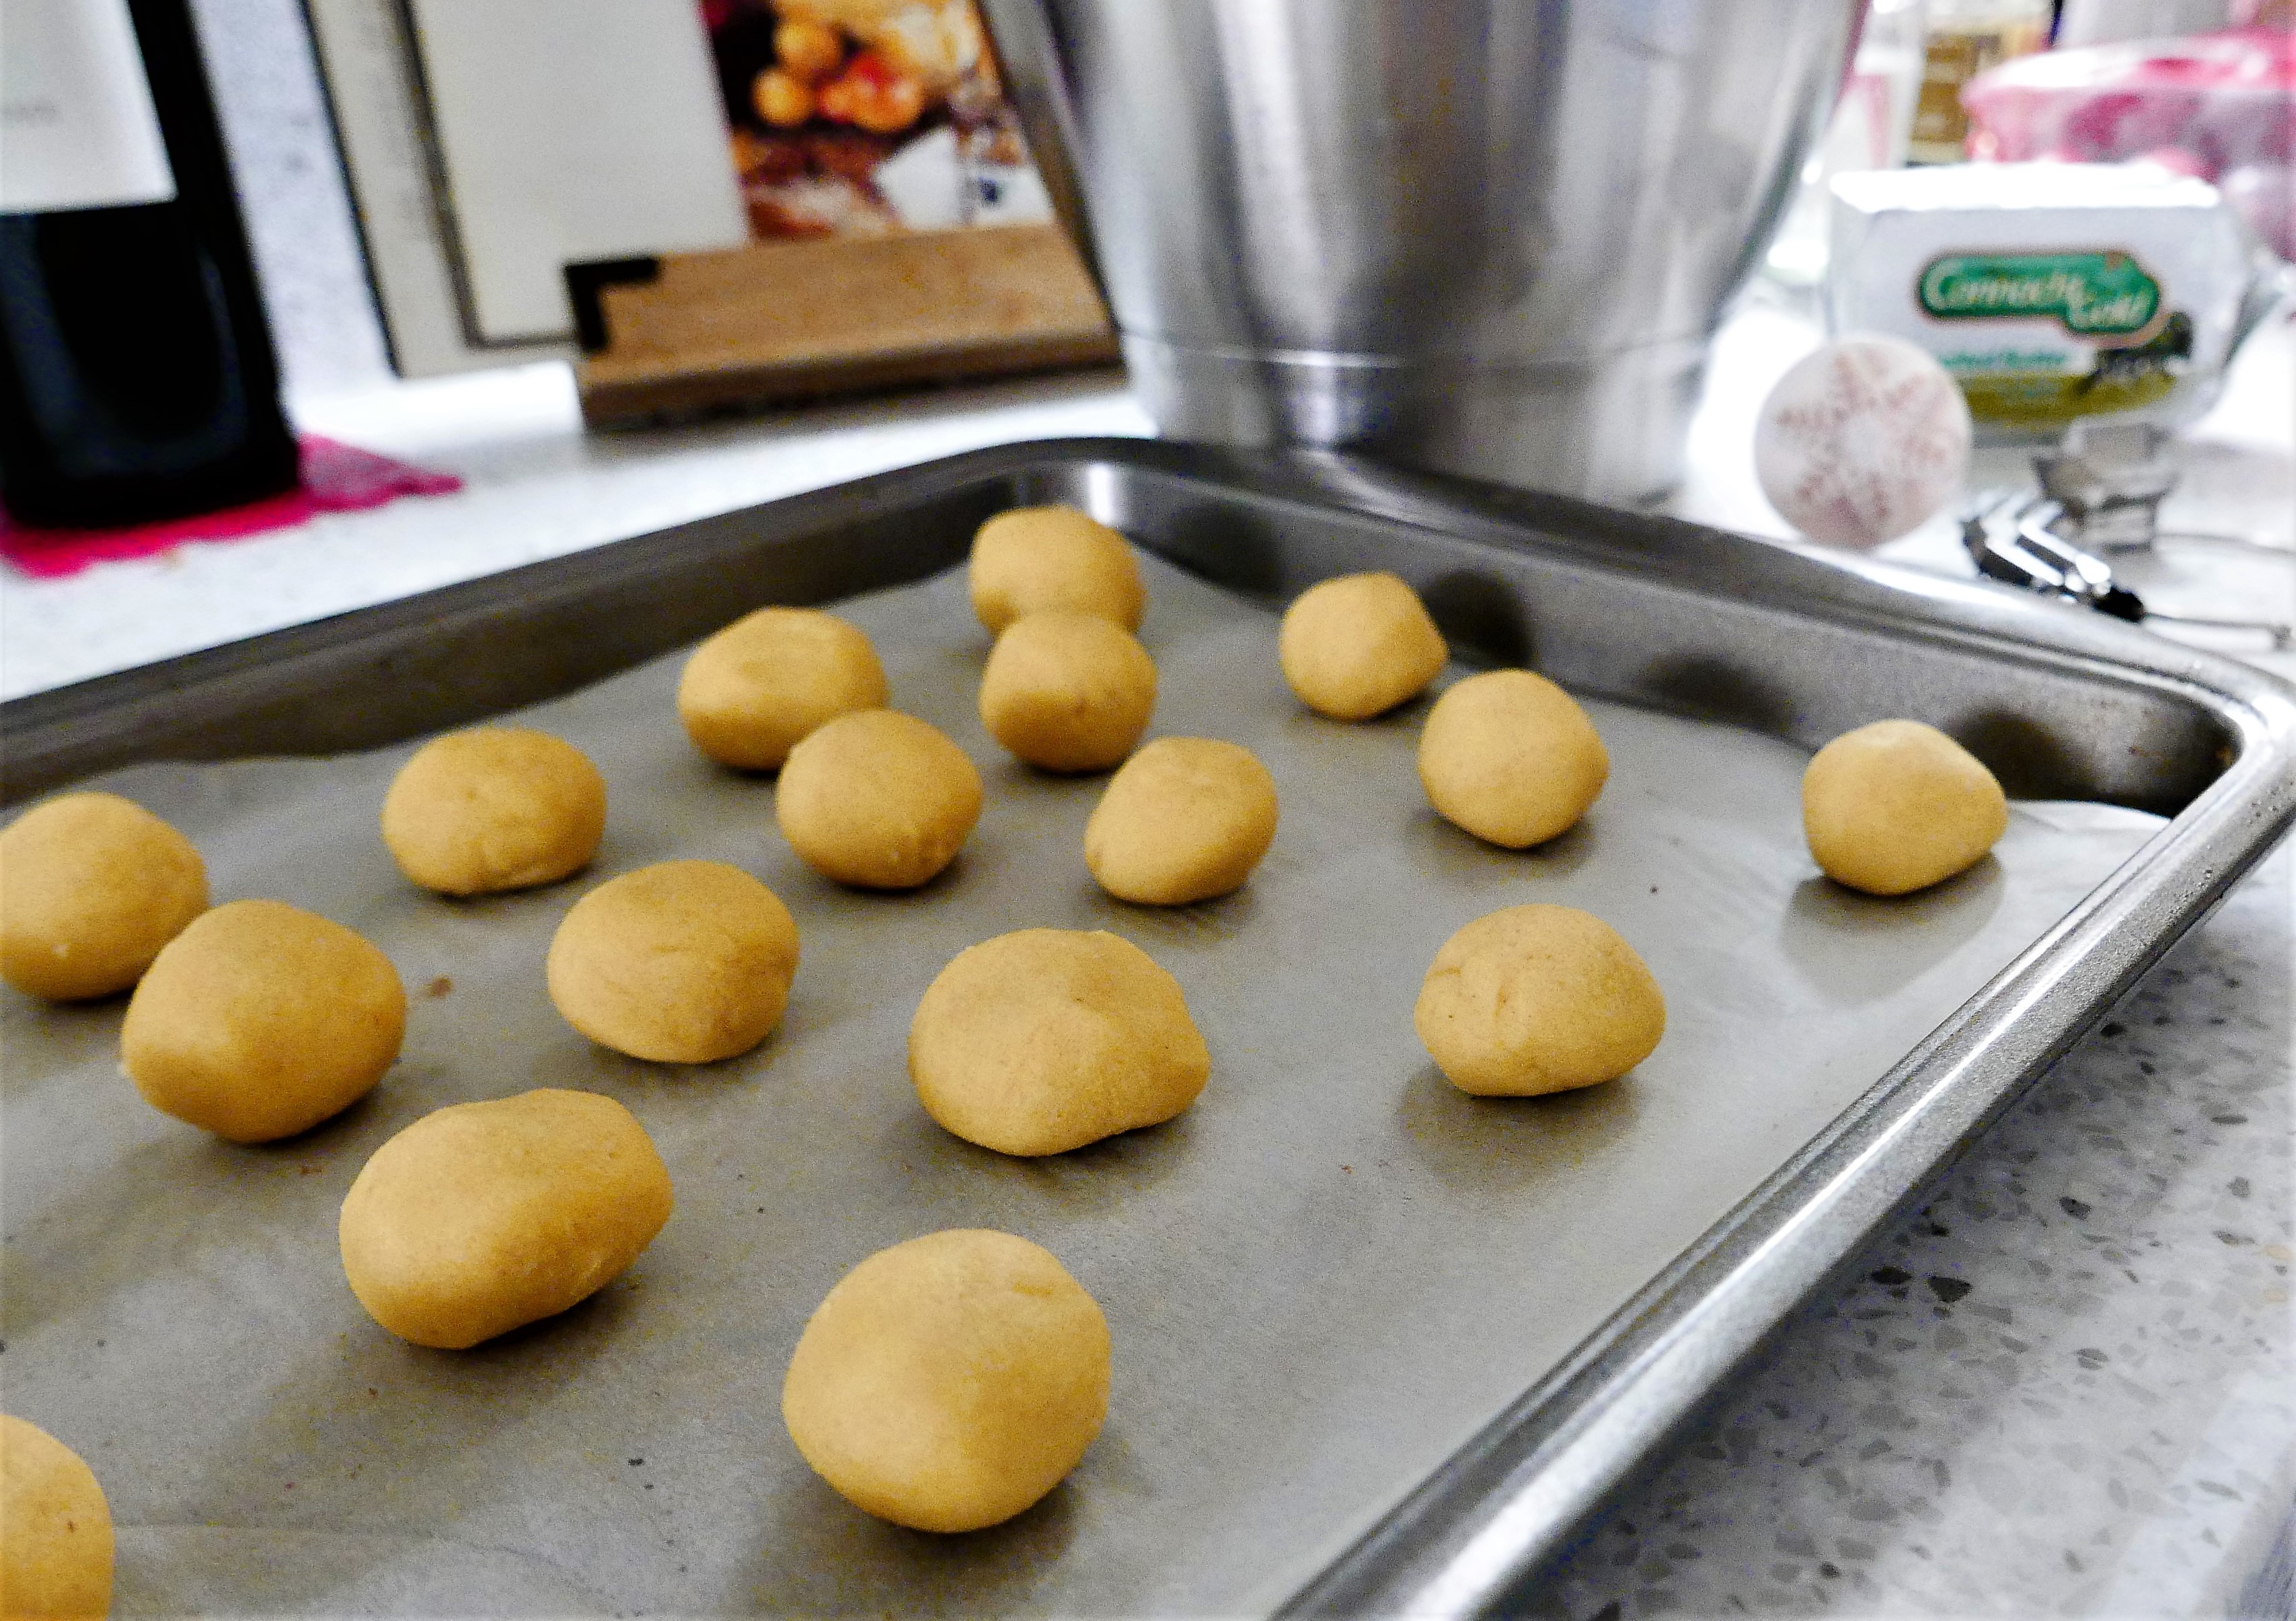
- Line the baking tray with the baking parchment, and cut yourself another piece about 10cms wide.
- Take a spoonful of the dough, and roll it into a smallish ball. If it’s any help, mine were about the size of a Ferrero Rocher sweet, and weighed somewhere between 10 and 15g
- Continue until you’ve filled the baking tray. They do spread, so give them space. Keep any extra chilled until you’re ready to cook them.
- Using the second piece of parchment, and the back of a spoon, squash the balls down a little until they have a flat surface.

- If you fancy decorating them, now’s your chance. Don’t forget you could just use a fork, or a small pastry cutter, like my star one
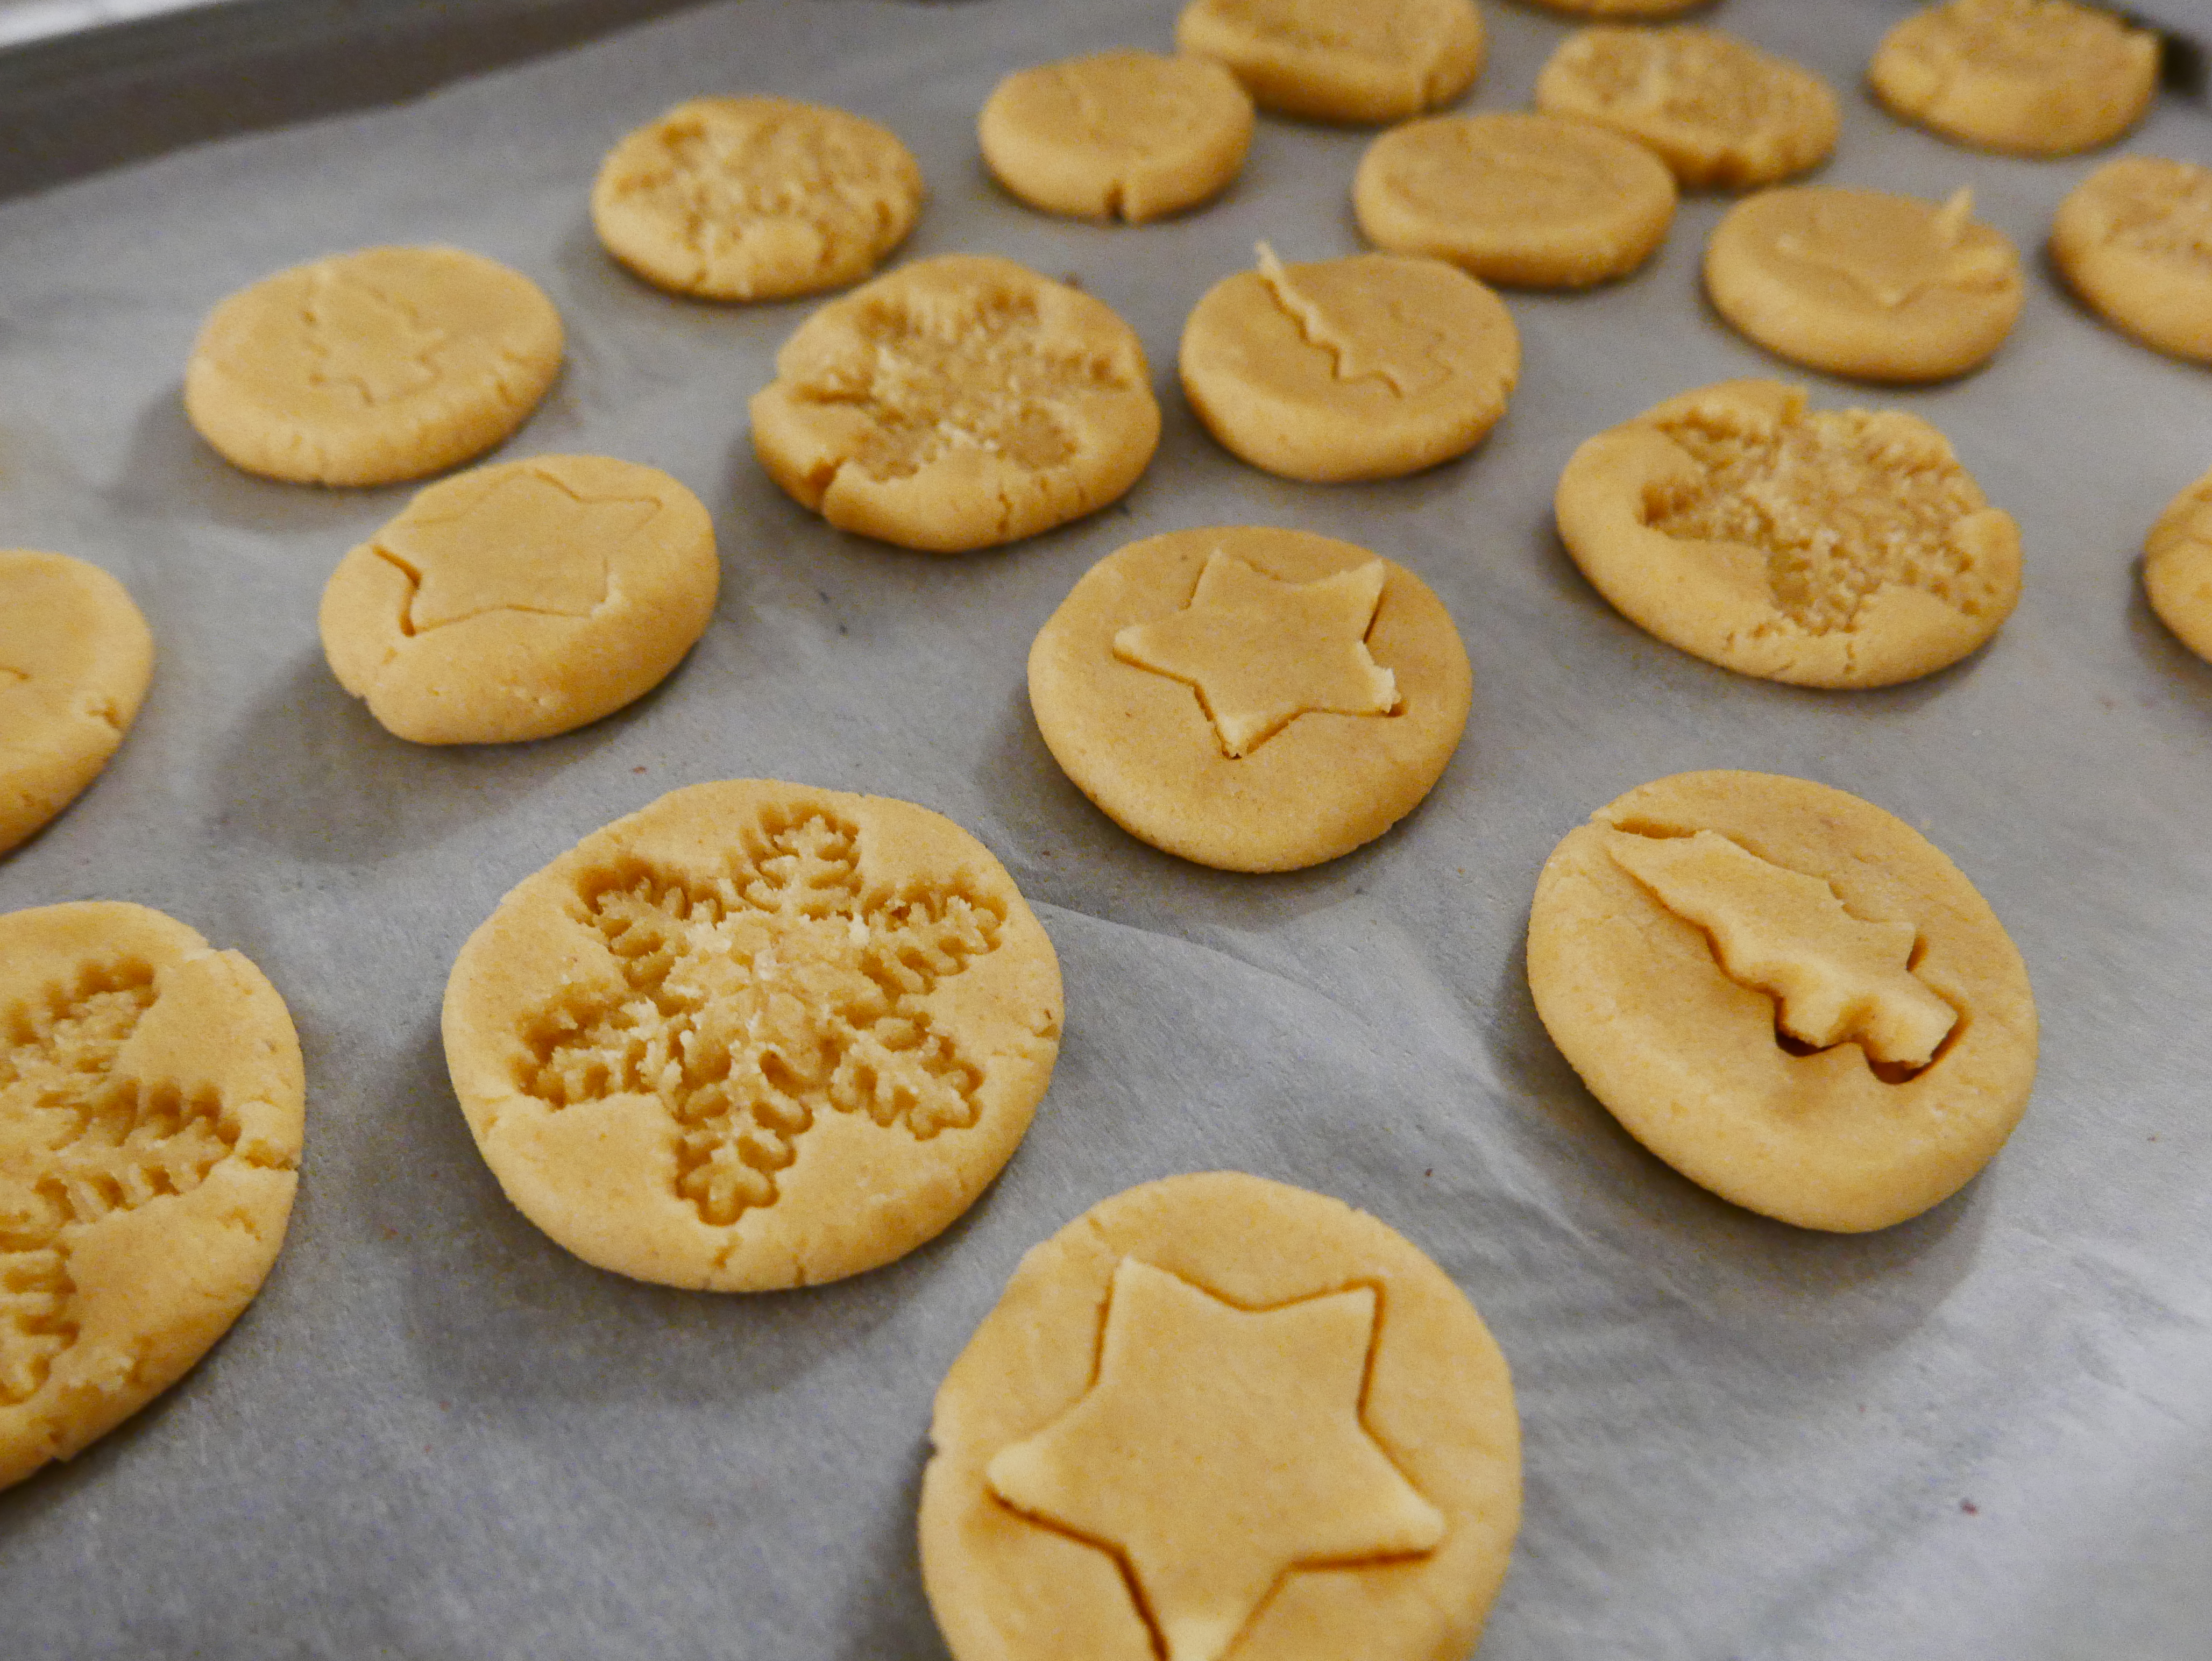
Don’t ask me where I got these cutters – I have no idea!
- Put the tray into the oven for 15-20 minutes until lightly golden. I would definitely check them after 10-12 minutes – you may need to turn the tray around to bake them evenly.
- Remove the tray and allow the biscuits to cool for at least 10 minutes, then remove them to a cooling rack.
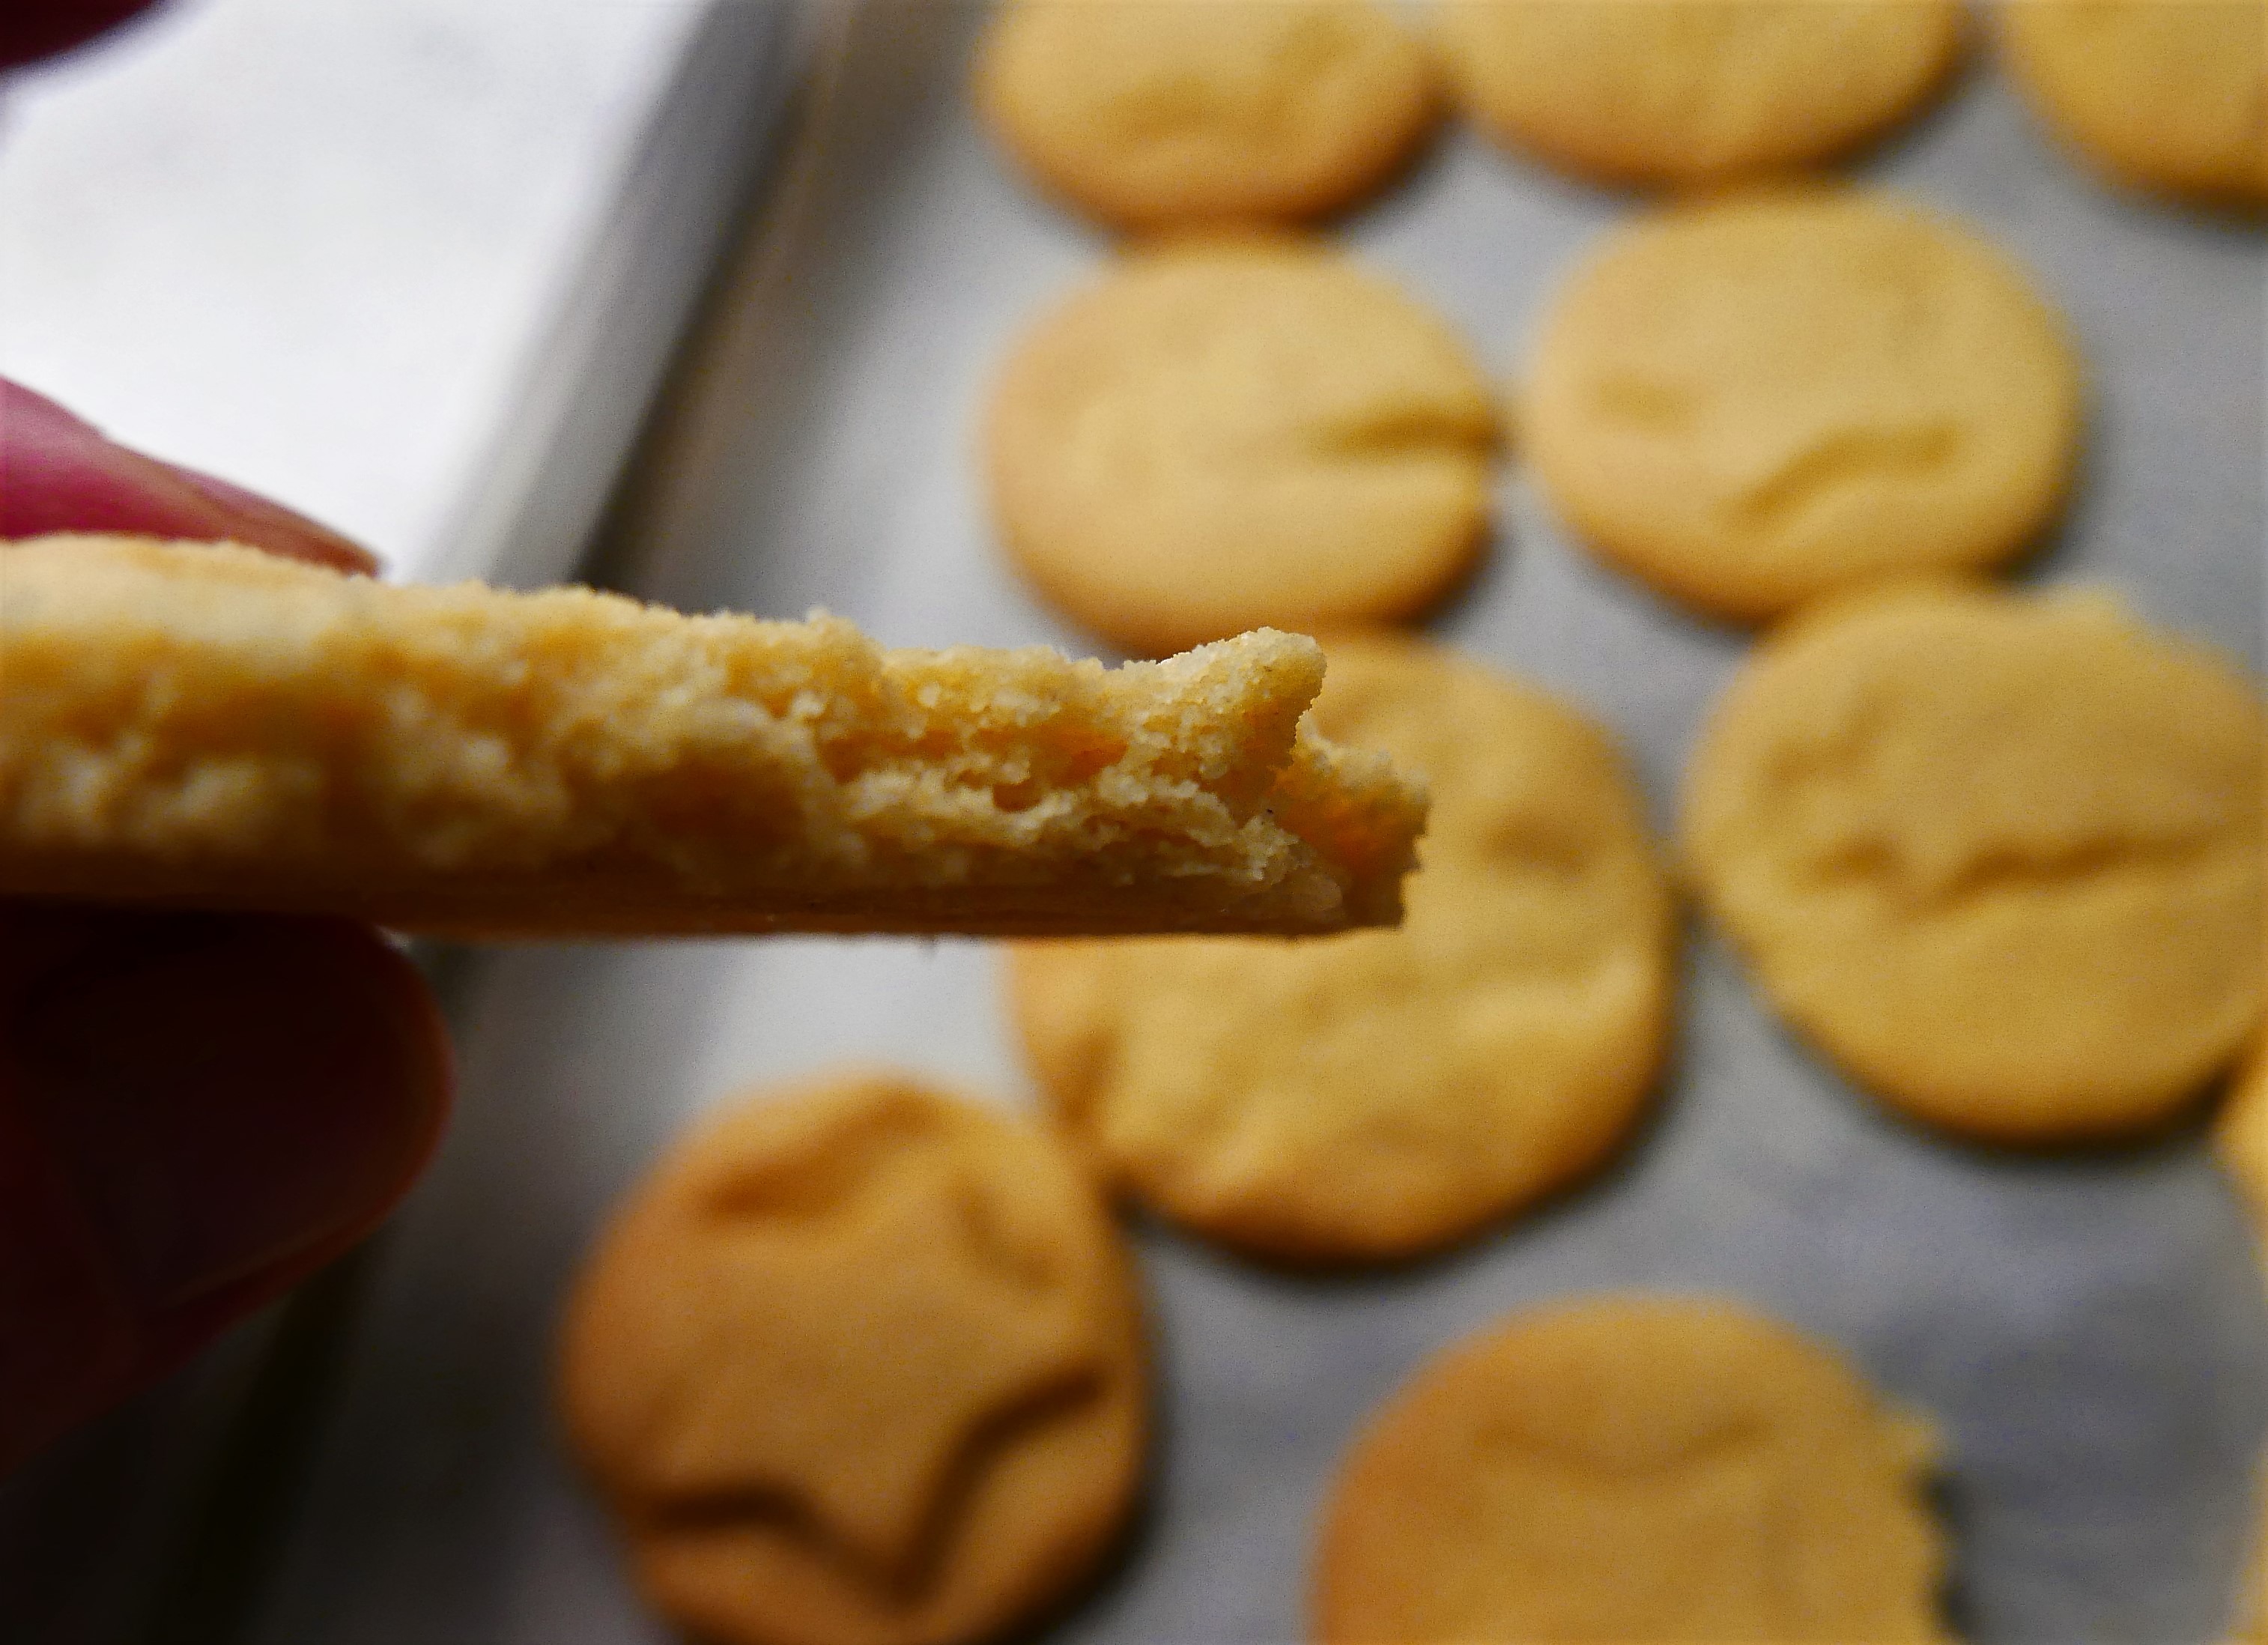
They are so beautifully crumbly..
- When fully cold, put them into an air-tight container, divided by layers of baking parchment.
NOTES:
- If you want the designs to last (some of mine didn’t) the stamp has to be pushed quite deeply into the dough before cooking
- I imagine these, properly wrapped, would freeze very well
- I’d like to try drizzling a fine line of melted chocolate over some undecorated ones, and of course they’d be ideal for icing.
- Try to keep the dough as cool as possible – if it heats up, it can become rather sticky and hard-to-deal with.
- I think that these would be a very acceptable gift at almost any time of year.
- I have a notion that a little fresh lemon or orange zest would be great in these too. I’ll try that next time, and post the results here

- Chilling the dough really helps with handing, but the dough doesn’t keep, so you must use it all up on the day you make it.
I started writing down recipes in an old copybook when I was about 16. With 6 children at home, my Mother was always glad of a hand in the kitchen, and really allowed us to experiment - as long as we washed up afterwards, and left the kitchen immaculate! Having a tidy kitchen has followed me through my life, as has the habit of writing down my favourite recipes; except that these days I write them for my website, and add photographs when I can. The website really started when it occurred to me that my daughter might like to have these recipes when I've forgotten them. In my early days of cooking for family and friends, I used to phone my Mum all the time to ask her for the recipe for some of our favourite family dinners. She rarely had a recipe to hand - I think, like me, she made a lot of it up as she went along.. So welcome to Eating for Ireland - these are the recipes that my friends and family having been eating these past 40 years.. yes, I truly am ancient! They are tried and tested, and have worked for me for all that time - I have updated them as new ingredients became available - I really hope you'll find something that you can make into a family favourite of your own. You don't have to tell anyone where you found these great new dishes that you're serving up - it can be our little secret, but I'd really love it if you could give me a sneaky 'follow' on Facebook and Instagram.. So off you go - have a good rummage around, you're bound to find something new! My sincere thanks to all of you who have found a recipe that you liked and dropped me a line to tell me - I really do love to hear from you! Happy Cooking! Becks xx